A while back someone on another fourm, who's name I've forgotten, made a post asking about the Shadow variant for the raider. I think there was a link to a picture of it, but I could be wrong. Anyways once I heard about it I was interested in building it, and scoured the internet looking for the instructions on how to build it, and the in game stats for it. Unfortunately I never did find the stats, but a kind poster on DakkaDakka was able to provide me with the instructions on how to build it.
I was told that the instructions were pretty poor, and that it would be difficult to build it. I though to myself how hard could it possibly be? Boy was I surprised when I got the instructions. They're almost useless, extremely vague, and a few times I thought that they were referring to parts that aren't in the vehicle kits anymore. But despite all that I trudged forward determined to build the near mythical Shadow.
The article in the
WD by Tony Cottrell claims that "The Shadow is not difficult to make." I disagree since it was a huge pain to make. I guess for an expert or even above average modeler that does lots of conversions it wouldn't be hard, but this was my first real conversion and it was difficult. Lots of peices don't really fir together and green stuff is needed. Since this is my first conversion a lot of my cuts aren't very good as I'm sure you'll see in the pictures a few parts are uneven, but it's still a work in progress and I'll try to fix those errors as best I can.
So at long last the pictures.
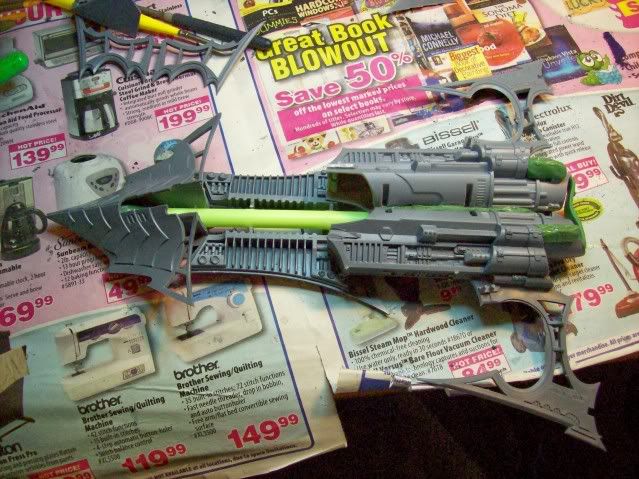
This is the bottom of the Falcon Grav tank. You need to cut the pointy parts off, which was a huge pita. In the end I wasn't able to cut them off in the same way so one of the poles is longer then the other.
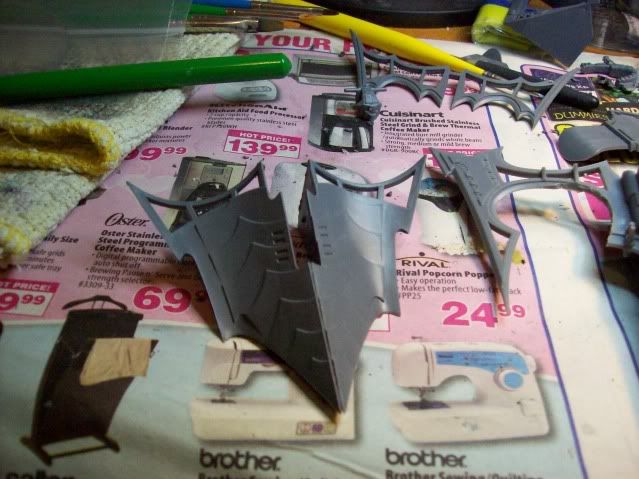
This is two
DE raider hulls glued together. You need to cut the shields and driver chair out. The shields wern't too hard but the driver was kinda difficult for me.

This is just one set of the shields glued together in a different way. On the Shadow this is the front shield armor.
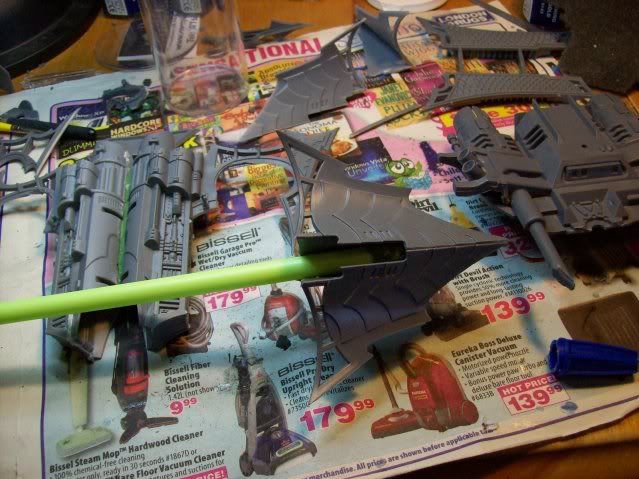
Same shield armor as before with a tube attached. You need that tube to go across most of the bottom length of the craft. If I could go back I'd get a wider tube since this was a little to narrow.
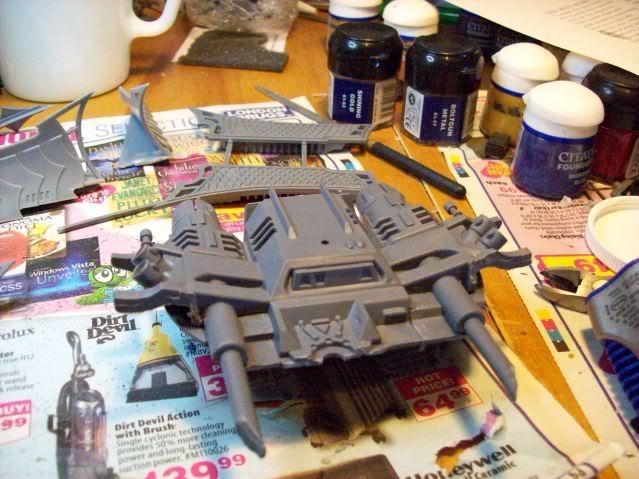
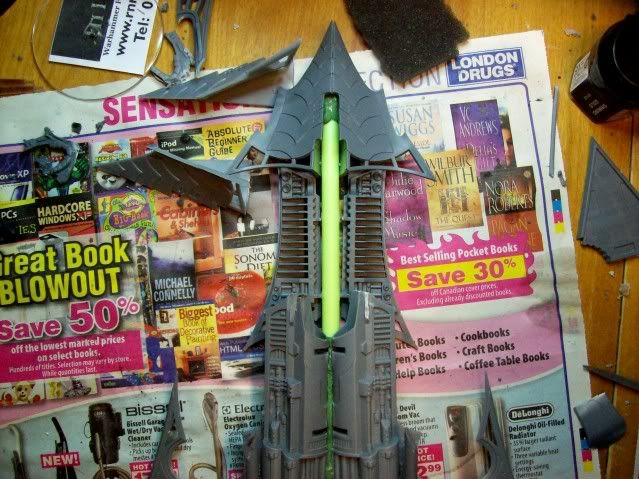
This is the main body and front attached together. As you can see the tube is used to attach the front to the body. The side platforms of a Raider and turned upside down and glued to the side of the tube.

Exact same as above, but different angle. You can see the
GS I used to make it possible to attach the back of the main body to the rest of it. I spend many an hour thinking of how I was going to do it before I decided that
GS was the only way it would work.
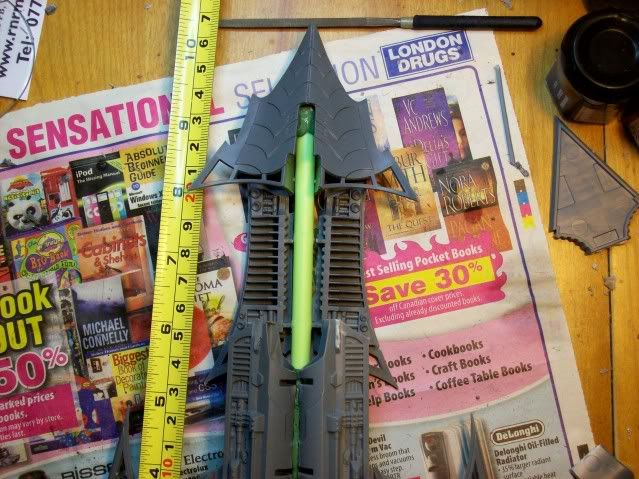
Back attached to main body. Yay me! You can see that one of the poles is longer then the other I'm not exactly sure how I'm going to fix that yet.
This is just a closer look at the front part, and another look at the uneven poles.
This is an overhead shot with a
GW measuring tape to show how long it is. Unfortunately I didn't notice the tape measure wasn't straight until after I uploaded the picture. Even with it not straight it looks like it is around 10.5 inches long.

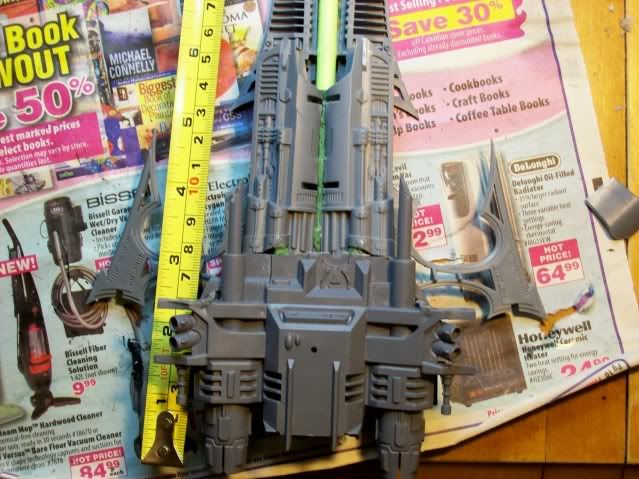
Another close up of the front. This time with the tape measure, and now I notice that the file wasn't straight either.
A close up of the back, and mid section. Also with the tape measure.
The shadow isn't finished yet. I still need to add the guns and crew compartments, and of course the spiky bits that
DE are known for. It's been quite the learning experience building this, but all the hard parts are behind me. If I could go back I'd definitely put a lot more effort into getting straighter cuts, and sanding the cuts smooth. The hardest part about building this is the fact that you're gluing pieces together in ways that make it really hard to get them to stay together. If I ever build another one I'll definitely put in the time to get all the cuts right.
I'm still unsure about how I'm going to paint it. I'm still a novice painter, and I'd really hate to give it a horrible paint job. Especially after the all the difficulty I had putting it together. My main worry for painting is the tube I used in the middle not holding the paint, but that's still a long ways off and I'll just have to deal with that when I get there.
Simply because I feel like posting it here's a picture of the Talos I put together and painted.


