I decided to do this tutorial because I had been planning the conversion myself, and I know a number of people who want to field jetlocks but don't know how to make them. I decided to try and use minimal sculpting, while still making the final result look very much like a warlock. Also, these photos are temporary, I plan on doing this again with a better camera soon. The images are attached and
You will need:
1 Eldar Warlock with Witch Blade and Shuriken Pistol (Part Code: 99060104122 )
1 Eldar Jetbike
1/16 inch brass rod
A Dremel or other rotary tool with cutting discs.
Safety Goggles
Dust Mask
Modeling Knives (with a regular blade and a chisel blade)
Modeling Putty
Super Glue
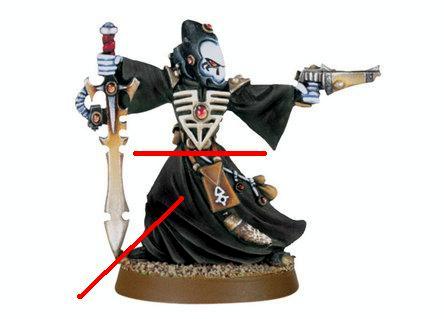
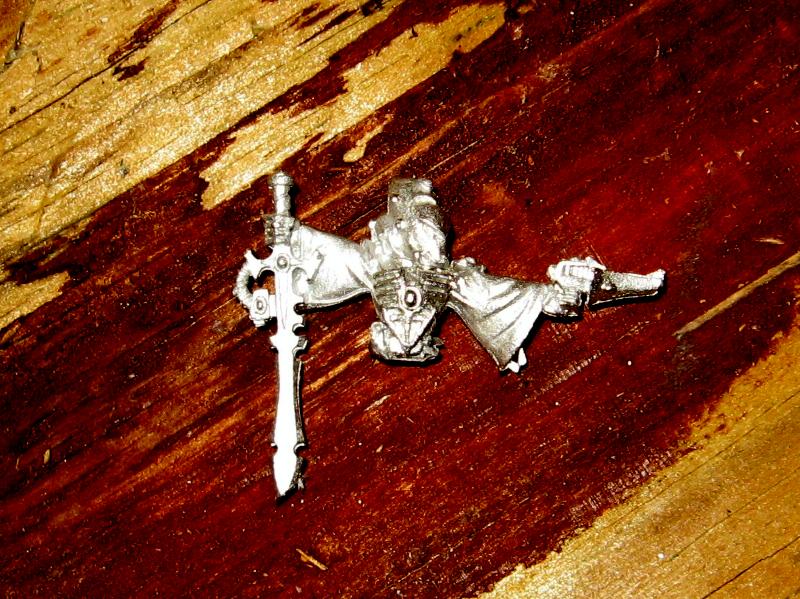
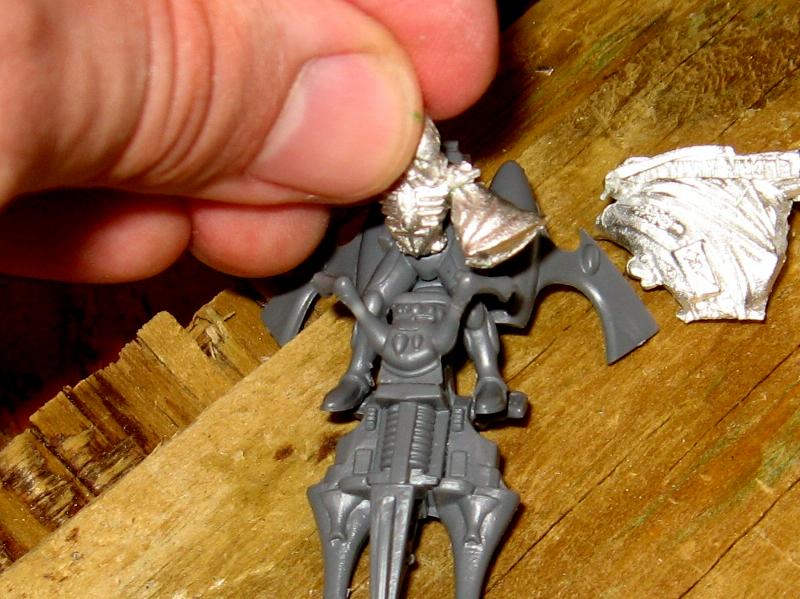
1. First, you will have to cut your warlock in half. Put a cutting disc on your Dremel, don your safety goggles and dusk mask, and make cuts where shown. I start with the cut separating the sword from the base, to get a feel for how the Dremel handles while cutting the pewter. Then I make another cut going from back to front, below the belt. Err on the side of cutting too low, you can always trim it later. Once this is done, clean up the area around the cuts with a modeling knife.
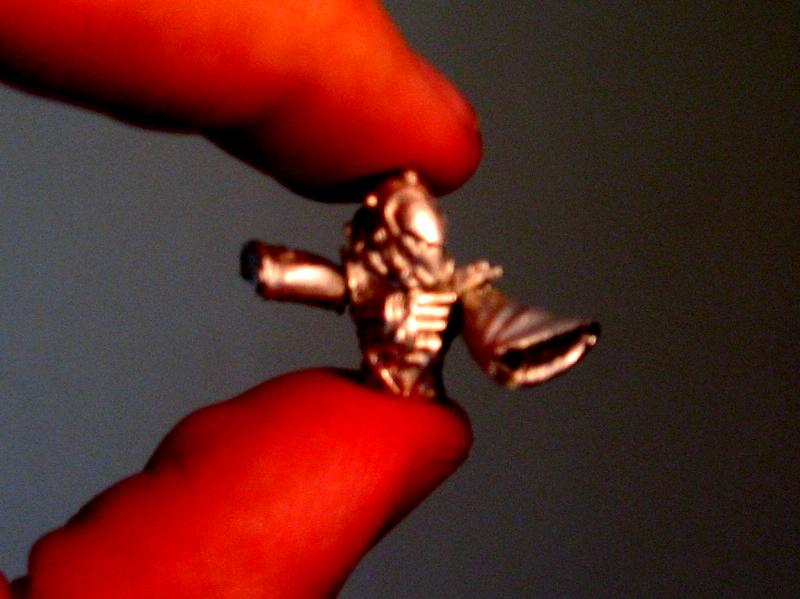
2. Next part to go is the hands. Cut off the hand with the pistol using the chisel blade. The sword is a bit more difficult though. Since it is partially attached to the sleeve, you will have to carefully cut the sword's hilt off of the sleeve before cutting the hand off. Slide a strong blade in between the sword and the sleeve and slowly cut it. It seems crazy but it will work.

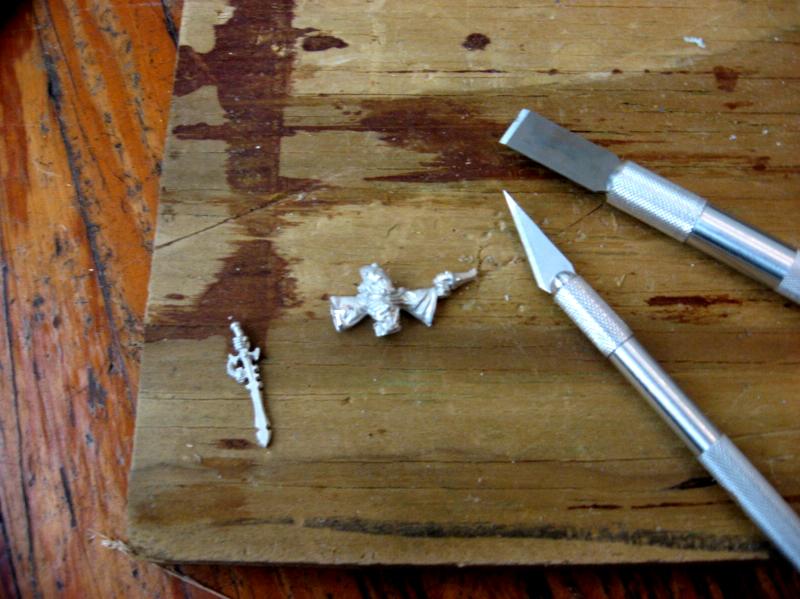
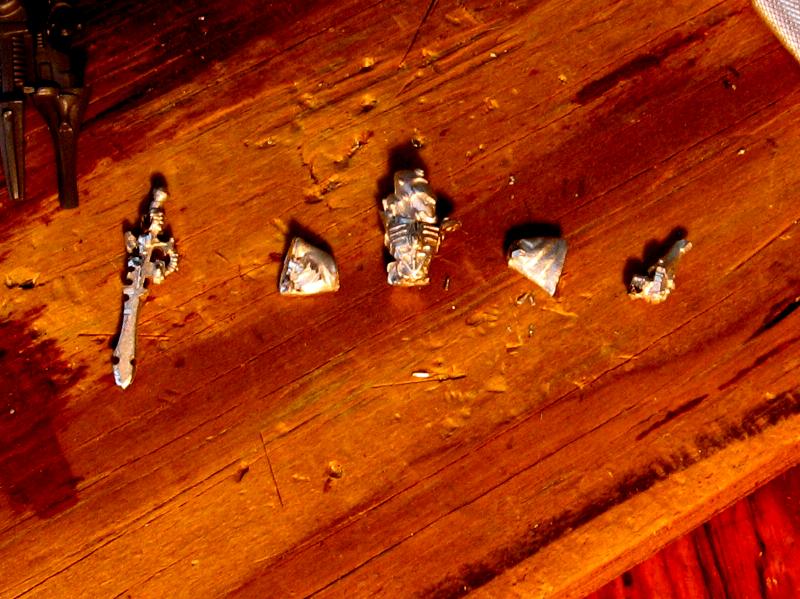
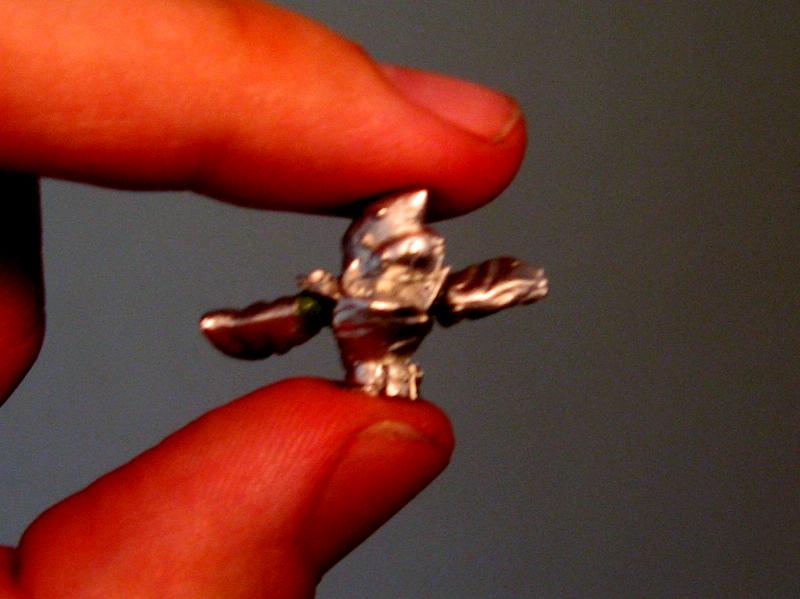
3. Now his arms have to come off. However, you need to make sure that the shoulder pads stay attached. To do this, I used the chisel blade in my modeling knife and made cuts from both sides, working my way inward.
4. Cut the hand off of the sword. Glue the sword onto a one inch long piece of the brass rod. Either glue the pommel of the sword onto the other end, or make one using putty. Now we have a singing spear, which every jetlock should be equipped with.

5. Glue together the entire bike except for the the rider, the flag-pole, and the carapace.
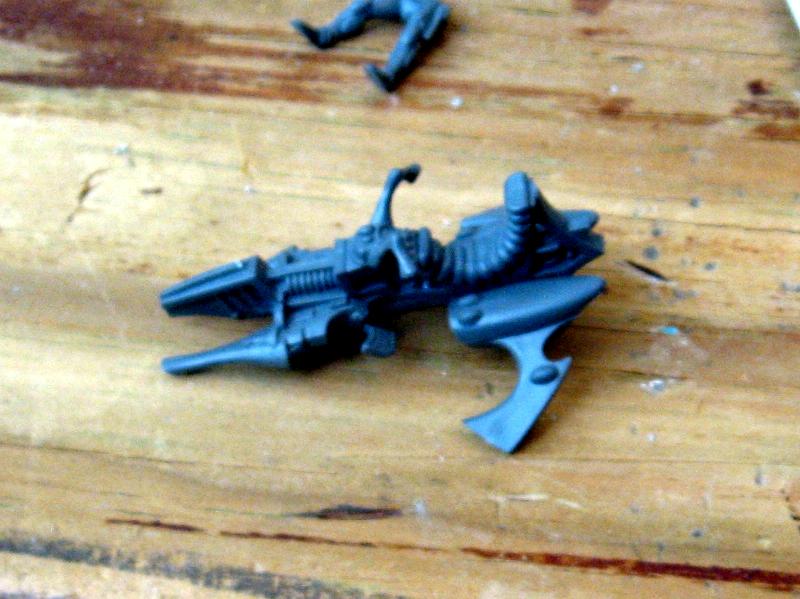
6. Place, but do not glue, the rider's legs on the jetbike. Having done this, figure out the angle at which you will put the warlock's torso on. You will need to angle it so that the left arm is about ¾ of a millimeter away from the left handle-bar. This will be the hand that holds the jetbike. You will have to file or cut the warlock's belt pouch off for a clean fit.
7. Having determined those angles, glue the warlock's left arm in place. Remember that the wind should be pushing the sleeve backwards.
8. Glue the warlocks other arm on. It looks best raised to about head height.
9. Once those have dried, fill the gaps on the arm joints with modeling putty and smooth it out with a sculpting tool or the back of a knife. Remember to keep your hands and tools wet when working with the putty.
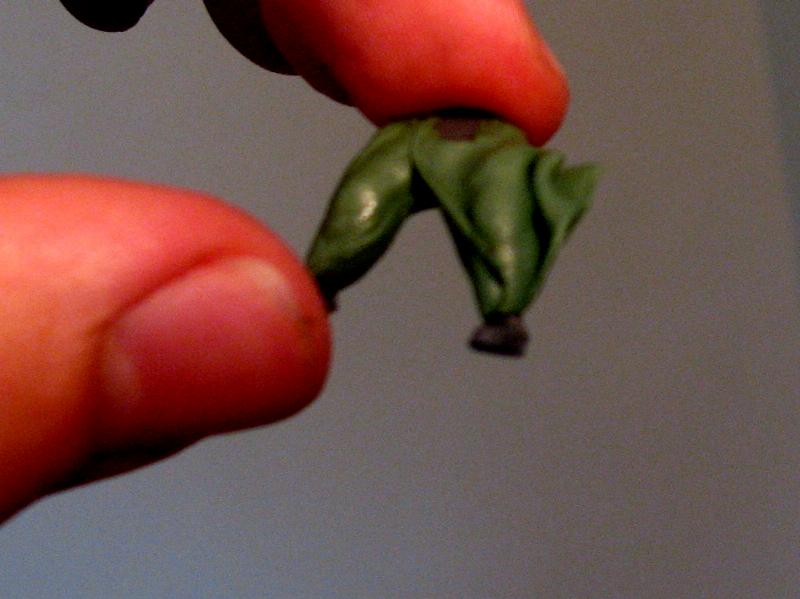
10. OPTIONAL: Some people like robes around their jetlock's legs, and some don't. If you like them, follow this step. If you don't skip to the next step. Flatten some modeling putty until it is very thin, and then cut out a triangle. Place it so that one point of the triangle is over where the body will be glued on, and fold it around the leg. The whole piece should be swept backwards from the wind. Fold up the inside corner a bit. After the first side is satisfactory, repeat on the other side. Remember, if the warlock is a man it should be left over right, if a woman, right over left. I'm anal retentive, I know. Fit the legs onto the jetbike. You may have to bend your robes a little to make room for the engines.

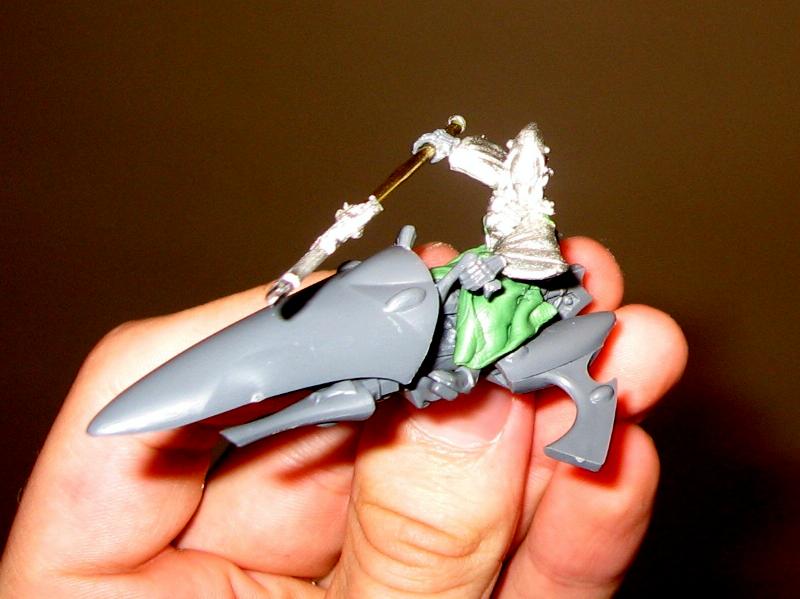
11. Glue the legs onto the jetbike, and then the body onto the legs. Remember to make room for the left hand.
12. Cut the hands off of the jetbike rider's arms and glue the left hand onto the left arm and the jetbike handle, and the right hand around the spear. Once the spear is dry, glue that hand to the body.
13. Let it dry overnight, paint it pretty, and post it on Dakka.
Hope you enjoy, if there are any questions just post here and I'll be happy to answer them.


 Suffused with the dying memories of Sanguinus, the warriors of the Death Company seek only one thing: death in battle fighting against the enemies of the Emperor.