Ive been asked for a Tute on how I do my boyz up; so......
Hungry Fella??? There ya go!!
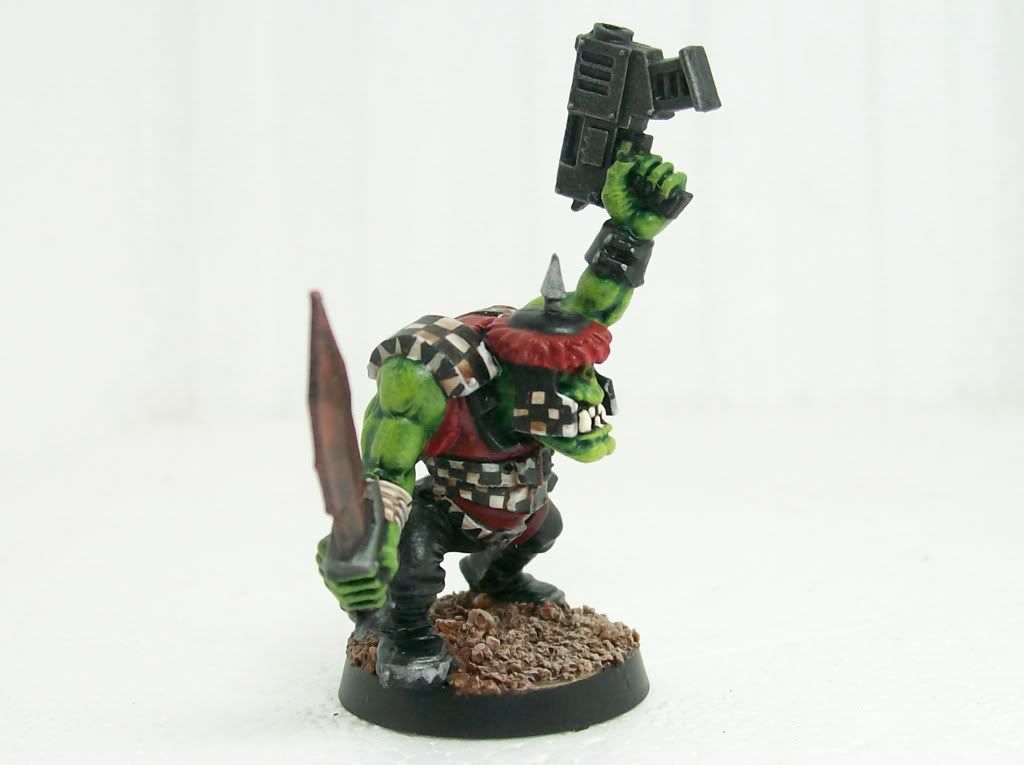
Here's what we are shooting for:
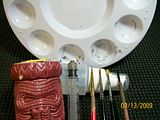
 MATERIALS:
da boy (assembled, deflashed, stoopid hair cut off)
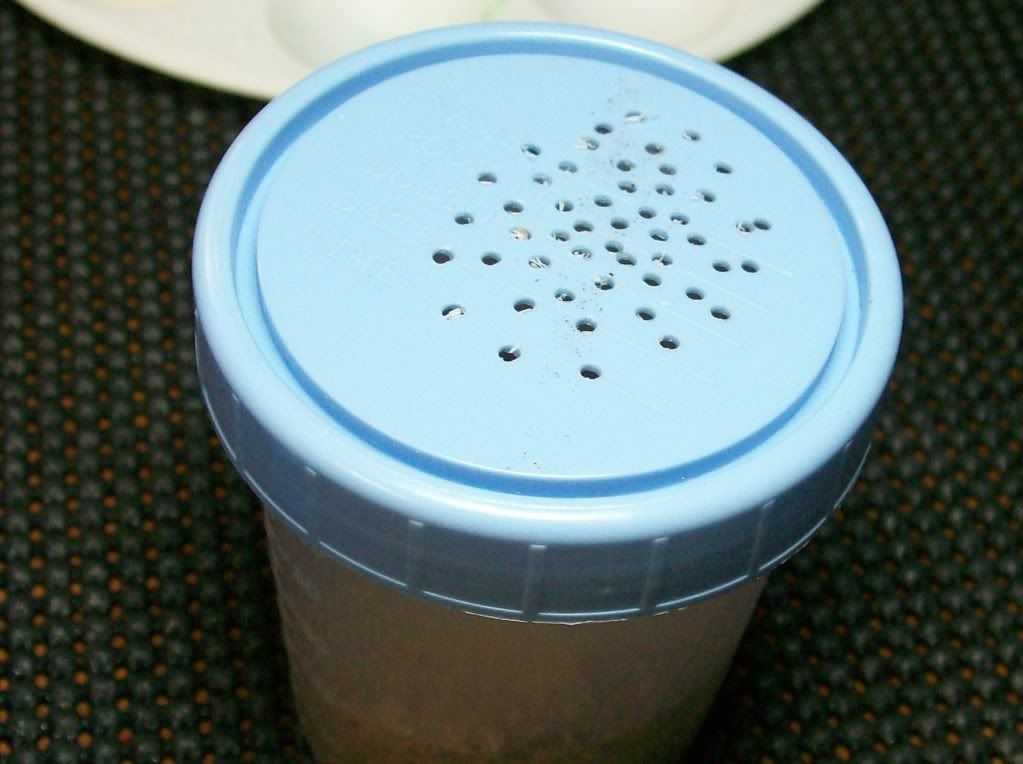
sand and shaker (shaker is a container w/ holes in the top to block bigger grains - gives a more uniform base)
Paint (I will detail all colors I use)
Brushes (I use a 3/0, a bad brush *ink/wash application* and a drybrush)
Mixer (cheap plastic bristle brush)
Palette (0.89 us *walmart*)
Water jar
Mini stand *I use a variety of things, but a shotglass and some poster tack is the bomb*
Syrenge (for dispensing measured amounts of paint/ink/wash/h2o)
Daylight mimic-ing lamp
*I cannot stress enough the importance of this one!!!!!*
 Basing and undercoating:
After assembly/flash removal; apply a coat of 1:1 water/whiteglue to the area to be covered.
Use your shaker or dip the model in the desired basing product to cover the glue. Let dry for at least 4 hours!!!
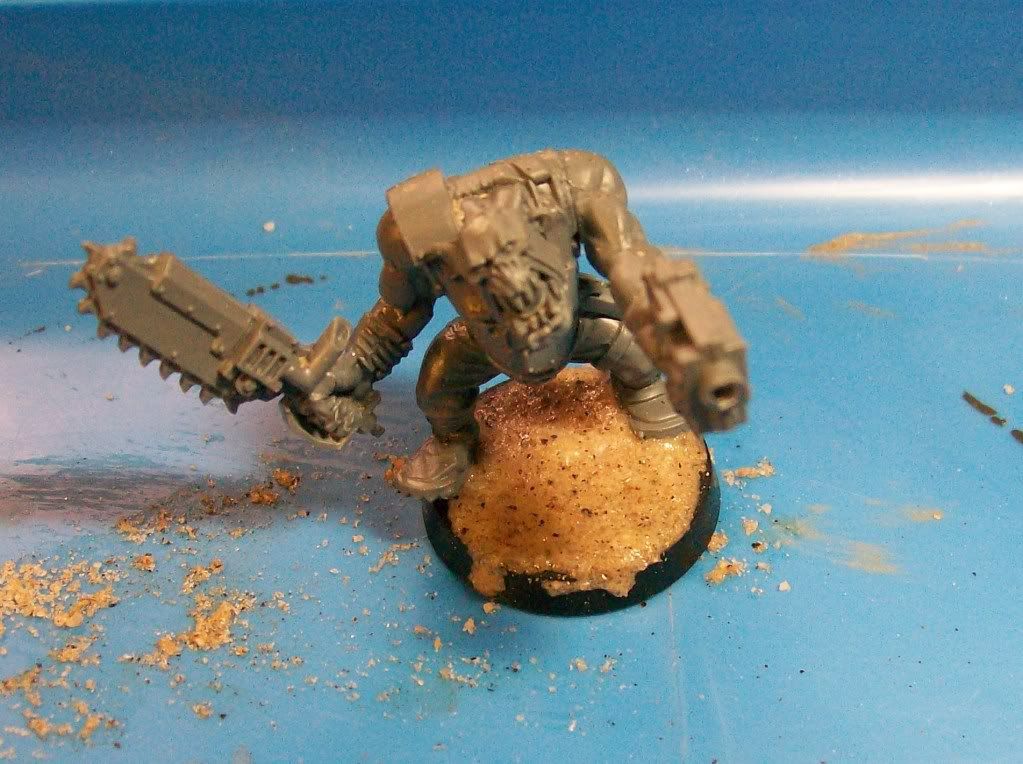
You may have "overhangs" once dry. Some people like that *adds character to the base*; but If you want it gone, use your blade to remove it *like removing flash*
Now you need to prime your mini. This allows your paint to stick and provides shadow. I use white and black primer, and have heard arguments for and against both...... For this tute I will be using Krylon Black Primer. Spray your mini from about 6 inches away being sure to use a light coat. Dont worry if it comes out speckled, you can always hit it again after it drys. The important part is to not go heavy and obscure any details!!!
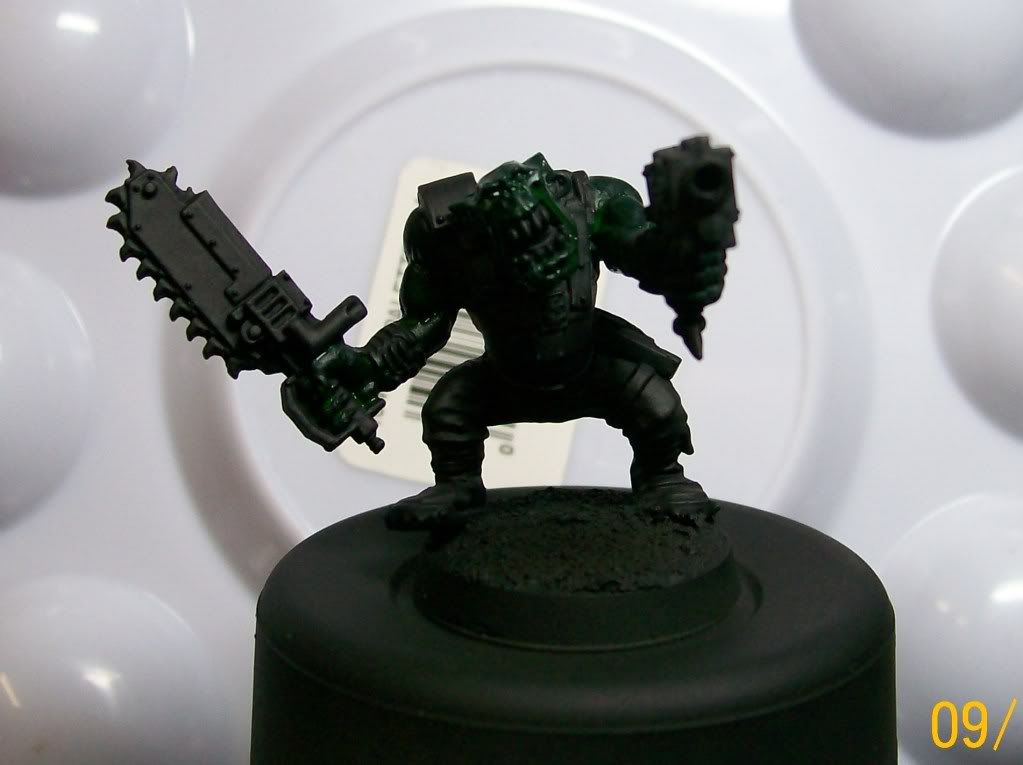
Now your mini is ready to start painting!!
----------------------------------
Okay, here goes with part 2.
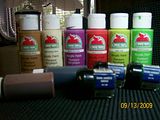
these are the paints I used... *I mostly use Apple Barrel paint (give it a try) but I'm sure you can easily find other brands colors also (they wont be included here)*
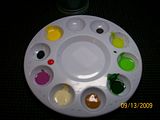

listed in order of appearence from yellow *not used* counter-clockwise...
LBursley's thin black wash
AB Crimson
AB Plum Kiss
AB Antique White
AB Golden Brown
GW Dark Angel Green
AB Parakeet Green
AB Kiwi Green
LBursley's thin flesh wash
++++ not on palette +++++
GW Dark Green Ink
Gw Flesh Wash
Base coating Skin:
First use the Dark Angels Green (mixed w/ water to consistancy of milk)
*if you do this to ALL of your paint it will cover areas without "gumming up" or looking bad* to cover all skin areas. this will dry very dark, but will be visable to the eye. this gives your mini a good dark base color:
 Establishing tone:
Next, drybrush parakeet green over the skin.
(dry brushing is dipping your bristles *of a DRY BRUSH* in the paint then swiping it off on a towel until little to nothing shows, then quickly stroking it back and forth over raised detail)
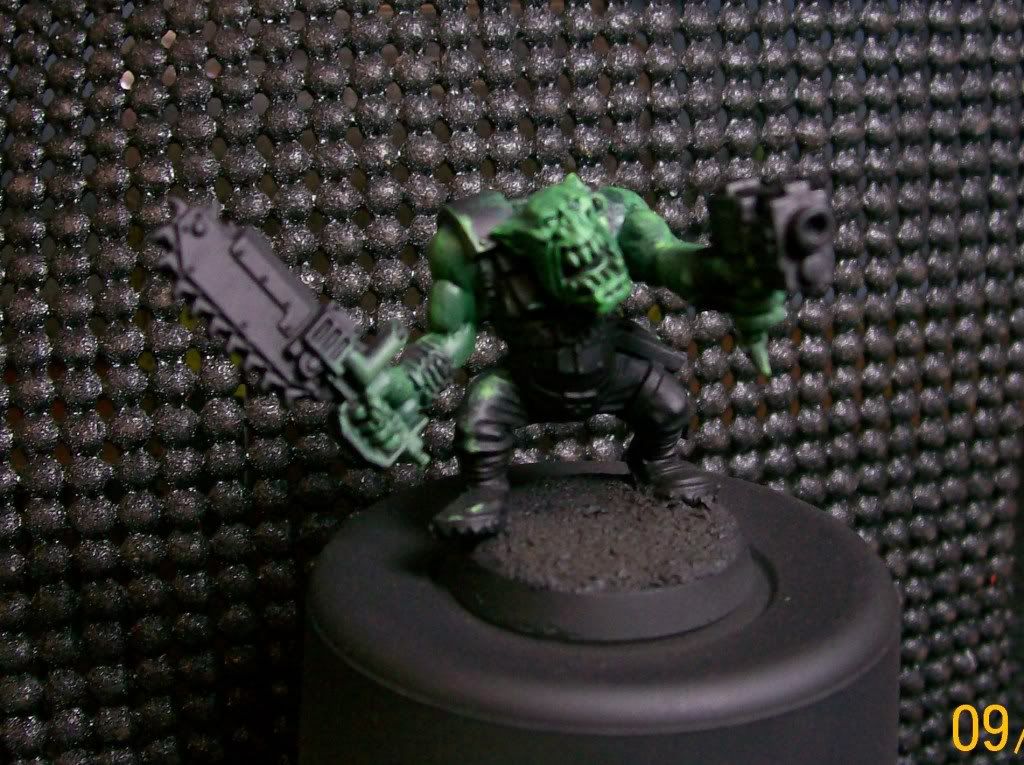
Now using the
GW's Dark Green ink, *
FYI: inks take alot longer than paint to dry* I cover the skin again. While that is drying it cover the sand base with golden brown.
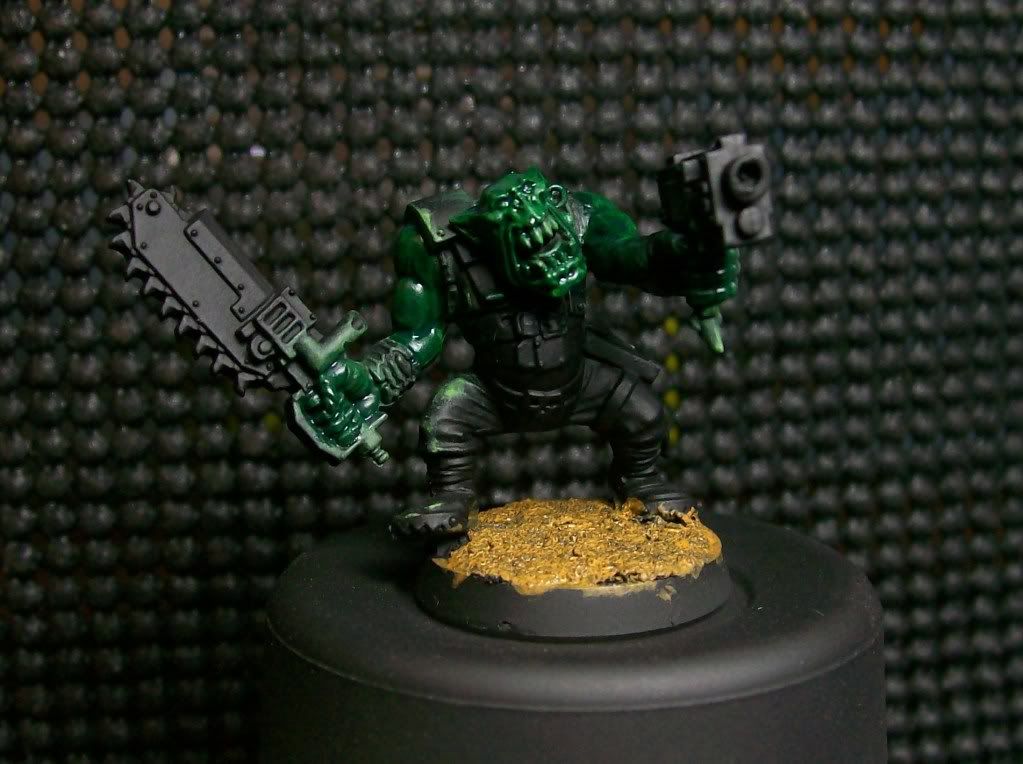
Now, after ink has dried.... I dry brush the mini parakeet two more times, kiwi once and ink the base w/
GW's Flesh wash
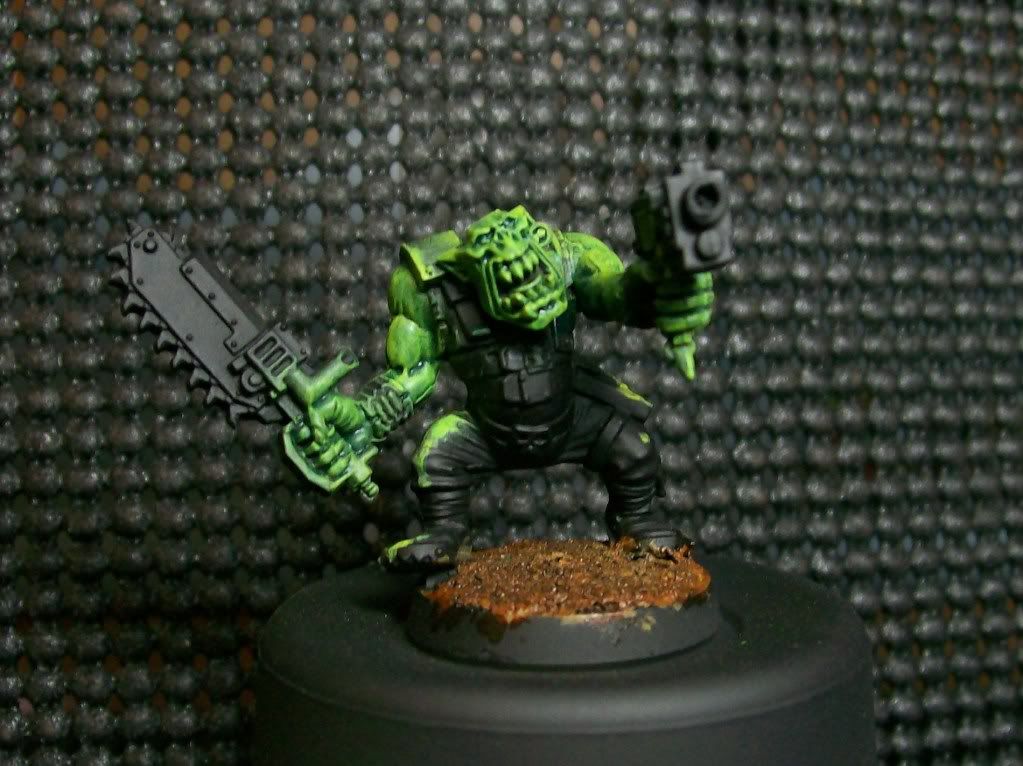 Highlight and Hardlining:
Using Kiwi I put a dot on the high points of the muscle, and using a clean brush spread it out to blend it in. With my 3/0 I use KIWI to paint thin lines on all lighted areas of the face (ie. brow ridge, ears, nose ridge)
I then drybrushed the base golden brown.
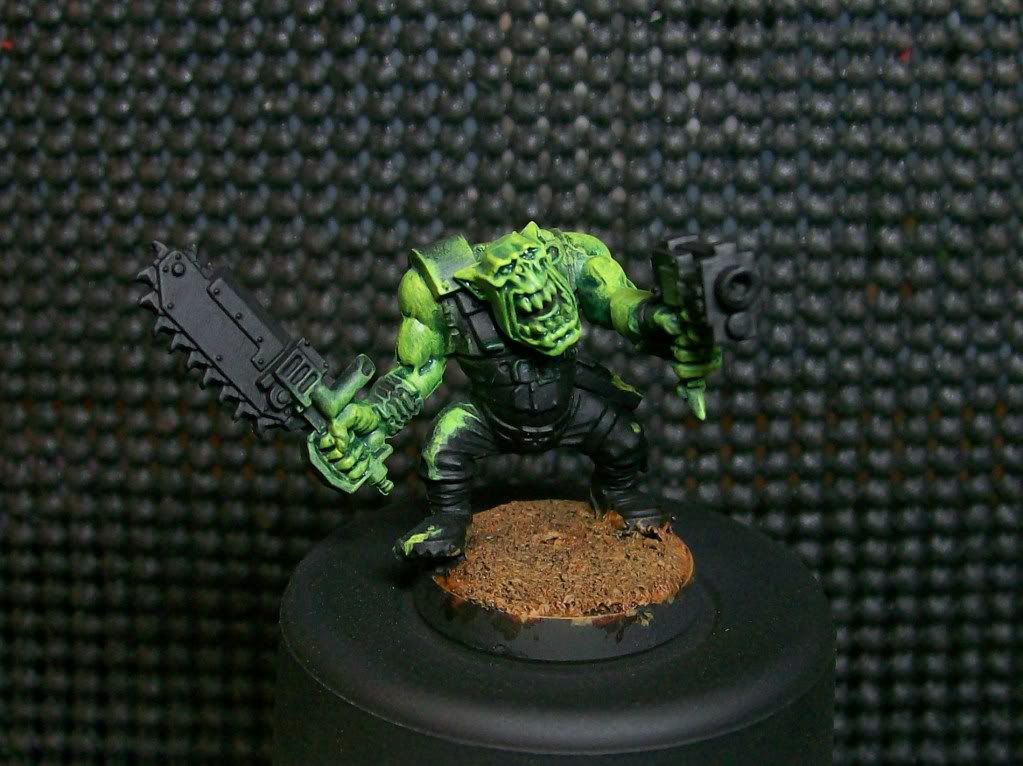 OK fellaz, heres how I do the tongue and teeth:
First I carefully paint the tongue
AB's Plum Kiss, then I use LBursley's thin black wash in the entire mouth.
For the teeth; I use
AB's Antique white and then wash with LBursley's thin flesh wash.
Eyes:
A steady hand and my trusty 3/0 brush dot those suckers with
AB's Crimson
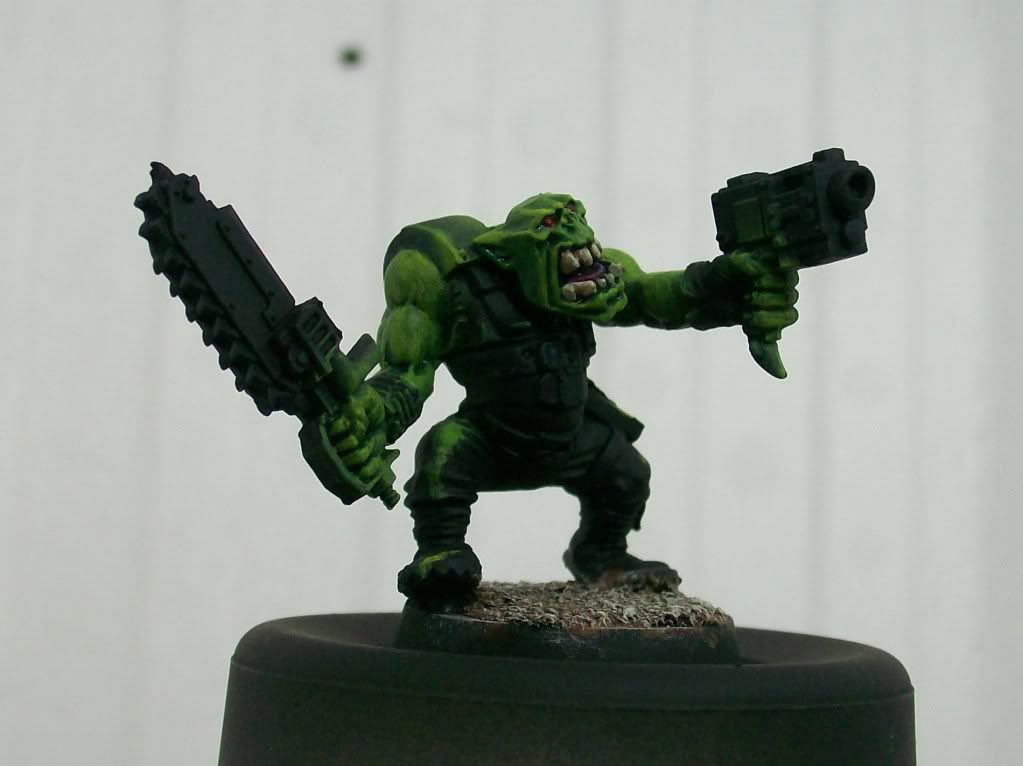 clean up and put on some clothes..... filthy xenos
Ok,
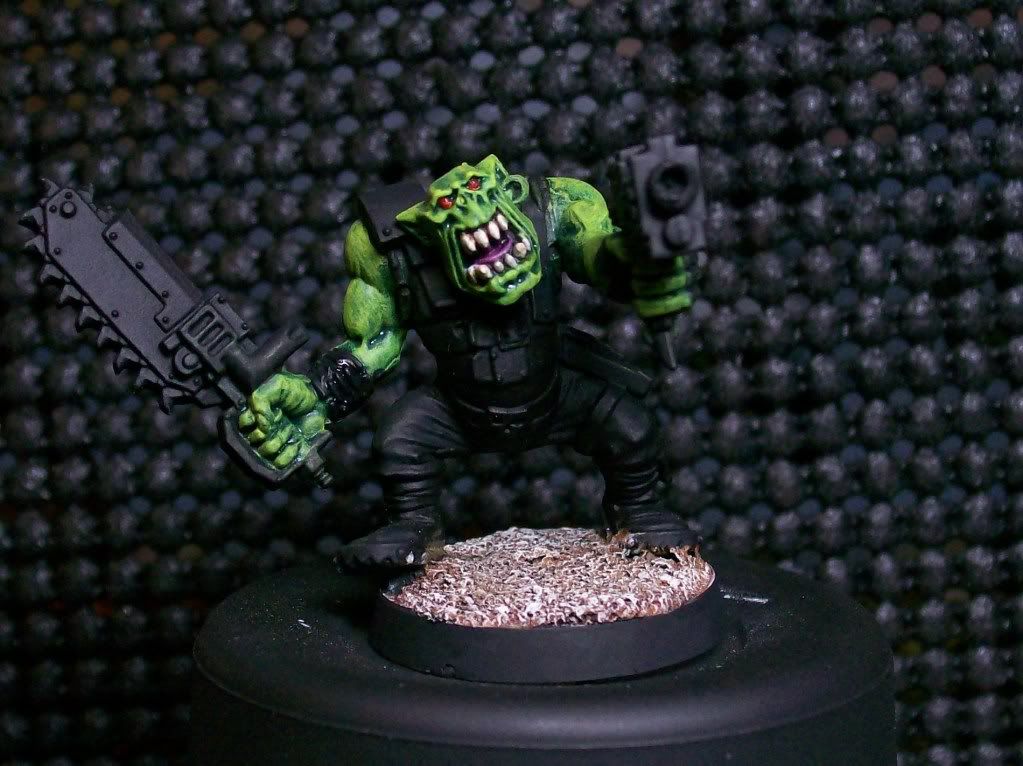
CLEAN-UP: from now on, when you see cleanup; it means using thinned black paint to "clean-up" any areas you may have painted outside. *clear as mud?*
heres orky dingo all cleaned up: *isnt it amazing what a little clean-up does?!!*
Now, paint 'em some duds!
First off, you must decide a cool color scheme. I chose the Geoff's black and white; but
IMHO it's a little... well..... black and white. So I added red to the mix, and it really pops against the green! Any contrasting colors will work; but here's how I did mine.
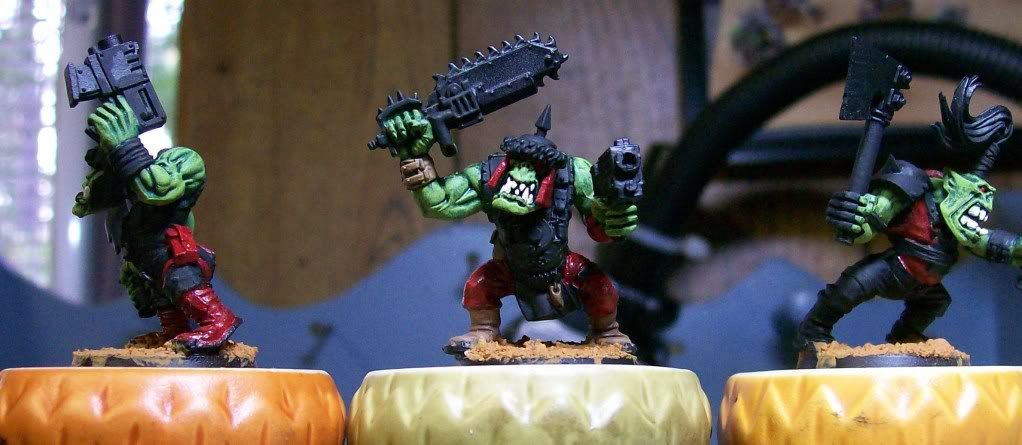
First I decided what was going to be red on this guy. *I try to make every boy different, but after 200+ your going to find some that are REALLY close to the same...
lol
here's an example...
I use
AB's Crimson, watered down (2 coats), then add a drop of white to the mix to make pinkish color. This is highlighted on the high areas and hard edges as such:
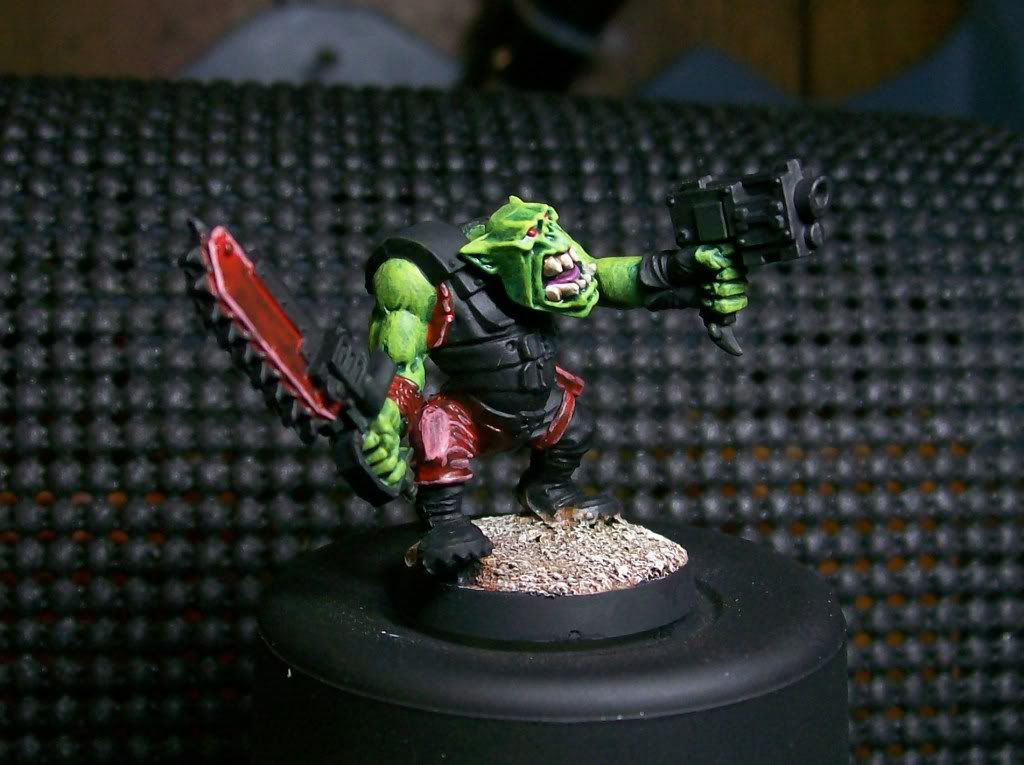
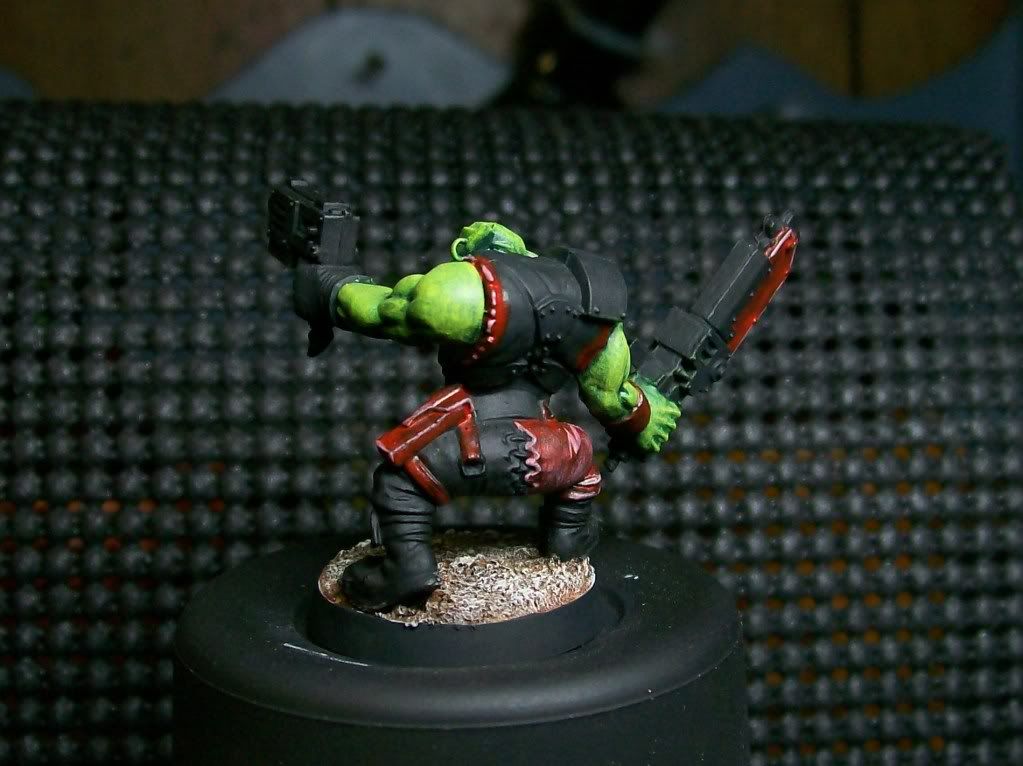
Then I use an Ink of my own creation.... (look for an anouncement soon) to ink/wash over it all, this works to darken everything and yet leave smooth highlights. I call this...
"REVERSE HIGHLIGHTING" it does the blending for you....
after this...
CLEAN-UP!!
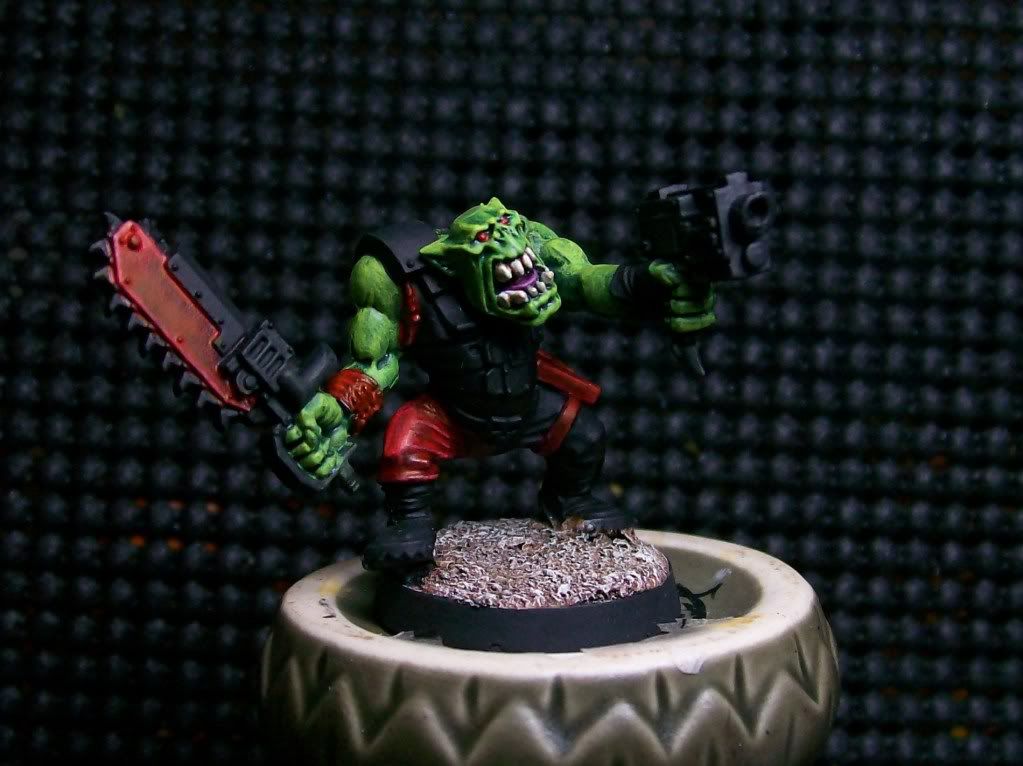
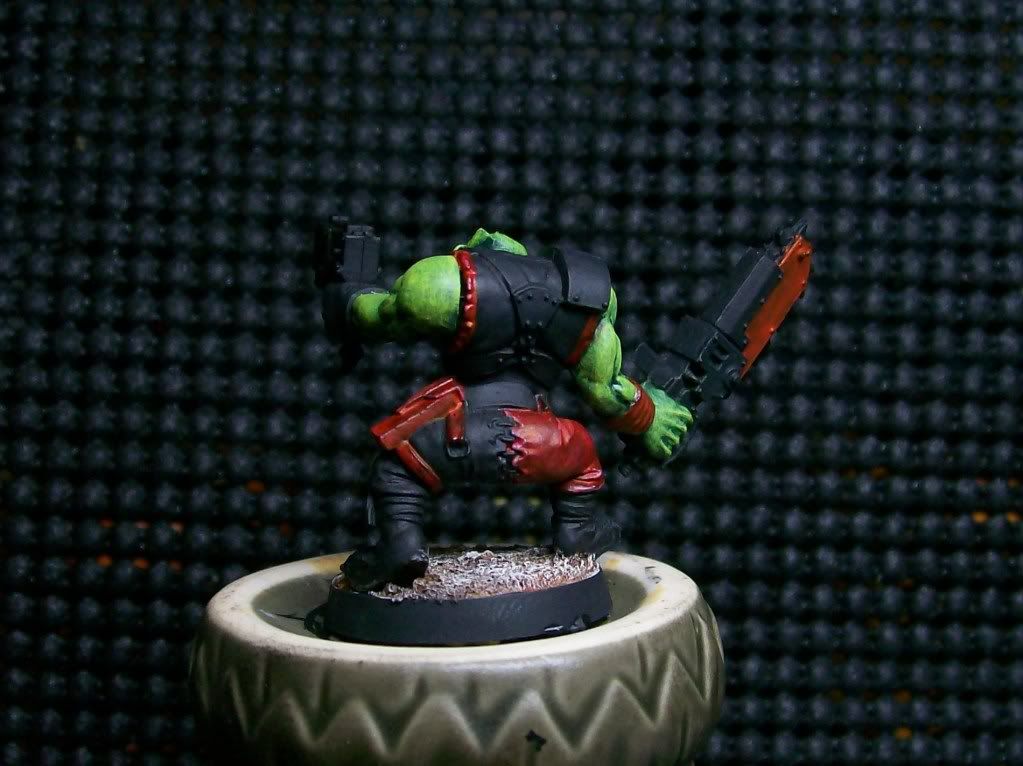
now for the right stuff....... errr... the "white" stuff. *mind outta the gutter, sicko's*
Heres what I did with this boy and his brothers:

this part is super-tedious.... For white to look good, it has to be put on in thin coats *can never be stressed enough*. It should take at least 3 coats to completely cover black..... dont worry tho, by the time you do your third or fourth boy the first should be dry.....
CLEAN-UP
Metal Stuff, Dags, Checks
Ok fellas; here's the one everyone's been really interested in. How I do my checks and dags; But first,
METAL!!!
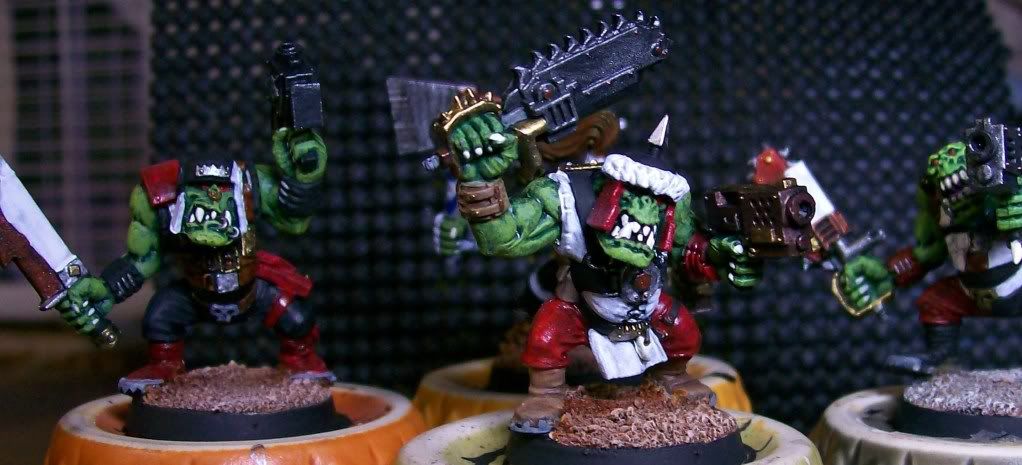
Metals I try to make totally random.... I'll put all of my metallic paint in front of me and pick one at random, paint a few features on each model, and then rinse and repeat.
Heres the
AB colors I mainly use:
metallic silver stearling, metallic copper, metallic antique copper, metallic aztec gold, metallic bright gold, battleship grey, light grey
I get the knives, buckles, plates, doo-dads, doo-dad hangers....
Drybrush the Guns
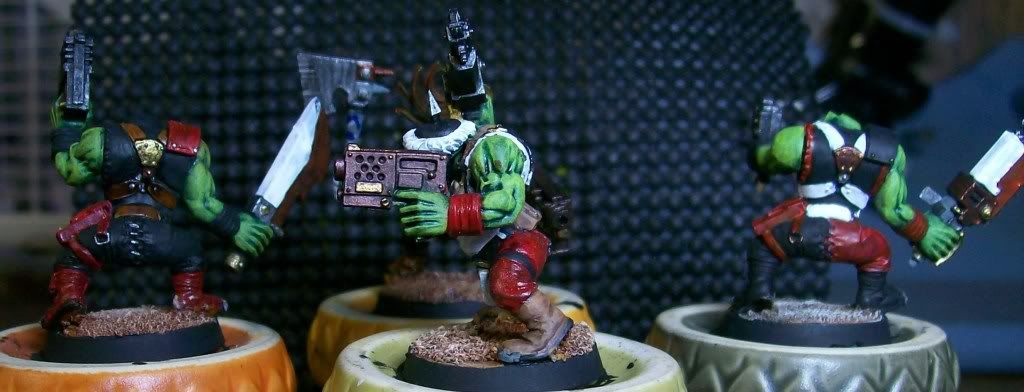
lookie:
 Finally.... Dags and Checks
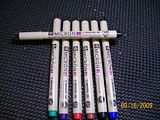
I use these awsome markers I got off Flea-bay for @ $9.00. The 005 cost me about $2.00 at Michaels; its the one I use for Infantry stuff.
 Checks:
First draw your horizontal lines, then your vertical, trying to keep as straight as possible.
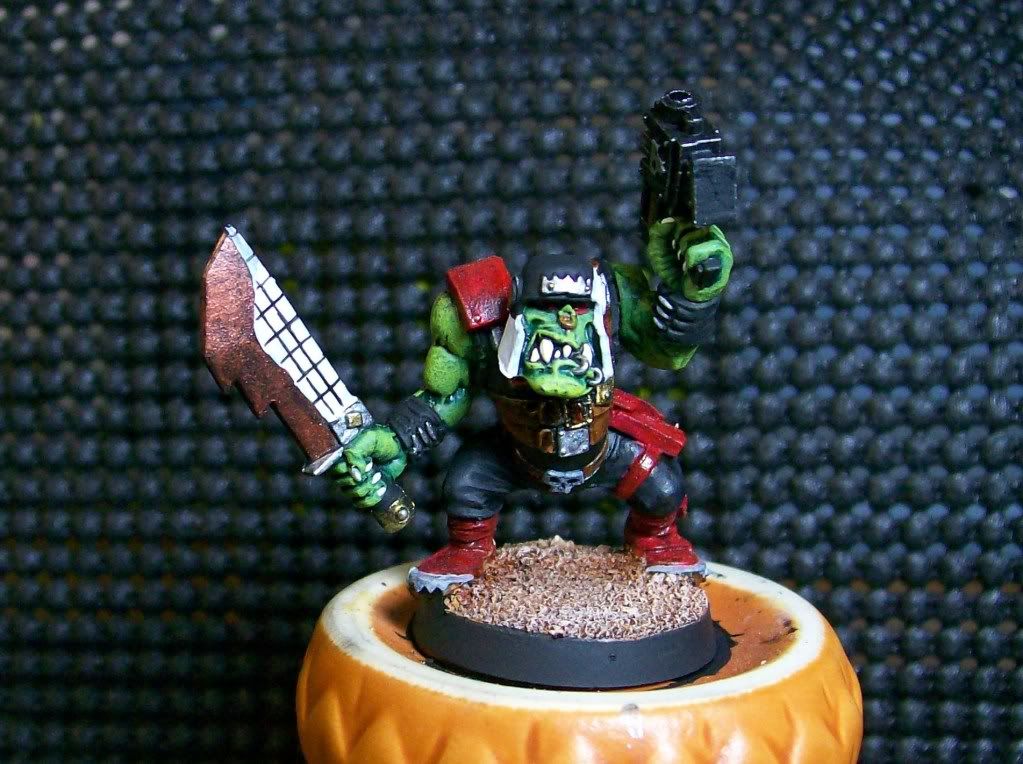
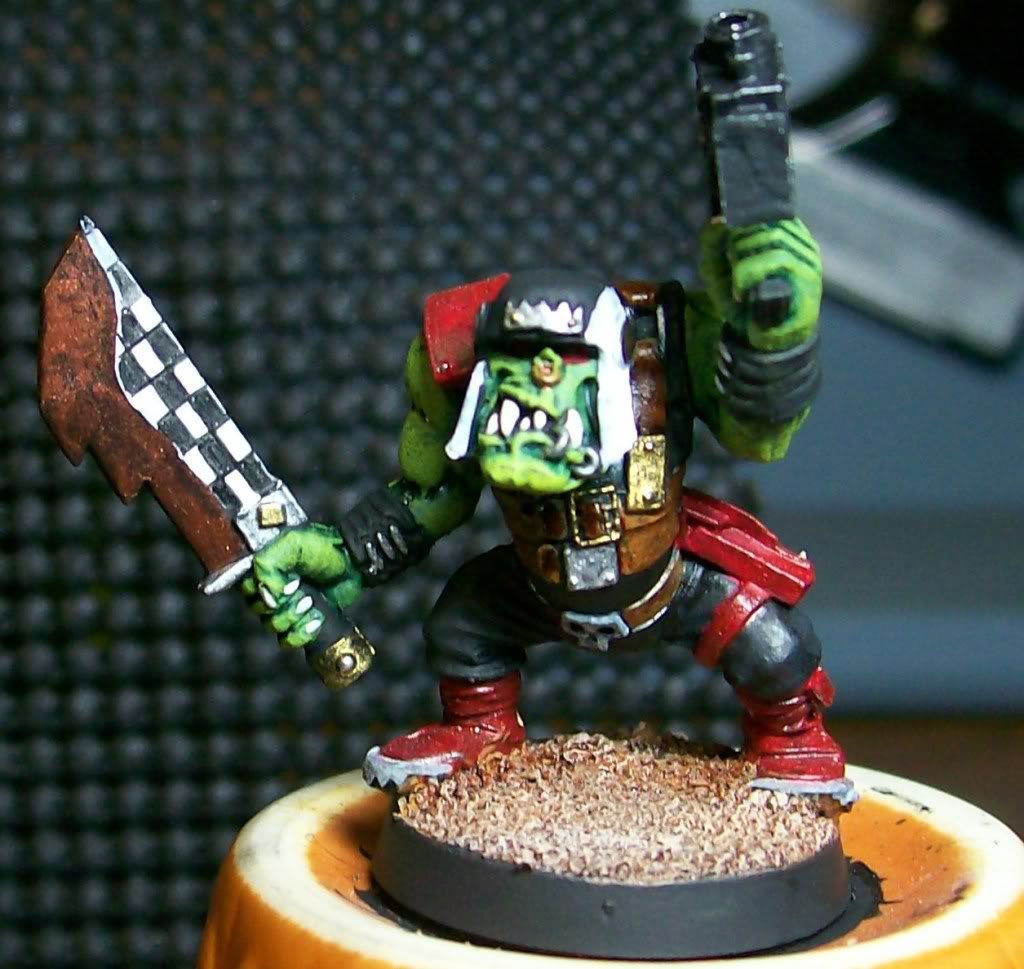
Next, Find the line you screwed up the most (expect it to happen, cause it will!) and fill that block in. Continue filling in checkerboard fashion, remembering to carry the pattern over angles and around corners.
 Dags:
Dags:
I find these easier to do. Start with some @60 degree lines equally spaced.....
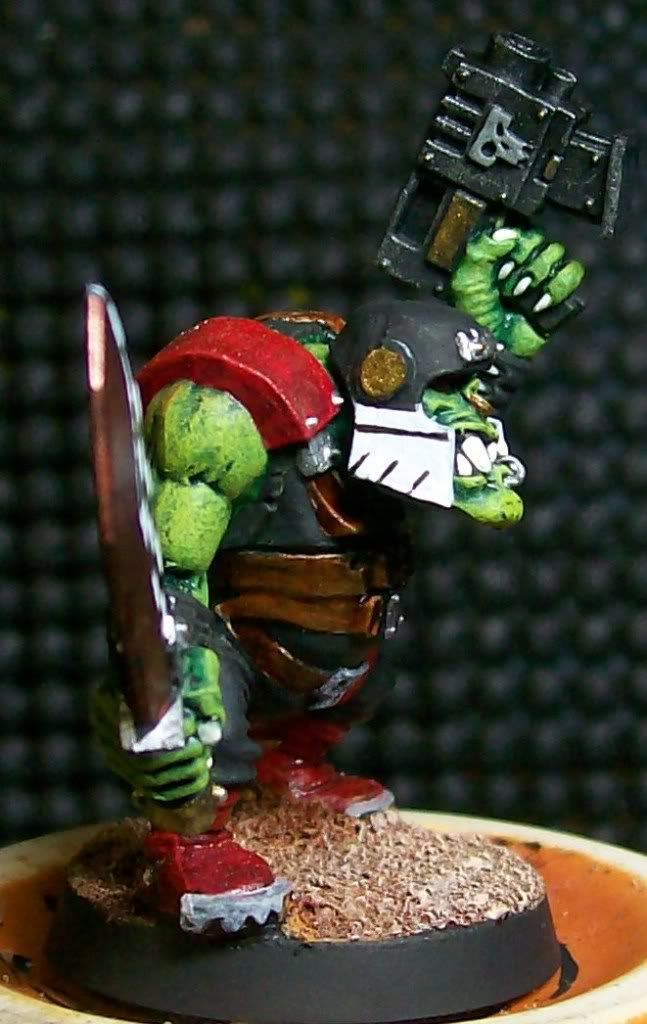
Then, match them with 60 degree lines the opposite direction.... like so...
/ / / then /\ /\ /\
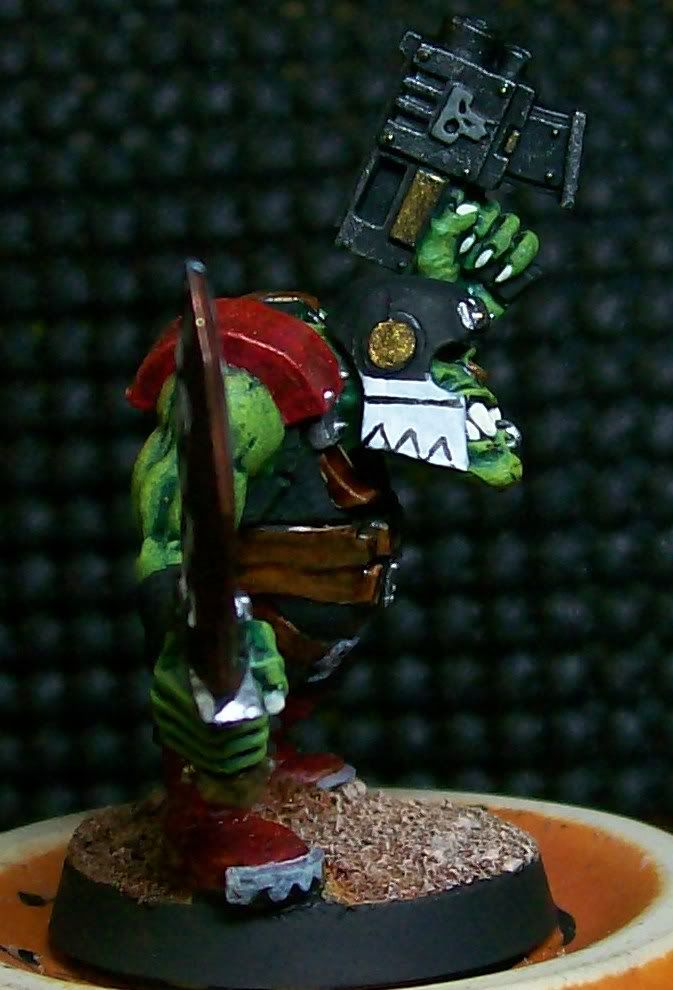
Now fillem in!!!!
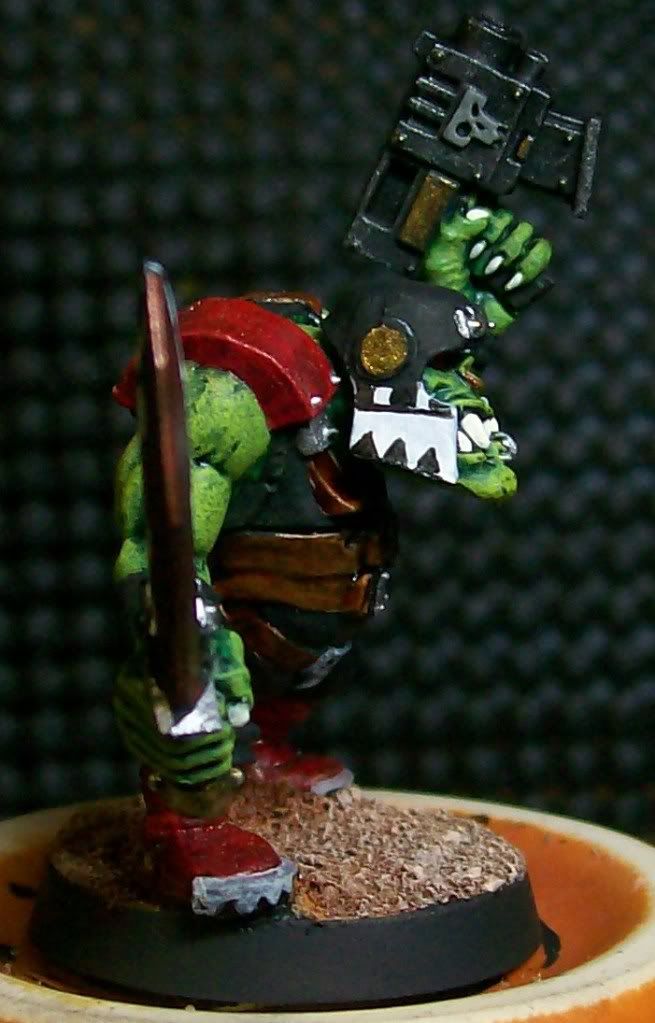
Heres some pics to give you some Ideas:
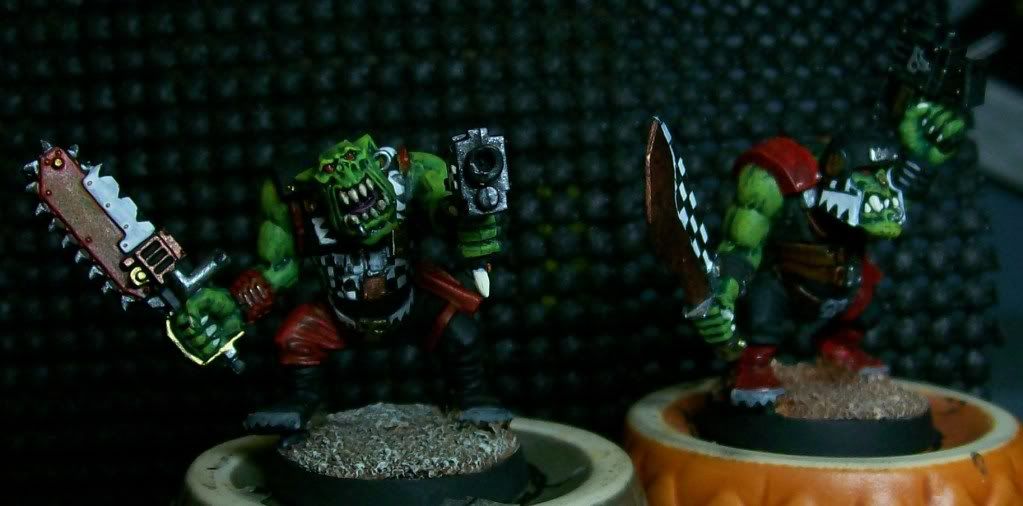
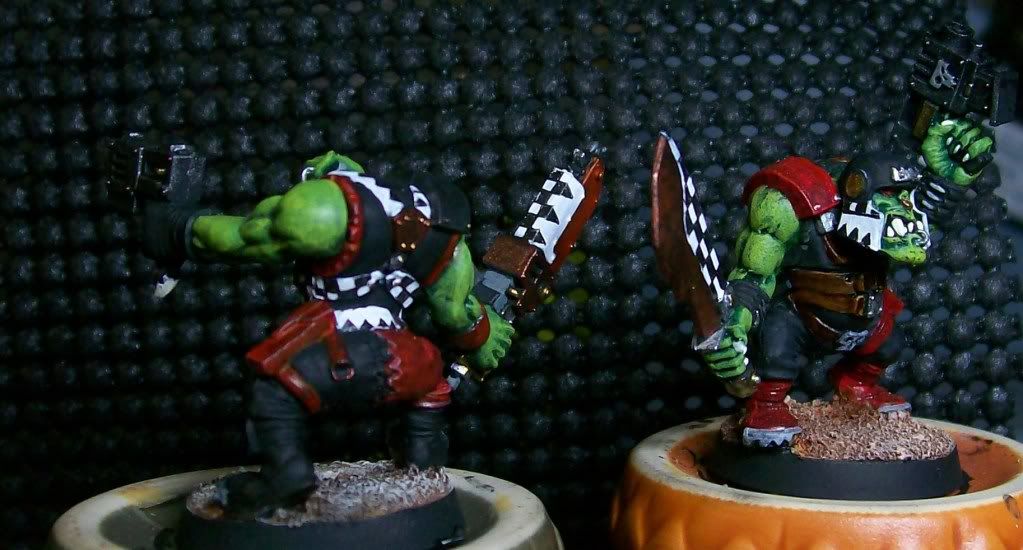 Next: Washes and final touches!!!
this is the simplest part! I used LBursleys black wash on the metals (
GW's or any other suppliers will do almost as well) and his flesh wash on teeth, claws, and white material (including checks and dags).
Here's the result!!
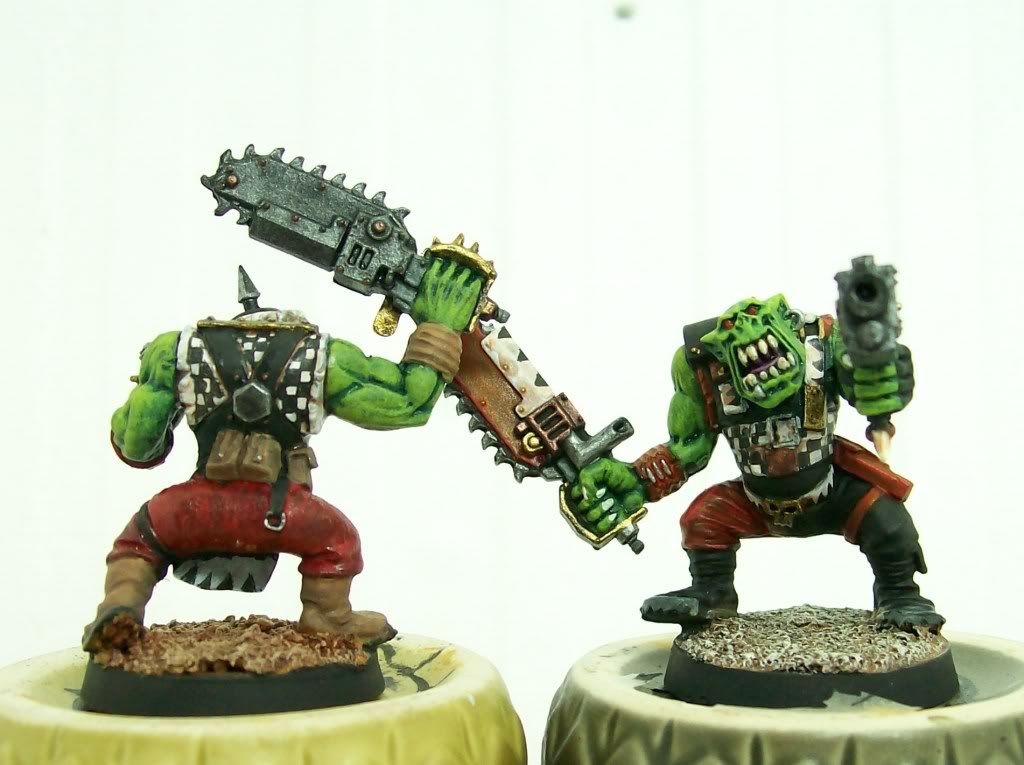
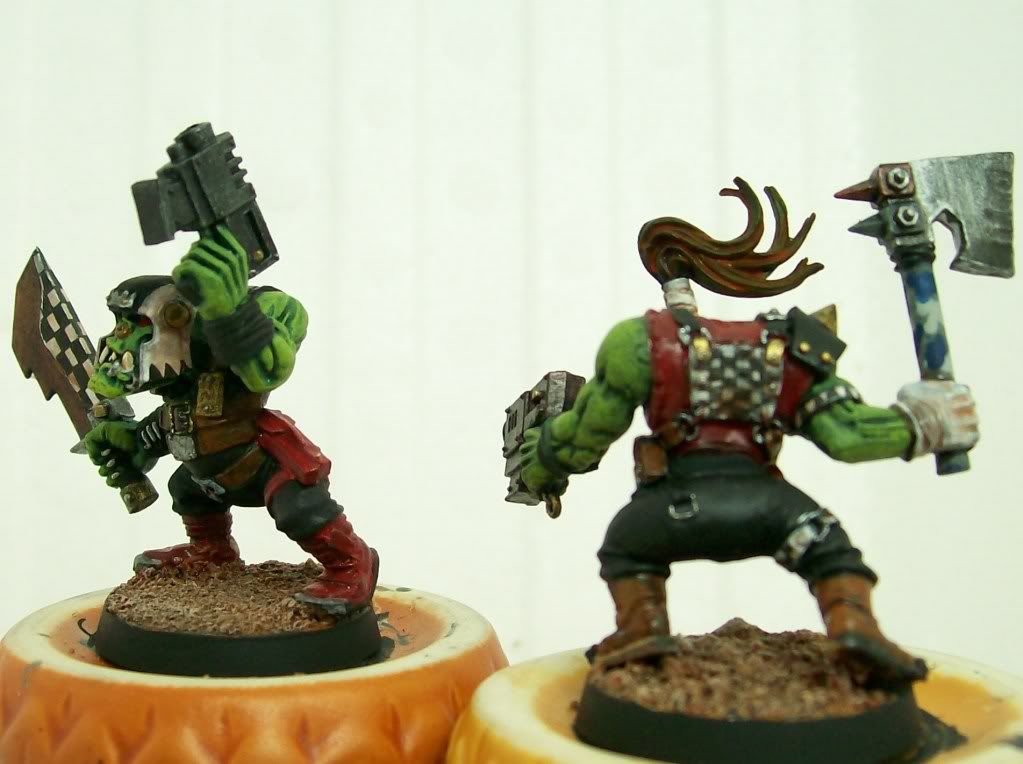
Now Ill do two coats of gloss and a coat of dull, then Robert's your mothers brother!
Thanks for hangin around to see this thru!!
Thanks to LBursley for the great sample paints! When I run out, I'm DEFINATLY buying some!!!