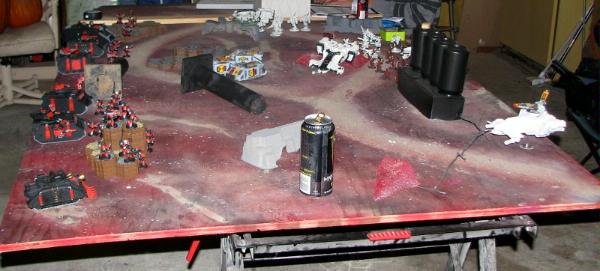
Mission: Annihilation
Deployment: Pitched Battle
2000 Points Tau vs Emperor’s Orphan’s Space Marines.
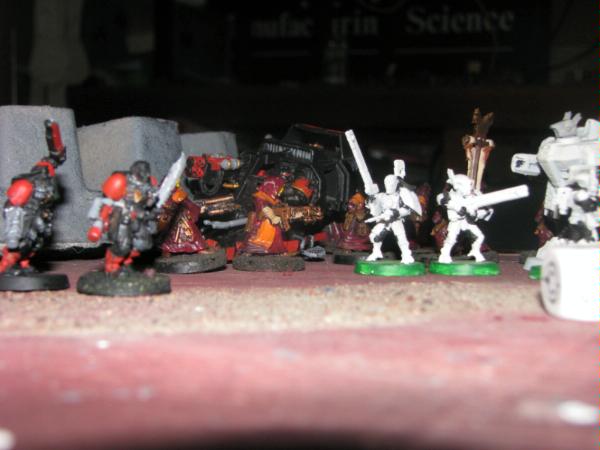
Both of these armies are actually my opponents'. Because I was running the Tau a bit differently than he does normally, I had to rep a few things with odd minis that I had from my armies.
Tau
**
HQ**
Commander MissilePod/ PlasmaRifle/ MultiTrack
**Elite**
Crisis(2) MissilePod/ PlasmaRifle/ MultiTrack – Crisis1
Crisis(2) MissilePod/ PlasmaRifle/ MultiTrack – Crisis2
**Troops**
Fire Warriors (6) – FW1
Upgrade with Marker Light
Fire Warriors (6) – FW2
Upgrade with Marker Light
Kroot (10) with Kroot Hounds (5) – Kroot1 (Rep'd by Redemptionists, guys with Eviscerators are Kroot Hounds)
Kroot (10) – Kroot2 (Rep'd by Redemptionists)
**
FA**
PF Team (7) – PF1
2 Rail Rifles
HW Target Lock on Squad Leader
Devilfish Smart Missile/Disp Pods/Targeting Array/MultiTracker - PFDF1
PF Team (7) – PF2
2 Rail Rifles
HW Target Lock on Squad Leader
Devilfish Smart Missile/Disp Pods/Targeting Array/MultiTracker - PFDF2
Piranha Squadron (Represented by Space Wolf Rhinos)
Fusion Blasters x3, Dispersion Pods x3, Target Lock x2, Targeting Array x3, Flechette Dispensers x1
**Heavy**
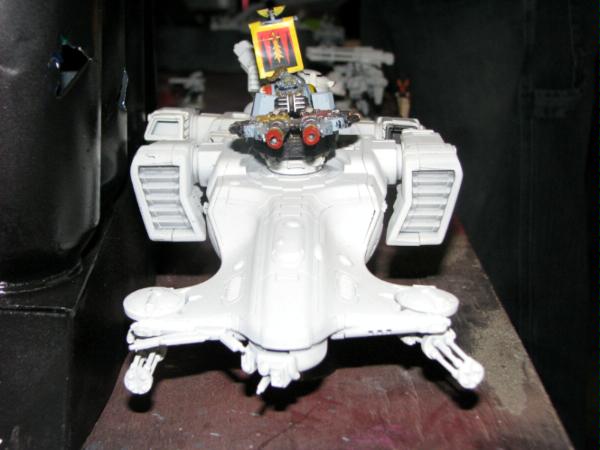
HammerHead – HH1 (Represented by Ion C
HH)
Railgun, Burst Cannons, Disp Pods, Multi Tracker
HammerHead – HH2 (Rep’d by Awesome Space Wolf
HH)
Railgun, Burst Cannons, Disp Pods, Multi Tracker
 BS
BS Team(3)
ABS x3,
HW Target Lock and Squad Leader
Emperor’s Orphans
**
HQ**
Chaplain with
JP
**Troops**
4
Tac Squads (10), TAC1, TAC2, TAC3, TAC4
Missile Launcher, Flamer
Razorbacks with Las/
TL Plasma RB1, RB2, RB3, RB4
Scout Squad (5)
**
FA**
Land Speeder Storm
**Heavy**
Land Raider
Predator Annihilator (
TL Lasc, Sponson
LC)
Vindicator
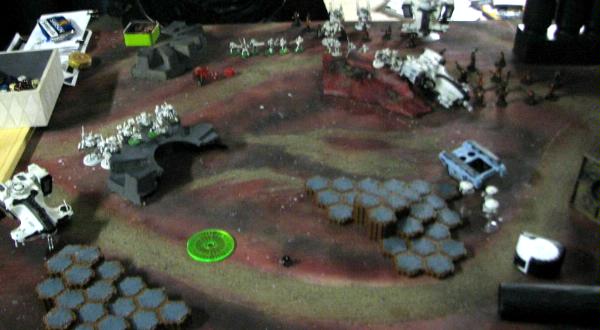
Deployment
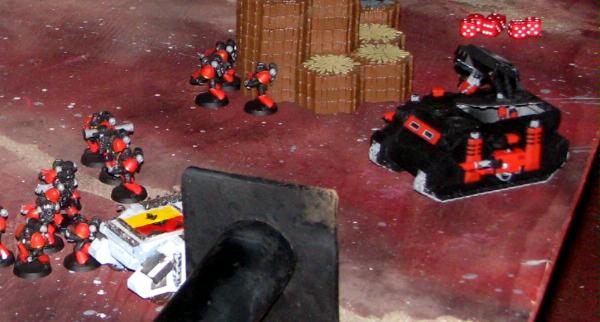
Orphans roll for and get first turn. They deploy in a spread gun line across the board with Vindicator and Annihilator covering the left flank ,
LR on the right.
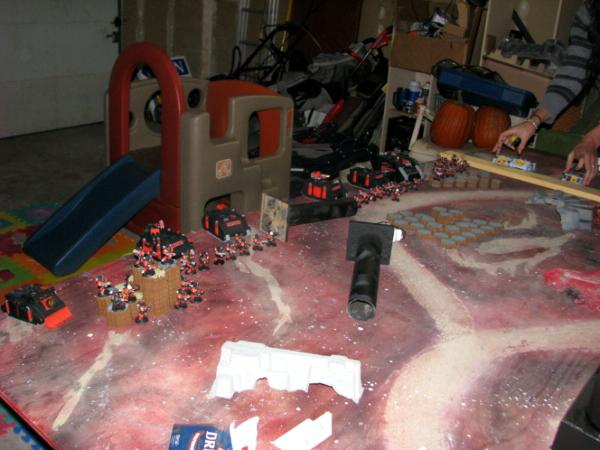
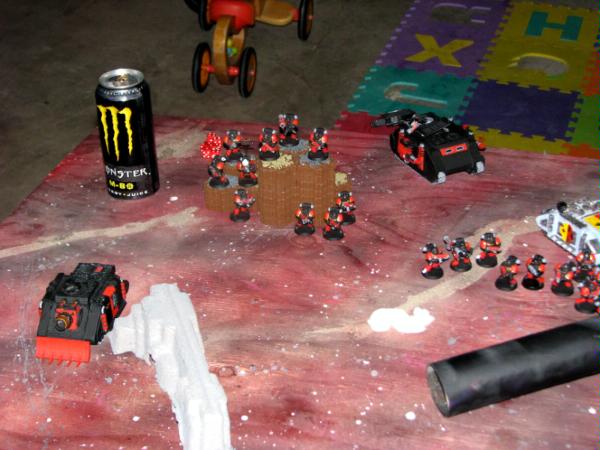
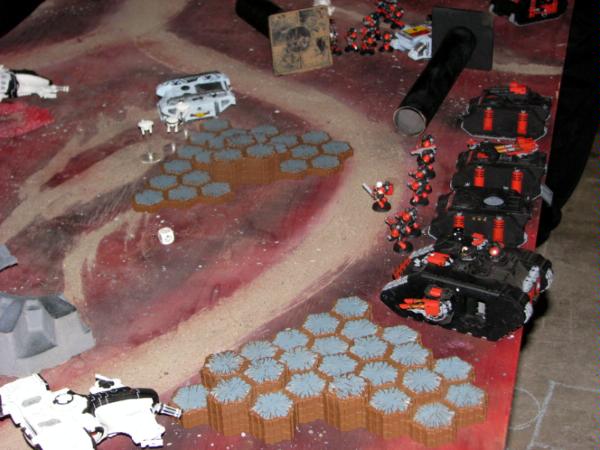
Tau deploy hard on Right flank. Crisis behind terrain with Commander attaching to Crisis1. Fire Warriors and Broadsides behind bubble wrap kroot. I spread out the large kroot squad to maximum coherency to discourage deepstrike. Hammerheads deploy behind my only true
LOS blocking cover on the left flank.
Pathfinder Devilfish scout forward to terrain and deploy
PF units. PFDF1 immobilizes itself on landing. . PFDF2 tries to hide behind terrain after deploying.
Tau seize the initiative!
Tau Turn 1
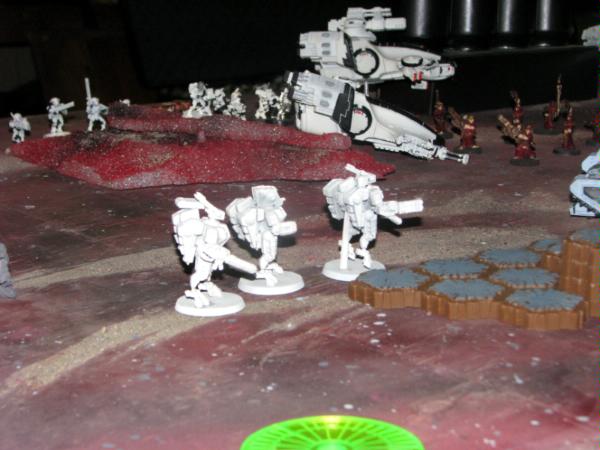
Crisis Suits advance on the Right Flank behind the cover of the devilfish to get into position. No shots available. They use their assault move to hide.
Piranhas shoot forward to the center of the board.
PF1 (Center Board) lights up the squad in front of the land raider with Markerlights. Squad leader puts
ML on the Land Raider. Kills one
Tac and even with Markerlight negatives, fails to Pin.
PF2 (Right Flank) lights up the squad on terrain with much the same effect. 2 down from Rail, no Pin.
Broadsides and HH2 (center board) fire into the Land Raider with Markerlight support (from PF2 and both FW1 and FW2) and stun it (extra armor though).
HH1 fires into Annihilator and does nothing.
 Orphans Turn 1
Vindicator moves up left flank and pops smoke.
Center RB3 moves 12” to support Right Flank.
TAC2 on left flank moves forward and runs.
LR shoots at PFDF2 with Machine Spirit. Hits, but does not get through the armor.
RB1 and RB2 fire Lascannons into Piranhas. Dispersion pods don’t save us. One is immobilized and one explodes. 4 Drones disembark.
RB3 at PFDF2. Lascannon misses due to Disp Pods.
Annihilator has no clear shots and fires at Drones, kills one. Drones fallback.
TAC3 into PF2, 2 fall from a combination of frag missile and bolter fire.
TAC4 Frag and Bolters into PF2. Frag scatters onto DF and misses. Bolters wound, but the Tau armor hold!
TAC1 Krak Missile into HH1, bounces off the front armor.
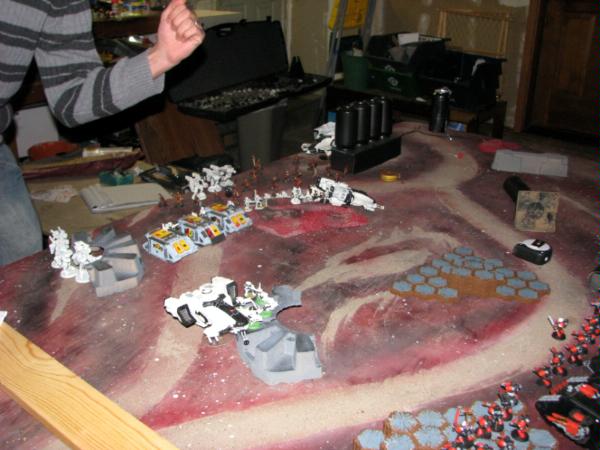
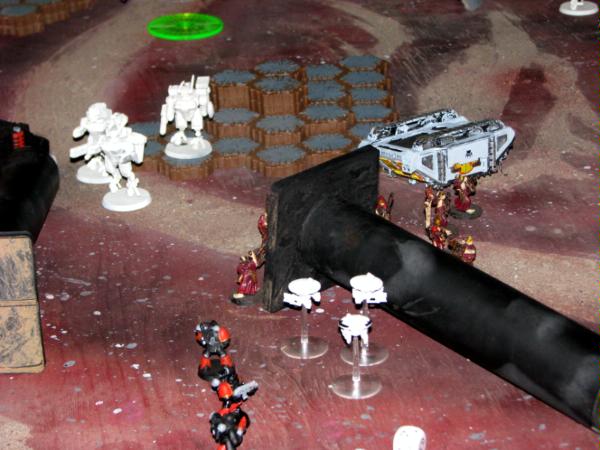
Tau Turn 2
Surviving Pirahna shoots up next to the Annihilator (Behind TAC2)
Drones regroup and move back forward!
PF2 drops Shas’ui
ML into Land Raider. Squad drops
ML and Rail Rifles into TAC4. Killing one, no Pin.
PF1 drops
ML and Rail into TAC3, killing one, no pin. Shas’ui
ML into TAC4.
FW1 and FW2 drop Markerlights into squads and miss.
Both Crisis teams move forward and rain fire into TAC4 using Markerlights to increase
BS. TAC4 is wiped out in a hail of Plasma and Missiles.
Broadsides (using Markerlights) and a HH2 stunned the land raider again.
Smart Missiles from PFDF1 fire over terrain to TAC2 and kill 2 marines.
HH1 stuns the Annihilator (EA)
Last Pirahna blows up the Annihilator with a good fusion shot (just within 6”)
Orphans Turn 2
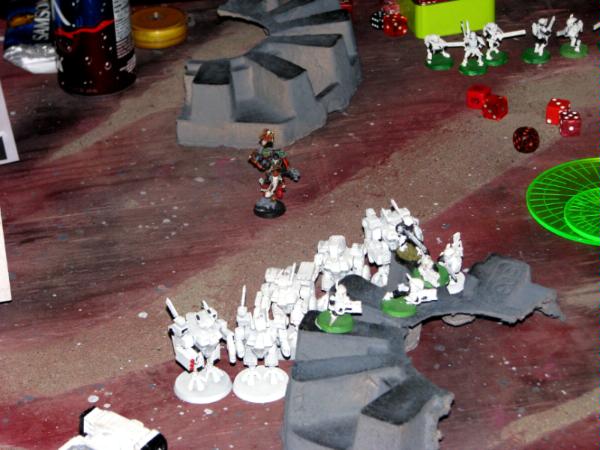
Chaplain comes in from reserve. Poor guy tries to jump behind on my back right corner. Scatters badly and lands about 4 inches from my mass of crisis suits.
Vindicator moves up on
HH side.
RB1 into PFDF1 fails to penetrate.
RB2 into PFDF1, obscured.
RB3/RB4 into DFPF1, obscured. Plasma hits but does nothing.
[Orphans Stand Vigilant]
Land Raider (Machine Spirit) into PFDF2, misses.
Vindicator into
HH, hit. Rolls a 1 for penetration. Doh!
Chaplain fires his Bolt Pistol defiantly at suits. Misses.

TAC1 into Pirahna, krak misses. Bolters, 2 glances. Shaken twice.
TAC2 into HH1, Krak hits and is obscured.
TAC3 into PF2, frag scatters, but hits two. No wounds. Bolters do more damage killing 2 (rail and
ML)
Tau Turn 3
Kroot1 moves forward now that the chaplain’s down and head for the left flank. (I forgot he still had scouts to drop).
Markerlights from FW1 and FW2 on LandRaider miss
FW1 and FW2 Rapid Fire into Chaplain, bringing him down in a hail of pulse fire.
PF1 and PF2 Markerlight up TAC3, Rail Rifles all miss. PF1 and PF2
TL’s drop Markers into Land Raider (1 hits).
PFDF2 fires
SMS into TAC3, but fails to kill anyone.
Both Crisis Teams use
ML's to improve to
BS and gun down TAC3,
PFDF1 fires
SMS into TAC2 and kills one.
HH2 fails to penetrate the Land Raider.
Broadsides use the Markerlights and take down the Land Raider with a Pen 6!
HH1 fires submunition into TAC1 on far left, 3 fail saves.
Drones drop shots into TAC2 and pin them!
Suits jump back behind cover
OrphansTurn 3
Scouts come in from reserves and drop in my back right next to the Fire Warriors.
Miserable dice only bring down one Fire Warrior.
Land Speeder fires into PF2 and brings down 3.
Vindicator kills 4 in Kroot 1 and they run back for my table edge.
Krak from TAC1 is obscured and misses HH1.
RB3 into PFDF2. Penetrates and shakes.
RB2 into PFDF1, obscured by Disp Pods.
RB4 into PF2 and wipes out the last 2.
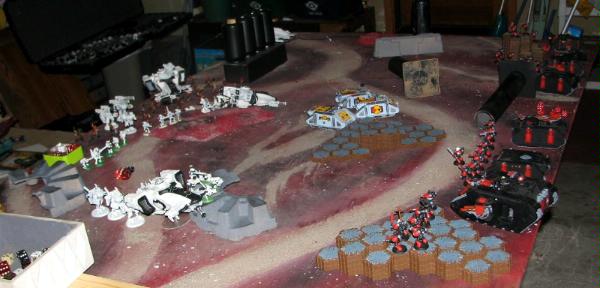
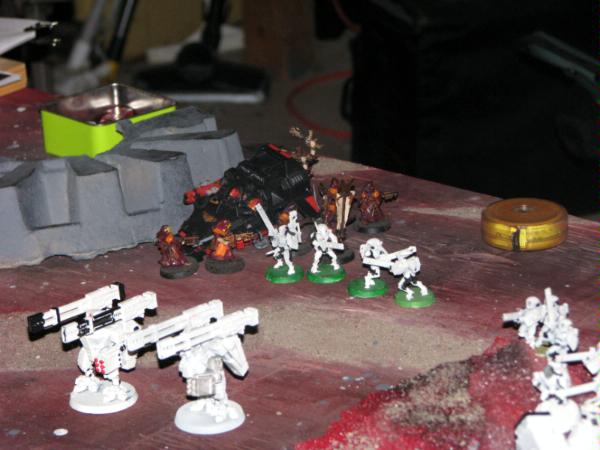
Tau Turn 4
Both Crisis jump up
PFDF1 runs back and hides
Broadsides shift right
Kroot1 regroup and run forward again
Kroot2 begin moving towards Land Speeder and scouts.
Pirahna shoots forward to the side of the Vindicator. Fires Fusion and blows it up.
Drone into the TAC2, 2 dead. Pass pinning check.
SMS from PFDF1 into TAC2 causes no wounds.
Crisis1 into RB4, immobilizing it.
Broadside Shas’ui into Speeder, Immobilizing it.
Broadsides into RB3, doing nothing.
FW1 and FW2 rapid fire into Scouts, they break and run out of assault range.
HH1 and HH2 fire submunition into TAC1. They lose 4 and break.
Kroot 2 assault and do nothing to immobilized speeder
Crisis 1 and 2 move laterally towards his left flank.
Orphans Turn 4
Scouts run due to 6" rule and do not regroup.
TAC1 runs due to 6" rule (Pirahna).
RB3 moves up.
RB2 fires into PFDF1 and stuns it.
TAC2 unloads into Pirahna, krak misses. Bolters do nothing.
RB3 rapid fires
Plas and fires Las into Crisis 2, wiping them out.
Running scouts fire back into FW2, but do no wounds.
Speeder shoots FW2, killing one.
Kroot continue the assault Speeder and stun it twice.
Tau Turn 5
PFDF2 shoots forward
PF1 lights up the RB3, misses with Rail, but 3 Markers hit.
Crisis1 advance and pop RB3 with Marker support.
Pirahna shoots up and destroys RB1.
Submunition from HH1 scatters and kills 2 of TAC2, they break
HH2 blows gun off another RB2
Kroot continue the assault. They stun the crap out of the
LS (6 glances and 6 stuns)
FW2 blows away scout as he runs.
SMS from PFDF1 kills the last scout.
Orphans Turn 5
TAC1 squad regroups (I forgot to keep escorting them)
TAC1 Fires into Pirahna, gun drones destroyed.
TAC2 fires into Pirahna, Krak misses.
Kroot continue assaulting the
LS and stun it 2 more times.
Turn 6 rolis rolled for and comes.
Tau Turn 6
Kroot2 advance. Crisis move up on TAC2.

Both HH1 and HH2 move forward 6. Broadsides sidle forward as well.
Broadsides blew up one RB2
PFDF1 blew up other RB1 with Smart Missiles.
Crisis1 killed 3 in TAC2, they run.
HH1 used a Railgun shot on the last member of TAC2, turning him into Red Space Mist.
Pirahna fires at TAC1, shooting one dead with Fusion Blaster.
HH2 drop submunition into TAC1, killing 2. They run off the board.
FW1 and FW2 shoot the land speeder and stun it yet again.
Kroot1 attack and stun the
LS even more!
 Orphan Turn 6
Kroot pull a weapon off the land speeder but fail to destroy it!
Game Ends
Final Tally:
KP – 12 vs 2 - A win for the greater good!
4
Tac Squads
Chaplain
Land Raider
4 Razorbacks
Vindicator
Annihilator Pred
PF1
Crisis 2
Gunline versus gunline is always tough. We realized after the game started that the Orphans were using an old list and didn't have a lot of the refinements that he had added over time. (Prompting a rematch to be played at a later date.)
I loved Markerlights and will probably keep all of the ones in that I have (even the expensive FireWar ones), although I may end up dropping some rail rifles. They killed some marines, but I don't know that having more Markers wouldn't have done the same.
The great thing they do is allow me to truly pour fire into one unit and vaporize it. That was key to folding the line for me.
That and a lot of his long range shooting was just neutralized by poor dice and disruption pods.
We'll try to take pics for the rematch to show you how it goes.