This is my very first battle report. Me and my friends are looking to get some documentation of our battles to learn from our mistakes and make better decisions. We are doing a simple
40k in 40 mins rules. Hope you enjoy there will be many more to come.
PS Apologize for unpainted models we are both working to get them up to par.
500 Pts - 5th Edition Roster - Cadian Mobile Infantry Scouting Party
HQ: Company Command Squad (5#, 80 pts)
4 Company Command Squad @ 80 pts
1 Company Commander
Elite: Prisoner 13055 (1#, 65 pts)
1 Guardsmen Marbo @ 65 pts
Troops: Infantry Platoon (47#, 350 pts)
1 Infantry Platoon @ 350 pts
4 Platoon Command Squad Vox Caster; Flamer x3)
1 Platoon Commander
9 Infantry Squad Flamer x1
1 Commissar
1 Sergeant
9 Infantry Squad Flamer x1
1 Sergeant
9 Infantry Squad Vox Caster; Flamer x1
1 Commissar
1 Sergeant
9 Infantry Squad Flamer x1
1 Sergeant
Total Roster Cost: 495
V.S.
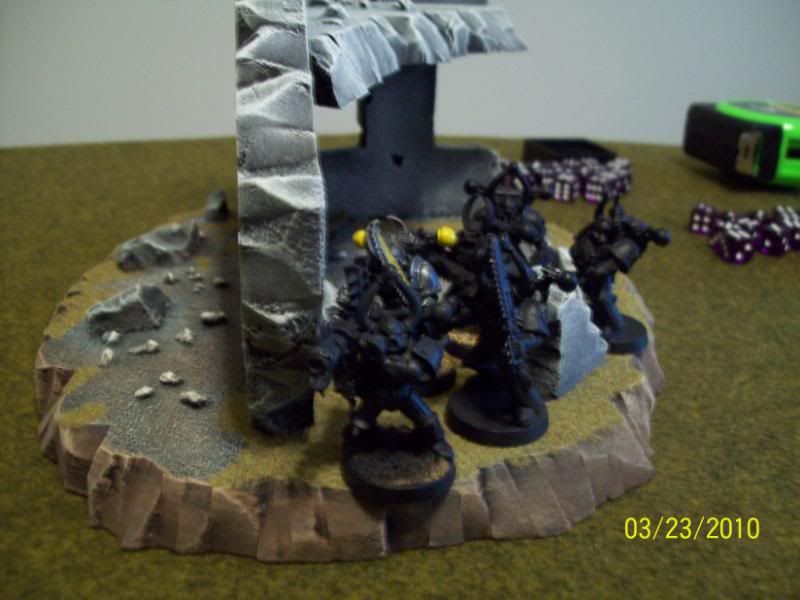
500 Pts - Chaos Marines Roster - Scattered Chaos Warband
Troops: Chaos Space Marines (10#, 160 pts)
10 Chaos Space Marines @ 160 pts Missile Launcher
Troops: Khorne Berzerkers (8#, 183 pts)
7 Khorne Berzerkers
1 Skull Champion
Heavy Support: Havocs (5#, 155 pts)
5 Havocs @ 155 pts Autocannon x4
Total Roster Cost: 498
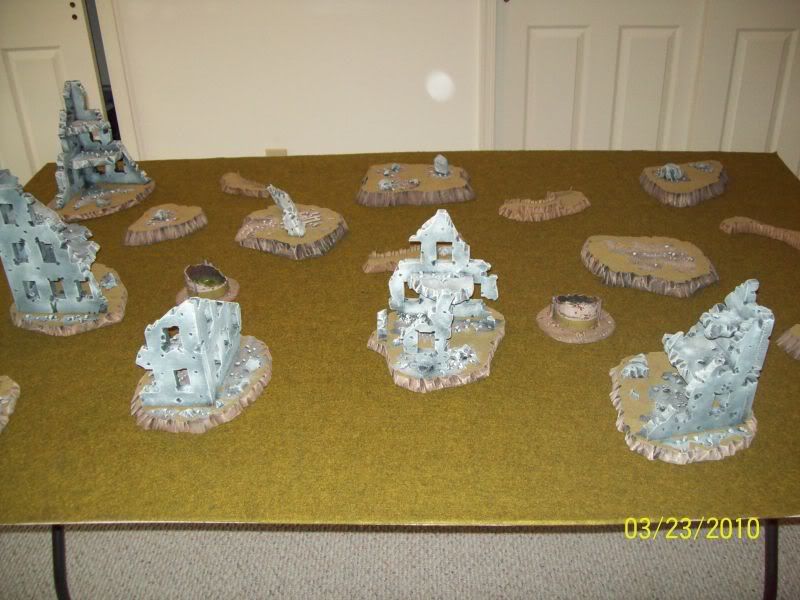
Kill Points Mission
Dawn of War
Chaos wins choice to go first, does so
Turn 1:


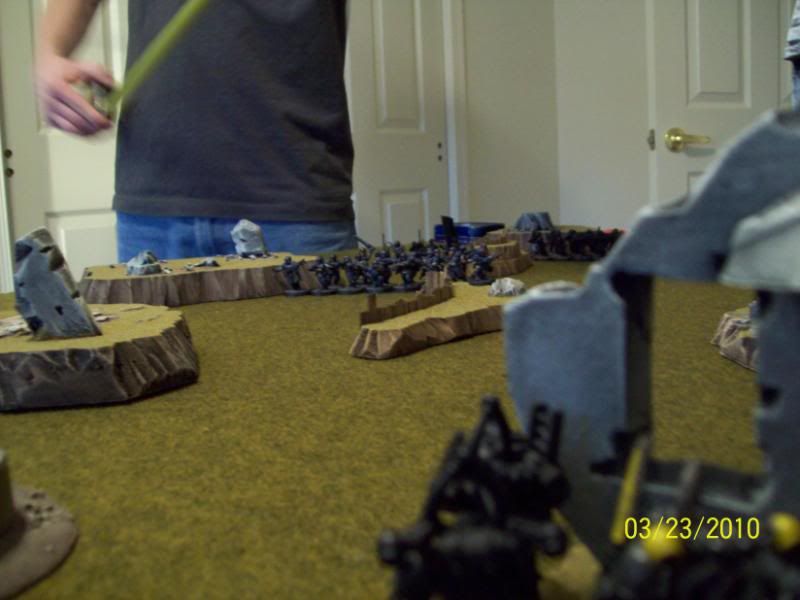
Deployment
Chaos Turn 1

Havocs walk on board. (2 lascannons represent autocannons.)

Marines Move toward the command squad

Everything else walks then runs toward the guard line. Bezerkers rolled a 6 on there run roll! (“Blood will be spilled!”).
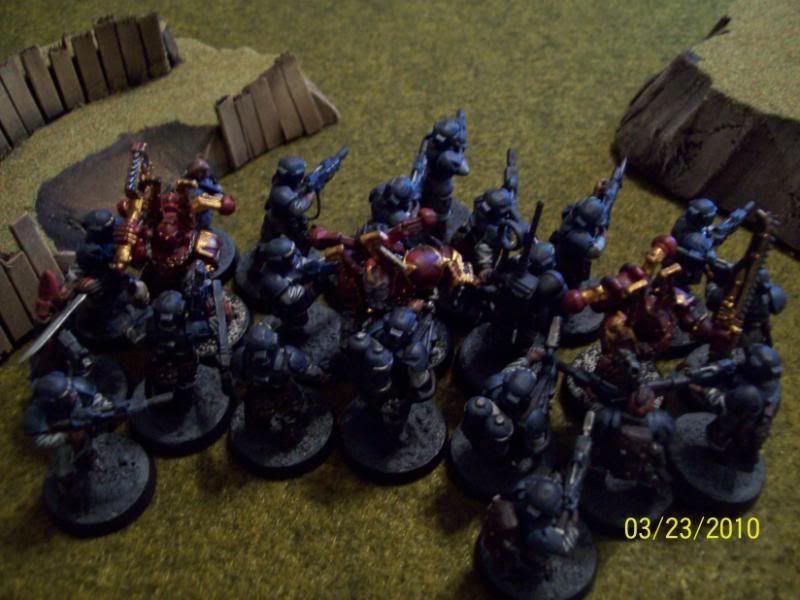
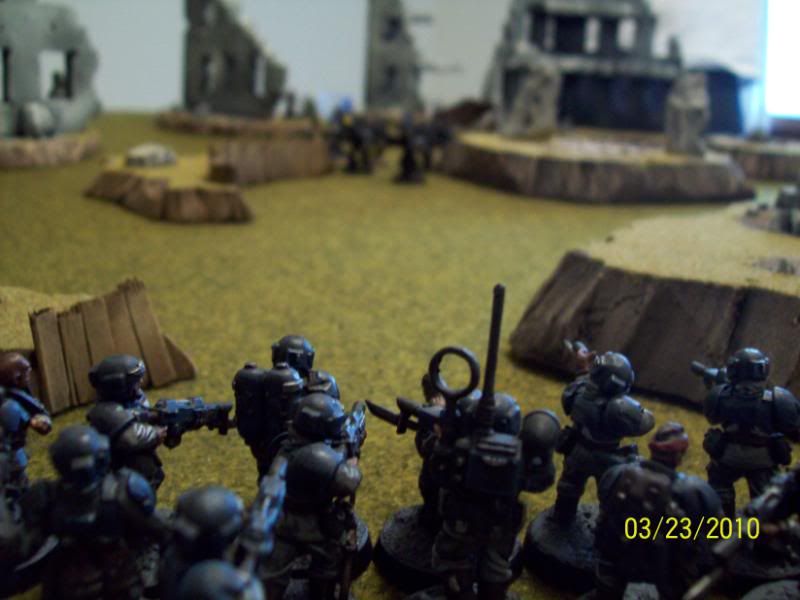
Imperial Guard Turn 1
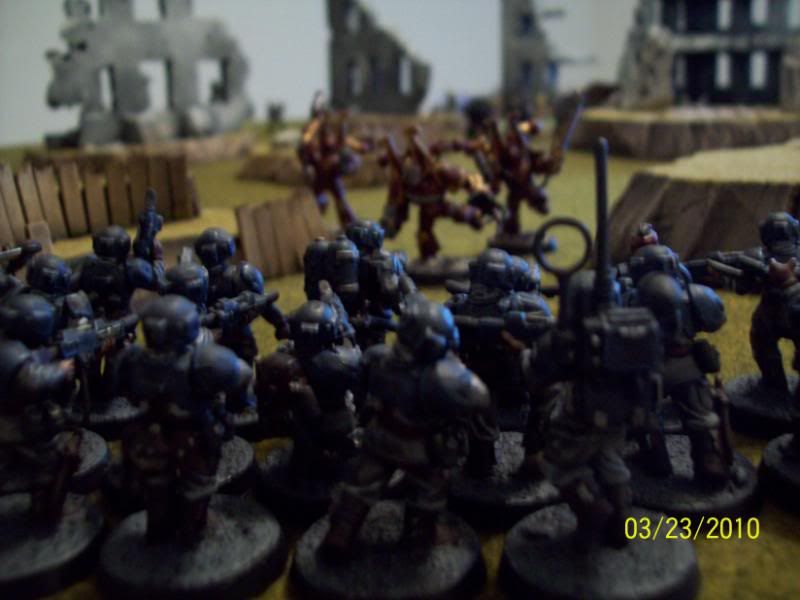
Platoon command with 4 flamers walk on the board closest to the bezerkers. Command squad walks on board behind the guard line (“How Brave!”). None of the bezerkers are within rapid fire First rank fire second rank fire goes off for one squad but the second squad fails twice with a leadership 9 (Crummy Commissar). The guardsmen aim and the bezerkers, pull on their triggers and… squad with
FRFSRF get 1 wound with one kill, other squad wounds 5 time, but the bezerker’s ancient armor holds up. Move move move order failed on platoon command squad
Chaos Turn 2

The havocs have a clear line of sight toward the platoon command squad and annihilate 4 flamers. The platoon commander bravely passes his leadership.

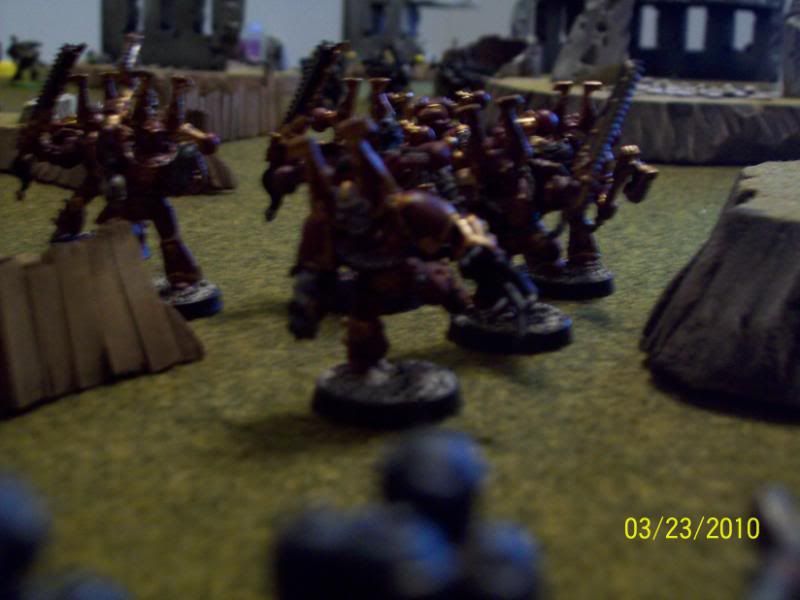
Regular marines move forward. After much deliberation, the bezerkers decide to run forward to the guard line. Then run roll with the bezerkers comes up as 6 a second time! (“Blood For The Blood God!!!!”)
Imperial Guard Turn 2
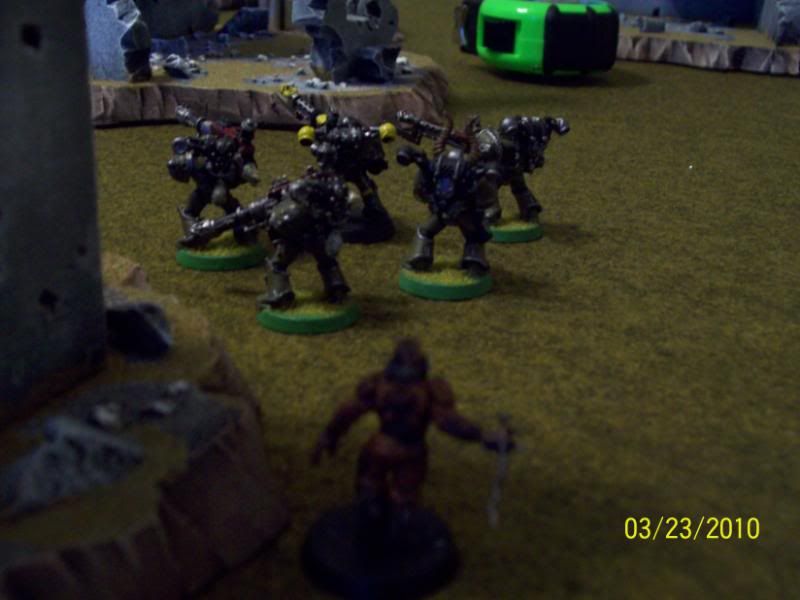
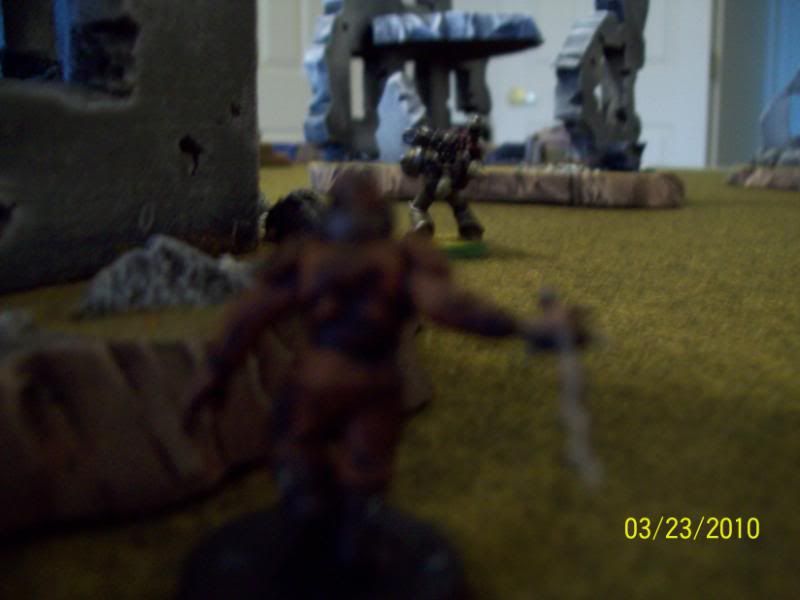
Prisoner 13055 makes his appearance to the back left of the havocs (poor havocs.). The Guardline stays still.
The first guard squad see the bezerkers getting dangerously close, so they decide to
FRFSRF this time and get… 15 WOUNDS! 3 dead bezerkers and the champion survives! The second squad sees the bezerkers survive the ridiculous about of flashlights fire that were being fired, so they contribute with their own amount of flashlights and fire with
FRFSRF, but the first volley slightly blinded the men and only 3 wounds make it through.
Prisoner 13055 grabs his demo charge… he cocks his hand back… he throws the charge and 3 havocs survive the blast. Havocs get a bit shaky and flee the field (they fail leadership 9).
Chaos Turn 3
The surviving 3 beserkers and champ move up to charging distance. Regular marines move up. 1 guardsmen dies from bezerker shooting. Regular marines are still a ways away. The bezerkers charge, and the guard surround the marines.
Bezerkers get 8 wounds on the guardsmen and… guardsmen make 7 out of 8 saves.

Guardsmen fight back a get 5 wounds. Kills the champ but the remaining bezerkers survive. Guardsmen pass the leadership.
Imperial Guard Turn 3
.
Prisoner 13055 decides to give the regular marines a warning shot.
Bezerkers fight on and get 3 wounds, but the guardsmen’s super flak armor saves 2 of them. Guardsmen fight back and kill the remaining bezerkers.
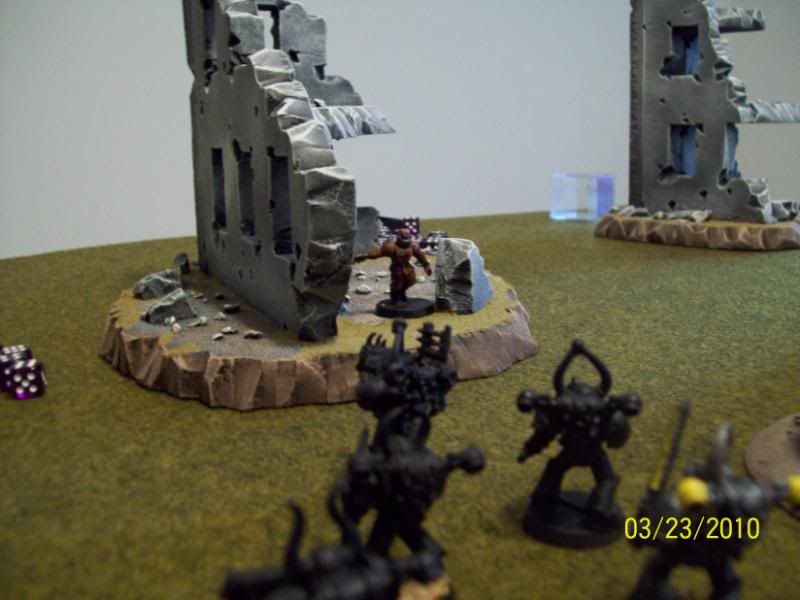
Chaos Turn 4
Regular marines turn around and fire at prisoner 13055, dealing 1 wound. Regular marines charge the convict. The sneaky prisoner kills one marine. In return, the marines hack the poor little man up.
Imperial Guard Turn 4
Everything runs forward with ‘Move Move Move’
Chaos Turn 5
The lone missile launcher has one shot at the lone platoon commander for the tie. The missile hits and wounds, but the crafty commander makes his 3+ cover save.
Victory For Imperial Guard!
I Was really hating myself for this battle. Made some sloppy choices with the zerks and didn't really use my regular marines for anything. I've gotta stop babying them. Other than that the
IG player played perfectly i've learned alot from this battle and hope to get better.
Thank You.


 2000pts Hive Fleet Gargant 20% painted
 2000 pts


