Greetings, it’s week 4 of our short campaign.
Here’s the previous games:
http://www.dakkadakka.com/dakkaforum/posts/list/294613.page Week 1
http://www.dakkadakka.com/dakkaforum/posts/list/295624.page Week 2
http://www.dakkadakka.com/dakkaforum/posts/list/297045.page Week 3
Here’s the stats, I’m Ryan C.
http://www.villagegamestowncrier.com/download.html
The Scenario. If you click on the picture it will come up clearer, I’ve been told.
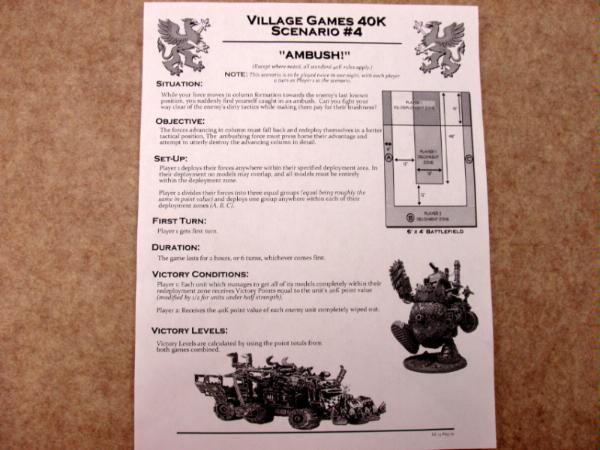
Reading the mission after the game I think I might have setup wrong. However just as we started the store owner who wrote the mission saw our deployment and didn’t mention anything. Except for the Lootas I don’t think anything would have been different. Apologies to Shawn if I did setup wrong. Every week is a new mission and we are all trying to figure them out. We are supposed to give feedback which most people do to improve things next time.
I thought it would be easier to just take a picture of my list and block out the points, which it was:
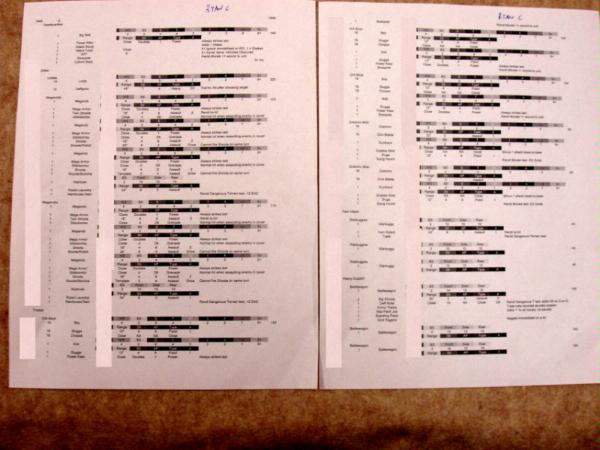
The unit total is on the far right.
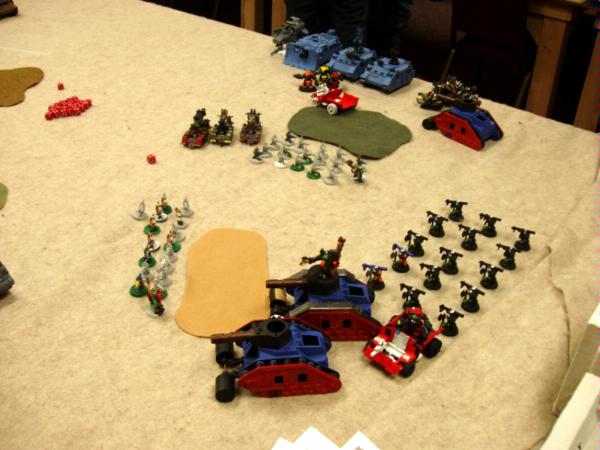
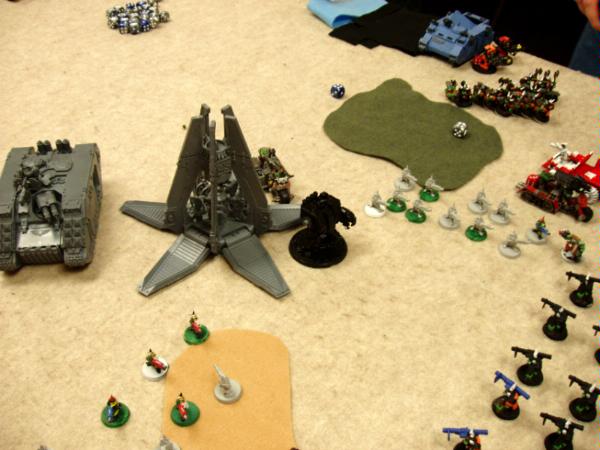
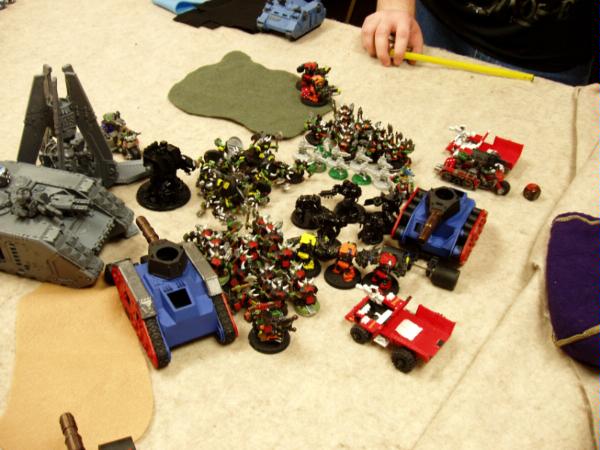
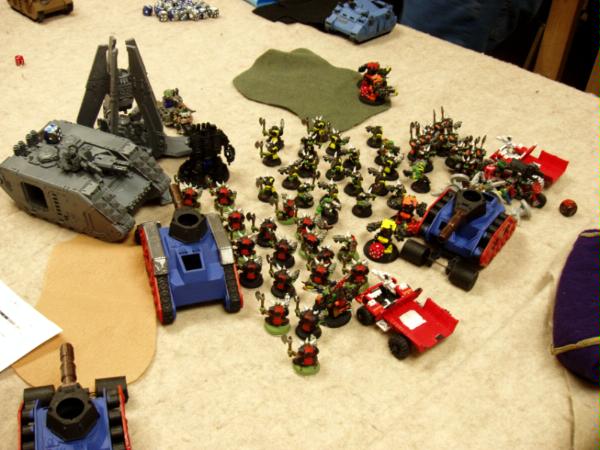
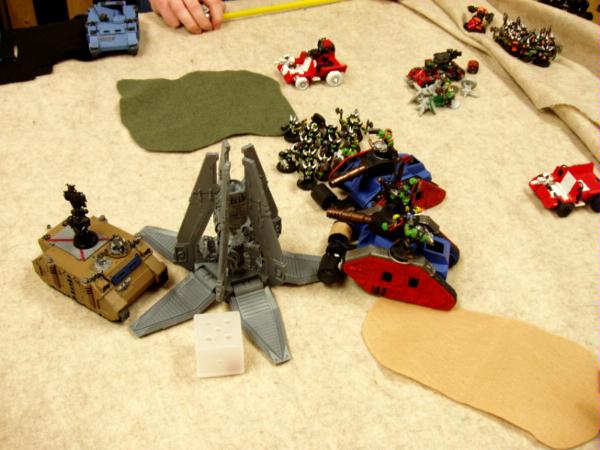
What I now question as the correct deployment in the next picture is whether I should have deployed everything 18” inches more to the left, the entire light grey area in the first pic. If so then the area of the “Player 1 Re-Deployment Zone” should have been all one color instead of 2 different colors, just dark grey for instance. I think it helped Shawn in that my BattleWagons were not able to Tank Shock his vehicles first turn since they were more than 13” away whereas if I had deployed all in the light grey area they obviously would have been in the range with only 12” separating them. Whatever lies I need to tell myself to sleep at night… Anywho standard setup with boyz in BW’s,
KFF Big Mek riding high in the middle flanked by Mega Nobz in Trukks with Lootas at the far right/rear of the deployment area. Grots up front ready to die for the Cause. Which Cause? Just ‘cause.
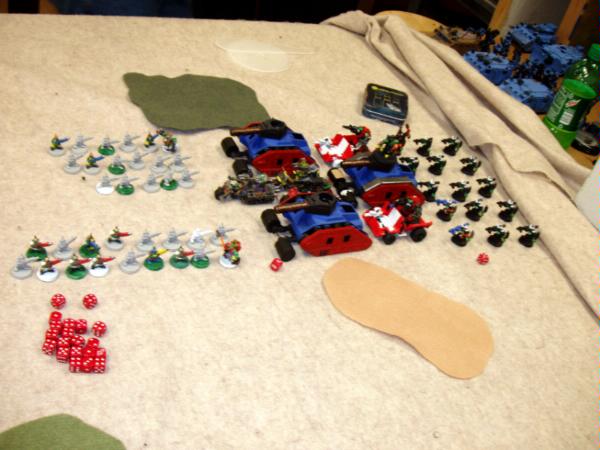
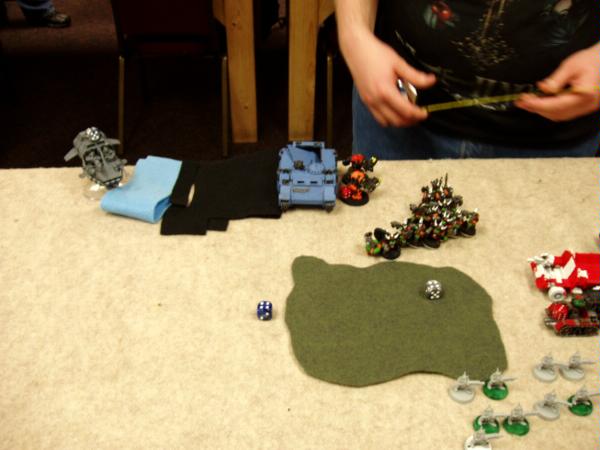
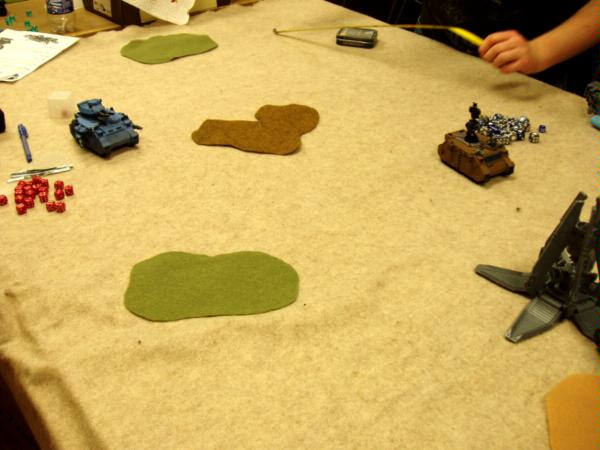
Shawn is playing Space Wolves. He has a Land Raider Redeemer (with cloaked Flamestorm cannon sponsons) with The Leader and some Termiess deployed all the way forwards on the bottom edge. (Had I deployed my BW’s 18” from the right table edge the DeffRollas would certainly have hit his vehicles.) At the top of the pick are 2 Rhino’s with 10 Wolves with 2 Meltas each, next a Vindicator, and then a Speeder. A third Rhino with troops is in the back along with a Las Predator. He also has 2 Drednoughts in Pods in reserves.
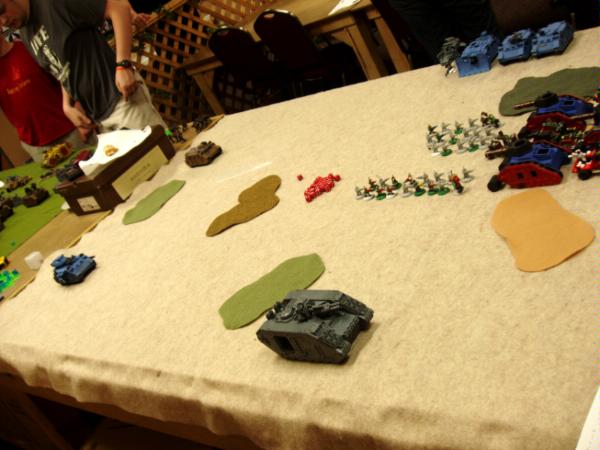
First Turn
Half my army falls back towards the bottom in a defensive position against the
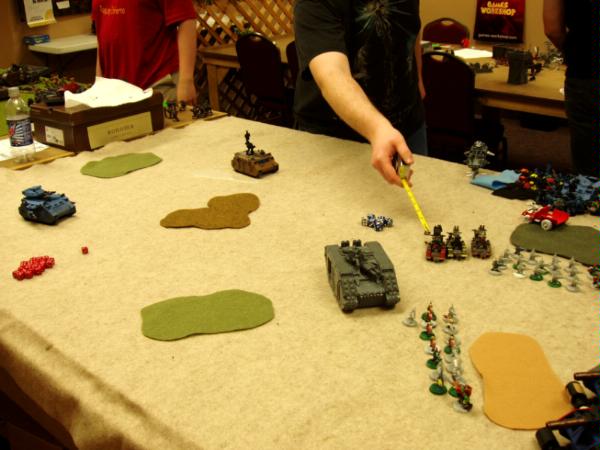
LRR. Remember my goal is to get as much in the re-deployment area as possible, otherwise normally I would have foolheartedly charged! I keep the right BW in the 18” but Orange Mob jumps out to assault either the Rhino or the boyz inside depending on how the Lootas do. One of the Mega Nobz rush the V.I.T. which is the Vindicator. The 3 Rokkit Trakks will be attempting to down the Speeder.
After all the shooting, assaults, and pile-in moves, the Wolves have an immobile speeder, craters where the Vindi and 1 Rhino stood, another wrecked Rhino, and 2 squads of Marines locked in combat. I’ve taken 2 wounds on my Mega Nobz.
Bottom of One
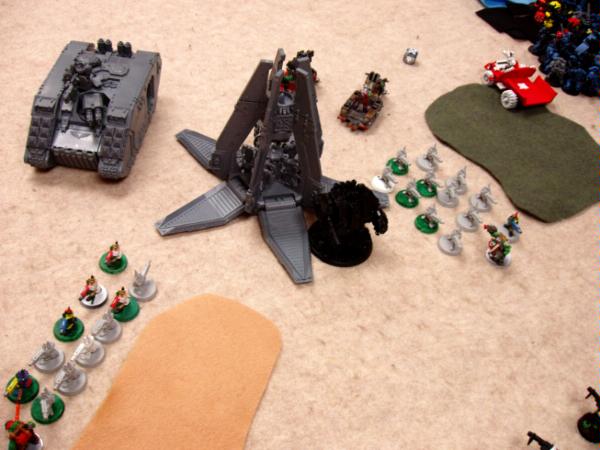
LRR moves up to prepare to toast some Grots all nicely lined up. He starts exploding Rokkit Trakks and the resulting explosion kill the same amount (5) of Grots in the upper mob as the Flamestorm Cannon does in the lower mob?!?! Brown Rhino moves forward. 1 Dred in pod drops right in front of the Lootas. Seems they are his priority target. One of his Wolves Squads at the top loses combat and flees of the table.
This is his role-to-wound with the Flamestorm Cannon. As I attested to last week, Shawn has the consistently worst rolling I’ve ever seen:

Here’s the Dred in pod. It scattered straight back away from the Lootas.
Top of Turn Two
Their work done Both the Mega Nobz and Orange Mob start towards the Deployment Zone. The Grots spread out a little. One Rokkit Trakk which no longer has its Rokkit moves out and the other lines up for a poop chute shot against the Dred. Lootas focus fire on the Dred and remove a weapons arm.
The Immobile speeder can still fire and it does!
Bottom of Two
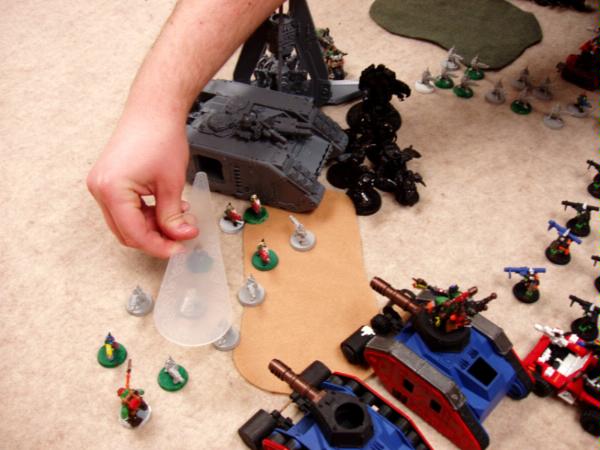
LRR moves up and dislodges Termies with Leader. Invisible Flamestorm Cannon proceeds to serve up some more Roasted Grot. They do pass
LD though.
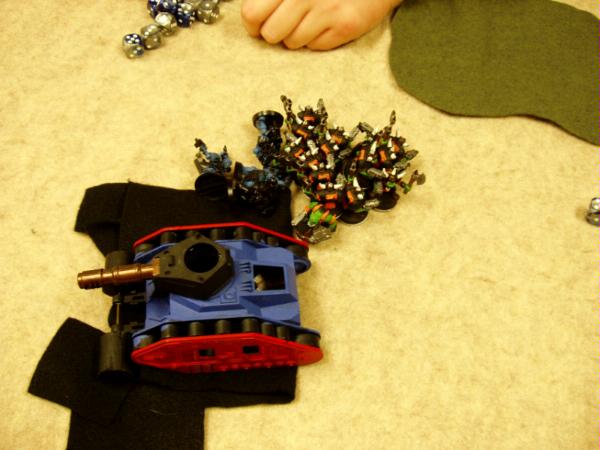
Termies with Leader wipe out Lootas and make all saves.
Top of Three
BW on the left Immobilizes itself on terrain and fails reroll. Immobile units still count at full strength for this mission.
KFF Big Mek BW charges through terrain and damages
LRR slightly.
Everything I have in range (calling the Waaagh this turn) moves to assault the Termies and Leader. I have to remove this tumor ASAP or it will be able to pick out the high value targets with ease such as the BW’s. I’m able to get Red, Orange, and Yellow (who rarely make public appearances) mob’s Nobs into contact along with the 3 Mega Nobz and the Runt Herder from the upper grot mob, (each model in base-to-base loses one attack, but Counter Assault passes for Shawn and he gets those attacks back).
Of course I’m going to take a Before and After Shot of that battle. He puts most of his attacks against the Mega Nobz and I take 4 wounds but am able to wipe him out. Every Ork then turns around and looks at the Drednought. Hur hur.
Didn’t get a shot of Bottom of three but his stuff either shot my stuff or moved forward. Nothing in assault range.
Top of Four
KFF Big Mek’s BW explodes the
LR and other BW that isn’t immobile rams the Dred. Since Shawn is awesome he Death or Glory’s and fails. Squish and explode. DeffRollas are so much fun. Yellow Mob loses some Orks when the Dred’s explosion goes 6”.
Bottom of Four
His last Rhino with Wolves and Predator keep moving up. At some point I was able to wreck his Speeder.
Top of Five
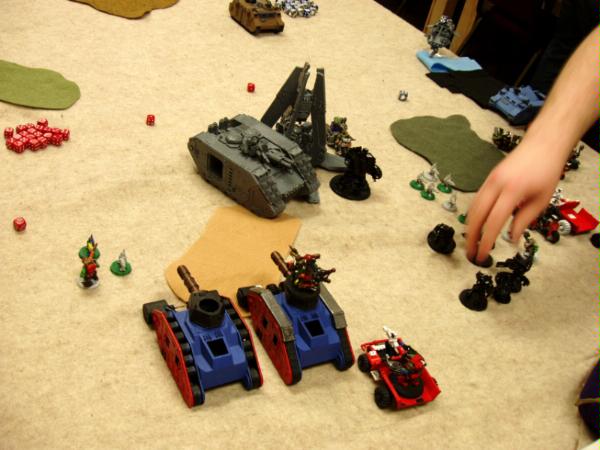
I’m just hanging out in the re-deployment zone very un-Orky like.
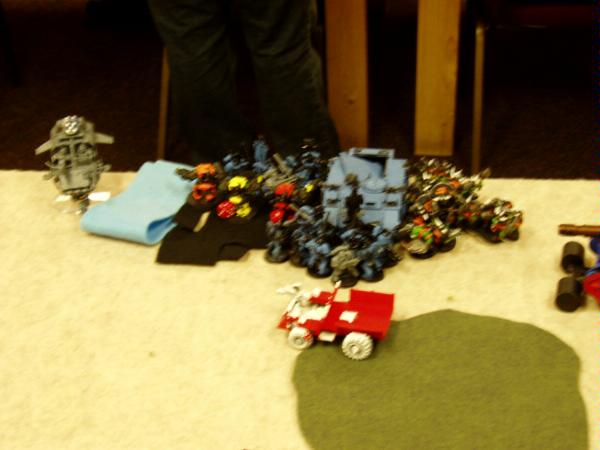
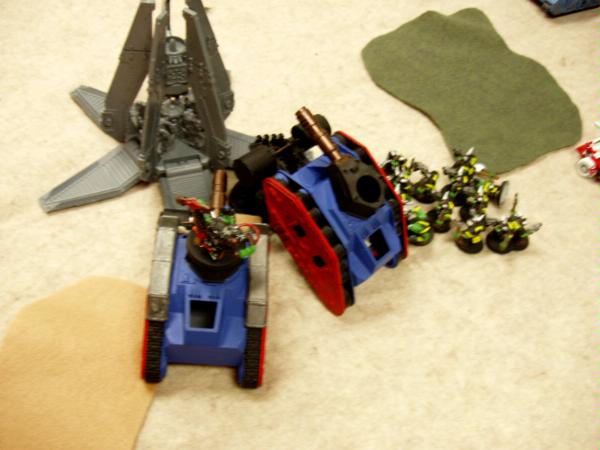
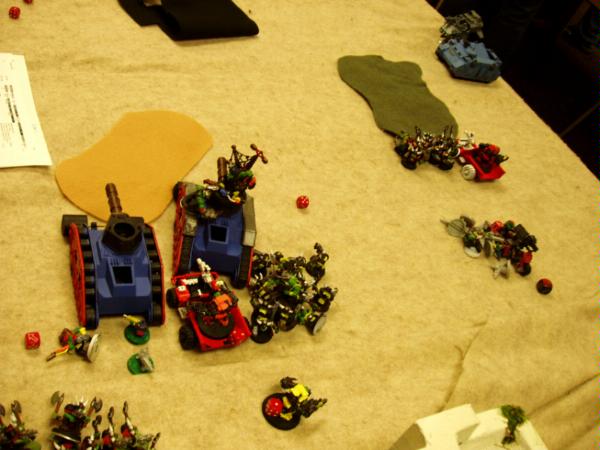
Then I decide to do something quite stupid and ram both his Drop Pod and Remaining Rhino. The 2 black pieces of felt are the craters left behind. Boyz jump out and assault the Rhino’s innards.
Turn Six I run back to the re-deployment zone. He only has the Predator left which is still harassing my BW’s.
Last shot shows me trying to get as much as possible in the zone.
End of Game
I kill 74% of his stuff, Shawn kills 26% of my stuff.
It was said at the beginning that if we had time we could play a second game. I feel bad when I tell Shawn that I can’t, my wife wants me home right away after games and it’s after 9:00 already. I suggest to the store owner we just play the second game next week reversing sides but I don’t think he went for that. I’ll find out if anyone else got a second game in or not. Other people were on turn 3 when we finished.
YMDC Do you think that deploying 18” would have affected the outcome of this game?
Post your opinions.
This just might be a "W" with an * attached. Either way it was a fun game and Shawn (Locclo) is an awesome opponent who likes to take risks and is all around an interesting fellow.
Till next time.

