I am back at home now and can give an update to this request.
Gutsnagga wrote:Hi, I was wondering if you could post pictures of the magnets you used and where you put them, as I am currently trying to magnetize my own stompa, and am looking for the best method.
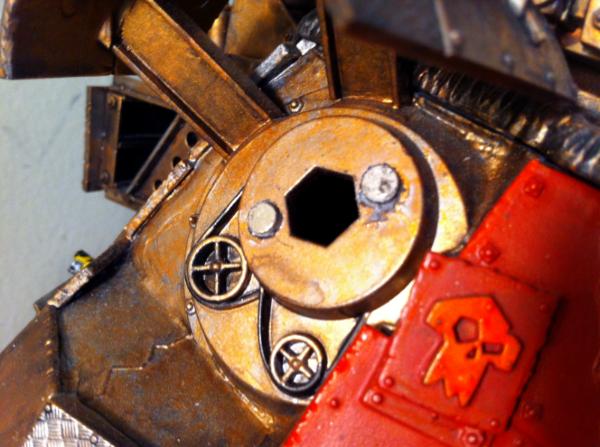
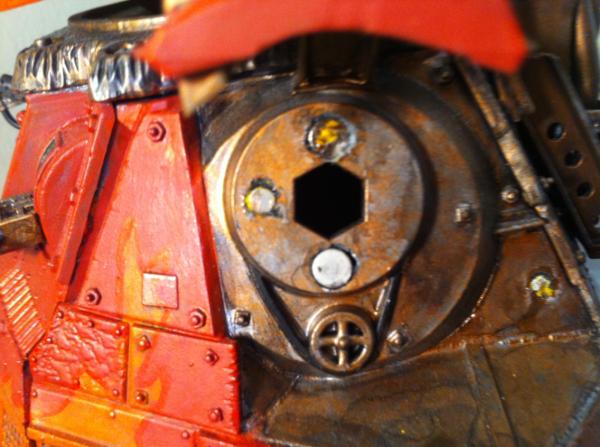
Arms:
I placed three magnets in a triangle formation around the arm socket/hole on the body of the Stompa. I chose the largest diameter magnets I could find. They are tricky to fit in (be VERY careful as they can easily fall into the stompa and become impossible to recover). I used a paper clip to magnetize them to while the glue dried, ensuring that they stayed in place and didn't flip etc.
Later I foudnt hat due to the lopsided/weighing of the arms, that they would fall off if bumped slightly. To remedy this I took a 2 insh (or so) piece of paper clip and bent it into an 'L' shape. I pinned this L into the arm of the stompa, where it sockets into the body, creating a sort of "catch" in case the arm fell off. It happens frequently, but the catch works without fail. If the arm needs to be removed, simply pull the arm off straight and then twist so that the L comes free from the body. Good for transportation and good for ensuring the arms don't all off. It's a win win. A bit crude but it works. I will post pics ASAP.
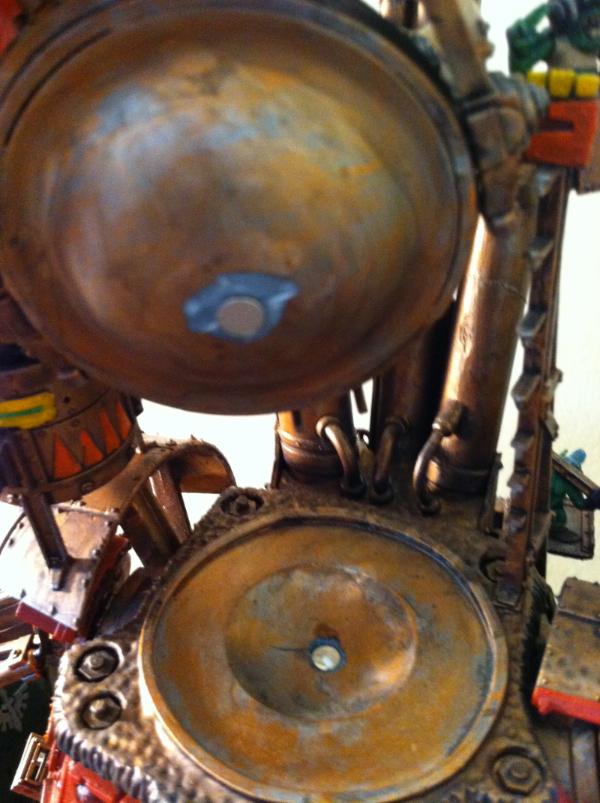
Head:
This is pretty easy. I used a flat magnet and hollowed out a nook in the bowl shaped neck of the stompa body and the bump on the head that inserts in. The magets rest on top of each other, allowing for the head to be removed (in cause of death or transportation). It also lets you turn the Stompa head for poses etc (which is fun).
I thought about magnetizing the grots in order to represent vehicle damage points or something but it just wasn't worth the effort. I would also recommend pinning the missiles into the side of the gun, as they are held on by a very small surface area contacts with the 'drum' of the undeside of the main cannon. If they fall off or are bumped etc then they can fall off. It's always your call though.
Hope that helps!
Here are some pics to show where/how I placed the magnets.
Head:
Right Arm (chainsword)
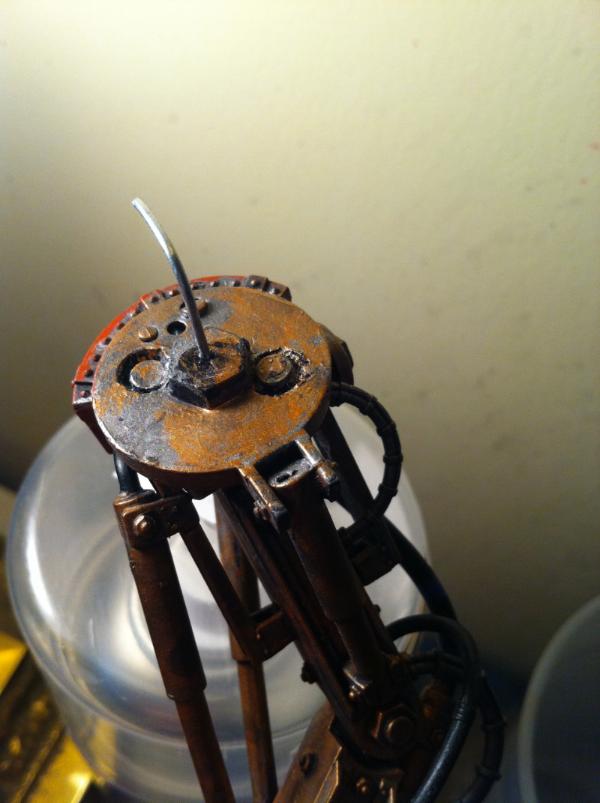
You will notice the paper clip I mentioned before. The 'L' shape keeps the arm from falling off if it is bumbped or tipped too hard. Magnets are fine but they are not as solid as super glue. I like the ease of transportation the magnets give me for such a big model
Left Arm (gun)
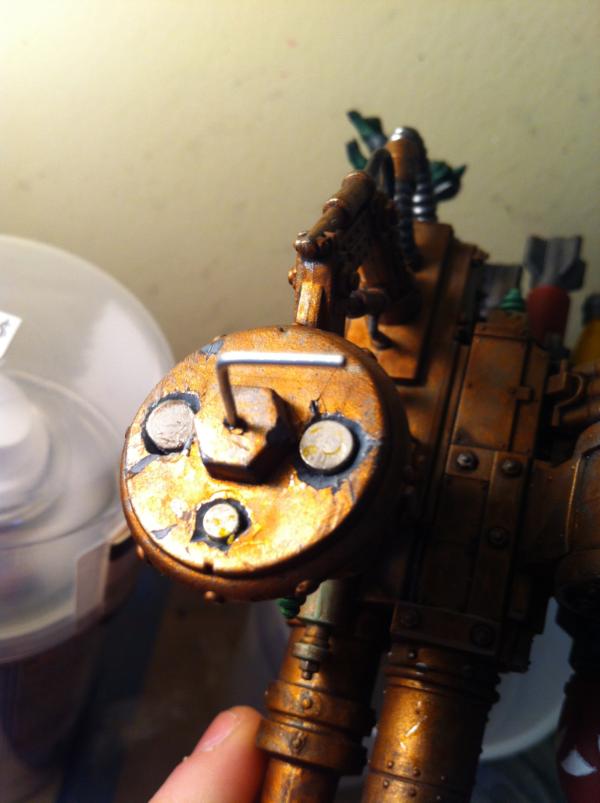
Again, you will notice the paper clip 'catch'
Hope that helps clarify some things. Any other questions just ask

-WAAGH!


 IF YOUR READING THIS RIGHT NOW WHY NOT BE A CHAP AND SWING BY MY GALLERY TO CAST A FEW VOTES OR MAKE A COMMENT.
 GREEN IS THE WAY TO GO


