Someone on another forum asked how i did the weathering and colours used to paint them, and i snapped afew pics during the painting and figured i'd put it up here too. Its nothing majorly revolutionary, and pretty easy once you give it a go. So here it is....
Ok, so you've primed the raider (built or in pieces, i like to do it in pieces). Next thing you need to decided is what colour you want the weathering to be. You can use any colour really, but it should contrast nicely with your base colours. The main colour used on my raider was Iyanden Darksun, and i thought a dark brown would be best for the weathering.
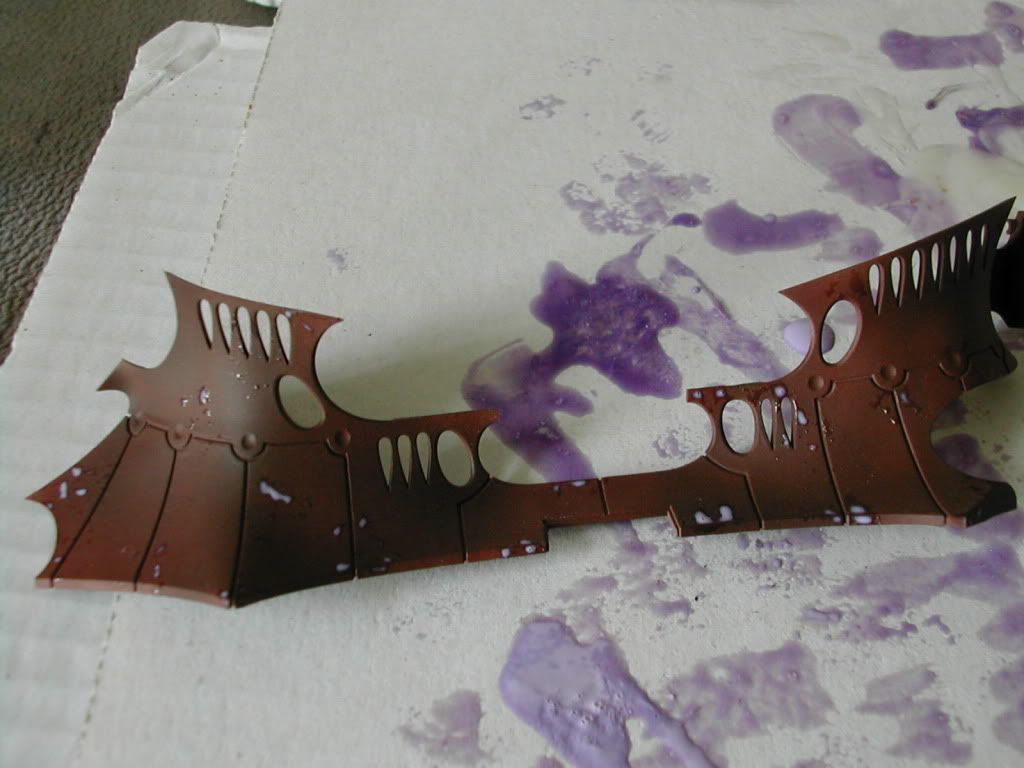
Step 1. Basecoat armour plates with P3 Umbral Umber.
Step 2. Coat of Purity Seal Spray. This protects the weathering colour a little later on.
Step 3. Ok, now comes the stage where we define where our weathering will be. I used Humbrol Maskol (liquid latex) dabbed on with a bit of blister sponge. This stuff dries pretty quickly and becomes hard to work with if you take it out of the bottle (which will probably be necessary) so you'll waste some. Not much you can do about it really. You can see in the pic below all the waste i had for the batch on a piece of cardboard. Dont go overboard with this stage. Leave it to dry for 30mins. One more thing.. the bottle mentions not to leave latex on for more than 3 days.. I dont why (spontaneous combustion? )....
Step 4. Now that it's dry, you can paint your vehicle as you normally would, being careful not to displace any of the latex you just applied. I spray the armour with a mix of Iyanden Darksun 2:1 Scorched Brown. I then spray the first highlight of pure Iyanden, leaving some of the previous layer near the center of plates.
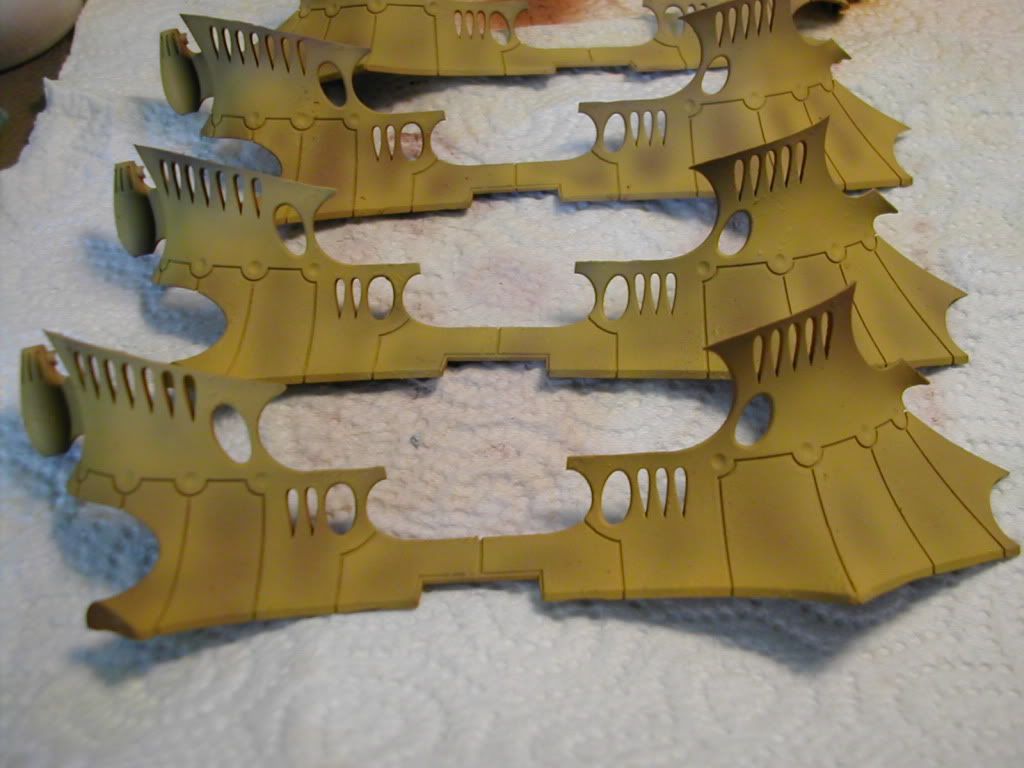
Step 5. The last highlight is pretty drastic. A mix of White 10:1 Iyanden. The steps up to this point are to establish a general gradient of colour on the plates. (The pic came out alot paler than it should have. Don't know why)
Step 6. The armour will be looking not very colourful at this point. But this is where the magic i found happens. I've found that Iyanden Darksun dries alot different when sprayed over a lighter layer. So apply pure Iyanden again to the center of the plates. It will come out alot Orangey/yellow-erer.
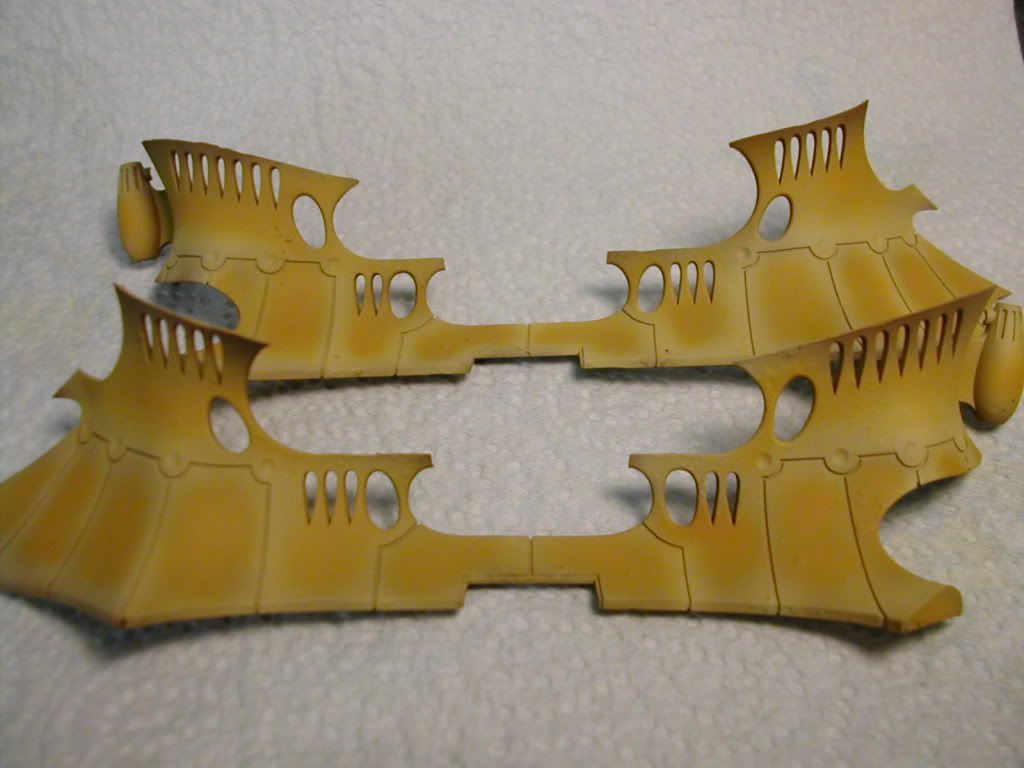
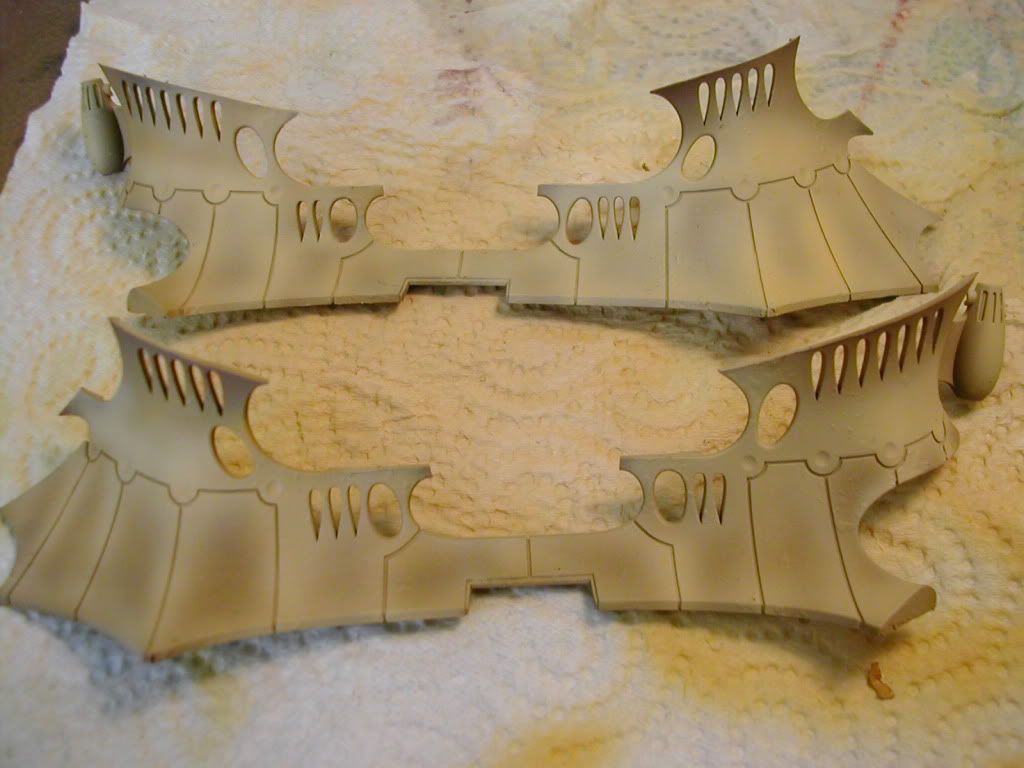
Below is a comparison pic of this step next to the a completed raider, so you can see the difference in the next step.
Step 7. We finish it off with Iyanden 5:1 Scorched Brown to the center of the previous layer.
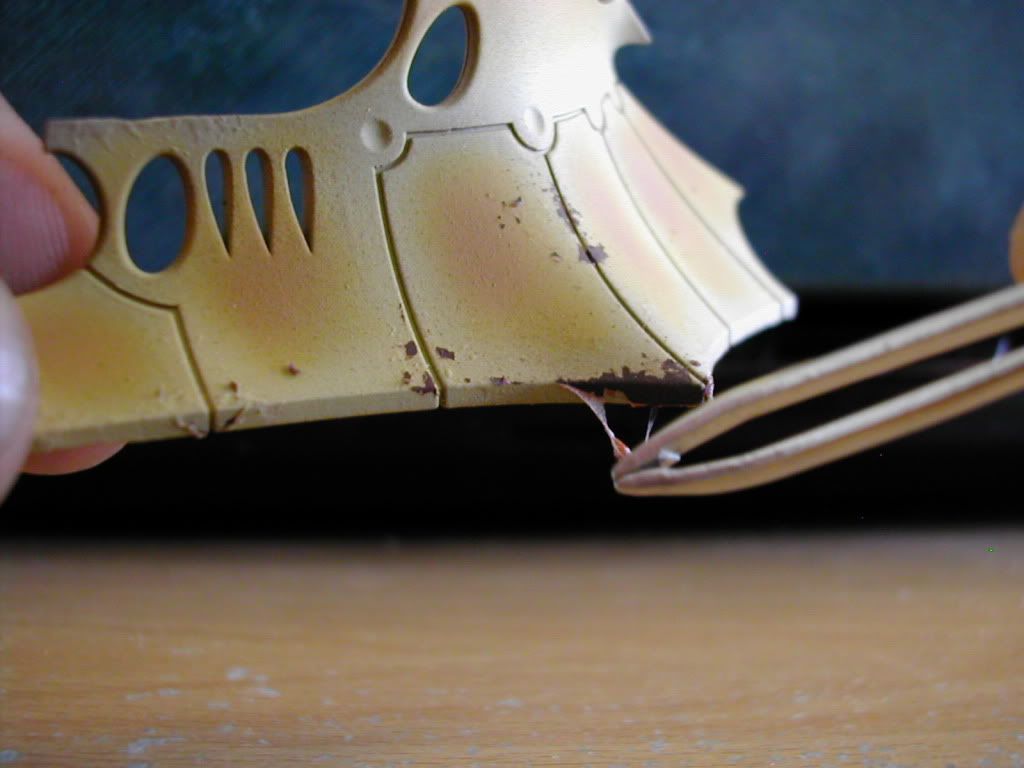
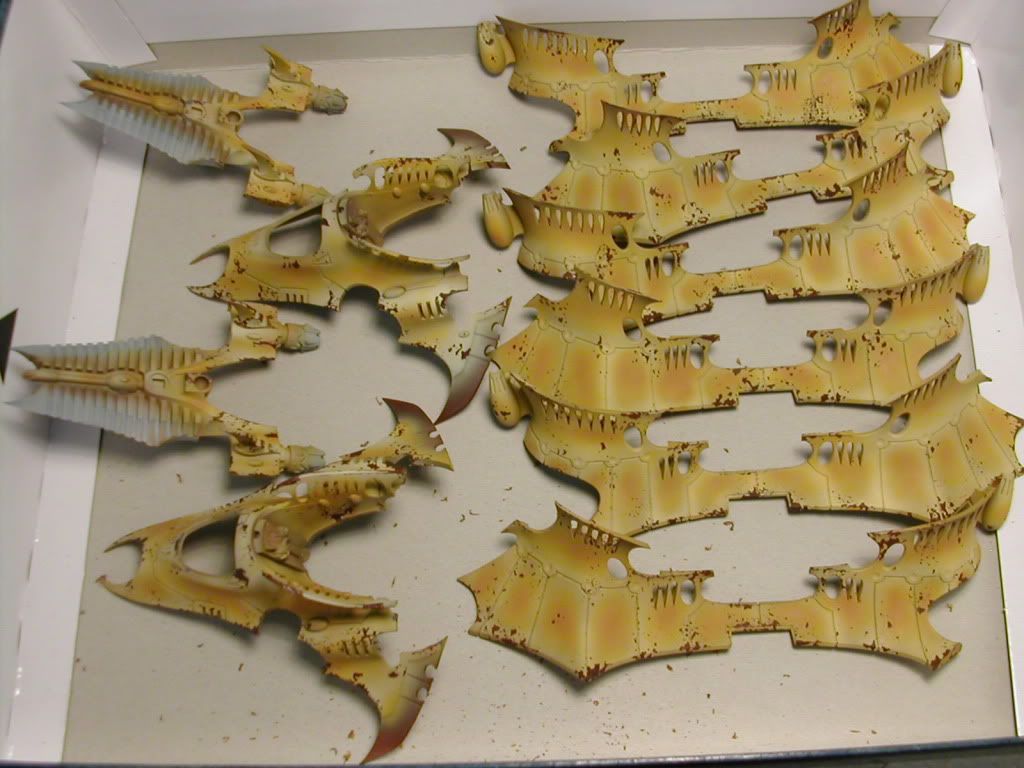
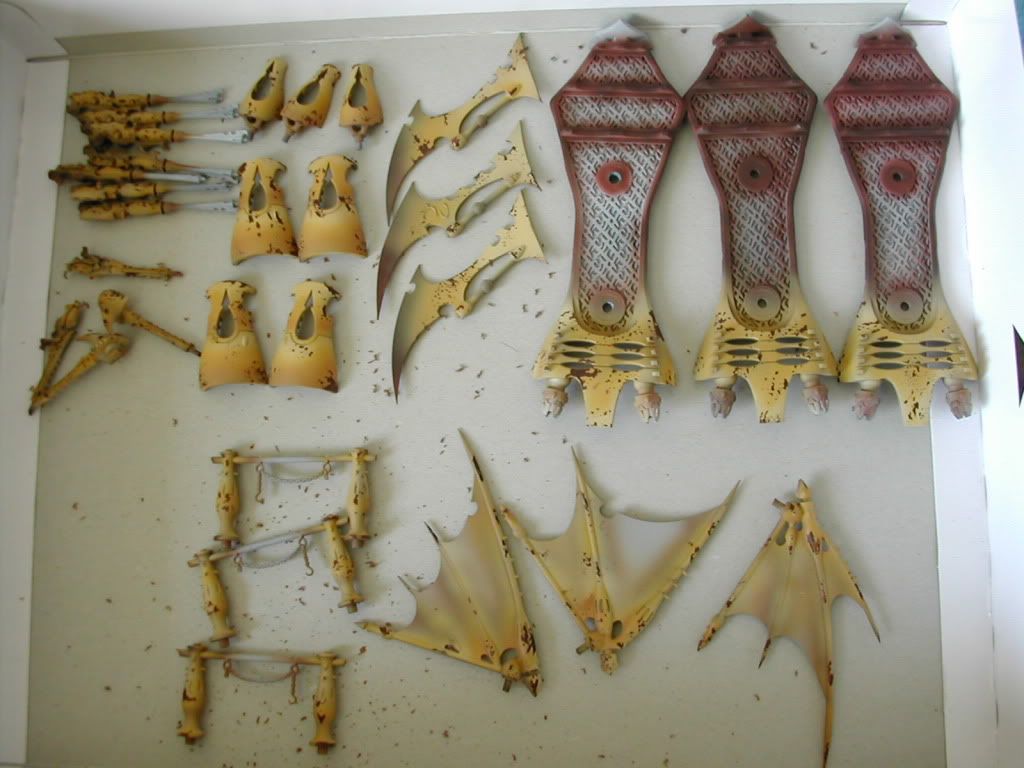
Step 8. Now we peal off the latex. You can do this gently with a finger nail for most of it, but hard to reach places and on the edges you may need some tweezers. Remember to lightly scratch all over the surface, even if you cant physically see a bump of latex. The sponge should have placed alot of shallow and small dots over the surface, which will come off also, with a little aggitation.
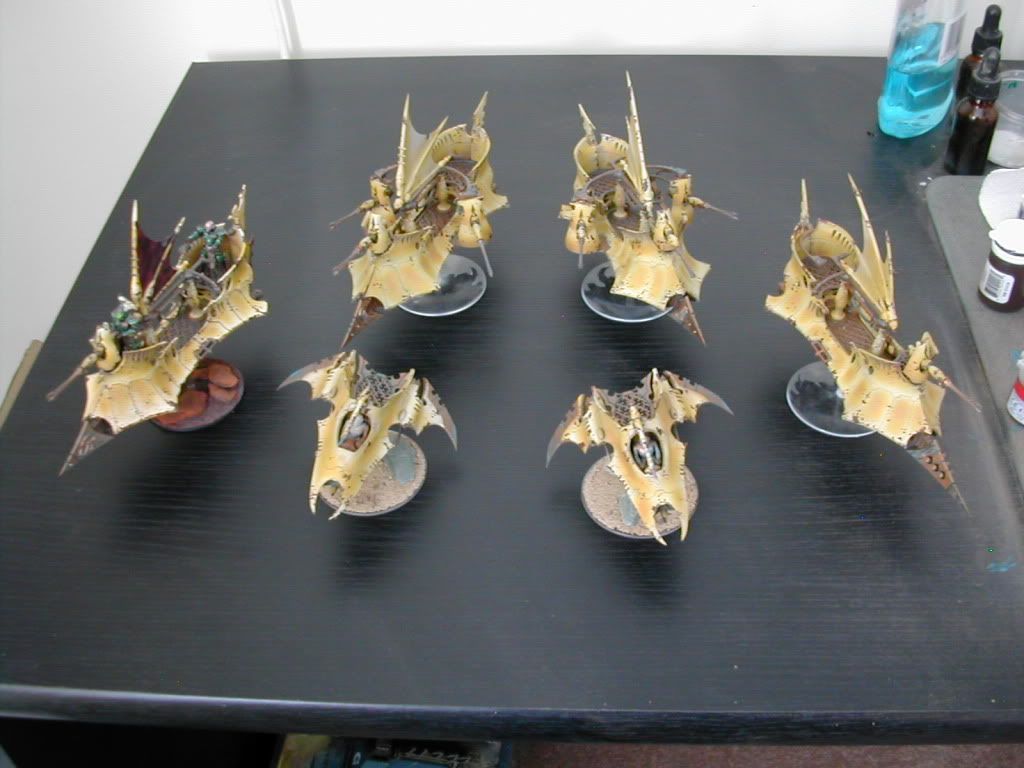
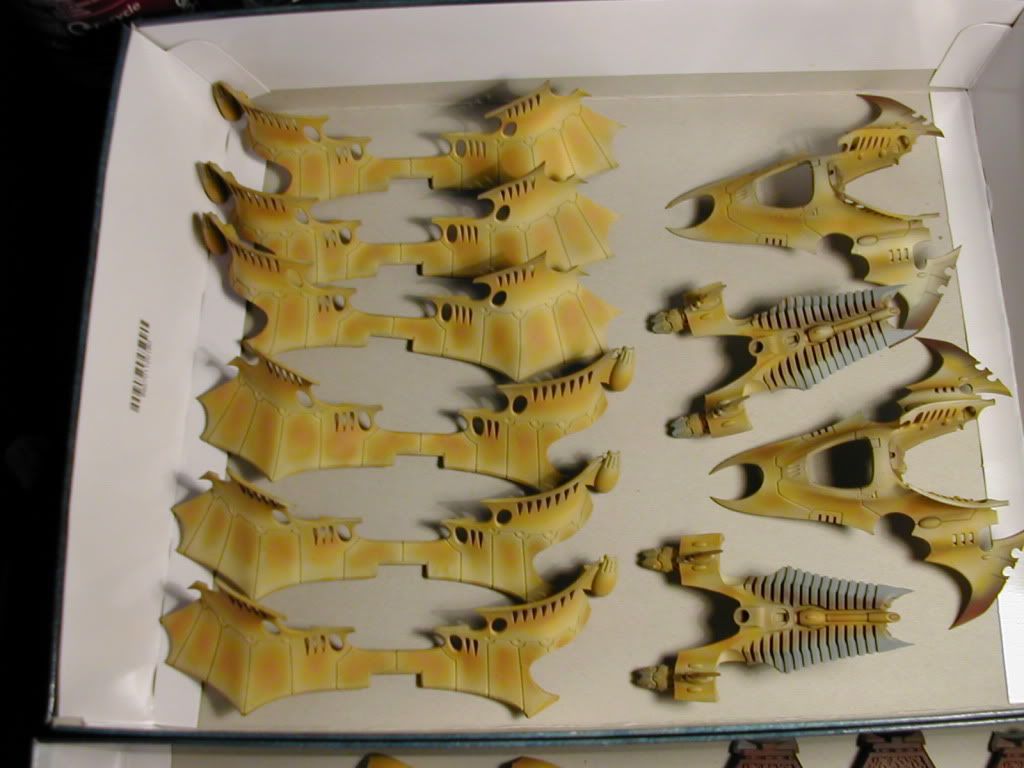
And thats it. Here's what mine look like...
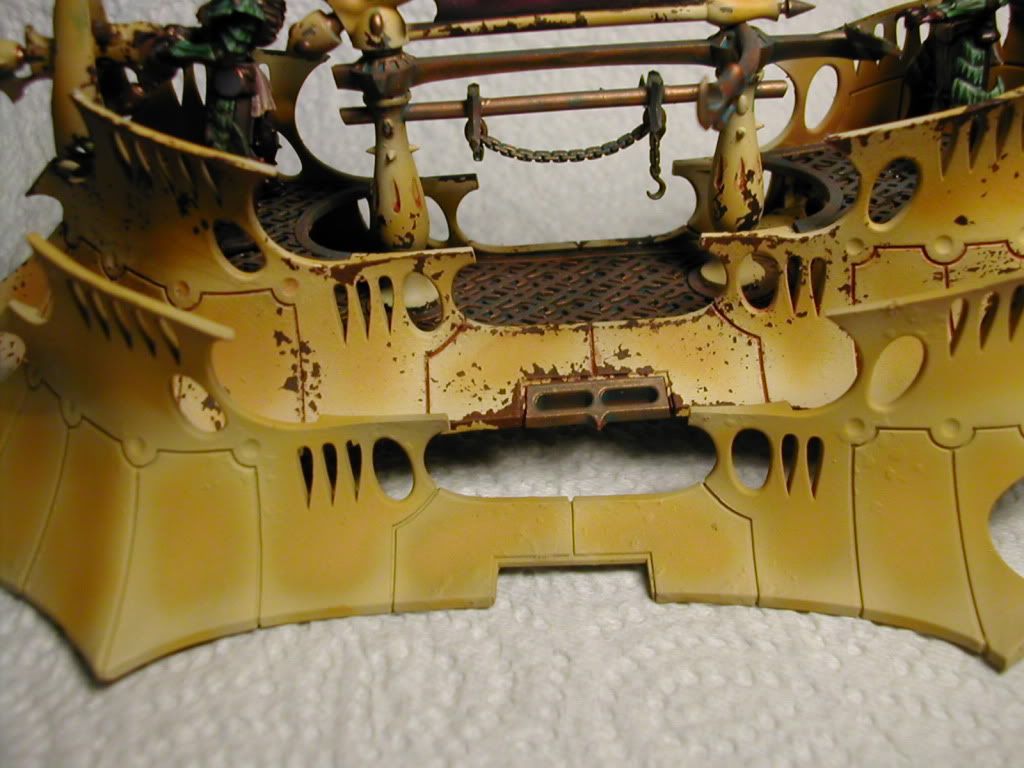
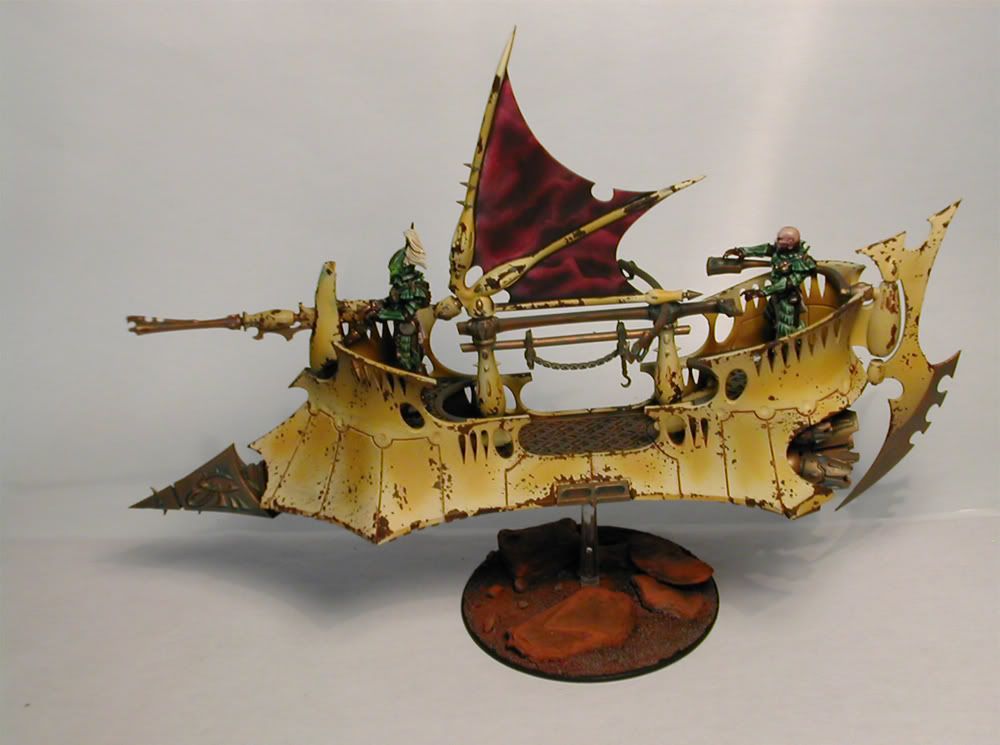
And a pic of a finished Raider -
Sorry if the colours didnt show up well in some of the pics... I plan to add some more stages of weathering in the future, but im happy with this for now.