Unfortunately the pictures from the middle of the game went awol. I did take a ton on this one so hopefully it won’t be too bad.
The Deathwing
HQ
Belial
Elite
Dreadnaught w/ multi-melta, heavy flamer
Dreadnaught w/ multi-melta, heavy flamer
Dreadnaught w/
tl lascannon, heavy flamer
Troops
5 Terminators, 3 storm bolter & power fist, 1 assault cannon & power fist, 1 storm bolter & chain fist
5 Terminators, 3 storm bolter & power fist, 1 assault cannon & power fist, 1 storm bolter & chain fist
5 Terminators, 4 lightning claws, 1 heavy flamer & chain fist
5 Terminators, 4 lightning claws, 1 heavy flamer & chain fist
The Imperial Guard
HQ
1 Company Command Squad, plasma gun, regimental standard, medic
Troops
Platoon Command Squad, 4 flamers, chimera
Infantry Squad, melta gun, auto-cannon
Infantry Squad, melta gun, auto-cannon
Infantry Squad, melta gun, auto-cannon, commissar w/ power weapon
Veteran Squad, 3 melta guns, chimera
Veteran Squad, 3 melta guns, chimera
Fast Attack
2 Armored Sentinnel's, plasma cannons
1 Vendetta
Heavy Support
Punisher, hull heavy flamer
Executioner w/ sponson plasma cannons
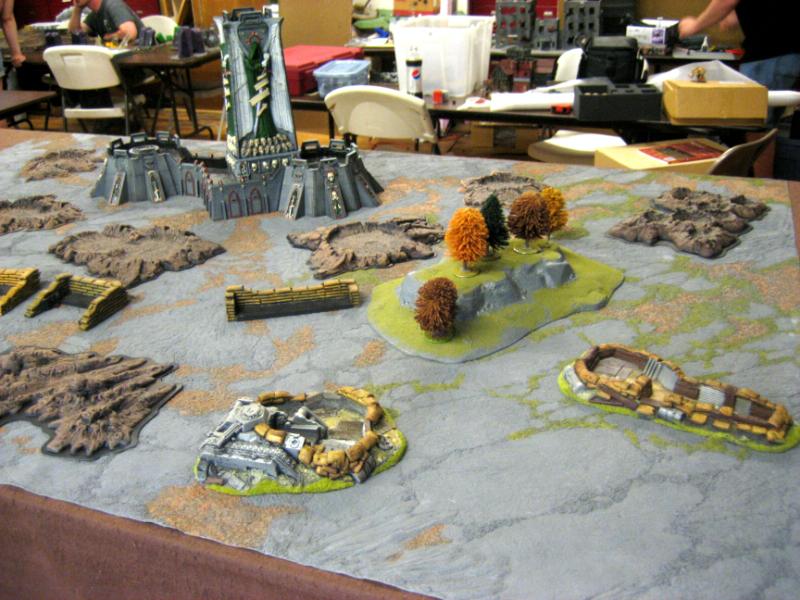
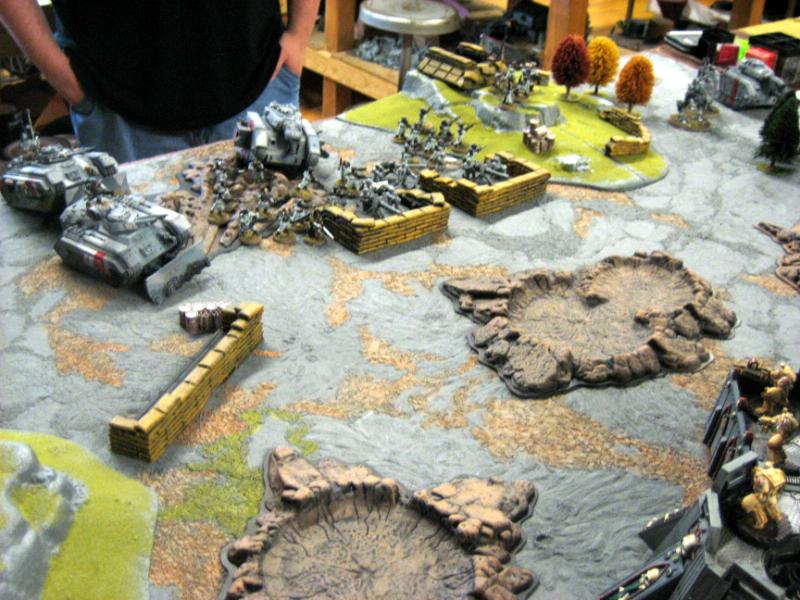
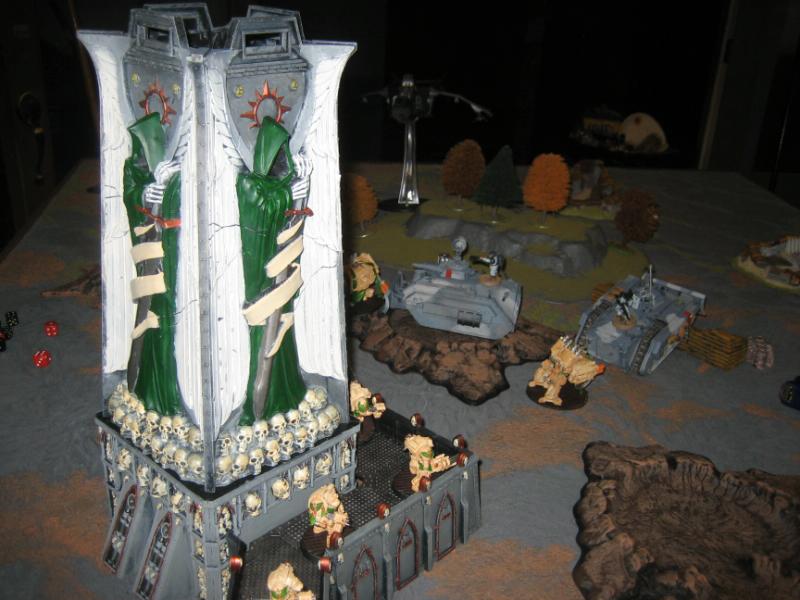
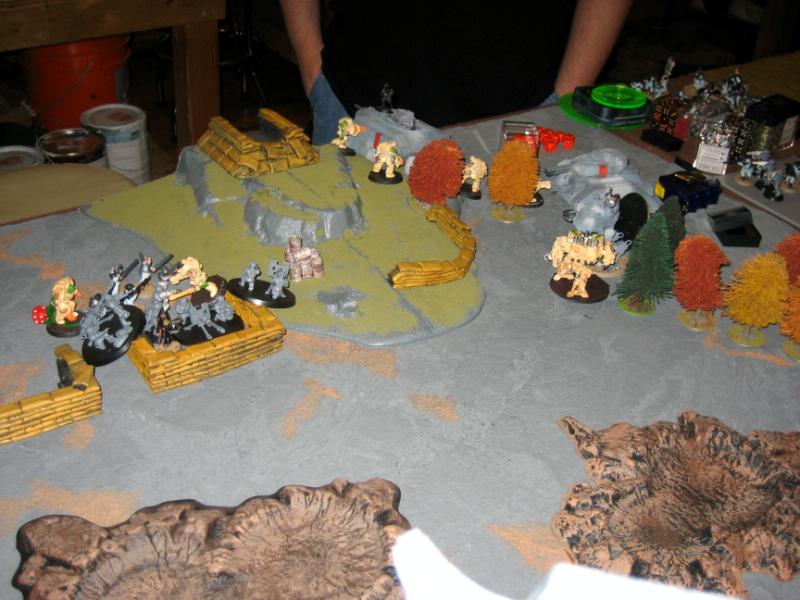
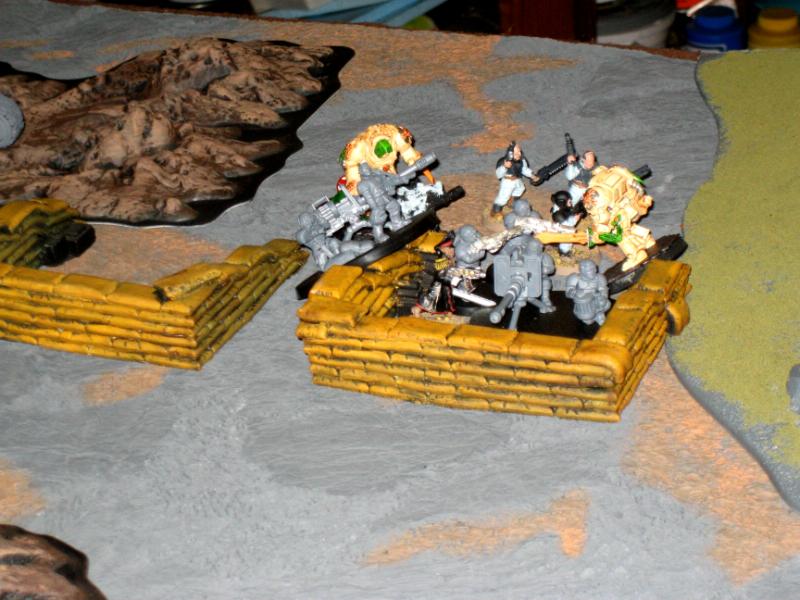
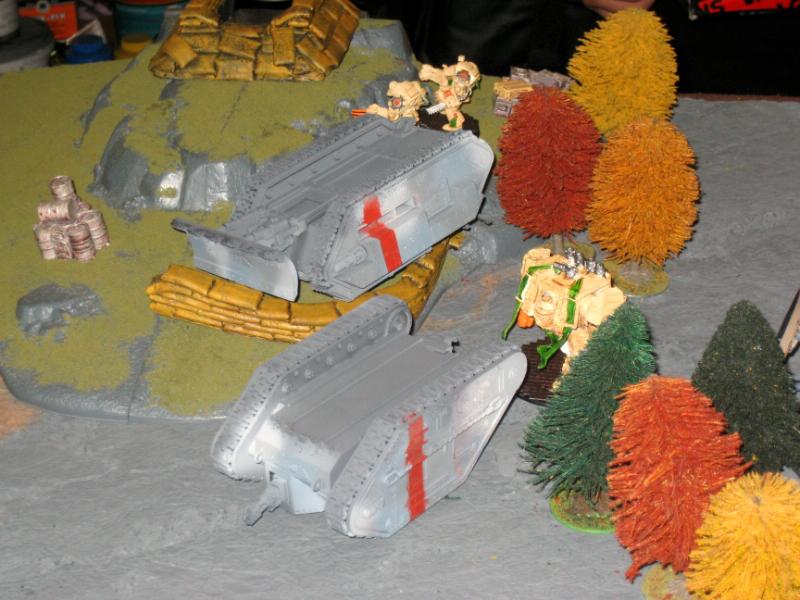
The battlefield. So to try something a bit different. We rolled the mission type and deployment type before setting up the battlefield. This was so that we could make the table a little more thematic. I would get the fortress of redemption and I brought a sand bag trench line for the guard to use (I had set up the game the previous week so I could match the rest of the terrain to my opponent. For asthetic reason's I liked the line of craters between the guard lines and the fortress of redemption however it didn't leave a lot of protection for tanks and walkers. So all walker's or tanks were allowed to "dig in" on the craters. Basically they had to make a difficult terrain test and then they would be counted as being obscured as they dug the vehicles into the freshly created craters. We rolled pitched battle, so I handed the sand bag emplacements and told my opponent to place them anywhere he liked on his side. I then placed the fortress in the middle straddling the 12" line. We decided to play the fortress as a single bunker.
Deathwing Deployment zone
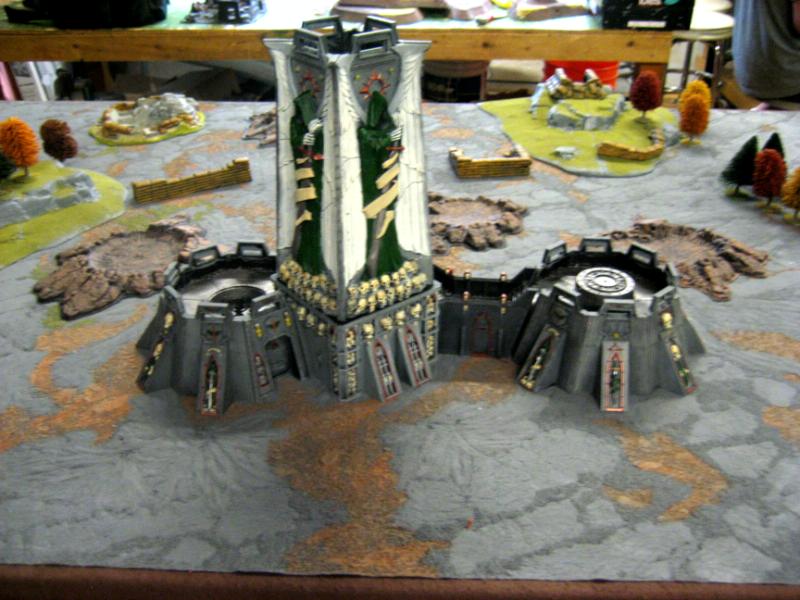
Left side Guard Deployment zone

Right side Guard Deployment zone
The mission. We rolled annihlation. To make things a little more interesting I placed 4 ammunition/oil/gas objectives in the guard lines. Each of those objectives would give me 1 extra kill point if I managed to hold them at the end of the game. The fortress would be worth 4 extra kill points to my opponent if he could take it.
Deployment:
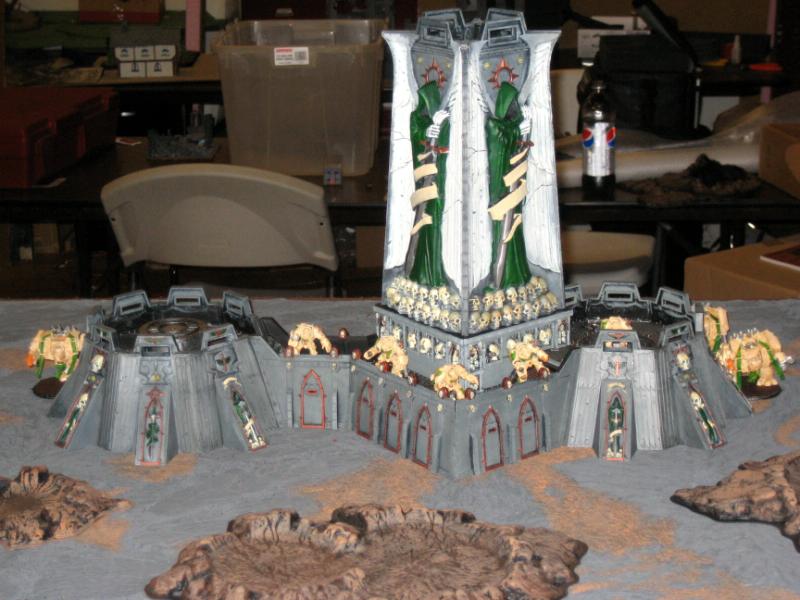
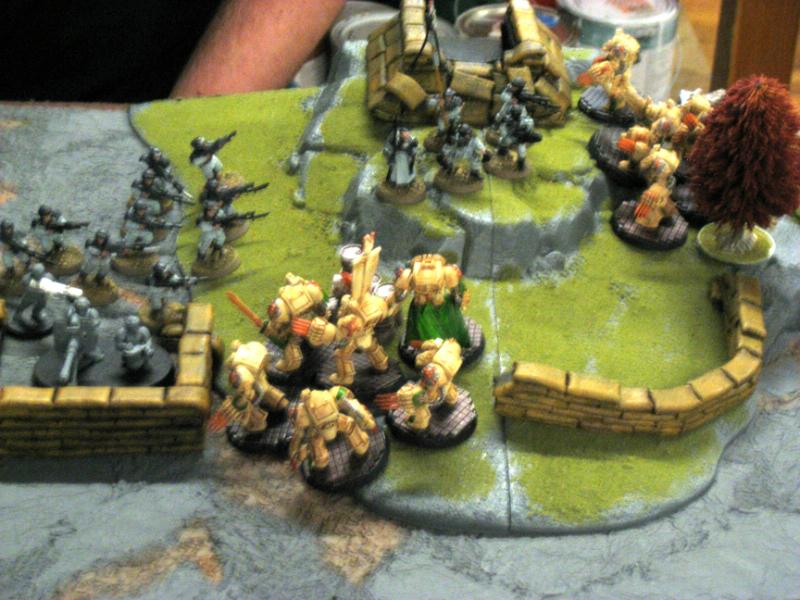
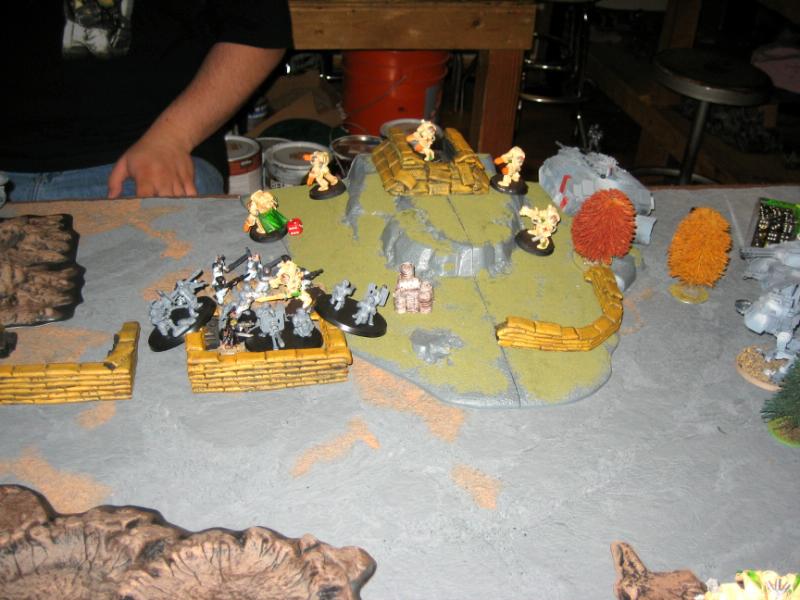
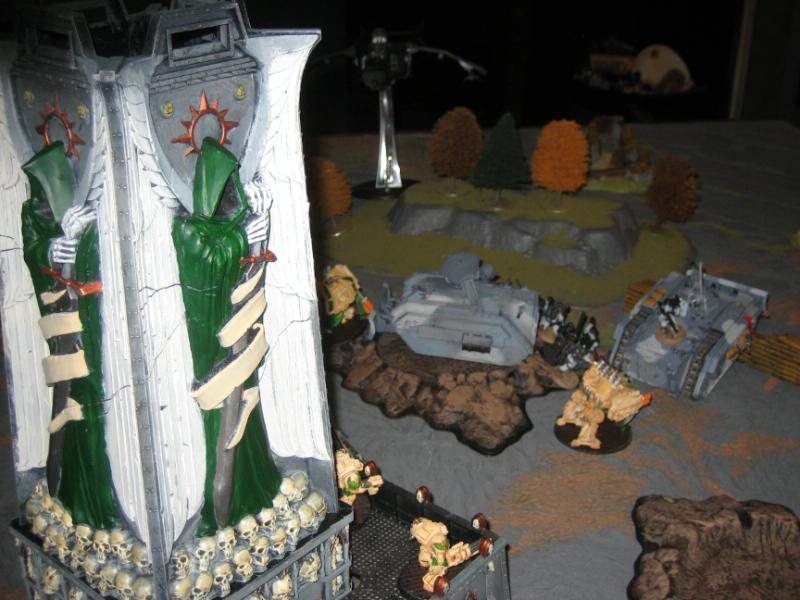
Deathwing: We rolled off and I won the roll to go first and decided to take it. One shooty terminator squad went into the fortress, all the dreadnaughts were placed on the sides. Belial and the other 3 squads were held in reserves for a death wing assault.
Deathwing Deployment
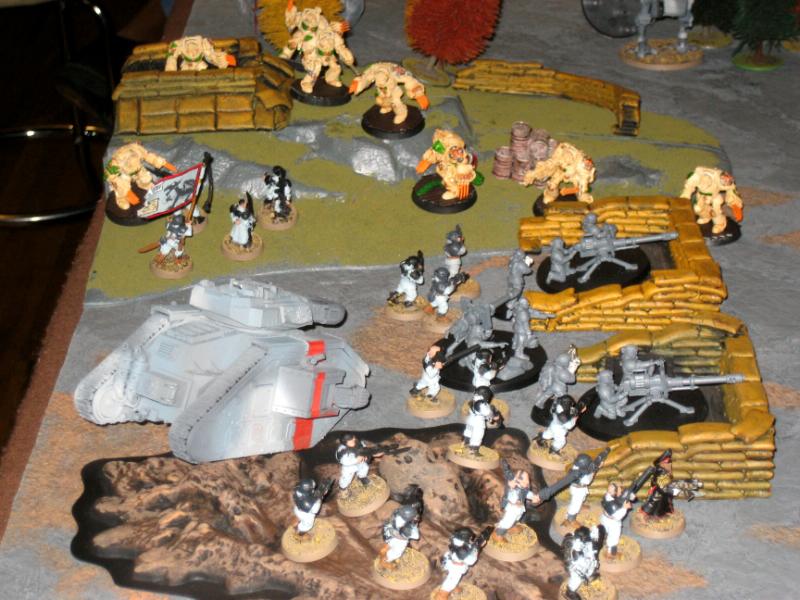
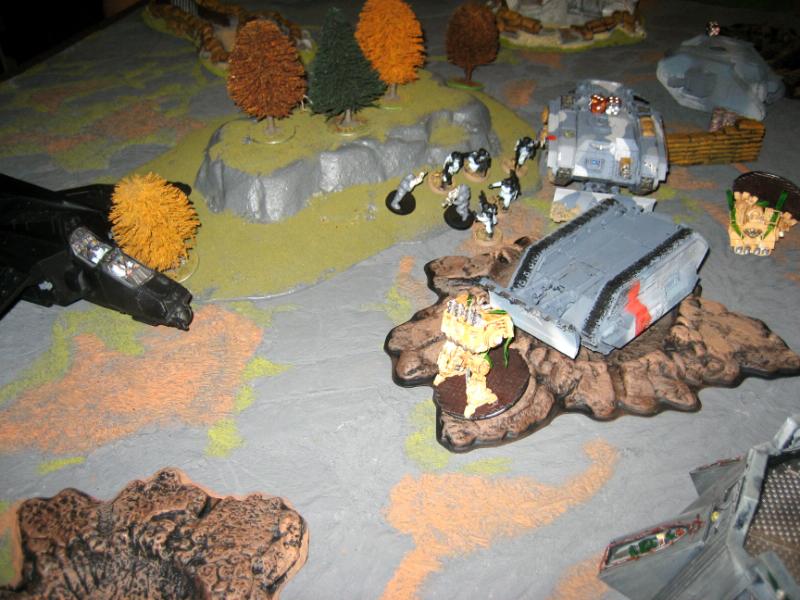
Guard: Blob and company command squad in the middle anchored on one side with the punisher and plasma sentinnels, anchored on the other side with the executioner and the 2 chimera's. One vet squad and the vendetta are held in reserves.
Guard Deployment: The center of the guard forces
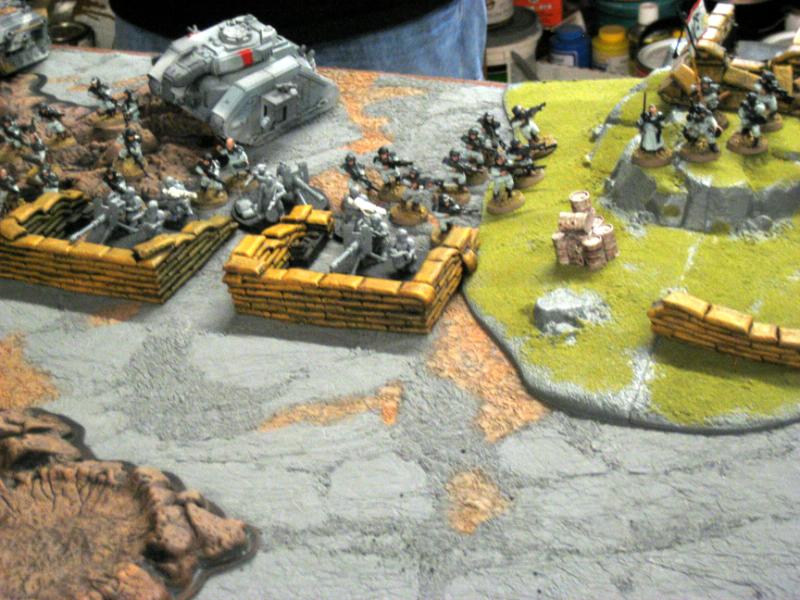
Guard Deployment: The guard prepare to assault the fortress
Thoughts: Okay I'm going to deepstrike in with both lightning claw squads, going for the right side of the table, I can run and spread out to guarantee he can only get one hit per terminator with the plasma cannons, and because of the tree's and his own guy's I should be able to get cover saves from everything. I'll move the dreadnaughts up and hopefully start popping chimera's and the sentinnels.
Deathwing Turn #1: Belial and the 2 lightning claws squads come down threatening the
ccs and the blob. Both multi-melta's miss, and the lascannon fails to peneatrate an av12 sentinnel and we are on to the guard turn. Both terminator squads run to get some spacing inbetween models.
Deathwing
KP: 0 Guard
KP: 0
Deathwing Turn 1: The Deathwing assault
Deathwing Turn 1: The Deathwing disperse after coming in off of the deep strike
Deathwing Turn 1: 2 mutli-melta's, a
tl-lascannon, and an assault cannon, don't even scratch the paint on a chimera.

Guard Turn #1: The guard turn.
FRFSRF on the blob generates 52 las weapon shots. Toss in 6 auto-cannon shots, 7 plasma cannon shots, 2 melta guns, 1 plasma gun, and the punisher. When the smoke clears the non-belial squad loses one terminator, the other terminator squad loses 2, and Belial takes 2 wounds. The chimera's zoom forwards towards the fortress.
Deathwing
KP: 0 Guard
KP: 0
Guard Turn 1: The guard unleash a torrent of fire upon the Deathwing, Belial valiantly takes 2 for the team.
Thoughts: Okay the whiffage from the dreadnaughts was bad, maybe I should just run them this turn, oh well I'll still shoot and see if I can do any better this turn. I'll move up with the terminators flame the command squad (since they have feel no pain I won't kill the whole squad) and peel some guys out of the blob squad then combi assault both squads and get locked in with the blob.
Deathwing Turn #2
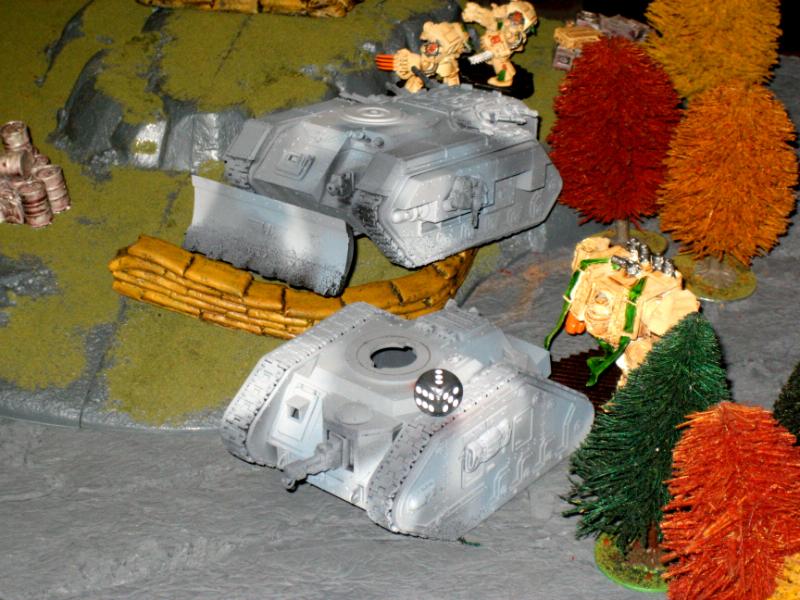
No reserves. The terminators move up on the command squad and infantry squad. I do some flaming and kill about 6 guardsmen. Both squads roll double 2's for their difficult terrain checks in the assault phase so I'm unable to link up the command squad and blob squad in the same combat. I kill off the command squad, but the two terminators only kill 2 guardsmen from the blob. I shoot a chimera with a mutli-melta and roll a 1 and a2, the lascannon shoots for a sentinnel, rolls a 2, the shooty terminator squad shoots into the side of the chimera and doesn't penetrate. The far multi-melta dreadnaught hit's and destroyers a sentinnel.
Deathwing
KP: 1 Guard
KP: 0
Deathwing Turn 2: The deathwing advance on the guard command.
Deathwing Turn 2: Belial's squad spreads out after killing the guard command. The other squad is mired in the blob.
Guard Turn #2: The vendetta and other vet-melta chimera comes in. The
pcs chimera rams the lascannon dread, doing no damage, then the vendetta immobilizes the dreadnaught. The melta-vets open up on a multi-melta dread and tear off it's
cc arm. The exectuioner, punisher, newly arrived vet's, and lone sentinnel shoot into the unengaged lightning claws squad. Killing no terminator. In hand to hand the immobilized dreadnaught wrecks the
pcs chimera forcing them to dump out.
Deathwing
KP: 1 Guard
KP: 0
Guard Turn 2: The guard advance on the fortress.
Guard Turn 2: The guard shoot into the lone assault terminator squad not in hand to hand.
I need to support the blob so I'll send Belial over there, the dreads near the fortress are going to go down, nothing I can do about it. The punisher and the other vet squad are too tempting of a target to pass up so I'll split the other terminators away from Belial.
Deathwing Turn #3:
Terminators come down near two objectives on the opposite side from where my terminators dropped. The immobilized dread flames the
pcs, kills 4 of 5 of the
pcs squad and they break and run. The multi-melta dread whiff's it's shots against the chimera, the fortress terminators also fail to hurt the rear armor of the chimera and the dread fails to do anything to it in
hth. The newly arrived terminator squad runs and spreads out. The other dreadnaught assaults the armored sentinnel and rips off the weapon. Belial splits from the squad he was with and charges into the blob. The remaining lightning claw squad combi-assaults the punisher and vet chimera, the lightning claws fail to get any 6's and the chainfist fails to score a hit against the punisher. Belial whiff's in combat and kills 1 guardsmen, the squad kills 2 more, and the commissar scores a wound and kills off the lightning claw.
Deathwing
KP: 3 Guard
KP: 0
Deathwing Turn 3: The deathwing split up, Belial seeks to help out the out numbered sergeant and the other squad assault the newly arrived veterans in their chimera and the punisher.
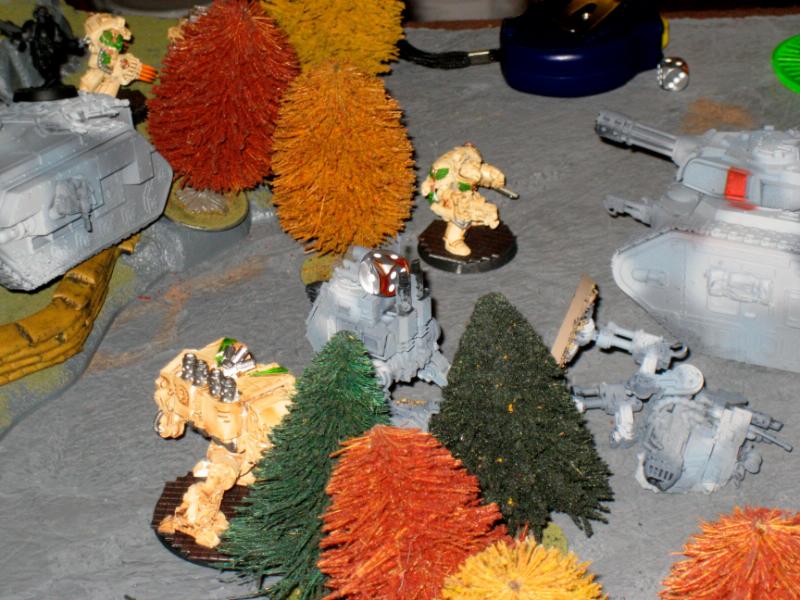
Deathwing Turn 3: The deathwing in the tower open up on the newly dumped veteran squad. The dreadnaught fails to harm the other chimera.
Deathwing Turn 3: More shots to the rear of the chimera fail to harm it.
Deathwing Turn 3: The dreadnaught smash's into the armored sentinnel, ripping off it's gun.
Guard Turn #3:
The vendetta shoots the immobilized lascannon dread, stunning it. The melta vet guard get out of their ride and blow up the multi-melta dread that couldn't hurt them. The executioner kills 2 terminators, the punisher and melta vets on the other side of the table kill one terminator. Belial and the lone terminator continue to munch on the blob. The dread-sentinnel combat continues with the dread misses both of his attacks.
Deathwing
KP: 3 Guard
KP: 1
Guard Turn 3: The melta vet's down the wounded dreadnaught, and the executioner kills 2 of the terminators that dropped in the last round.
Guard Turn 3: Belial and terminator are still trying to whittle down the blob.
Deathwing Turn #4:
The fortress terminators shoot the dismounted vet squad killing 4, they pass morale. The other terminators shoot at the vendetta and immobilize it. A bad difficult terraint test keeps the other terminator squad from being able to rescue the squad fighting the blob. They instead assault the vet-chimera, getting a stun result. The dreadnaught manages to finish off the sentinnel. The blob kills Belial.
Deathwing
KP: 4 Guard
KP: 2
Deathwing Turn 4: The deathwing continue to shoot out of the tower for not much effect.

Guard Turn #4:
The melta vets hop in their ride and start to move towards the immobilized las cannon dread. The vendetta shoots the dread and removes it's lascannon. The executioner kills 2 more terminators leaving only the assault cannon alive. The punisher fails to kill any of the terminators. The terminators rip the multi-laser off of the stunned guard chimera and immobilize it. The blob kills off the last terminator and consolidates towards my other terminator assault squad.
Deathwing
KP: 4 Guard
KP: 3
Deathwing Turn #5:
The lone assault cannon terminator shoots the executioner (no damage) and then assaults it, ripping off the main gun. The multi-melta dread shoots the punisher and misses, charges it and rips off the main gun. The fortress terminators shoot down whats left of the blob. The assault terminators finally manage to blow up the vet chimera, and they have to emergency disembark.
Deathwing
KP: 6 Guard
KP: 3
Deathwing Turn 5: The assault terminators flame and charge the veterans, killing them off. The dreadnaught rips the turret off of the punisher.
Guard Turn #5:
Three lascannons later and the dreadnaught survives unscathed. The punisher guns it forwards trying to get away from the dreadnaught and the melta vet's gun down the lone terminator.
Deathwing
KP: 6 Guard
KP: 4
Deathwing Turn #6:
The terminators flame the vets and then assault the remnants, killing them off. The dread multi-meltas the punisher and kills it. The fortress terminators shoot the chimera for no damage.
Deathwing
KP: 8 Guard
KP: 4
Guard Turn #6:
3 meltas and 3 lascannons later and the dreadnaught loses it's other arm.
Deathwing
KP: 8 Guard
KP: 4
Deathwing Turn #7:
The fortess terminators exit the fortress and shoot at the vendetta for no damage. The multi-melta dread stretch's to max range but is able to catch the rear of the executioner and blows it up.
Deathwing
KP: 9 Guard
KP: 4
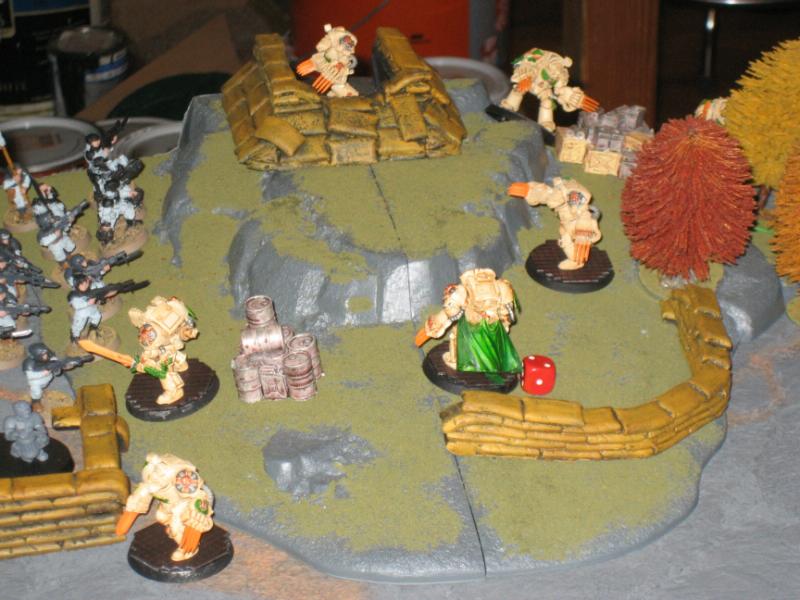
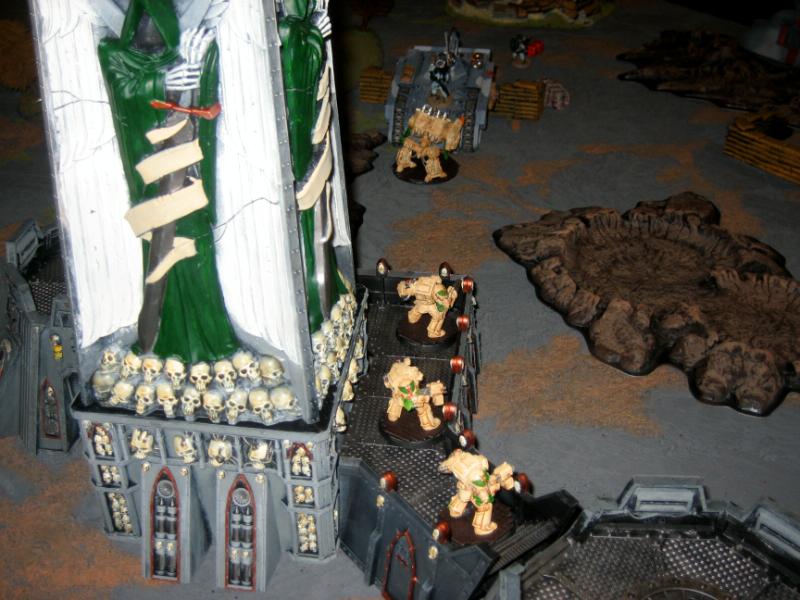
Deathwing Turn 7: The terminators emerge from the tower.
Deathwing Turn 7: The dreadnaught takes a long range pot shot at the back of the executioner and destroys it.
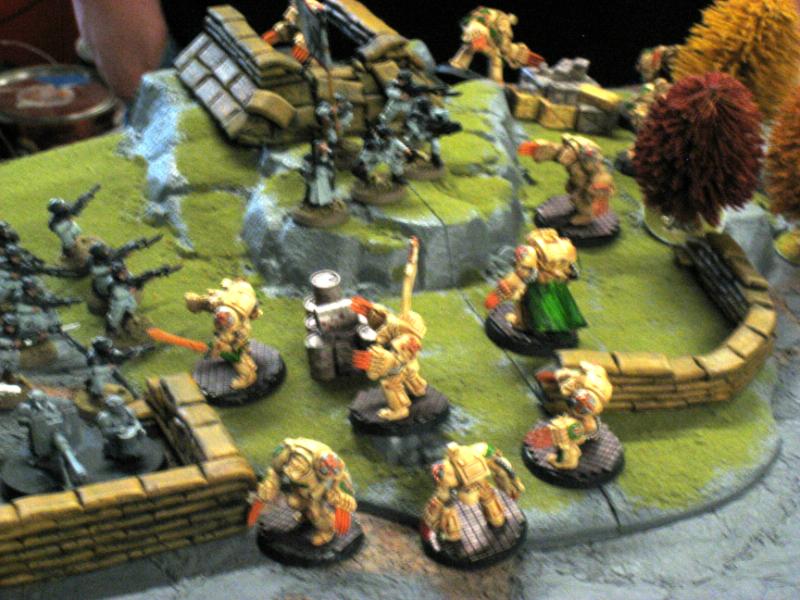
Deathwing Turn 7: The terminators secure some of the traitors supplies.
Guard Turn #7:
The melta vets finally down the lascannon dreadnaught. And the vendetta shoots and kills 2 terminators.
Deathwing
KP: 9 Guard
KP: 5
Guard Turn 6: The remnants of the guard are still valiantly attempting to make it to the tower.
At the end of the fight there are 5 terminators and 1 dreadnaught left on the deathwing side and 1 vet squad, their chimera, and an immobilized vendetta left on the guard side. A nice fun bloody battle!


 Tarus 7th Regiment "Dragoons": IG 2500+ points
 Speed Freaks: Orks 2000 points
 Soul-Forged Angels: Blood Angels WIP


 Can't you see we have been abandoned? Forget matters of duty and honor to the emperor this is now a matter of pride.
  1843 Points