Had a game with Shaun (Helspawn) yesterday. I'm testing my Tyranids again.
Tyranids "Hive Fleet Kraken" - 2,000 points
HQ
Hive Tyrant - 2 x twin-linked devourers, old adversary & armoured shell
Tyrant Guard - lash whip
Elite
2 x Hive Guard
2 x Hive Guard
2 x Hive Guard
Troops
Tervigon - crushing claws, adrenal glands, toxin sacs & catalyst
Tervigon - crushing claws, adrenal glands, toxin sacs & catalyst
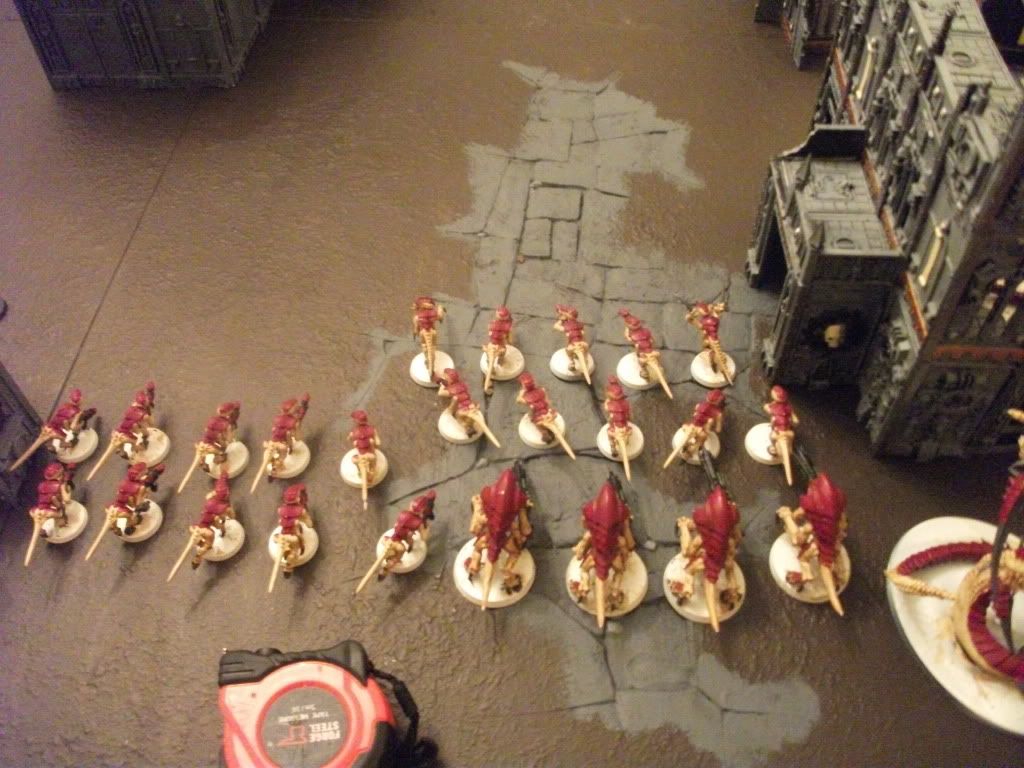
10 x Termagants
10 x Termagants
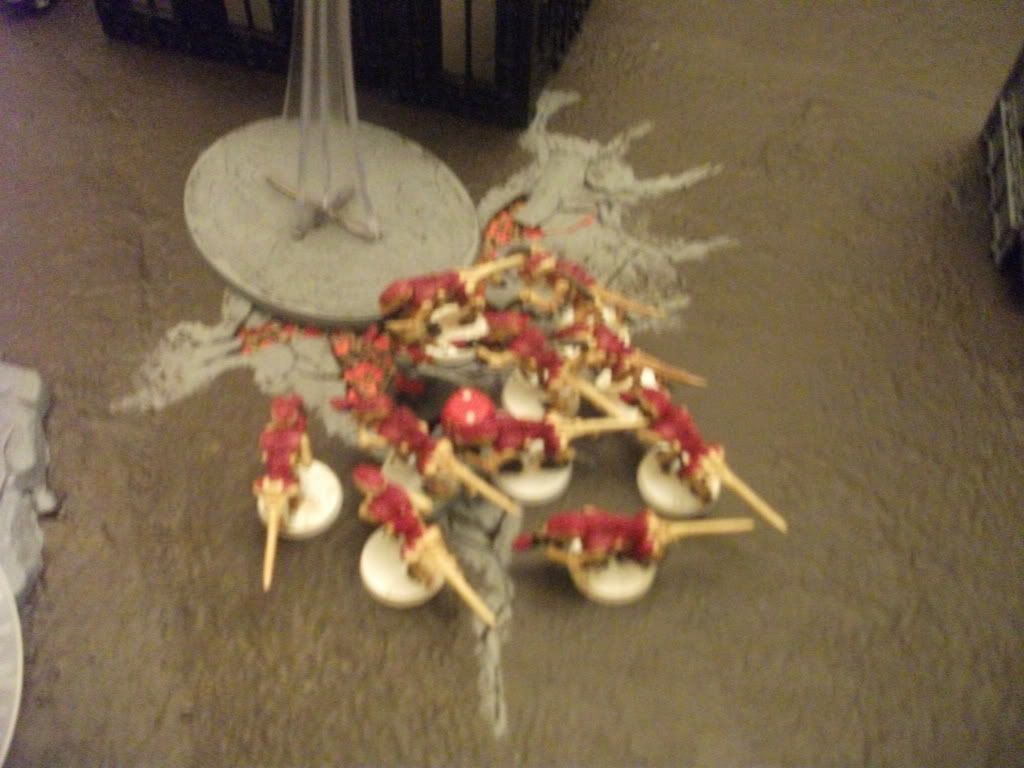
7 x Genestealers
7 x Genestealers
Heavy Support
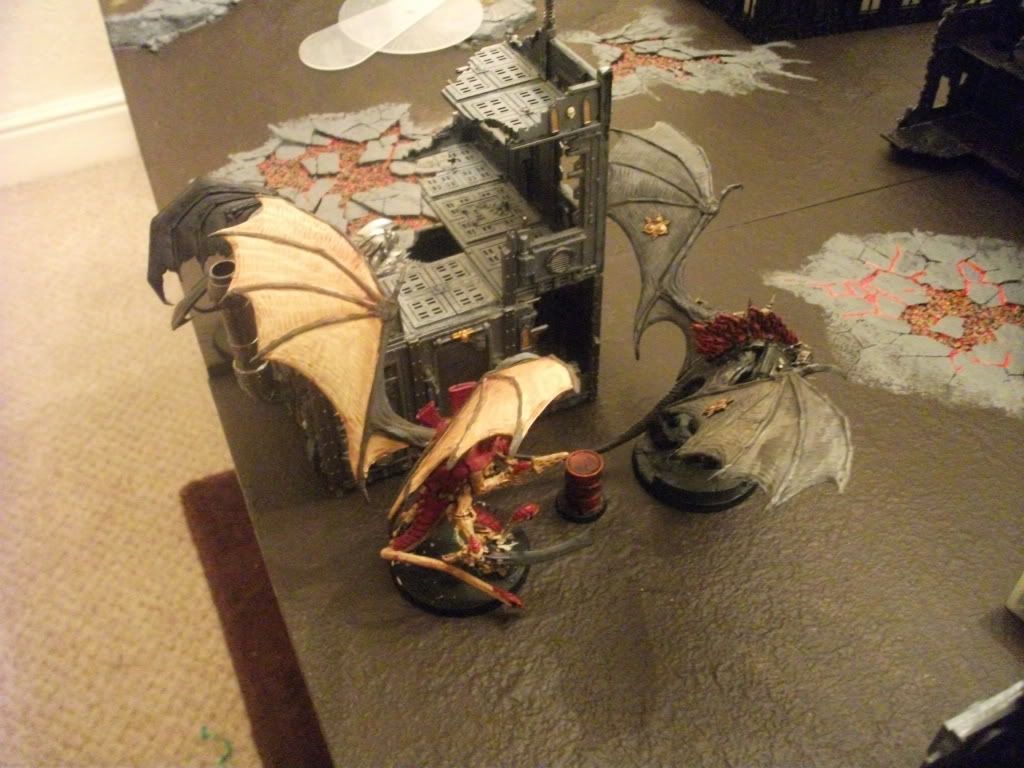
Trygon - adrenal glands
Trygon - adrenal glands
Trygon - adrenal glands
Total: 1,996
Imperial Guard - 2,000 points
HQ
Company Command Squad w/ Chimera - 4 x plasma guns & plasma pistol
Company Command Squad - 4 x meltaguns & plasma pistol
Troops
Veterans w/ Chimera - 3 x meltaguns & plasma pistol
Veterans w/ Chimera - 3 x meltaguns & plasma pistol
Veterans w/ Chimera - 3 x plasma guns & plasma pistol
Veterans w/ Chimera - 3 x plasma guns & plasma pistol
Veterans w/ Chimera - 3 x flamers & lascannon
Fast Attack
Vendetta
Vendetta
Hellhound
Heavy Support
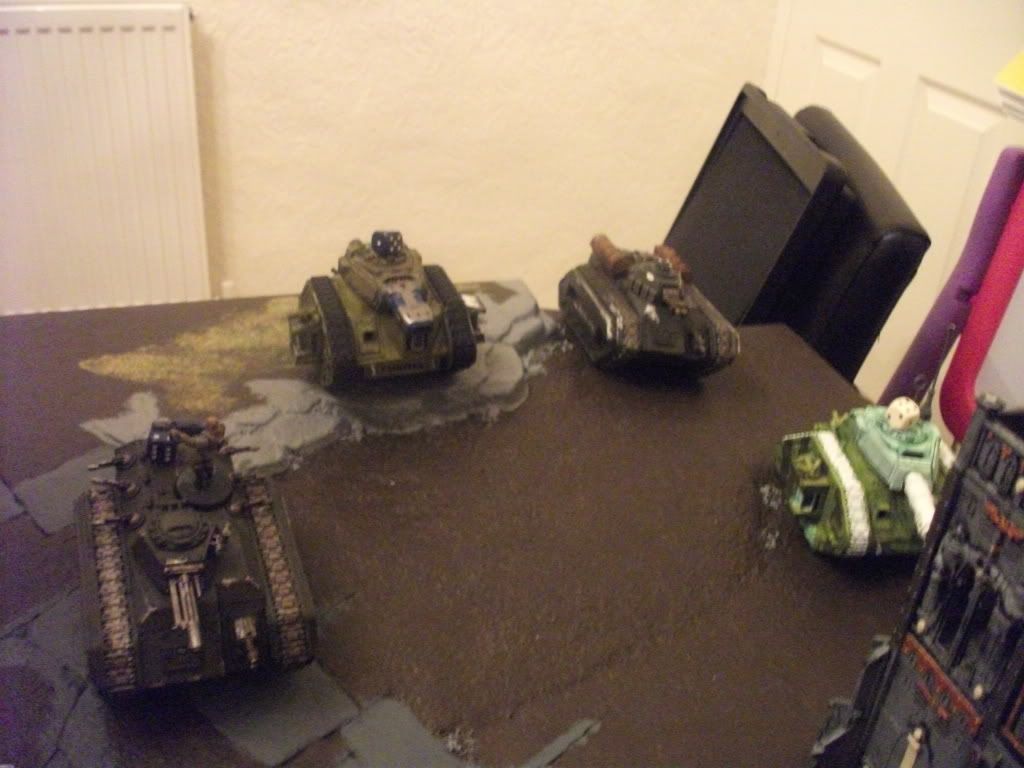
Basilisk
Manticore
Leman Russ Executioner & Leman Russ Battle Tank
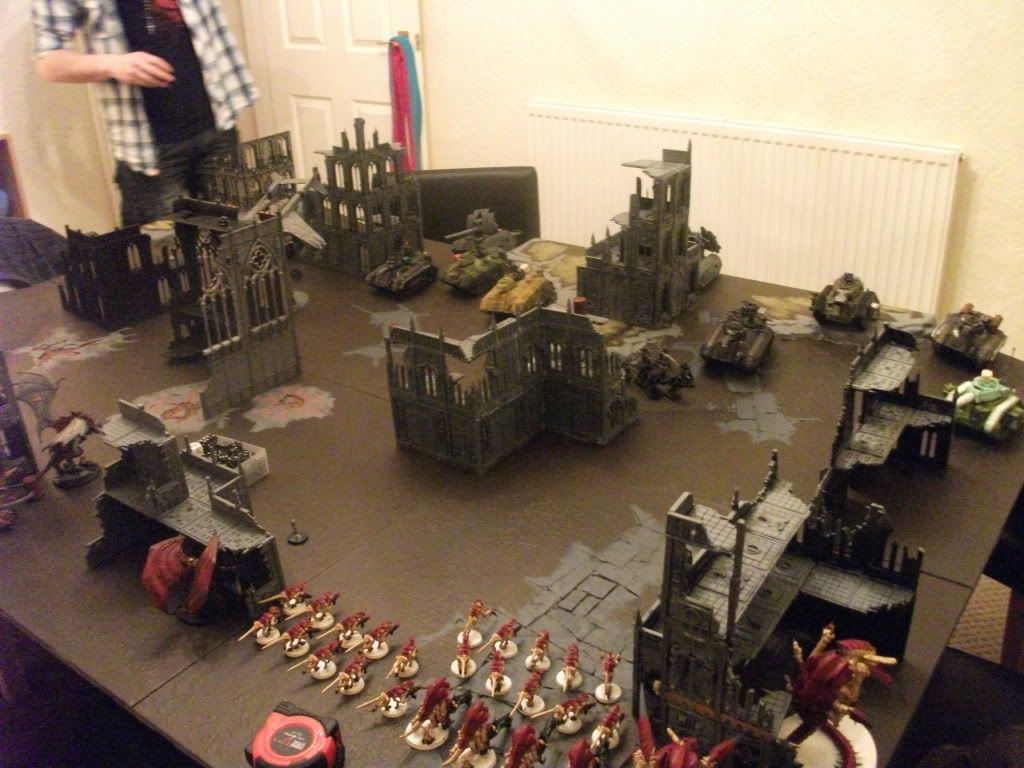
Game: Seize Ground + Dawn of War
Deployment
Shaun won the roll off and chosen to go first, he decided not to deploy anything. I also chosen not to deploy anything.
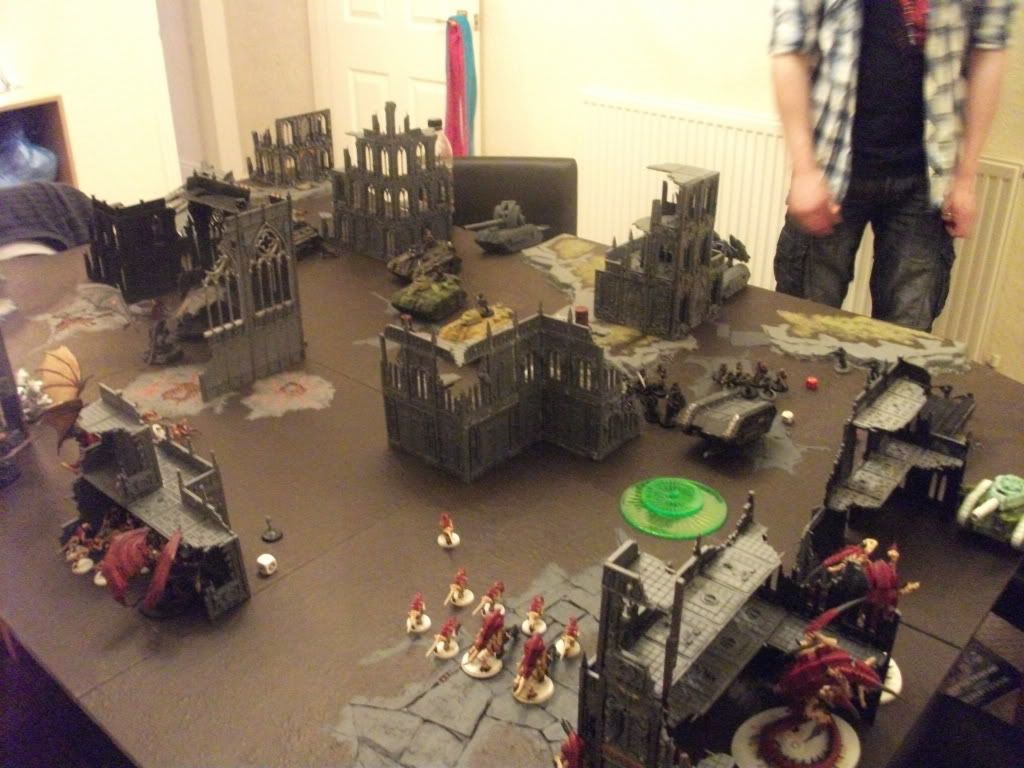
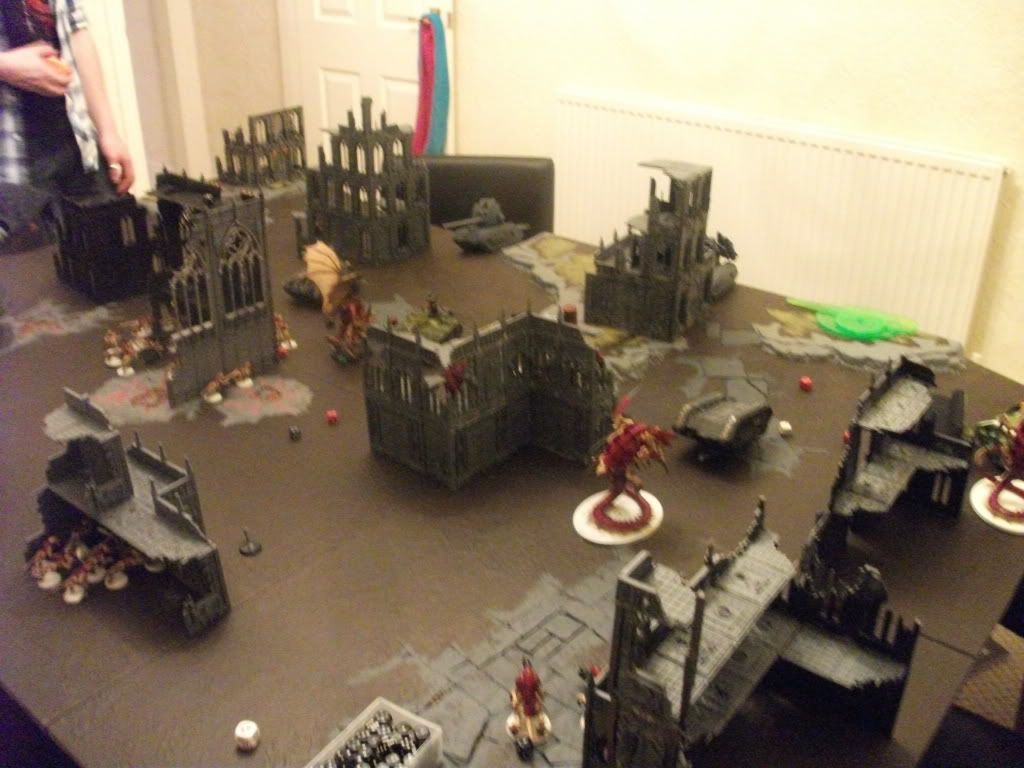
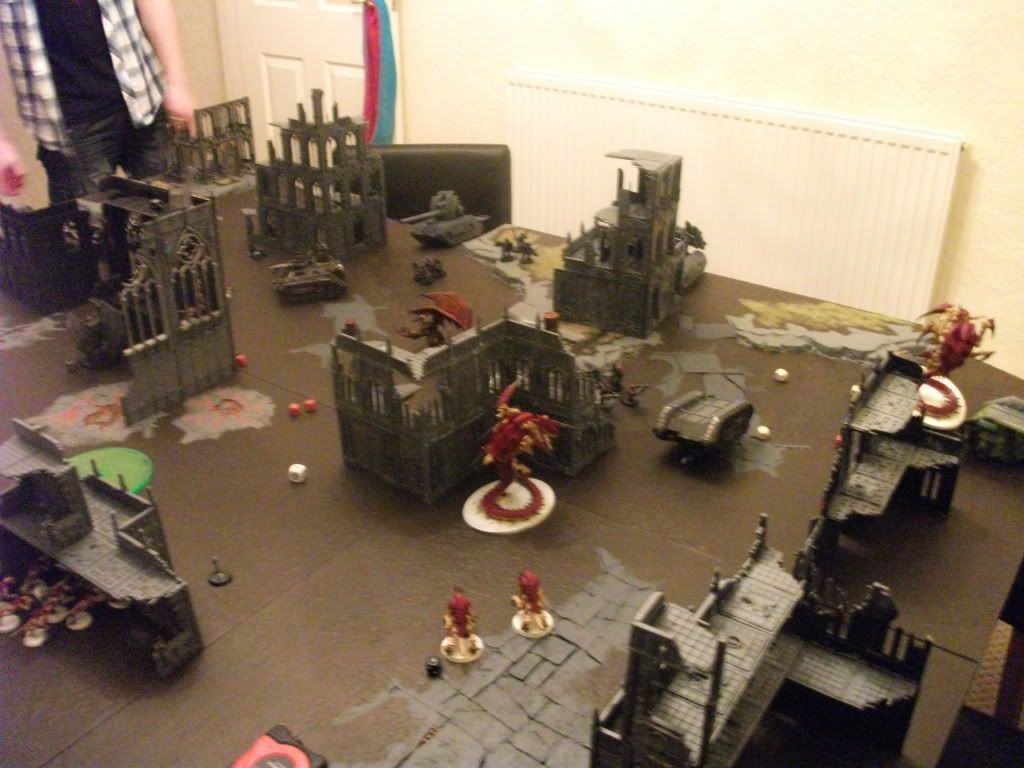
Objectives are place in the shrine ruin, factory ruin, just outside a hab block ruin, centre field and one in a sanctum mid field also.
* Tactical Notes
With Shaun not deploying anything I probably could have deployed a Tervigon which could have sped forward and then next turn be on a objective in the shrine ruin, never mind it's not far away.
Plan is to walk and use Hive Guard to blast the Vendettas losing ranged anti tank. I will then send the Trygons after the Russes and use everything else to claim objectives and tackle the Veteran squads.
Turn 1
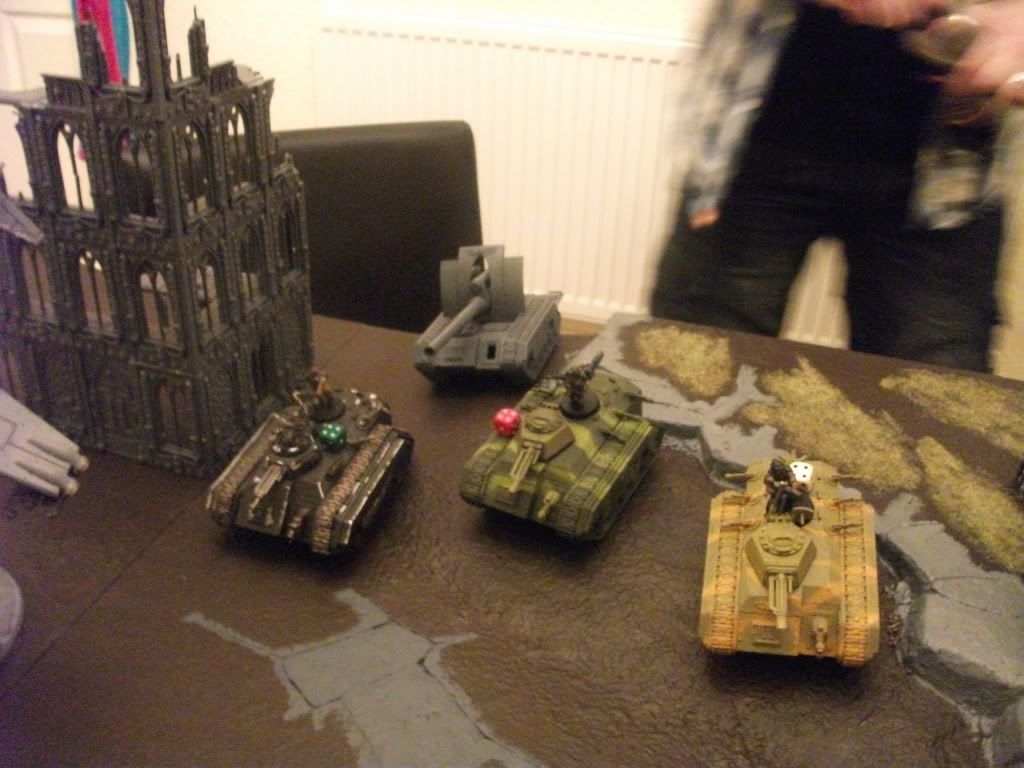
Shaun rolls his armour on putting the Russ squadron on the right flank along with the flamer Vets and a melta squad. He puts the Manticore behind the tower ruin and then centre field three Chimeras and the Basilisk. One Vendetta comes in on the left flank carrying the melta
CCS and the other on the right flank, both jets turbo boost to get 4+ cover save.
No shooting as nothing to shoot at! All tanks pop smoke to get 4+ cover save.
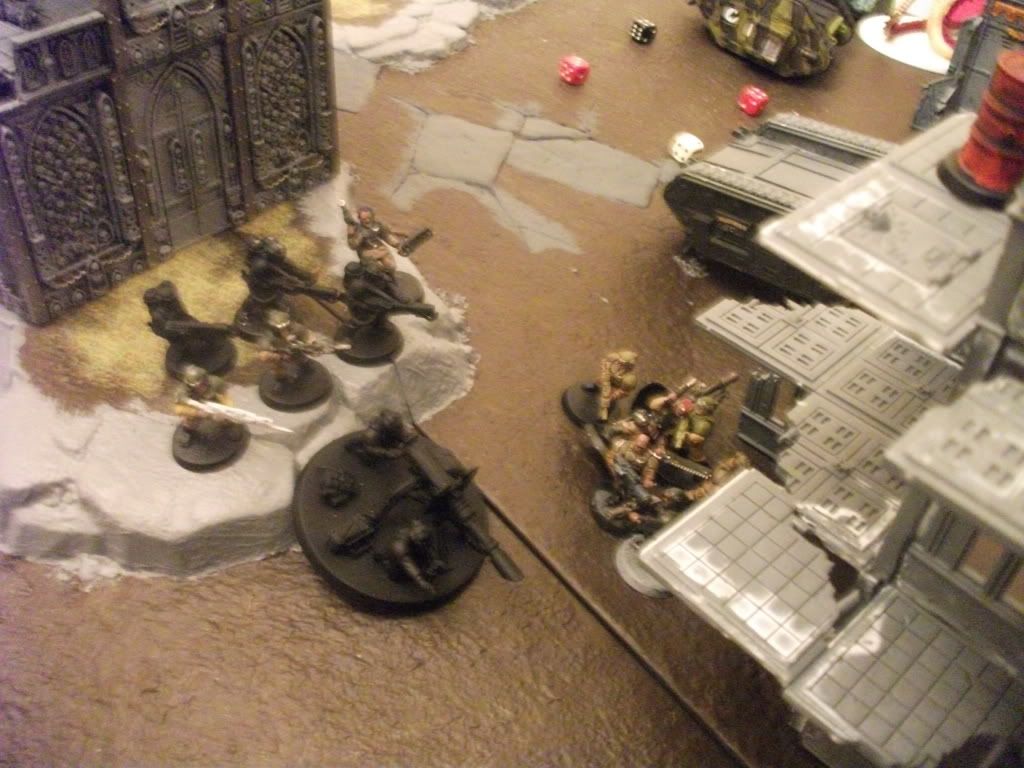
My turn I roll on the left flank a unit of Hive Guard through cover along with a Tervigon and the Tyrant, in front of the Tyrant a single Trygon (proxied with Balrog). Right flank sees both Trygons on the board edge, Tervigon (proxied by Daemon Princes) in terrain near the objective and then the two Termagant units acting as a shield for two Hive Guard squads.
Shooting I cast feel no pain on the Termagants in front of the Guard on the right flank and cast feel no pain on the Trygon on the left flank. Hive Guard on the left flank blast the Vendetta but it passes cover saves, the one on the right flank isn't lucky and is toasted along with a Chimera leaving the flamer Veterans out in the open.
** Shaun forgot to put his Hellhound on the table, being the generous fellow that I am I let him put it on, he put it on the right flank to oppose the shield wall of the Termagants.
 * Tactical Notes
Ok a good start for the 'Nids doing some damage on the right flank, shame the Vendetta didn't go down on the left flank and now I suspect some pain is going to be brought on.
Plan is to move the double Trygons up the right flank using terrain as cover, they will then tackle the heavy armour along with the Hellhound. I'll use the Hive Guard that board side to tackle the other Chimera and Hound and move up the Termagants towards the sanctum objective, I'll also spawn more to hold the objective my side. Left flank I'll use the shrine ruin for cover and tackle the Vendetta and then move onto the rest.
Turn 2
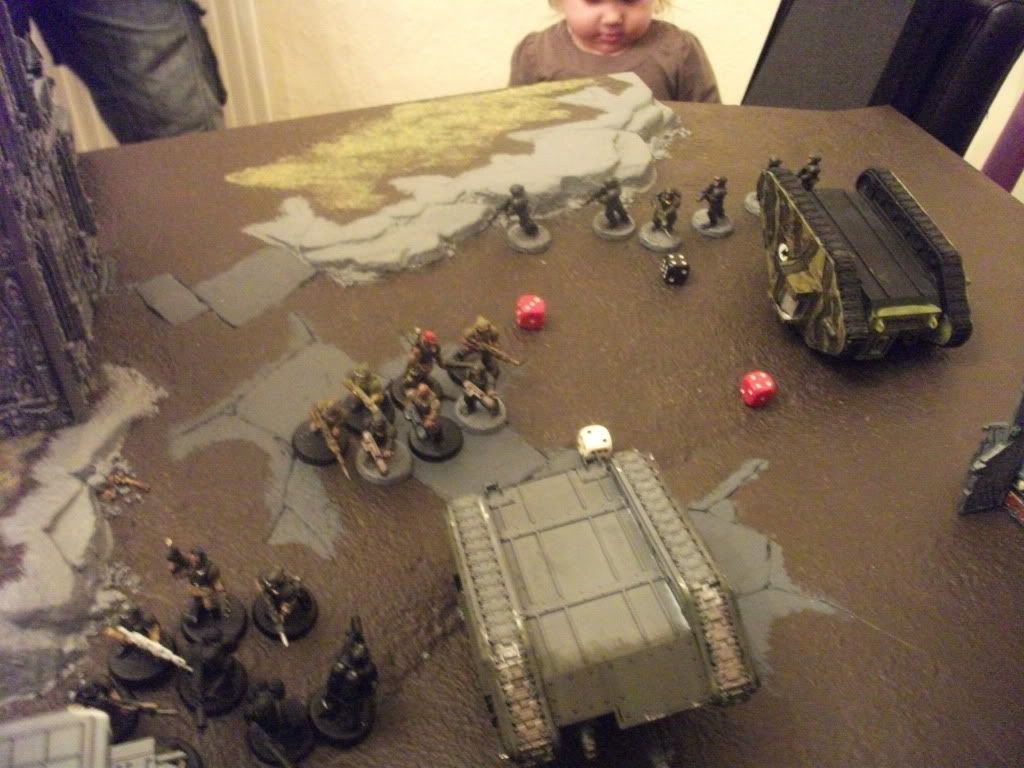
Shaun moves his tanks down the right flank with the LMBT coming down behind the ruins as the Executioner edges forward while the melta Chimera rolls down, the flamer Vets attempt to move through terrain but get a poor roll. Centre two Chimeras move down to claim the mid field objective as the
CCS Chimera moves to contest the block one as the Vendetta moves down to blast the Trygon.
Shooting the LMBT fires at Termagants blocking the Hive Guard, I don't think it hits, Executioner fires and hits a few Termagants killing a few. Manticore fires and hits a shot on more Termagants, only a single Termagant remains out of one squad and a Hive Guard is wounded. Basilisk fires at something and misses. I can't remember what the Vendetta fired at, maybe the Trygon on on the left flank.
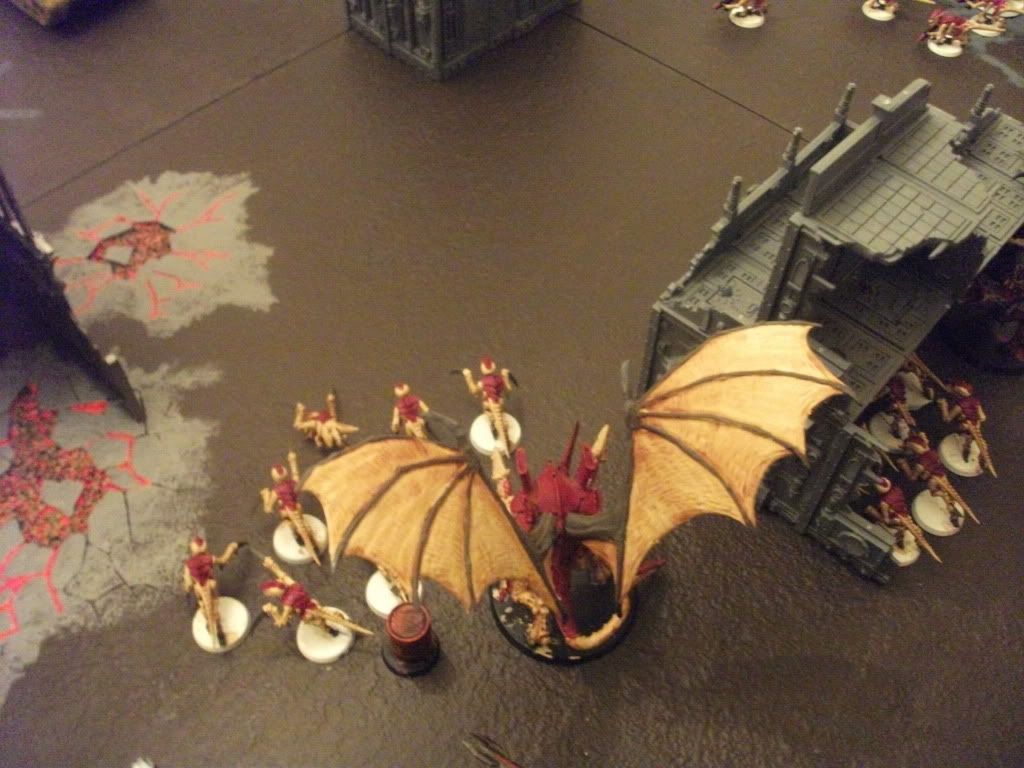
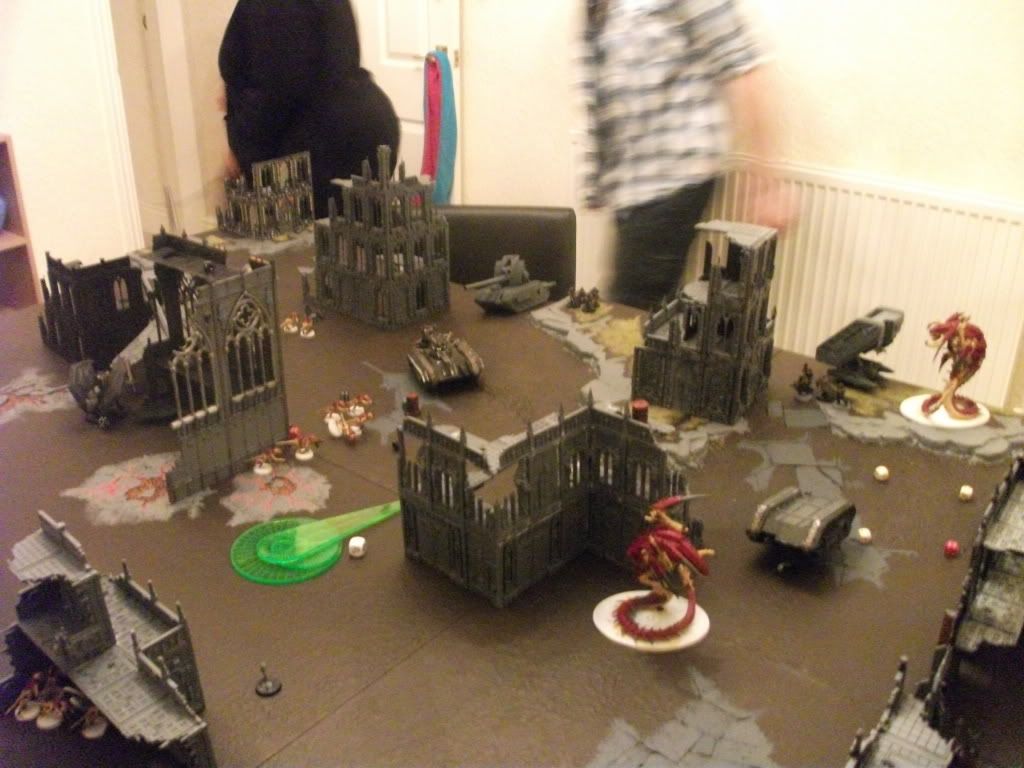
Tyranids call for reserve and a single 'Stealer unit outflanks on the right side of the board towards the Executioner and Hellhound. Trygons speed up through the ruins on the right flank as one Hive Guard unit moves into terrain while the Termagants and other Guard move towards the sanctum objective. Tervigon holding the factory objective by me spawns some Termagants but burns itself out as well. Left flank, Trygon moves through terrain to get the Vendetta as the Hive Guard come out of terrain, the Tervigon spawns a Termagant unit which runs in front of the Tyrant to give it cover.
Shooting Hive Guard open up a melta Chimera on the right flank and immobilise and weapon destroyed on the Hound. Hive Guard fire at the Vendetta and score weapon destroyed, Hive Tyrant goes to shoot a Chimera but it just out of range.
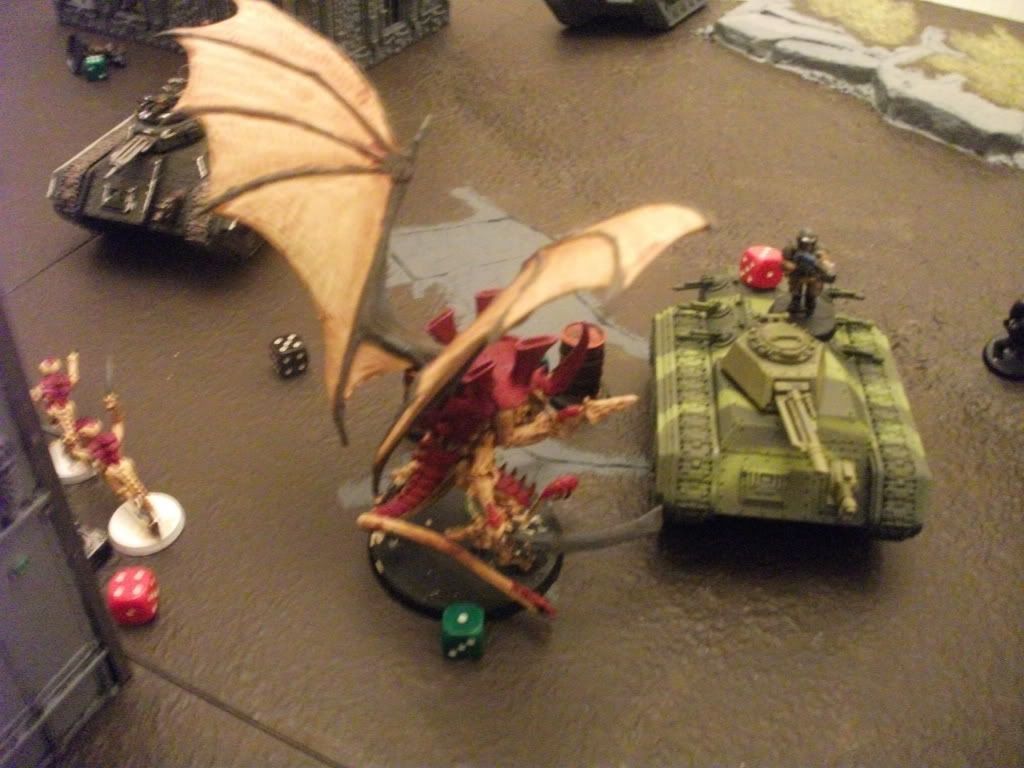
In assault Trygon fails to reach the Vendetta :( Genestealers multi charge the Hound and Executioner and wreck the Executioner and explode the Hound, killing one of them own in the explosion.
 * Tactical Notes
The right flank of Shauns army is taking a massive beating, he's lost all armour except one unit which I hope is going to get Trygon-ised next turn, that leaves him with two frail units of infantry. Shame I couldn't tackle that Vendetta which means there's going to be trouble next turn.
Plan is to mash the LMBT with the Trygons and move up units across the right flank towards the objective. I'll tackle the Vendetta and the melta unit inside before using the Hive Guard to take out Chimeras on the left flank and mid-field objective.
Turn 3
Shaun turns his LMBT around to use the heavy flamer on the Genestealers as the flamer Vet squads moves to assist while the melta squad moves into terrain to get close to the objective. The Vendetta moves down the left flank to get good
LOS on the Trygon as the
CCS bails out ready to use meltas.
Shooting, Shaun issues bring it down! order on the
CCS to blast the Trygon with melta shots, the Trygon dies thanks to combined melta and lascannon fire. Genestealers get burnt by the LMBT but it's main cannon misses, a single 'Stealer lives who passes morale. Manticore gets 3 shots and fires at the Termagants leaving just 3 left out the squad. The Basilisk fires at the same squad and misses, again.
Tyranids call for reserves and the 'Stealers come in on the left flank towards the
CCS Chimera. Synapse tests sees both Trygons pass ok same with the wounded Hive Guard unit. One Trygon moves towards the LMBT while the other heads towards the sanctum objective. The Tervigon moves from the objective leaving the Termagants to look after the objective and casts feel no pain on the batter remaining Termagants. Left flank more Termagants are spawned and go to the
CCS with the Tervigon running behind as the other Termagant squad goes onto the shrine ruin with the Tyrant using terrain to get cover as the Hive Guard move back into terrain for cover.
Hive Guard on the right flank pop a Chimera mid field, the Hive Tyrant blasts them with devourers but they go to ground and lose a single Veteran. Hive Guard fire at the Vendetta I don't think they do anything. Termagants blast the
CCS and kill two Guardsmen and wound the Commander, they pass morale.
In assault the Genestealers tear the
CCS Chimera a new one and wreck it. The Trygons rips into the LBMT and makes it immobilised and no weapons left at all. Termagants charge the
CCS but combat remains on with the Commander left with a single wound. The single Genestealer charges the flamer Veterans kills two but ultimately dies.

 Turn 4
Shauns turn he moves the flamer Veterans towards the Termagants in the sanctum ruin while the melta Veterans move up the ruin to claim the objective.
CCS move through terrain into the hab block ruin. Vendetta moves 6" to fire.
Shooting flamer squad puts the hurt on the Termagants with flamer and lasguns, the Manticore gets 2 shots and finishes them off. Basilisk fires at the Hive Guard and misses, again. Multi lasers fire at the Hive Tyrant and the Guard takes a single wound. Genestealers get blasted by plasma and melta and kill them all. Vendetta fires at the Tervigon gets two wounds.
In combat Termagants maul the Commander, they consolidate 5" towards the hab block objective. Trygon bashes the LMBT and wrecks it.
Tyranids turn the Termagants move towards the hab block objective as the Tervigon spawns more Termagants but burns itself out, the Termagants move onto the shrine objective while the Tervigon moves to the Vendetta and casts feel no pain on the Termagants. The Hive Tyrant moves towards the Veterans getting ready to assault and blast them. Trygon moves ready to assault the melta Veterans as the Tervigon moves through terrain to maul the flamer Veterans.
Shooting the Hive Guard blast the Vendetta and do nothing, Hive Tyrant blasts the Guardsmen with paroxysm and devourers leaving about half the squad left. Flamer Veterans get blasted by stinger salvo while the melta Veterans get hit by bio electric from the Trygon. Hive Guard blast the other Chimera mid field and immobilise it.
Assault the Tervigon assaults the Vendetta and scores two weapon destroyed results leaving it gun-less, Tyrant kills all the Guardsmen. Tervigon gets 1 extra attack thanks to crushing claws and mauls the Guardsmen, they have 3 models left, they fail morale and fall back. Trygon fails to make it through terrain to get the melta squad.
 * Tactical Notes
Ok the right flank pretty much belongs to me now with the flamer Vet squad falling back and unable to regroup as they're under half strength, just the melta squad to deal with which is dooable. Mid field the Tyrant might be on borrowed time, but at least has some cover as the Tyrant Guard is in terrain.
Plan is to move the Termagants up onto the hab block objective if they do not die, use the Hive Guard to open up the Chimera mid field and the Tyrant assault the squad inside while the Trygon assaults the melta Veterans the the Tervigon can claim the objective.
Turn 5
Shaun moves the Chimera mid field so if the Tyrant does make assault it needs 4+ to hit, he turbo boosts the Vendetta away from me towards his table edge. The falling back squad moves and is about 3" from the board edge.
Shooting meltas blast the Trygon but don't do anything, Manticore fires it's last single shot at the Termagants near the hab block objective and kills them all while the
CCS lays down long range plasma fire on Termagants on the shrine objective killing one, the Basilisk fires and this time lands on target on the 'Gants on the shrine ruin, but only kills one after poor rolls and cover saves. Tyrant gets blown to pieces by mass plasma and melta ruining it's day.
Tyranids turn the Tervigon on the left flank moves to claim the shrine objective while the Termagants move out towards the hab block one. Trygon moves through terrain to get at the melta Veterans as the Tervigon moves towards the mid field Chimera. The Trygon on it's own moves through terrain but not far enough.
Shooting Hive Guard pop the mid field Chimera leaving a single Chimera on the board, Tervigon blasts them with stinger salvo. Trygon blasts the melta Veterans with bio electric, they take 25% damage and only three of them left, they fail morale and run off.
In assault Tervigon charges the squad out the busted Chimera and gets 3 extra attacks thanks to the claws, Tervigon takes a wound but squad now only has 4 models left, fails morale and runs off.
 * Tactical Notes
I think the end is in sight now if the game ends or not. Termagants have got me two objectives while Shaun holds none, hopefully can finish it off.
Turn 6
We roll for it and the game rages on.
One squad falls back off the table while the other two carry on moving back. The Manticore comes out ready to BBQ the oncoming Trygon as the last Chimera moves to claim the mid field objective. The Vendetta turbo boosts towards the shrine objective and contests it.
Shooting the Tervigon by the mid-field objective dies; no Termagants around thank god! Manticore fires at the Trygon but the flamer template misses. Basilisk direct fires at the Tervigon before it did die and misses, again!
Tyranids turn the Trygon moves and contests the sanctum objective as the other Trygon goes to munch the Manticore. Tervigon gets ready to assault the Vendetta. Termagants come out the shrine and contest the mid field objective.
Shooting Hive Guard blast the Vendetta but do nothing.
Assault Trygon mauls the Manticore and wrecks it as the Tervigon gets 2 extra attacks and immobilises the Vendetta, as it went flat out it's wrecked.
 Turn 7
We roll for it and the game carries on but Shaun decides to call it a day due to him probably not winning, currently I claim one objective and contest two, Shaun contests two.
Tyranids win claiming one objective via Termagants and contesting two with a Trygon and Termagants.
Summary
That was a pretty brutal battle with the Guard taking a pounding straight from the start. It all fell down for Shaun on the right flank losing two vehicles the first turn and then losing three the second leaving just two squads of infantry that side which obivously wouldn't last with three monstrous creatures in the area.
Once again the Hive Tyrant lasted longer and while died at the end, at least got cover so it was harder for Shaun to wipe him out. I don't think old adversary is required as I only used it once. A Tervigon would be a better and cheaper
HQ choice but I've got a Tyrant model and I want to use it, only if adding fire power, but at least with paroxysm can assist a a unit in close combat.
Everything else worked as I expected so no problems there.
Shauns tactics wasn't bad, although I did give him some pointers which helped turn some things around near the end of the game. His list wasn't right though, he actually included too many heavy support choices and that's why he merged them as a squadron. I don't think he needed all the plasma pistols and taking the lascannon with the flamers wasn't a good idea, I did mention this to him! After a discussion Shaun said he's dropping the Basilisk as it's rubbish and getting another Manticore.


 Blood Angels - 2000
  Iron Warriors - 2000
  Orks -2000
  Imperial Guard - 2000
 Eldar - 2000
  Hive Fleet Krakken - 2000
  Dark Eldar - 2000
  Necrons - 2000
  Grey Knights - 2000
  Daemons - 2000
  Ravenwing - 2000


 65/4/6,
  10/2/1,
  10/3/0,
  1/0/0
1/0/0
 . Colossus would wreck against Nids, S6 no cover saves and AP3 - evil!

 Grey Knights -2500
 D'haran Great Company - 1500