We decided to play a mini mech style Ork army led by the mighty Gargant Mork and put it up against as much
IG armor (as we had painted) the other week.
Was more for fn then anything else and as such we had the following house rules:
The Gargant could not benefit from the KKF. It could never recieve better then a 5+ save no matter what cover it was behind.
All terrain was a 5+ save.
The BM could not attemp repair rlls on the Gargant.
Armies were as follows:
Morks Mechs:
2 Big Mek - Mek's Tools; Kustom Force Field; Burna
18 Boyz
17 Boyz - Choppa & Slugga
1 Boyz Nob - Bosspole; Slugga; Power Klaw
Deff Dread - 3x Dreadnought
CCW; Armour Plates; Grot Rigger; Rokkit Launcher
1 Deffkoptas - Buzzsaw; Twin Linked Rokkit Launcha; Choppa
1 Deffkoptas - Buzzsaw; Twin Linked Rokkit Launcha; Choppa
3 x Killer Kans - Rokkit Launcha; Dreadnought
CCW
2 x Killer Kans - Armour Plates; Rokkit Launcha; Dreadnought
CCW
Gargant Mork - Big Shoota (x2); Twin Linked Big Shoota; Big Shoota; Deff Kannon, 3x Rokkits; SupaGatler
Total Roster Cost: 1491
Commander Woods IG:
Company Commander - Flak Armour; Refractor Field; Power Fist
Company Command Squad - Close Combat Weapon; Lasgun; Flak Armour; Meltagun
Heavy Weapons Team - Close Combat Weapon; Lasgun; Lascannon; Flak Armour
Veteran Squad
2 Veteran Sergeant - Flak Armour; Shotgun; Power Fist
12 Veteran Squad - Close Combat Weapon; Shotgun; Flak Armour
6 Veteran Squad - Close Combat Weapon; Meltagun; Flak Armour
Chimera - Heavy Flamer; Extra Armor; Autocannon
Chimera - Autocannon; Extra Armor
3 x Scout Sentinel - Lascannon
2 Leman Russ Battle Tank - Battle Cannon; Lascannon; Extra Armor; Hunter Killer Missile; 2x multi-melta sponsons
Leman Russ Demolisher - Demolisher Siege Cannon; Lascannon; Extra Armor; Hunter Killer Missile; 2x multi-melta sponsons
Medusa - Heavy Bolter; Medusa w/Bastion-breacher Shells; Enclosed Crew Compartment; Hunter Killer Missile
Total Roster Cost: 1500
We rolled annhilation on Dawn of War.
Orks won the rolloff and
IG failed to sieze the initiative. Orks chose first.
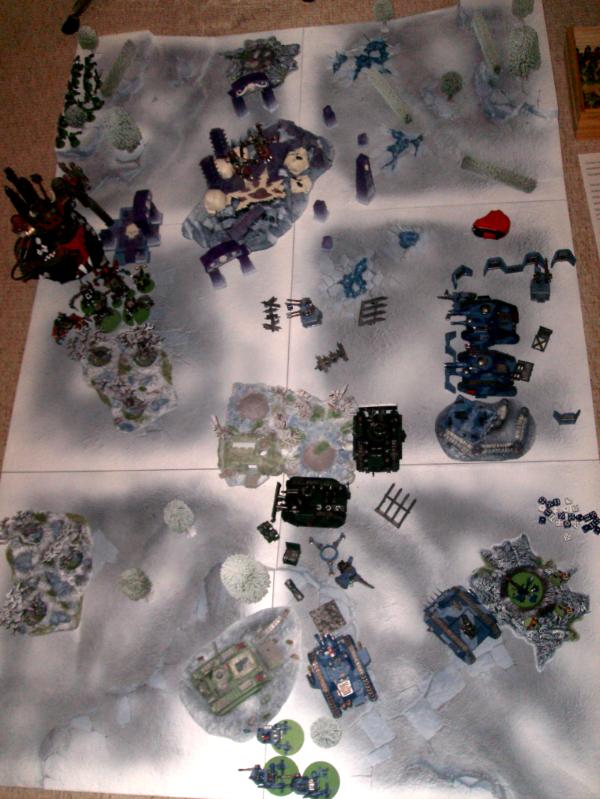
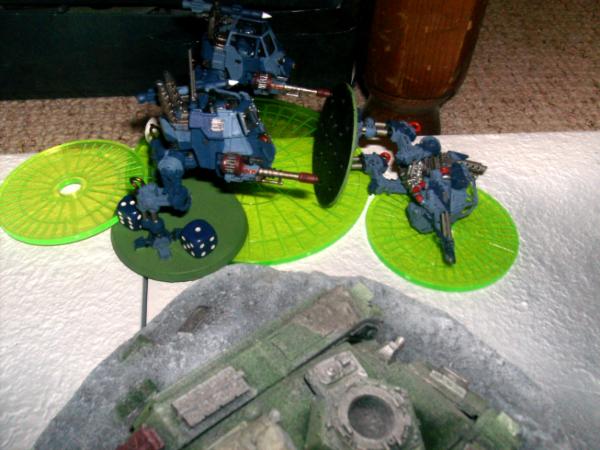
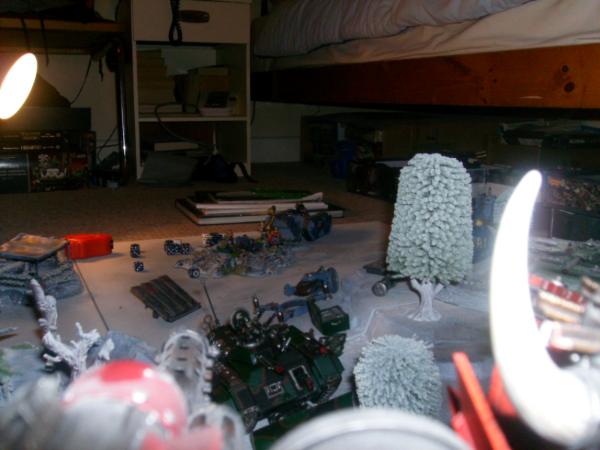
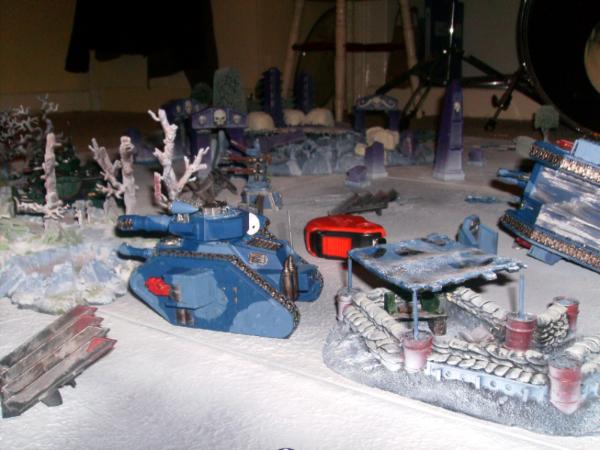
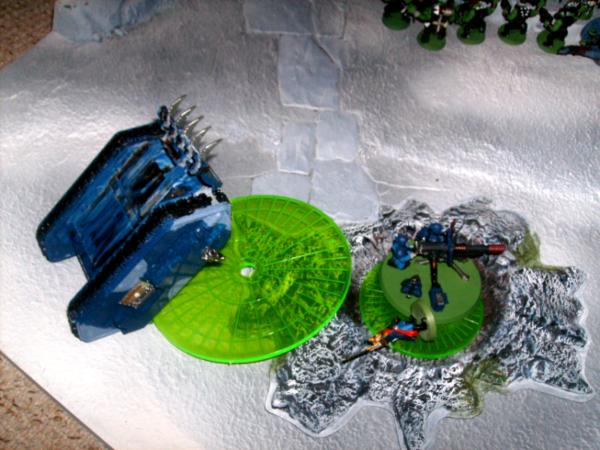
Ork deployment tactics:
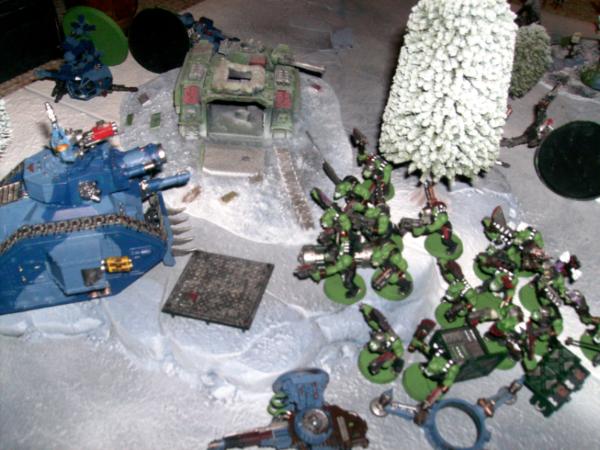
As you can see from the battlefield the last thing I wanted to do was charge straight up the middle into 2 waiting
LRMBTs in addition to exposing my flanks. As a result I decided to sweep to the right flank, try using the forests as cover and work my way up to hill for a dominant
LOS position. Hopefully by then the
LRMBTs would be neutralised and I could get an assault into the
IGs back line. I deployed my Deffkoptas on the temple to alpha strike the Russes. Rest of the force clumped up (boys and one BM inside Mork) and got ready to stomp forward.
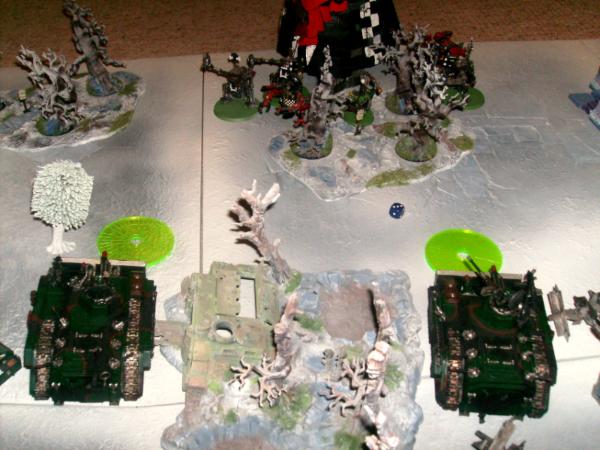
 IG
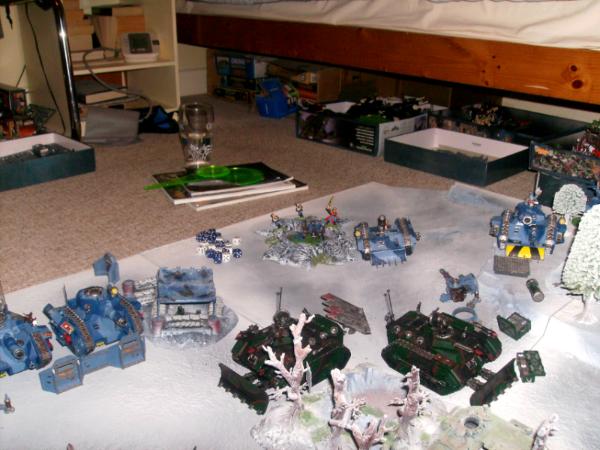
IG deployment tactics:
The ammo depot seemed as good a place as any to deploy the Russes giving a good central field of fire. I deployed the Medusa as far back as possible. I was well aware its bastion shells were my best chance of damaging the Gargant and didnt want it getting hammered early. The Demolisher took up position on the hill (in hindsight it wasnt a great location - I didnt realise the overall
LOS was so poor). The sentinels were deployed to get a flank attack on the Orks if possible. The Chimeras were loaded with melta so I deployed them forward to put the hurt on the KKs early and then hopefully pull out again quick.
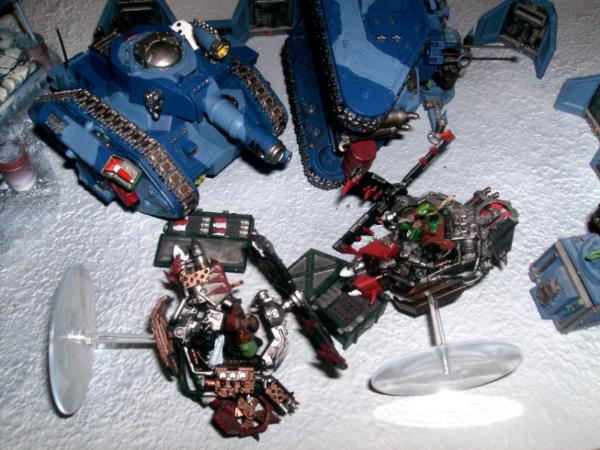
Ork turn 1:
The mandatory Deffkopta scout + charge was my opening move. The Gargant and KKs (ran) moved behind the first forest. Despite the Gargants size I found it hard to draw
LOS to the Chimeras/Medusa. As a result I decided to try and neutralise the Sentinels, which with 3x las, could prove troublesome. The Supagatler opened up in a manic hail of crazed gunnery. 8 rounds of firing later one sentinel was destroyed, another was immobilised with a weapon lost and the third had its single weapon blown off/stunned. The Deffkannon missed however but the result was pretty good overall. Both Koptas opened up on the side armor of the Russes but failed to damage before charging. However they both more then proved their worth in the following assault destorying one
LR and blowing off two weapons from the other. I chose the
BC and las leaving that tank very short ranged.
Ork turn 1 thoughts:
I was a little disturbed when I tried to draw
LOS over the battlefield with the Gargant. The hills/forests despite his size were proving troublesome and a lot more movement/manouvering would be needed. The gattler however had done very well effectively rendering the sentinel squad impotent (however its ammo was now spent). I decided to ignore them for the time being and pick up the points for them later on. Both the
LRs had been crippled badly, it was the first time I had used alpha strike koptas too

However despite the good round of shooting I still had only a 2
KPs and I was sure both koptas were toast next turn.
 IG
IG turn 1:
The surviving
LR turned to fire on the Koptas. Unfortunately nothing else could draw
LOS to them. The
CCS got ready to back it up incase it missed. Both Chimeras moved forwrd to position their meltas on the Kans and popped smoke. The m/edusa opened up on the Gargant but disappointingly missed. The
LR duely exacted revenge on the Koptas hitting and wounding both reducing them to slag. The sentinels were either stunned or had no wewapons left so did nothing. The
CCS also fired on the Gargant but failed to damage it either.
 IG
IG turn 1 thoughts:
Losing the sentinels and the first
LR was a big blow so early on. It effectively denied me 5-6 more heavy weapns that were badly needed. I was beginning to realise that hurting the Gargant was going to porve quite tough even though it had no shields/AV13. My idea with the Chimeras still stood, get in fast, melta as many Kans as I could and withdraw to a safe distance. I stayed just outside of the Kans charge range for this purpose and next turn should be able to put some fire down. Destroying the two koptas levelled the score at 2-2.
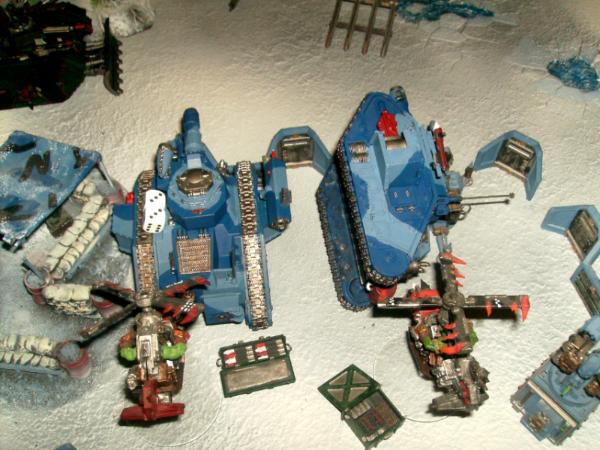
Ork turn 2:
The Gargant and KKs once again stomped forward preparing to open up on the approaching Chimeras. The Gargant fired its Deffkannon on at the medusa realising it was a threat but it made its cover save. Luck then intervened to save the
CCS from a hail of bigshoota fire, not one shot landing on target. A combination of poor shooting and cover saves meant that both Chimeras also escaped damage.
Ork turn 2 thoughts:
Overall a pretty dire round of shooting, damaging/killing exactly nothing. I pushed forward as much as possible but there wasnt a lot else to do except see what the
IG would throw back. Mork, whilst imposing and fun was proving to have a huge footprint preventing the second KK unit from getting further forward.
 IG
IG turn 2:
At this point the remaining
LR had no
LOS at all because off the forests and began manouvering into a better firing poisiotn. Both Chimeras moved backward slightly. The
CCS opened up on the Gargant with its single lascannon and amazingly scored a penetrating hit and damaging its drive shaft. The first Chimera fired on the two Kans and scored 2 penetrating hits, blowing off one weapon and stunning the other. The demolisher tried a shot at the Gargant which missed as did the Medusa siege shell, however it luckily scattered back onto the two Kans but couldnt penetrate them. (To be honest I cant recall what the second Chimera did that turn).
 IG
IG turn 2 thoughts:
I was genuinely disappointed not to have done more damage with the first Chimera, 3 meltas and an autocannon yielded no destoyrd results on the Kans and I was now within charge range. The
CCS had got very lucky and damaged the Gargants drive meaning it could now only move 6 inches per turn. The Demolisher was proving a real problem, it was simply wasted on the hill and would have to be moved - sooner then later. At this stage I sinmply wasnt putting down enough firepower and those shots that were hitting had bad luck on the damage charts.
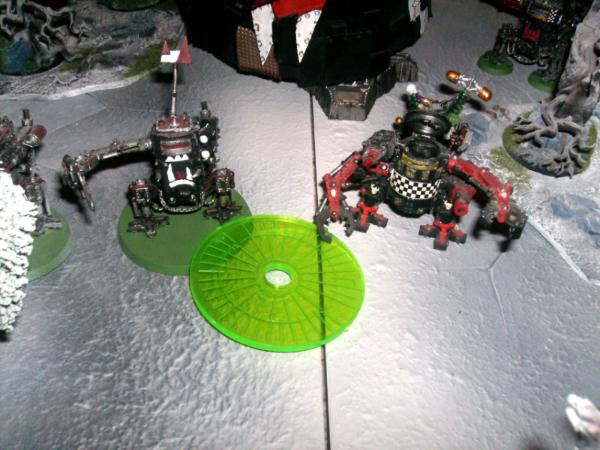
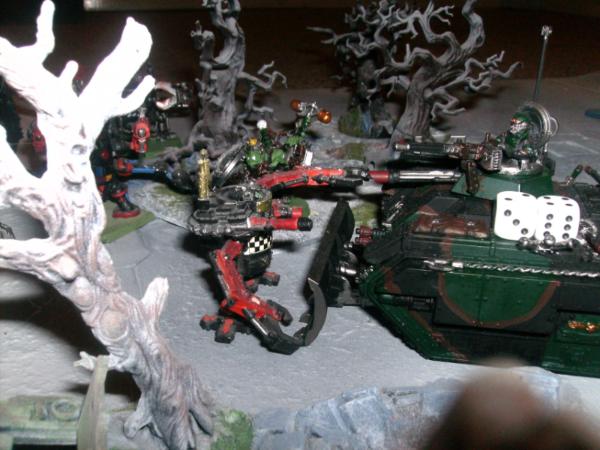
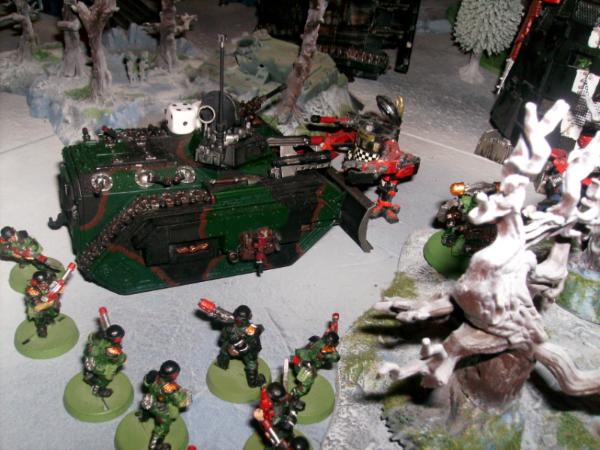
Ork turn 3:
Enraged by the impudence of damaging his Gargant the Mekboy urged the Orks on. The Dreadnought managed to get into combat with the second Chimera. The Kans prepared to fire on the first Chimera before charging it. The Gargant limped forward whislt the second Kan group brought up the rear. The Gargant fired first at the
CCS with its big shootas killing two of them but they passed their test. 3 rokkits and the Deffkannon then slammed into the Medusa immobilising it.The Kans were obliterated by the first Chimera but having being stunned the turn before could not follow up with the charge they needed on it (infact one had been immobilised but we forgot that meant destroyed so had left them both there). In hand to hand the Dreadnought immobilsed the Chimera and stunned it too.
Ork turn 3 thoughts:
Killing the first Chimera was very nice as it now meant 10 squishy guardsmen were almost literally toe to toe with Mork. I was annoyed not to have done more damage with the Dreadnought on the second Chimera and a little unlucky not to have destroyed the Medusa altogether. However I was confident, I hadnt actually lost anytrhing in two turns and was now 3-2 up on
KPs.
 IG
IG turn 3:
The
LR manouvered into a good firing position but was still just out of range of the Gargant. The second vets squad dismounted from the Chimera hoping to destroy the Dreadnought. The first vets squad opened up with their meltas at close range on the two Kans obliterating them completely. The second squad werent quite as lucky but did immobilise the Dreadnought and shake it too. The
CCS amazingly hit and damaged the Gargant again damaging its primary Deffkannon, however it passed its anti damage ability roll. The Meduas also fired on the Gargant but failed to penetrate as did the Demolisher whos to hits roll were woeful. The mobile sentinel moved backwards to try and find some better cover as not to give away another
KP.
 IG
IG turn 3 thoughts:
Destroying the Kans kept me in the game but I had a bad feeling what was coming next. My damage chart rolls were deserting me again however, 2 pens on the Dreadnought could have gone better. However I still had 3 workable tanks and 2 vet squads against an immobilised Dread, a kan unit and the Gargant. But my transports were now gone so the hit and run tactic was not viable anymore and
LOS was becoming harder with everything quite tight amongst the forests.
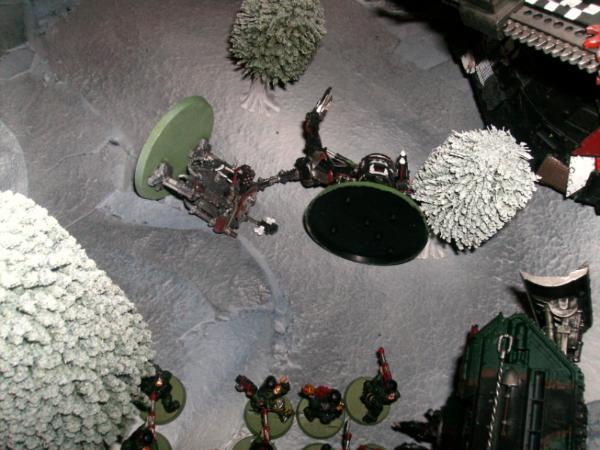
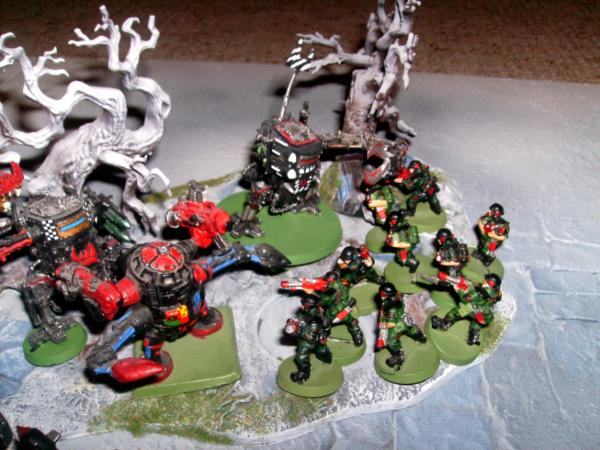
Ork turn 4:
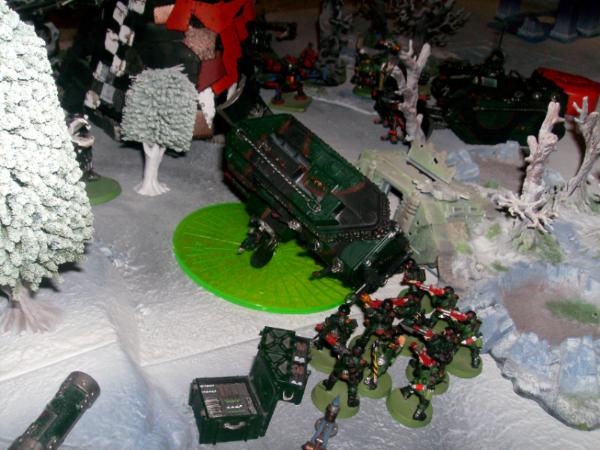
The second Kan squad couldnt charge the 2nd vet squad directly due to the Chimera being in the way so careened through the forest in an attempt to get to them. However they rolled a double one for their terrain test and fell short. The BM moved beside the Dreadnought to attempt a repair roll on him. The Gargant fired on the immobile sentinel with all of its bigshootas and finally put it out of its misery. The Deffkannon missed again vs the Medusa.
However With a terrible creaking groan Mork turned around 180 degrees and released his assault ramp. the boyz squad accompanied by the first BM charged headlong into the first vet squad. the vets were butchered wholesale and the boyz consolidated closer to the Demolisher on the hill. The BM failed in his repair role on the Dreadnought who in turn could only shake the Chimera.
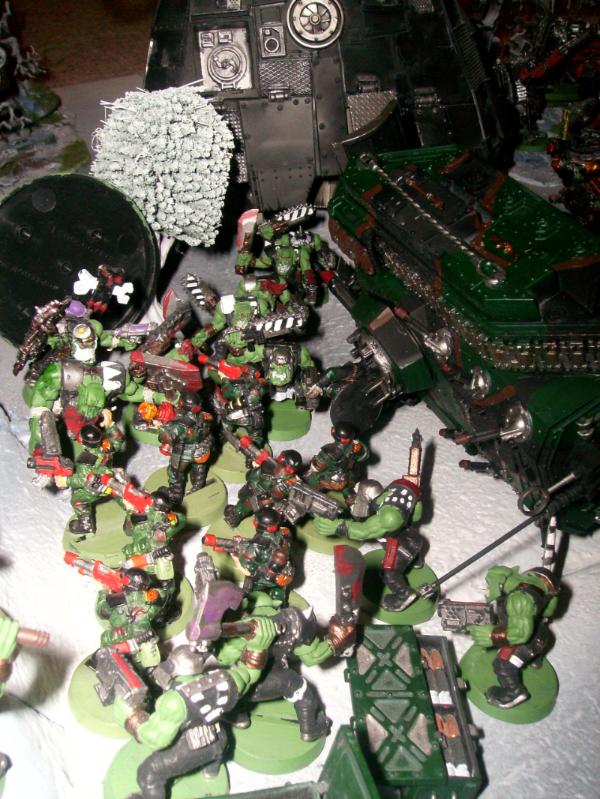
Ork turn 4 thoughts:
Ive played one or two games with the Gargant now and whilst he never does anything spectacular he is definetly a potently reliable way of getting your troops into combat! 60 something attacks later and the vet squad were no more. Another valuable
KP, however the boys were now very much in the open. The second Chimera really should have been dead, 4 Dreadnought attacks vs an immobile target. I was however beginning to get a commanidng position both in terms of hardware and options.
 IG
IG turn 4:
The second vet squad entered the forest to fire on the Kans and then follow up with a last ditch charge. The Demolisher fired everything it had on the boyz but crucially missed with its cannon, killing two boys with its meltas. The Medusa fired on the gargant again penetrating it but only shaking it. The vets fired on the Kans shaking one before charging into hand to hand. However they failed to cause any pens despite a lot of grenade attacks. The Kans retaliated killing two men but they passed their test. The Chimera opened up at point blank range on the bigmek wounding him.
 IG
IG turn 4 thoughts:
I hadnt got a lot left at this stage, to be honest the vet charge was a last ditch effort to get another
KP and then simply hide! But it had not gone well. Missing with the demolisher cannon sort of summed things up.
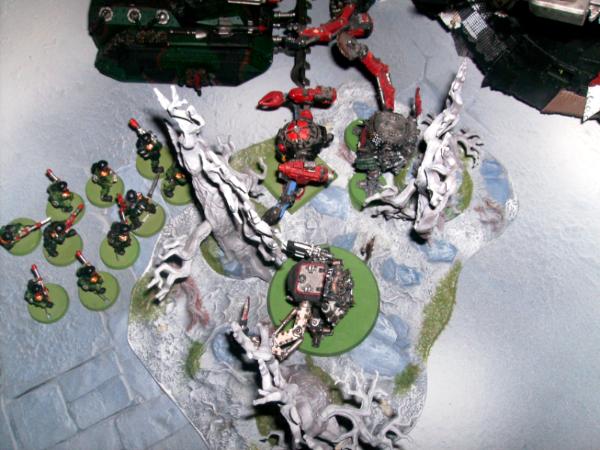
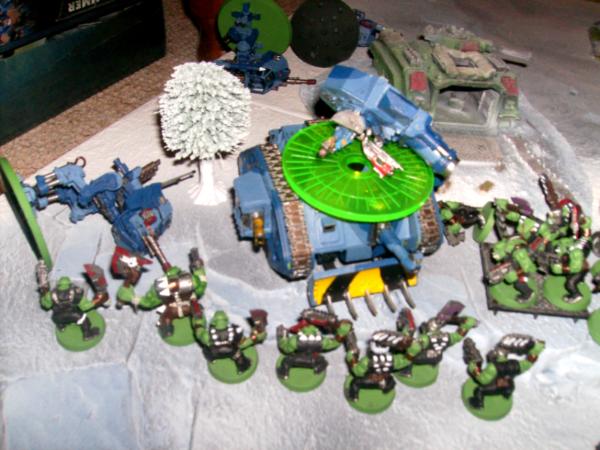
Ork turn 5:
Mork continued lumbering forward 9 we rmoved the central forest for easy of play. the boyz and BM multicharged the Demolisher and last sentinel who had failed to move far enough away. Mork opened up on the
CCS with the bigshootas wiping them out and then followed up with the deffkannon destroying the medusa. The Dreadnoguht finally managed to finish off the last Chimera and in hand to hand the kans killed another two vets who broke and fled. We decided to call it at that point with the
IG having virtually nothing left to continue on with.

Ork final thoughts:
Overall a fun game. It became a bit of a rout in the end. Arguably the turning point was the gargants ablity to disgorge the boys exactly where they need to be. They subsequently wiped out the vets, Demolisher and last sentinel putting the Orks out of touch
KP wise. MVP had to go to the Gargant, its always a bit of a fire magnet and weather ed the storm quite well whilst posing a continuous threat with the sbigshootas and deffkannon.
 IG
IG final thoughts:
Pretty much tabled in the end im afraid but a fun game overall. Losing the two
LRs and sentinels (effectivly) early on put a dent in the overall plan and once the boys hit the lines it became a rout. I should have fallen back sooner then I did (or didnt as the case was) and the vets whilst packing some good firepower failed to do the damage required. If I were to rematch I'd probably try an infantry
HW gunline and focus on the Gargant 100%. The kans whilst tough are killable compared to it. My shooting didnt really help, had some unlucky damage chart rolls and could have made a closer game of it with a bit more luck.

Forgive any typos, bit late here.


 [/URL]