Switch Theme:

Knights of Baal Blood Angels Blog: Build/Paint a Stormraven  [RSS] Share on facebook Share on Twitter Submit to Reddit
»
Author Message
Advert


Forum adverts like this one are shown to any user who is not logged in. Join us by filling out a tiny 3 field form and you will get your own, free, dakka user account which gives a good range of benefits to you:
  • No adverts like this in the forums anymore.
  • Times and dates in your local timezone.
  • Full tracking of what you have read so you can skip to your first unread post, easily see what has changed since you last logged in, and easily see what is new at a glance.
  • Email notifications for threads you want to watch closely.
  • Being a part of the oldest wargaming community on the net.
If you are already a member then feel free to login now.


Made in us
Sneaky Sniper Drone


near Philadelphia, PA

Ok. Here is part 1 of my Stormraven blog. Be sure to check out and follow my Blood Angels blog at:

http://knightsofbaal.blogspot.com


Ok, so I'm FINALLY posting my walk through of the building and painting of my Blood Angels Stormraven. So, obviously I unsprued things and filed down all the mold lines etc. I decided to actually paint the inside of this thing (for some reason). First I black primered the interior (not the outside). Then I used Boltgun Metal to pretty much coat the entire interior (Space Marines are into interior design so much). I used the Black Ink (Badab black?) with a half water half ink mix and washed the hole interior. Then i did a dry brush of Boltgun Metal again to get rid of the "watermarks". For the walkway ramps, I also did a wash of Devlan Mud to show where the Marines would trudge dirt and grime everwhere when they embark and disembark.


Next step, I used Scorched Brown on the leather seats and highlighted with Bestial Brown. Gold parts were based with Shining Gold, highlighted with Burnished Gold and then a little bit of Mithril Silver on the points.


For the tv monitors, on a base of Black, I blended up Regal Blue, then Ultramarine Blue and then Ice Blue going Black in the upper left of the monitor to the lightest blue in the lower right. I put a few dabs of White to give a shiny look. I didnt have the Glossy Varnish when I painted these but I would use that in the future after the monitor is done.


For the Red buttons/monitors, I blended up from black with the Mechrite Red Foundation paint and Blood Red adding White dots for the shiny specular reflection.


Automatically Appended Next Post:
Ok, in part one I painted the inside and now we're ready to glue it together. The instructions that came with the kit are actually quite good and thorough so I basically stuck close to that. But, I use the Sabol Designs Army Transport carrying cases and foam, so, I had to leave the wings detachable so I didnt have to buy a big new GW case to carry it around.


So I basically just glued the main body together except for the top turret and top intake vent. I left the front hatch openable but I chose glue the back hatch closed because the model design seemed like it would keep falling off if i didnt. I didn't glue down the pilot canopy so I could paint that in detail as well. I also made sure not to glue down the jet fans by the front landing gear and on the ends of the wings. I'm using my Stormraven as a transport/anti-mech option so I glued down the meltas in the front and I glued the Lascannons on the top turret (I figure I can just buy top turret bits from bits store online if I ever wanted to change the top turret). I also decided to to just glue in the Hurricane bolters in case I ever use them (and they also look awesome).

In the next installment, priming and magnetizing...

This message was edited 1 time. Last update was at 2011/04/07 15:04:36


Made in us
Sneaky Sniper Drone


near Philadelphia, PA

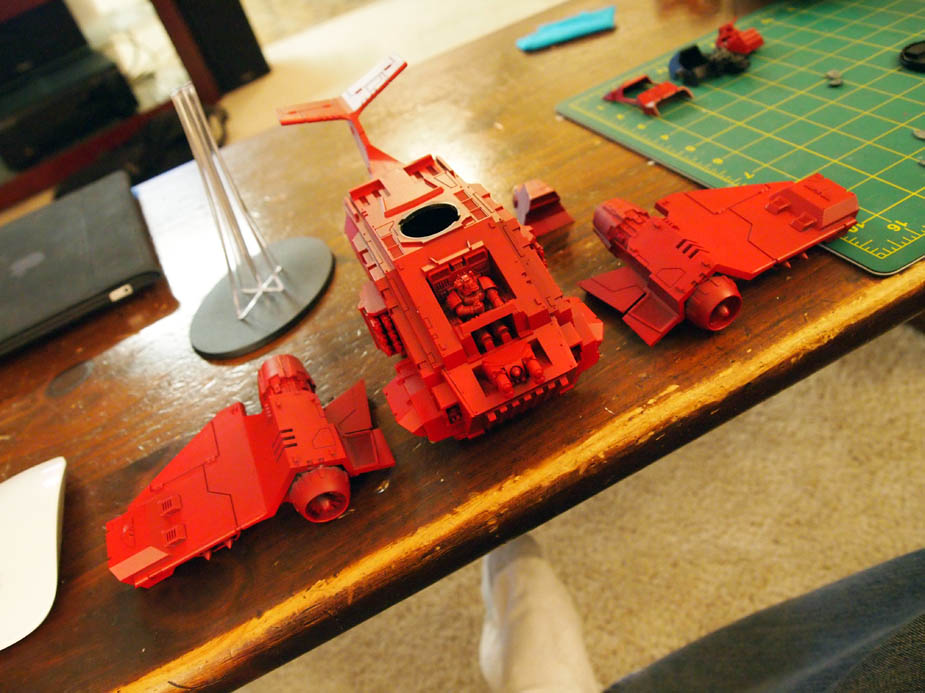
Ok, for part 3, I have my Stormraven primed with Army Painter Dragon Red spray paint. For those used to GW's primers this spray paint is a rather different animal. Its a thicker paint out of the can and a bit more touchy than GW's. Make sure the humidity is not above 50-60% when you are painting and also make sure its not too hot or cold out, I'd say no hotter than 85 degrees and no colder than 50 degrees. Also you will have to spray a bit closer than GW cans, which are generally best at about 6-8 inches from nozzle to model. Make sure the Army Painter nozzle is about 4-5 inches away from your model. If you get further you run the risk of the paint drying before hitting the model and this creates a sandpaper like texture. If you paint on a hot humid day (or on a rainy day), you'll get this same sandpaper texture.


Even with all these high maintenance instructions, I HIGHLY recommend priming with Army Painter sprays. Their selection of color is fantastic and for the most part, color matches GW's line of paints. I also used the Skeleton Bone Spray paint (matches GW's Bleached Bone) to prime all my Tau army.

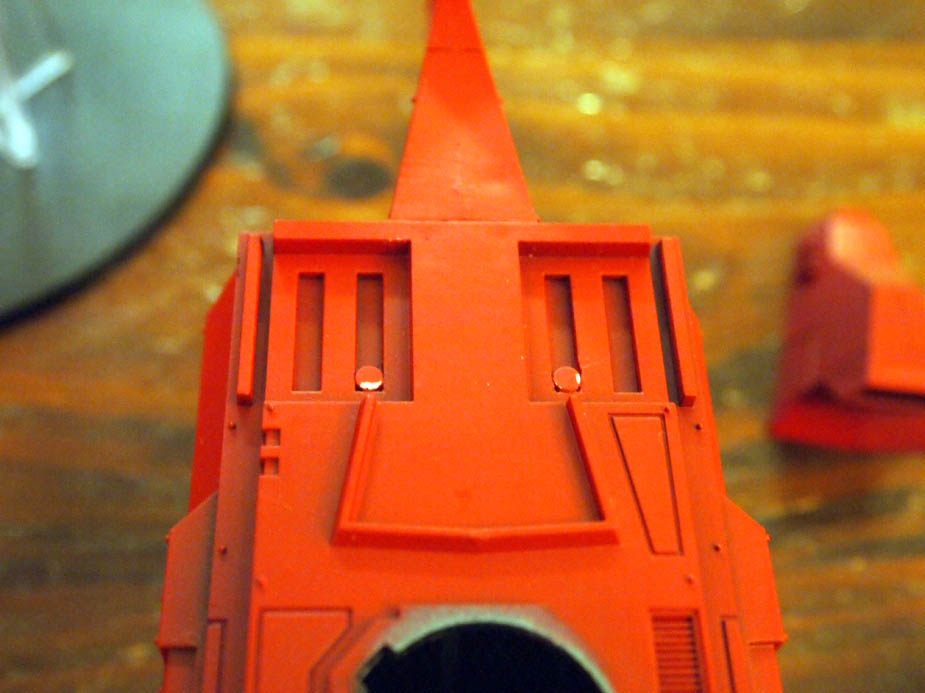
With that being said, Dragon Red is a darker shade than GW's Blood Red. The closest GW paint is the Foundation Paint: Mechrite Red. But unfortunately this isn't an exact match. So I had to find something else...

The best match I found for spot paint was Vallejo's Rojo Visceral/Gory Red from their GAME color range. It's pretty "spot on" () and I really like how their containers seal up nice and aren't prone to drying as quickly as glass/plastic pots that GW and other paint makers use (ie. you don't leave the top open when you're painting, you just unscrew the cap squeeze out the amount you need and reseal). The dropper tip also allows you to be exact when mixing colors in the fact that you can count out how many drops of paint come out the tip. The paint itself is a bit thinner, and requires more coats when painting but in the long run this is better because your models don't look like you glopped on the paint.

   
Made in ca
Phanobi


Canada,Prince Edward Island

The interior looks great! The details really make it stand out.

I have been thinking about getting some Army Painter spray for a while now, the results seem to be well worth it judging by the smooth, clean finish you have go on the SR. I just hope they ship to Canada being pressured containers and all that.

   
Made in us
Sneaky Sniper Drone


near Philadelphia, PA

Commander Cain wrote:The interior looks great! The details really make it stand out.

I have been thinking about getting some Army Painter spray for a while now, the results seem to be well worth it judging by the smooth, clean finish you have go on the SR. I just hope they ship to Canada being pressured containers and all that.


Thanks! If you do get a can be sure to shake very well and do a test spray or two to get used to using it. Its definately a bit more touchy than the GW sprays but well worth it!


Automatically Appended Next Post:
Part 4 of To Build a Stormraven, I show how I magnetize the wings. I used Sabol Design Army Transport carrying cases to move my armies around and when fully assembled the Stormraven will only fit into GWs Monstrous carrying case and I didn't want to have to spend $70-80 bucks on that. So I decided magnets were my only choice. Luckily, it was pretty easy to magnetize the wings on this thing. As you can see below, there are slots where the wings attach to the main body. I just did a little filing and the magnets slid right in.


For the wings themselves I just glued them to the inside grove corners like below.


The only other thing I had to do was file down the edges of the wing attachment area because the top intake vent wasn't sitting quite flush to the main body of the vehicle. But after about 5-10 minutes of filing it was fitting snuggly. Now i have a Stormraven I can take apart and carry around with me, nice!

This message was edited 1 time. Last update was at 2011/04/14 19:44:48


Forum Index » Dakka P&M Blogs
Go to: