Do you know how hard Toilet paper sets when it gets wet? An Idea came to me that I could use this to make terrain. At the time I had seen tutorials on the internet where to make a crater they just painted pie tins a certain colour and that was basically it. So I decided to put two and two together and make a crater with wet toilet paper using a pie tin as a mould.
You will need -Toilet paper
-Aluminium Pie tin any size (obviously the bigger the tin the bigger the crater).
-Water in a cup/bowl
-PVA/White Glue
-Basing sand or other equivalents
-Paints and brushes spray paint.
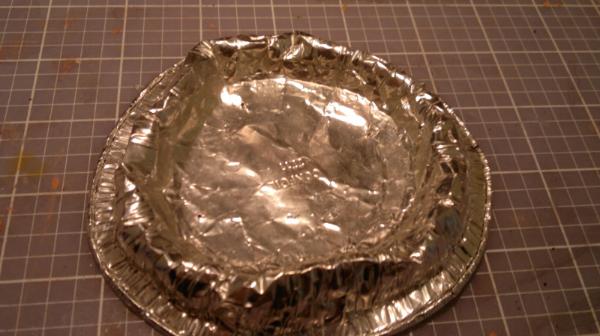
Step 1. Mould the pie tin into a crater shape. You now have your “crater mould”
 Step 2
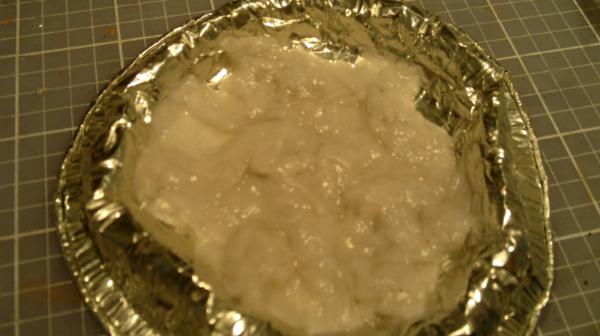
 Completely drench a few sheets of toilet paper with water ONLY and place them in the base of your crater mould.
 Step 3
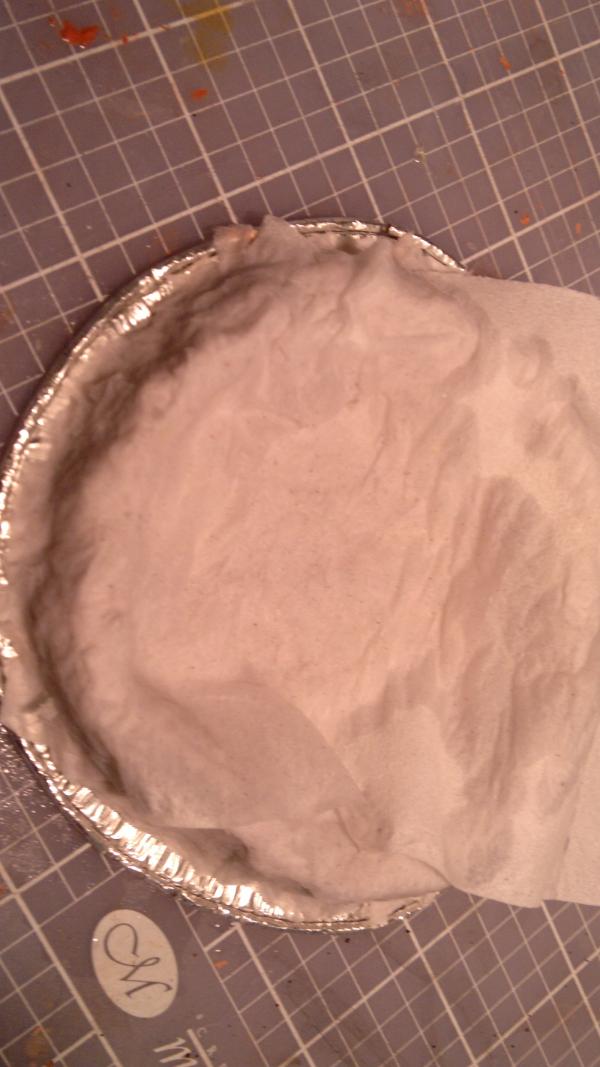
 Start folding some dry sheets over the sides of your crater mould. The water from the wet sheets will seep up and wet these dry sheets making it easier to shape it around the mould. These sheets of toilet paper should be very damp not soggy. If they are not wet enough wet your hands slightly and wet it manually.
 Step 4
 At the end of step three your crater should look like this. After this you should leave it for around 2-4 Days to dry. I have put it under a heat lamp which speeds things up a little. If you leave it outside in the sun it will also dry faster.
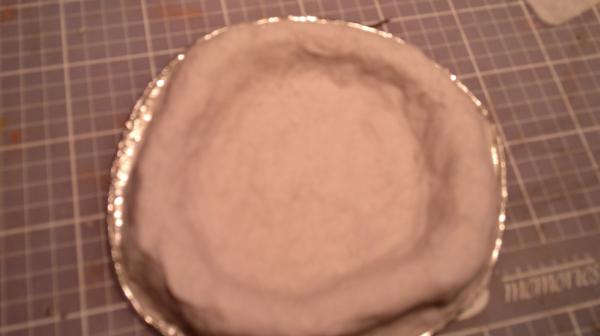 Step 5
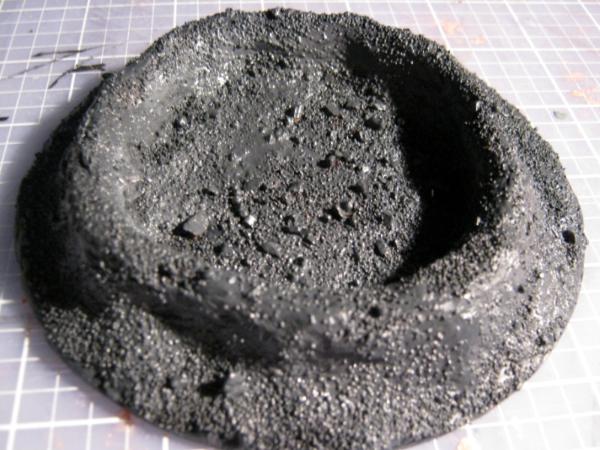
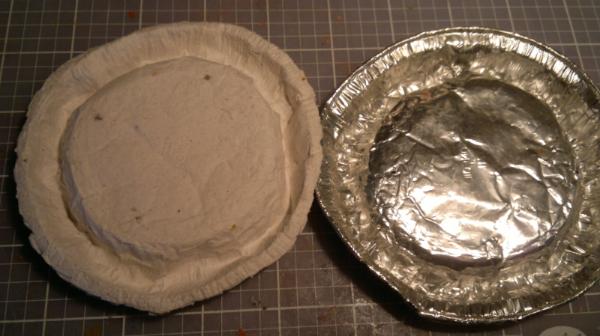
 I don’t have to wait that long because here is one I prepared earlier.

When it is dry it will be rock hard. You can pull it out of the mould and now you have a crater.
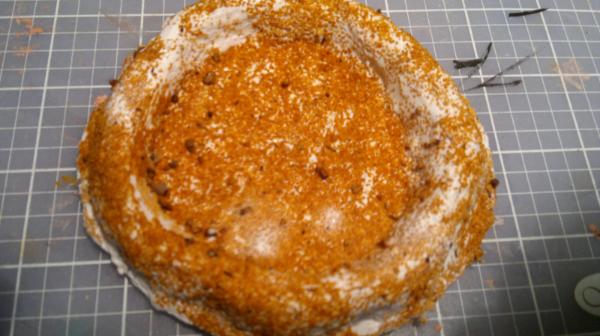
 Step6
Step6 Texture it with PVA glue and basing sand, when it is dry I like to give it a couple coats of watered down PVA to seal the sand and stop it falling off.
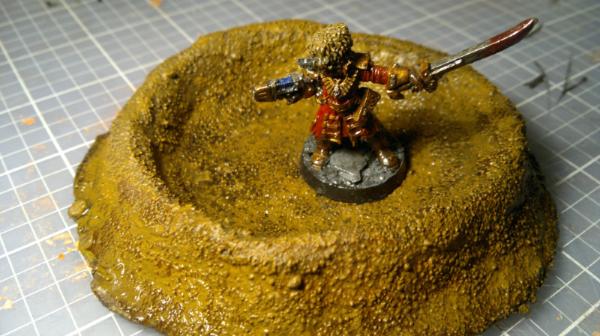
 Step 7 Painting
 I first undercoated it with black spray paint, then dry brushed it scorched brown then I applied a second dry brush of graveyard earth. When that was dry I gave it a watered down wash with gryphonne sepia. However you can paint it the way you want.
I hope someone finds this helpful.
FP