Switch Theme:

Chapter Symbol  [RSS] Share on facebook Share on Twitter Submit to Reddit
»
Author Message
Advert


Forum adverts like this one are shown to any user who is not logged in. Join us by filling out a tiny 3 field form and you will get your own, free, dakka user account which gives a good range of benefits to you:
  • No adverts like this in the forums anymore.
  • Times and dates in your local timezone.
  • Full tracking of what you have read so you can skip to your first unread post, easily see what has changed since you last logged in, and easily see what is new at a glance.
  • Email notifications for threads you want to watch closely.
  • Being a part of the oldest wargaming community on the net.
If you are already a member then feel free to login now.


Made in us
Neophyte Undergoing Surgeries


Mesa, AZ

I am trying to get ideas for how to best make my chapter logo out of plasticard or some other material to make it stand out more and be larger.


Here is my Symbol:


Just for reference, I am only using the starburst and what is inside.

Here are examples on the models I have already made so you can see why I want something larger:


Standard bearer


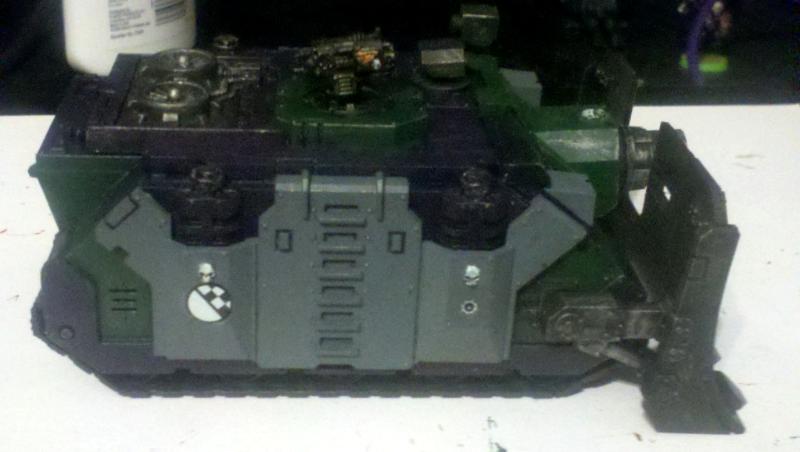
Smallish on the side of one Vindicator


A little larger on the Whirlwind.

This message was edited 2 times. Last update was at 2011/06/19 00:10:16


Made in nz
Longtime Dakkanaut


New Zealand

Sounds like an ideal project to learn resin casting for

But you'll still need to make the master to then make a mold from. (Multiple masters if you want them in multiple sizes.)

The good news is that your symbol looks relatively easy. For the centre, rummage in your bits box to find a hemisphere/half-ball of the right size. For the surround, find the centre of each of the 16 round curves and very carefully drill a hole just large enough to _nearly_ touch the next hole. This may take a few tries. Then use a scalpel to extend each curve out to form the 16 rays.
   
Made in us
Neophyte Undergoing Surgeries


Mesa, AZ

Thanks for the advice.. I think I might have to learn resin casting.... that way I can also work on casting for the shoulder pads, et al.

   
Made in us
Neophyte Undergoing Surgeries


Mesa, AZ

The more I look into it, I think I may do both, resin casting and cutting plasticard to match the symbol...
   
Made in us
Gargantuan Gargant


Binghamton, NY

Definitely agree with Clang's method for making the master(s). Resin casting is an option, if you would also likely copy other items, but it's a bit of an investment if all you want are some icons. For a symbol as simple as this, a press-mold would be a much quicker, cheaper, and easier option (all you really need is your master and a bit of polymer clay/sculpting putty). Might even be able to recycle some old sprue by squash-casting smaller icons (I've done it successfully using a Sculpey mold of small Ork glyph plates and a candle).

The Dreadnote wrote:But the Emperor already has a shrine, in the form of your local Games Workshop. You honour him by sacrificing your money to the plastic effigies of his warriors. In time, your devotion will be rewarded with the gift of having even more effigies to worship.
 
   
Made in us
Neophyte Undergoing Surgeries


Mesa, AZ

Oadie... that is something I will also look into.

This is the first time I am doing something custom on this scale so I truly appreciate all the feedback.

I have a stencil I am working up right now just to see how the plasticard works and looks... will be trying the putty option next since looking in to the resin casting seems to be a larger ordeal than I initially thought.
   
 
Forum Index » Painting & Modeling
Go to: