Hey guys,
So I went over to a friend's uncles' about a week ago and he got me playing Rapid Fire... and I enjoyed it.
Considering the fact that I'm bored stiff and 1:72 is such a cheap scale, I've set about trying to construct a scenario.
Hill 154 was the smallest of the NW Europe Scenarios that can be viewed for free on the Rapid Fire site:
http://www.rapid-fire.uk.com/hill154.pdf
I've thusly set about trying to build everything included. (On that note, if anyone knows where I can get a 1:72 57mm
AT Gun for the Yanks as well as some cheap trucks, I'd be grateful).
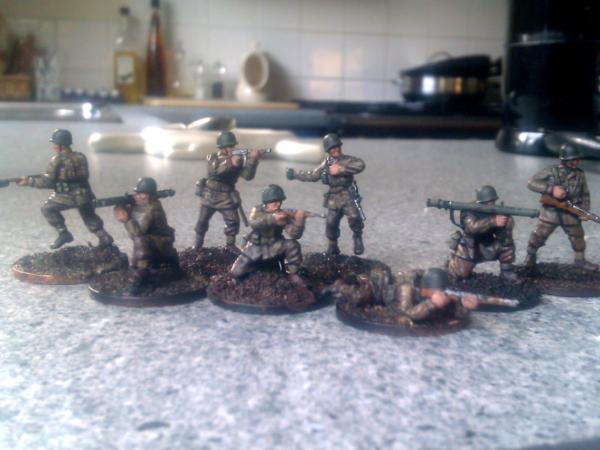
At any rate, I've set about building the Germans first and I've nearly got them finished. I've not had time to take pics of them all and those that I have I've only done so with my rubbish mobile camera, but I hope people will like what I've got:
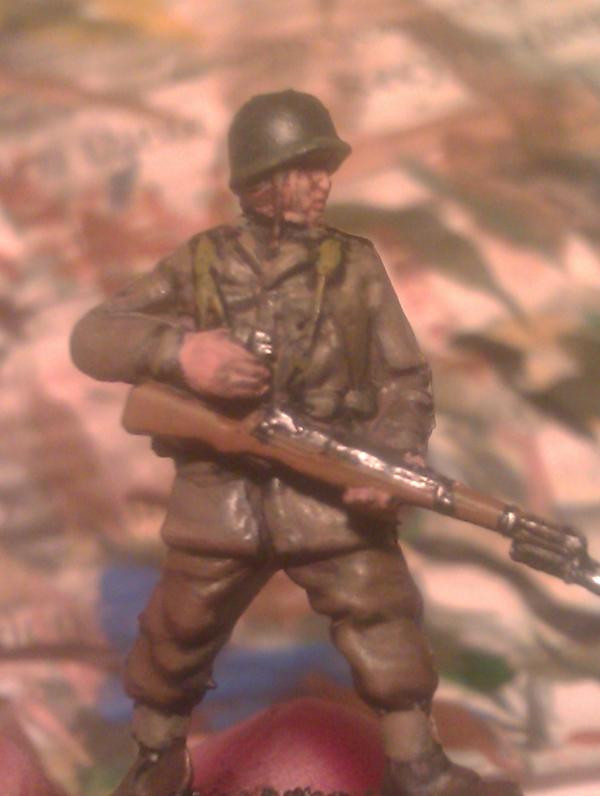
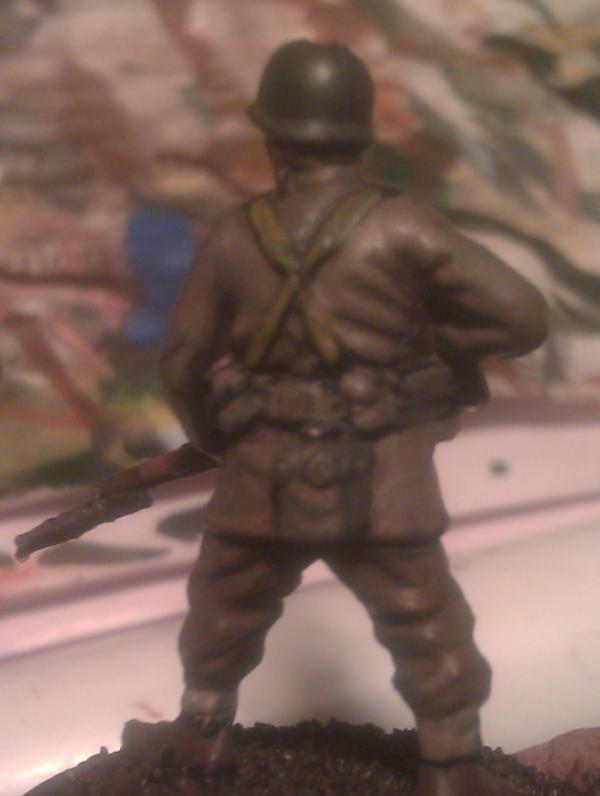
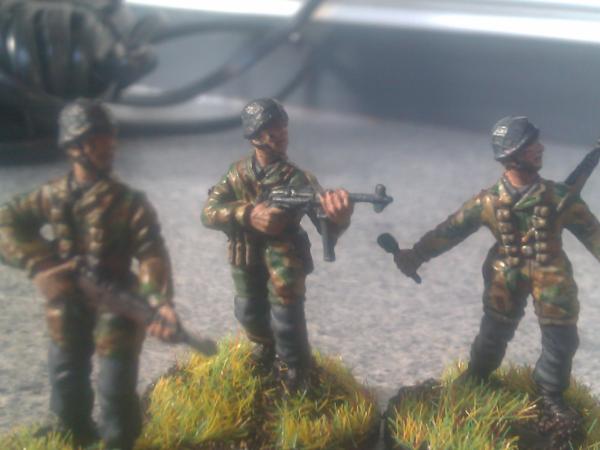
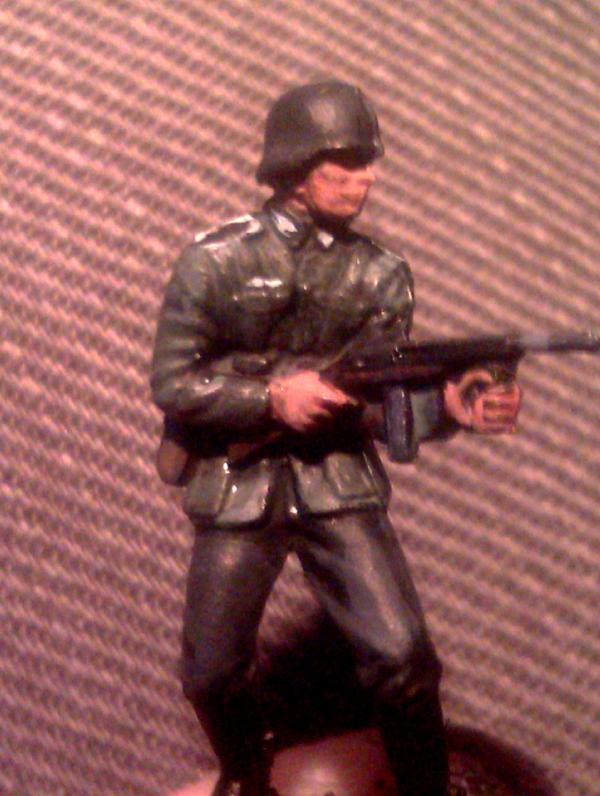
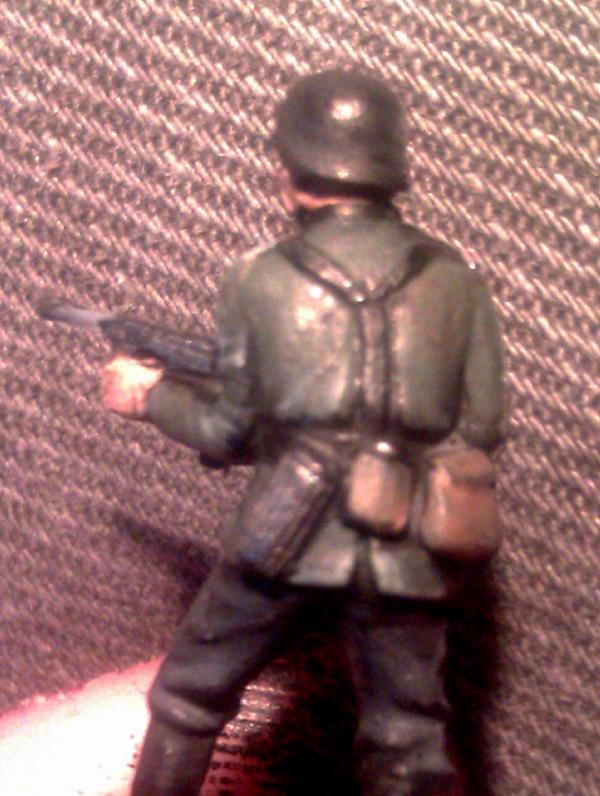
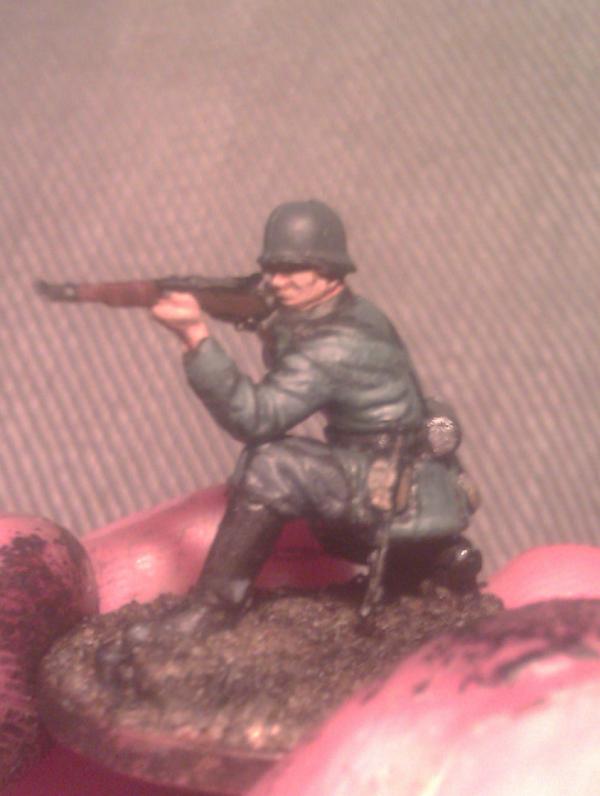
First off is the show-off model, this chap best shows my attempts at 100% historical accuracy with the iconography. He's an infantry Corporal and I've tried to get every detail correct (since uploading the pic I've noticed I failed to give his collars a white edge trim on the lower and inward-facing sides, I've amended that since... all NCOs had this). His shoulderboard trims are white to show he is an infantryman, he has the little eagle above his right pocket and (not pictured) I included the insignia to denote that he is a Corporal. The mini is from the Airfix German Infantry kit and unfortunately is perhaps a bit too early-looking for 1944 as he is wearing jackboots, but if I were questioned on this when playing I'd simply say a lot of equipment was kicking around in Normandy and who would throw away a good pair of boots?
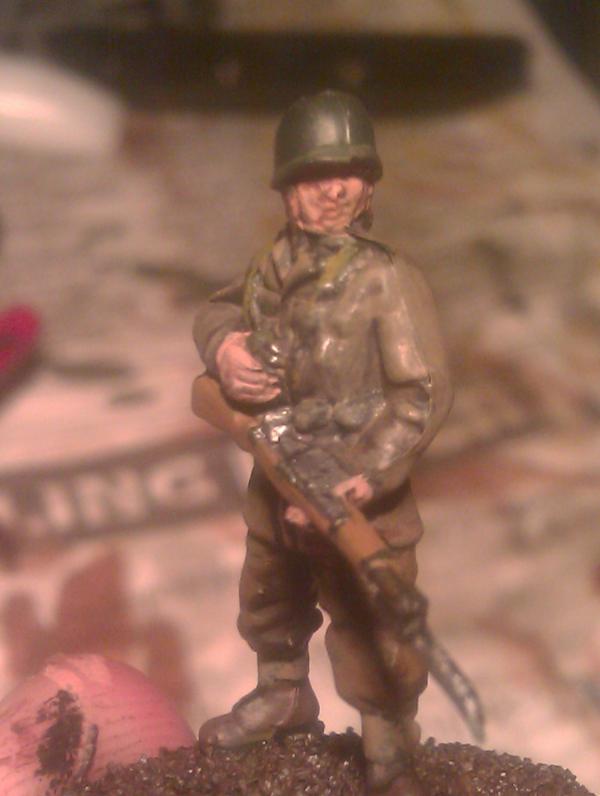
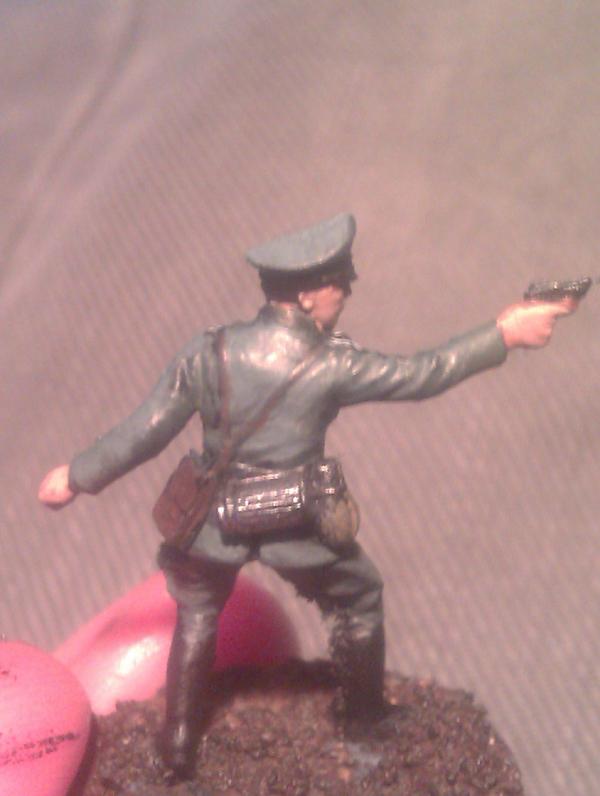
Here's an officer from the same kit, his collar insignia has since been done up again as this shot kinda showed me that it was a little weak, not so bad on the naked eye but I might as well try get things right. I'm not altogether confident that this uniform is correct. I also had a lot of difficulty removing flash from his inner leg as Airfix plastic proved (alongside Revell) ridiculously hard to file. It only occurred to me later to use my model knife but I don't want to wreck painted minis. His pistol is also bent and looked like it would easily break so I left it alone.

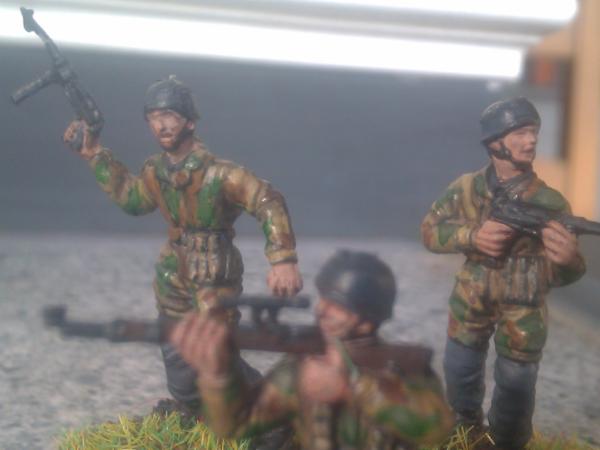
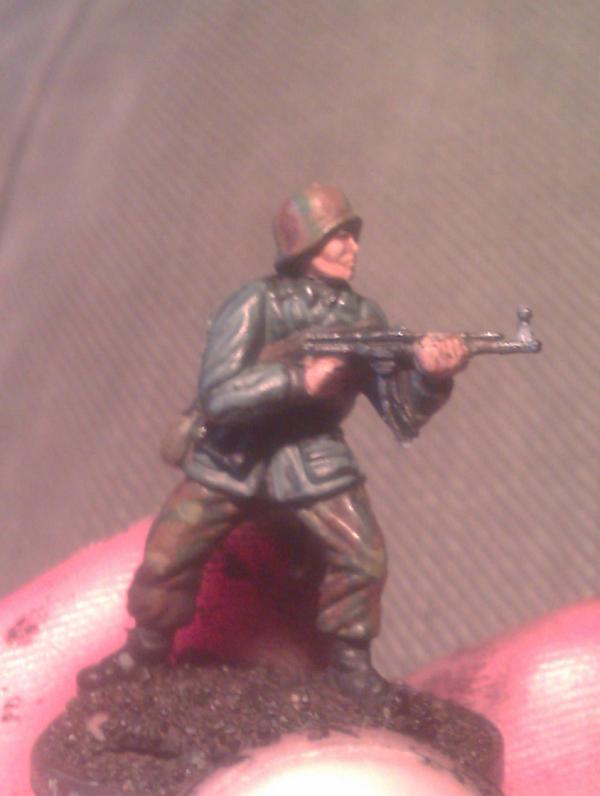
This chap is rather out of place. He's one of the first models that I painted for this scenario before I really did any research. I had been attracted to Market Garden and wanted to model more disparate-looking infantry in a variety of gear, mixing camouflage smocks with normal items, etc. Unfortunately after reviewing more photographs and considering the fact that the 266th Infanterie Division was static and literally raised just to garrison Northern France, I decided that plain and uniform uniforms would be more historically accurate. Thusly this guy and a few comrades like him are going to be shelved until I do something involving Panzergrenadiers or Mechanised troops, as these formations employed camouflage more extensively before Market Garden. Nevertheless, he is painted up as an infantryman. He is from the Revell WWII Infantry box.
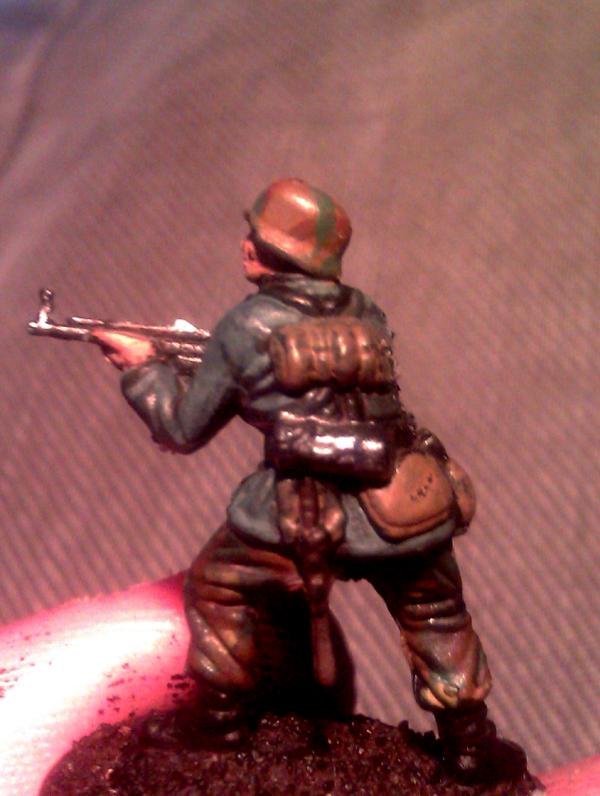
Here's another Airfix chap:
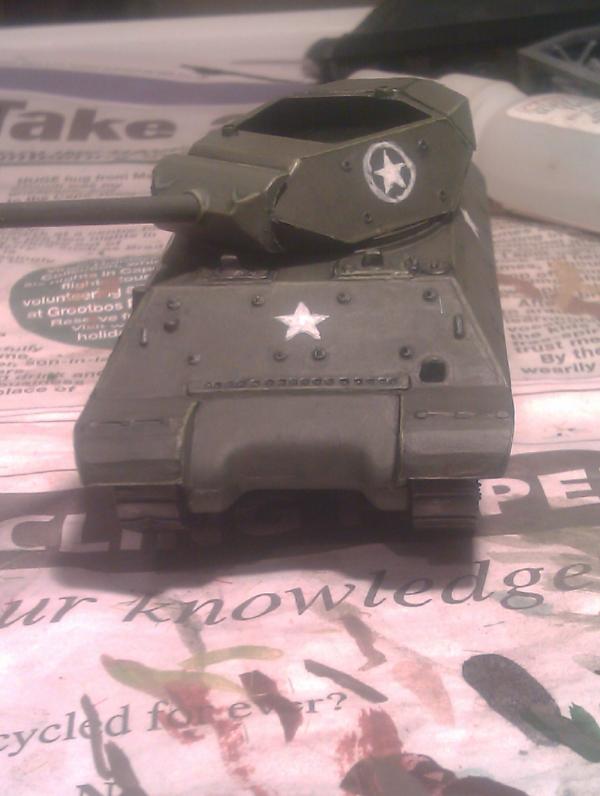
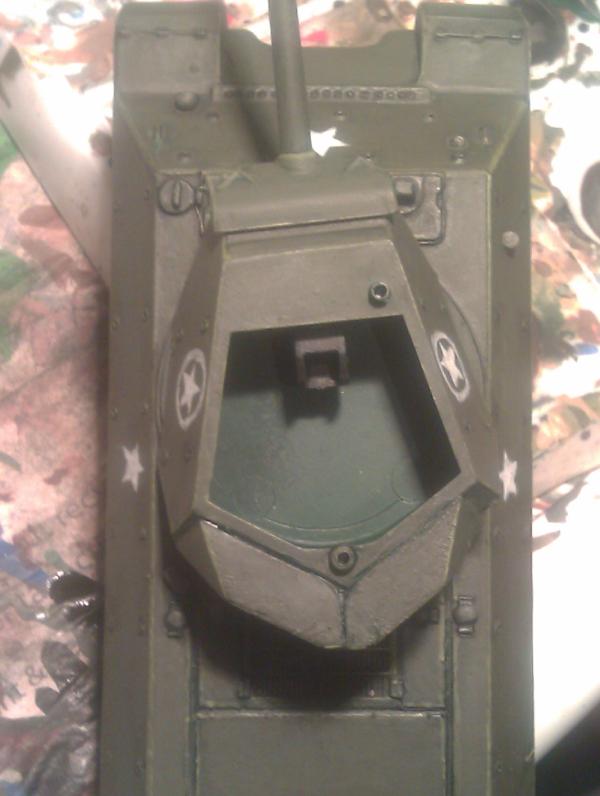
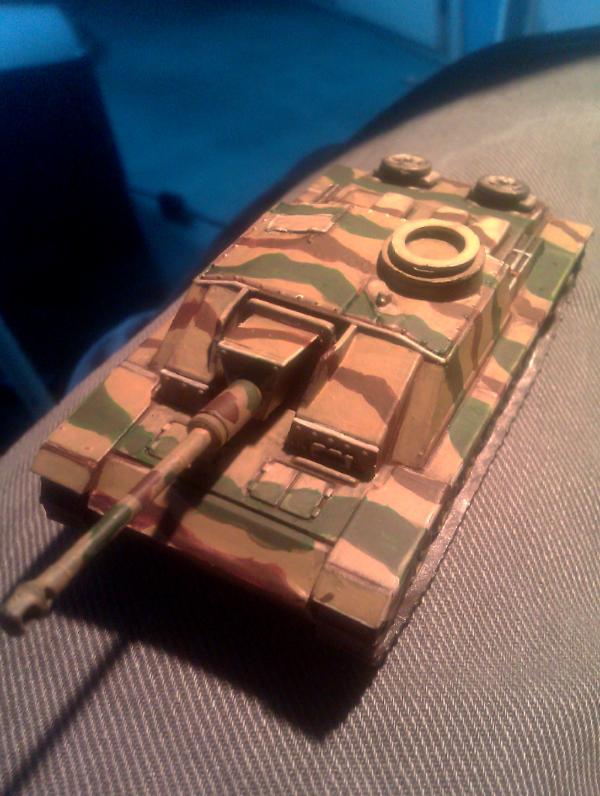
And last of all an Armourfast StuG. I did not like the way it turned out, looks far too amateurish for my liking :-/ I think it's the fact I obviously painted it with a brush... I would love some tips on how to improve it.
Anyway, I hope you like all of that... I'm hoping to get some pics of more infantry up within the next two days or so, after that I'll start working on the Fallschirmjagers. A few Americans are based and undercoated and awaiting painting too, but I'll do them once the Krauts are done with methinks. I'd say that it takes about an hour to paint up 8 or so figures to this level, so it's wonderfully refreshing compared to my Warhammer minis... I just find it so much easier to paint these on a 'production line', you get a lot of quick-gratification on this scale.
If people like these, I hope to post up a separate thread on how to paint the various types of German infantry and camouflage patterns using
GW Paints. If you look in my gallery you'll see I have already uploaded some reference pics with annotations as to what colours I use.
All in all this has been a fun experiment/learning experience :>