Alright so I organized a 3500 apocalypse game between
IG/Tau and Orks. It was a precursor to a larger 10 person game where these two could earn some bonus orbital bombardments for their team.
It will follow the normal rules for apocalypse with this set up. Divide the table into two triangles so that each player has 1 short and 1 long table edge. The center line (hypotenuse) has an 12" no man's land with 3 objectives evenly spaced along it. These are the 'power stations' that power and fire the orbital guns. At the end of each
player turn write down what turn and how many stations that player controls. The turn will determine when the orbital guns are fired in the larger apocalypse game and what kind of blast marker is used.
One objective held is a single 7" blast marker at
STR 8
AP 3.
Two objectives held can be fired either as a two 7" blast markers at
STR 8
AP 3 or a single 10" blast marker at
STR 10
AP 2 or an apocalypse barrage (4)
STR 6
AP 4
Three objectives held can fire three 7" blast markers at
STR 8
AP 3 or two 10" blast marker at
STR 10
AP 2 or two apocalypse barrages (6)
STR 6
AP 4
The objectives can only be held by scoring troops and if contested does not count as being held by either side. They do not provide points either as both sides have their own objectives.
The Imperium has deemed a location as their forward headquarters and must protect it against the Orks. Select and declare a ruin or building in your deployment zone during deployment. It must be controlled with an
HQ choice to score one point in each player turn. This means that one game turn will score as 2 points.
The Orks however know that crumpin' humies is the best way to get new gear and bitz for the boss pole. For every immobolized and wrecked vehicle, the orks can claim it as an objective point at the end of the game if within 3 inches. Any ork infantry unit can claim but that unit can only claim one vehicle objective at a time. If within 3" of two it must declare which one at the end of the ork player's turn. If contested it does not count as being held.
With that in mind the two players designed their lists and bought stratagems. These are as accurate as my notes allow.
IG with TAU
Strategy – Remote Drone System
CCS – medic and 3 plasma vets
Shas’
el – shield
gen, burst cannon, pulse rifle, and 2 drones
PCS – 4 flamers
2 infantry platoons – flamer in chimera with hull heavy flamer
- plasma on foot
2 units of Fire warriors – devil fish with disruption pods and flachette discharger
Manticore
Leman Russ Punisher with 2
HB sponsons
3 units of Hammer Heads – disruption pods, multi targeting array,
3 man Broadsides – shas’ve, multi target array,
tl rail cannon, 1 smart missle system, 2x pulse rifles, adv. stabilizer system, 1 drone
3 man Broadsides - multi target array,
tl rail cannon, 3 smart missle system, adv. stabilizer system, 1 drone
Baneblade with
LC sponsons
Shadowsword with
LC sponsons
BaneSword with
LC sponsons
Orks
Strategy- Flank March
Warboss on a bike
Kustom Stompa – 2x TCCW, Gaze of Mork, Deff Arsenal
Formation Dread mob
2 Deff Dread – one with 4
DCCW and one with 2DCCW and 2 big shootas
3 Killa Kans with
DCCW 3 rokkits
Stompa – Supa Gattla, Deff Cannon,
tl Big shootas, 2 big shootas, scorcha, TCCW and a
KFF
Big Pulsa Rokkit
2 x Big Mek with
KFF
7 units of 10 boyz and Nob – bosspole and powerklaw
A small unit of gretchin with a Runtherder
Meganobz – 5 man unit with
PK,
tl shoota and 2 with combi scorcha. They ride in a Battle Wagon with Deff rolla, red paint job, 2 big shootas, and armor I believe
10 Tank Bustas with 2 Tank Hammers and 1 bomb squig
And lastly 3 units of single buggies with
tl big shootas
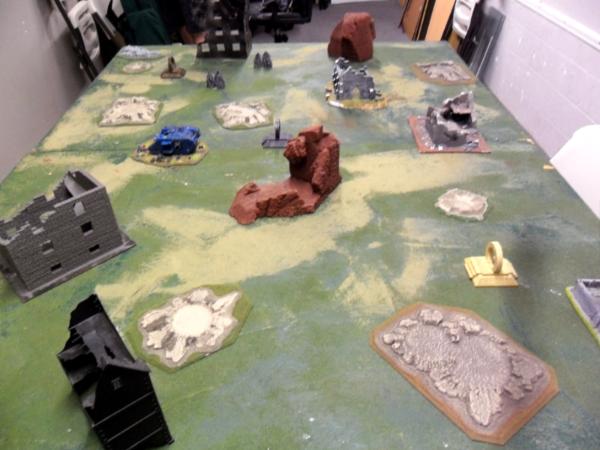
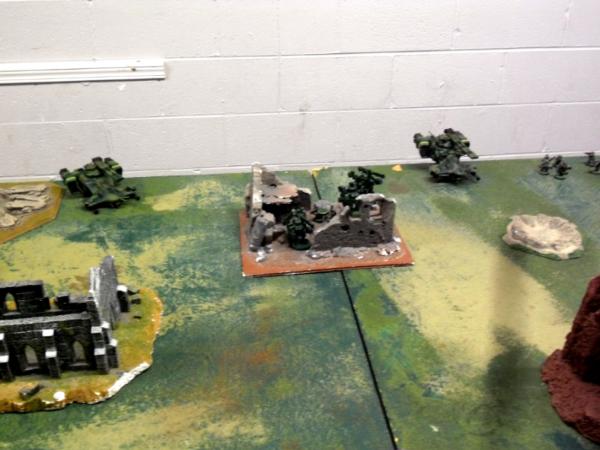
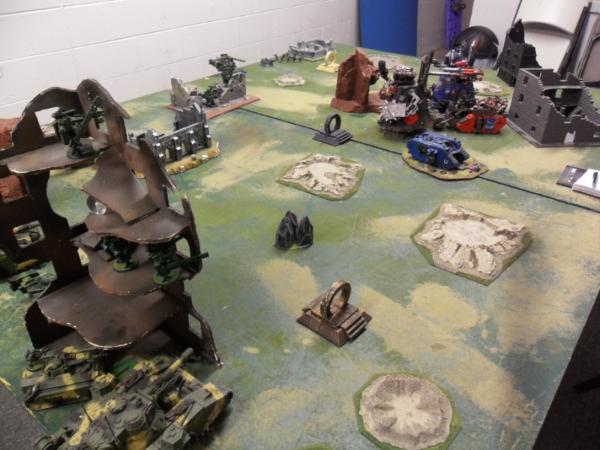
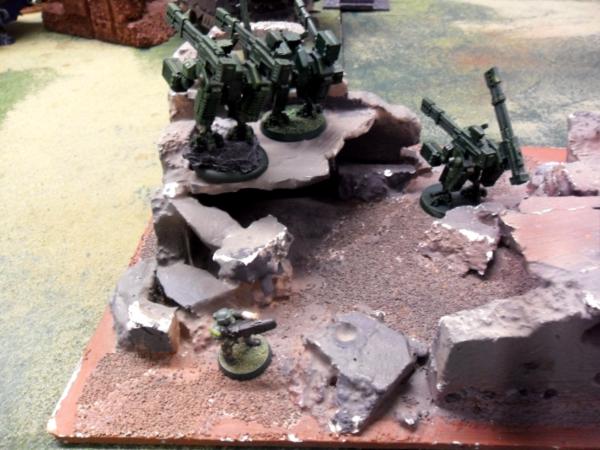
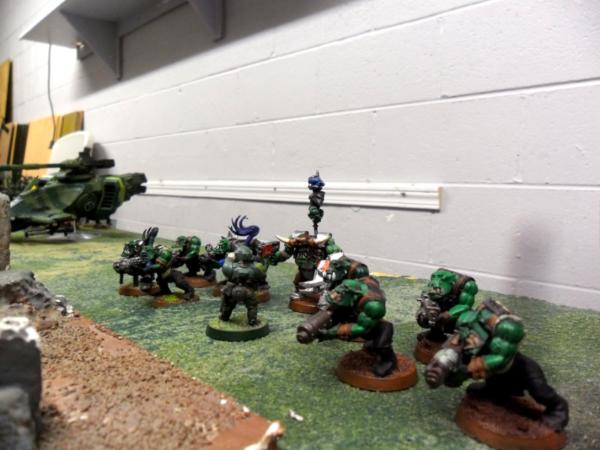
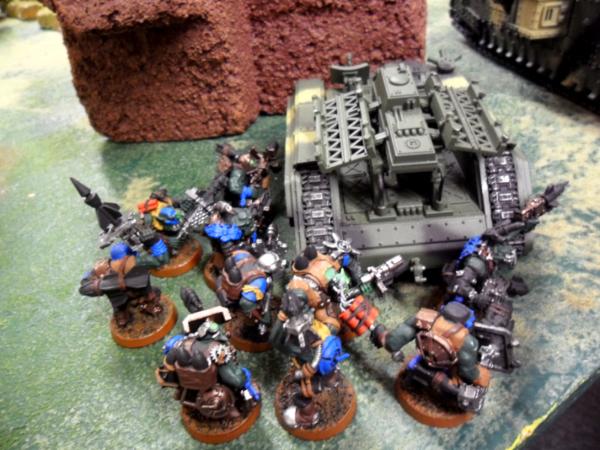
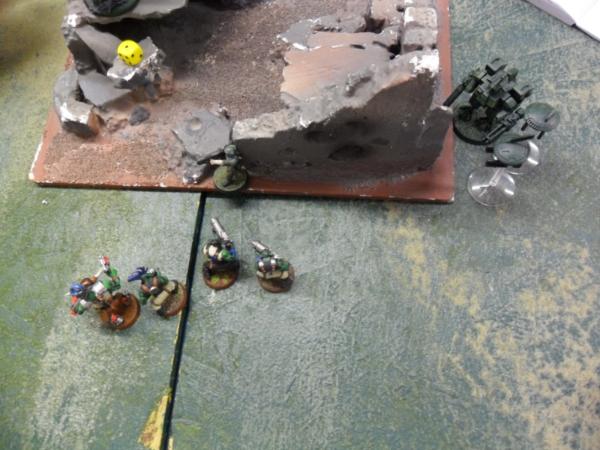
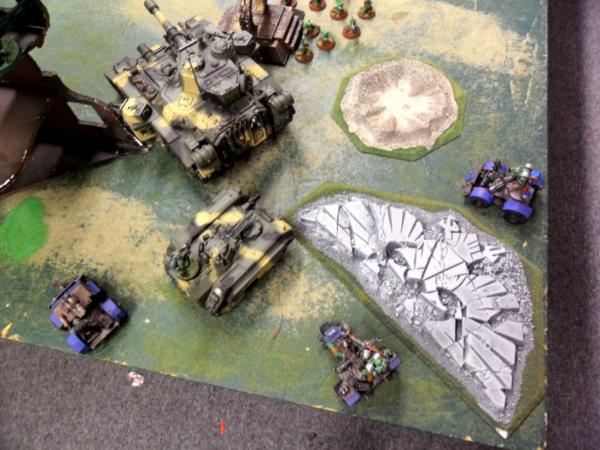
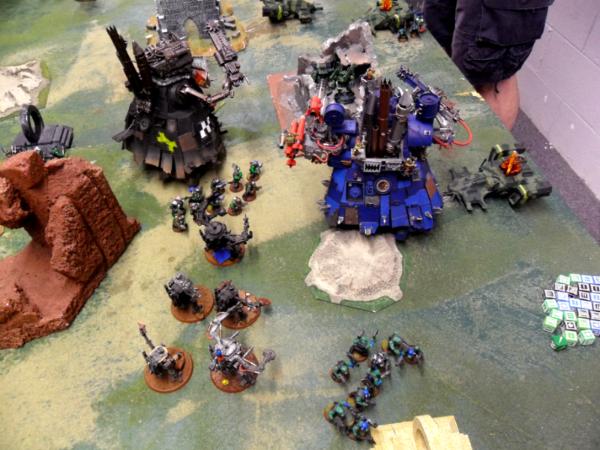
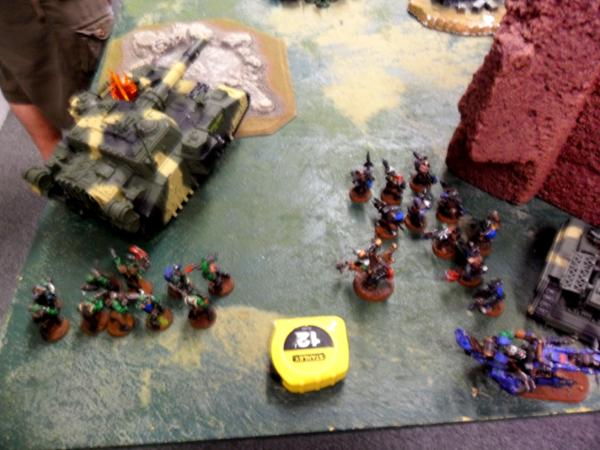
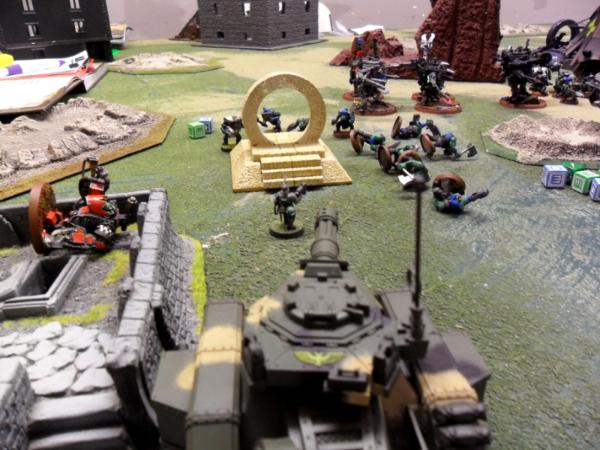
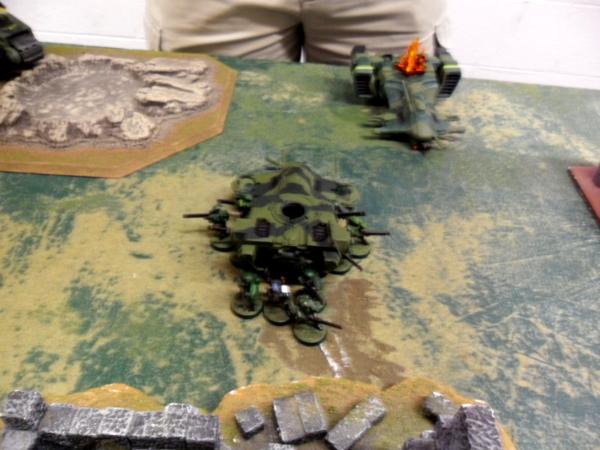
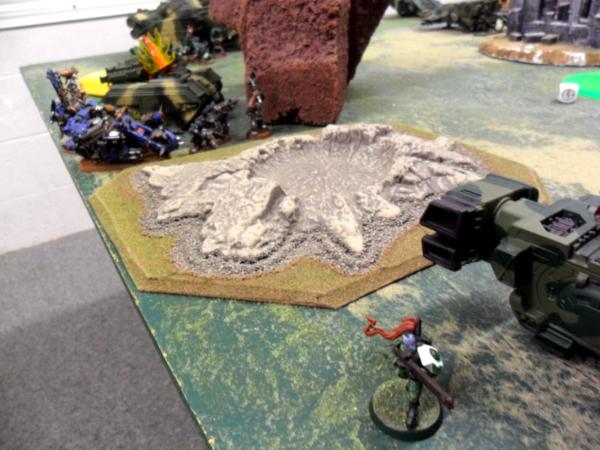
So here’s the table
And another view
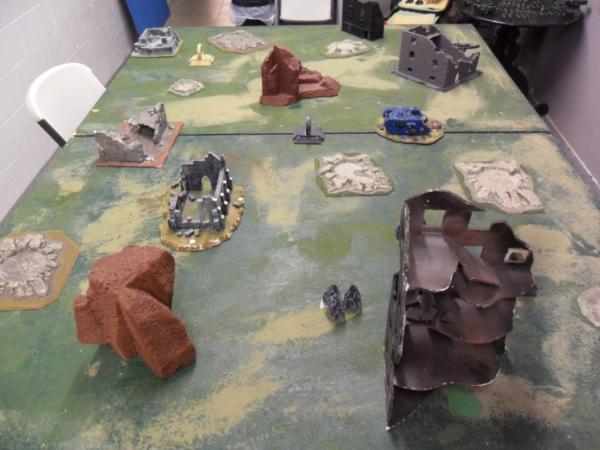
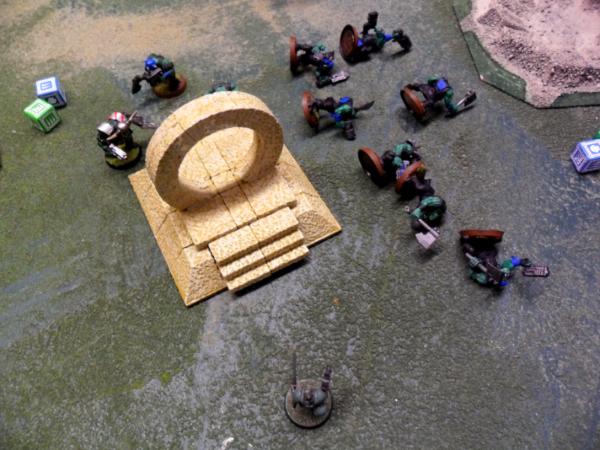
You can see the 3 rings that are the power stations that will grant orbital shots on the larger
apoc game down the diagonal line.
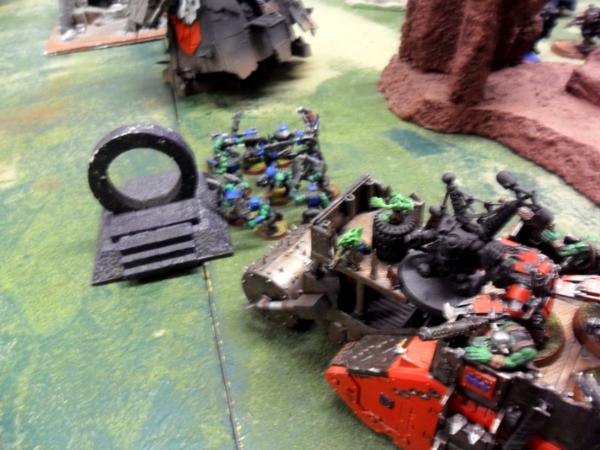
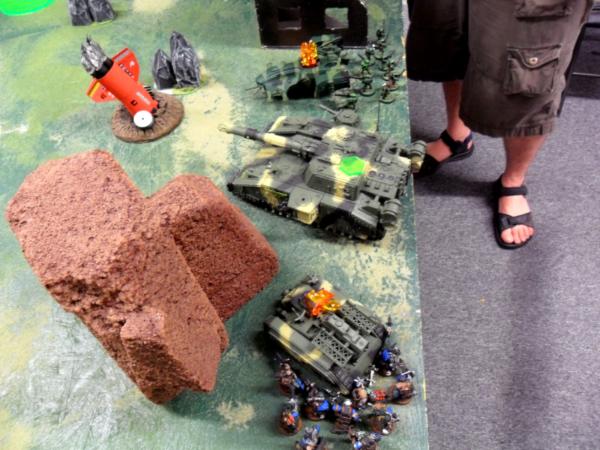
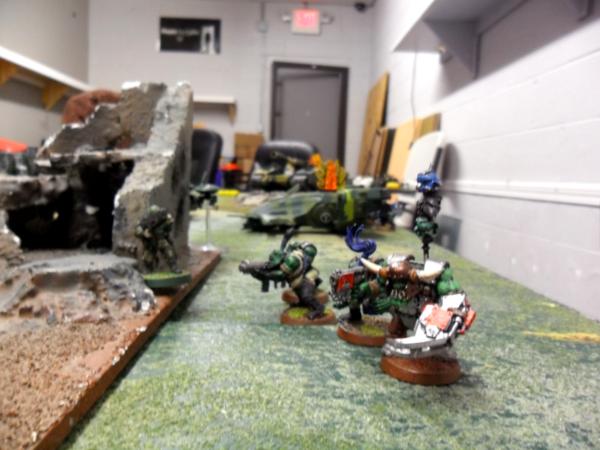
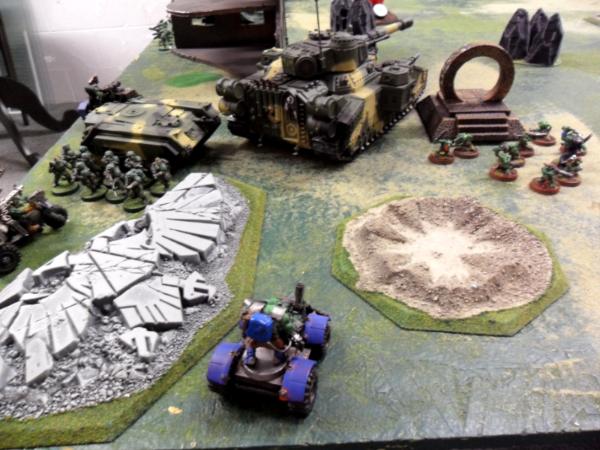
The
IG won deployment and chose the blobby grey building near the middle line of his deployment. He also decided to go second with the deployment by bidding 30 min. The Orks had bid one minute and put down the Kustom Stompa with 3 units of boyz inside, the Dread Mob, the Stompa with 2 units of boyz inside, the Big Pulsar Rokkit and the BW with Meganobz and Bog Mek with a
KFF down.
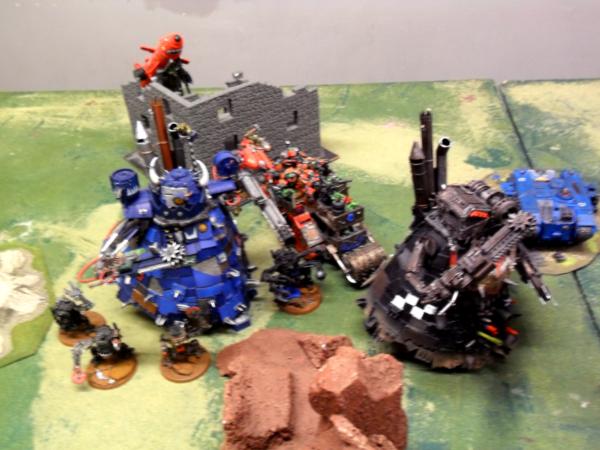
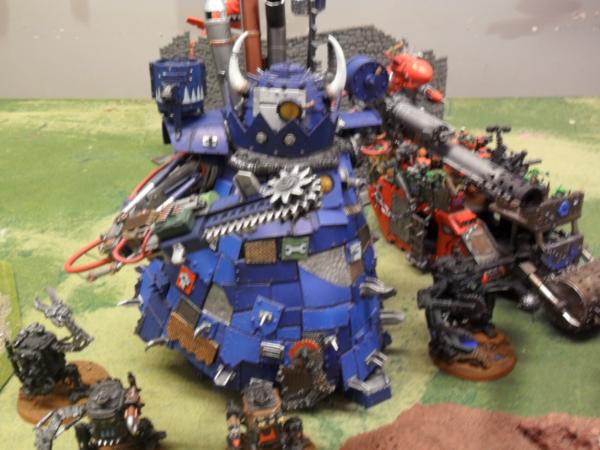

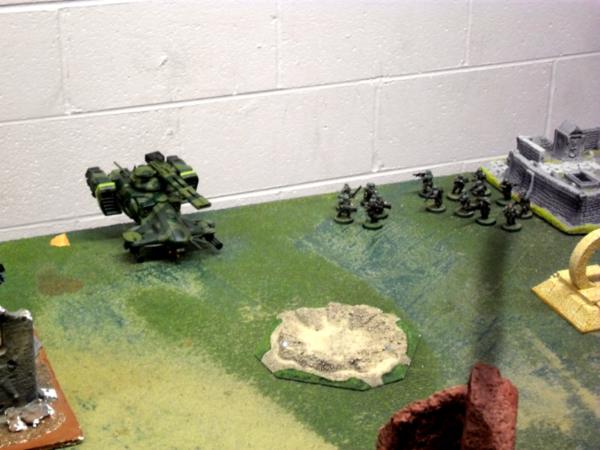
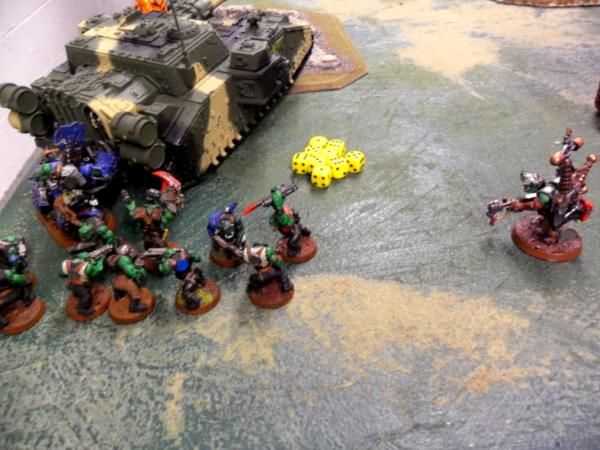
The
IG deploy their plasma
CCS in the grey building for their points as well as a unit of Broadsides.
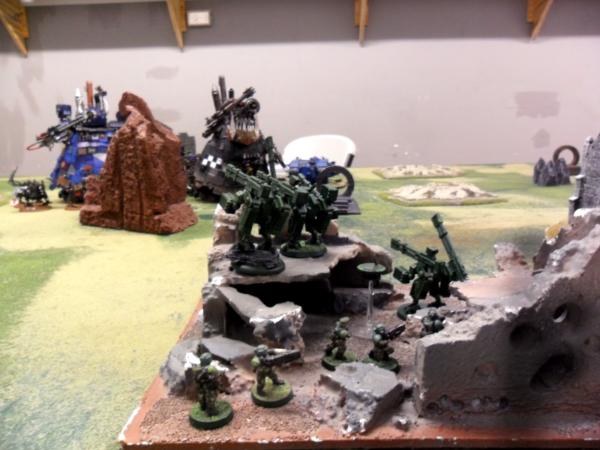
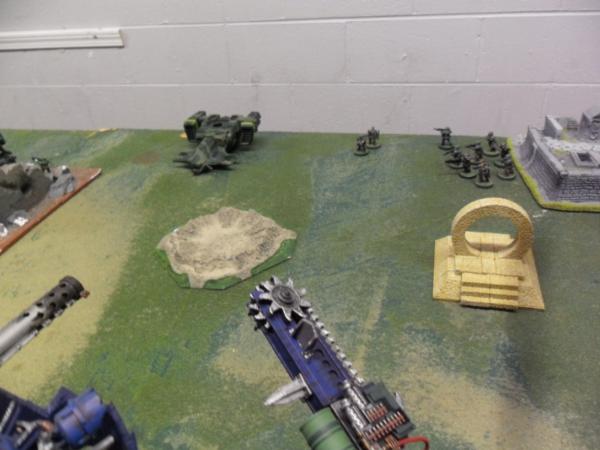
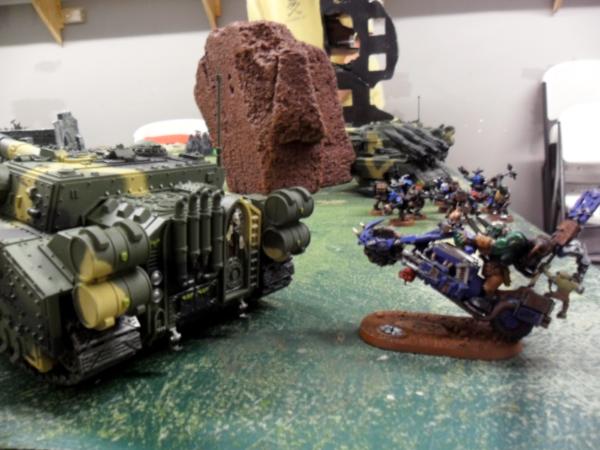
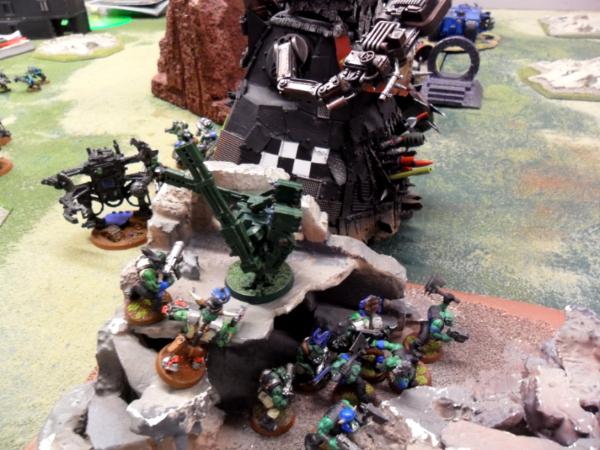
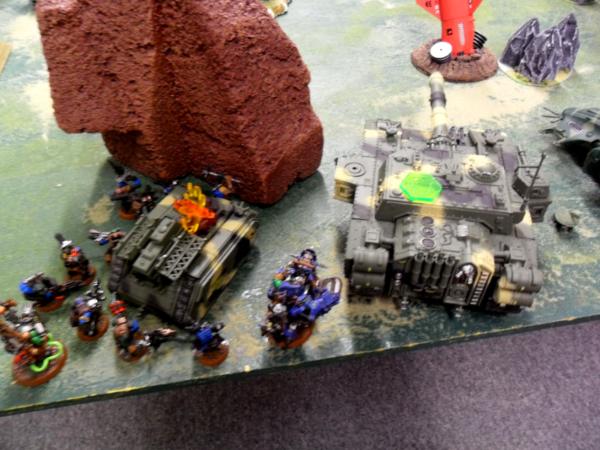
Along his short table edge he put down his super heavies. Here you can see the Baneblade next to a black ruin with the other unit of Broadsides, a Devilfish with Fire Warriors inside and the Shadowsword
Behind the rock is a manticore, the last super heavy Banesword, a Hammer head and I believe that's a Hammerhead

There’s the
HQ building with the plasma vets and Broadsides. It’s flanked by another Hammerhead and you can barely see the last few units.
Which are the flamer
PCS and a 10 man
IG platoon
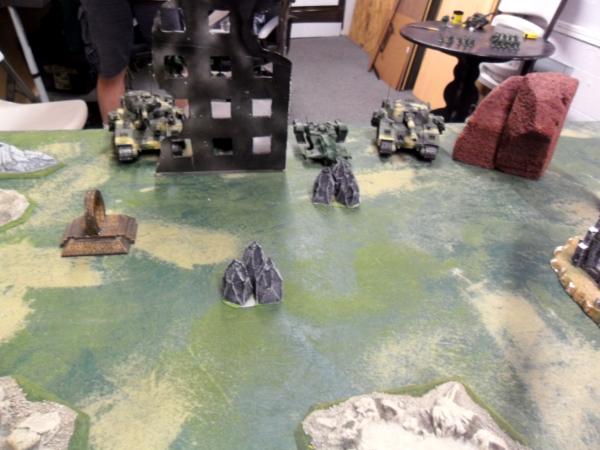
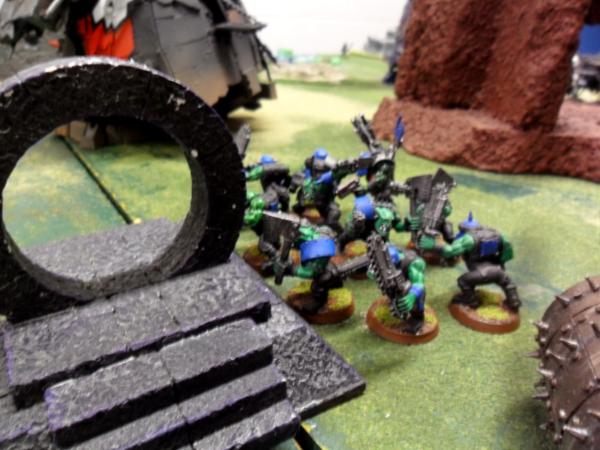
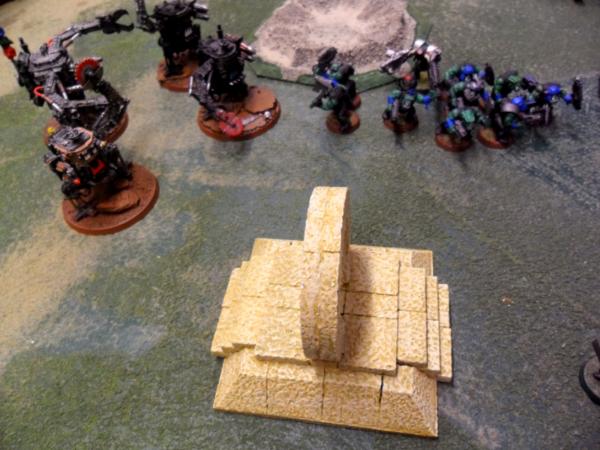
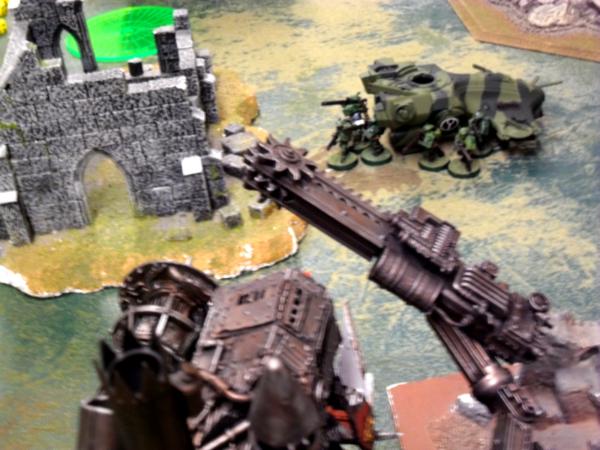
Trying for some long table shots
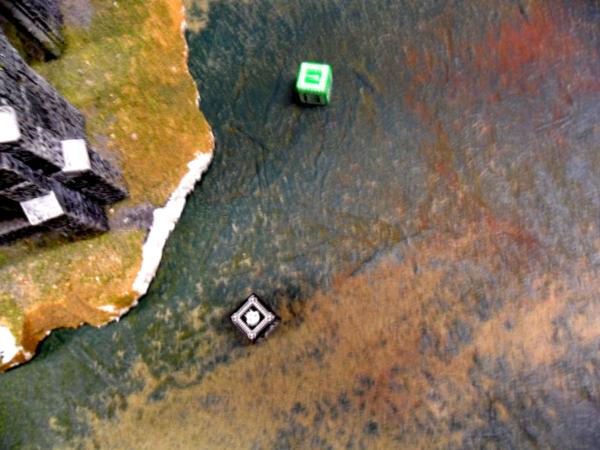
Here’s another angle so you can see the Broadsides inside the black ruin
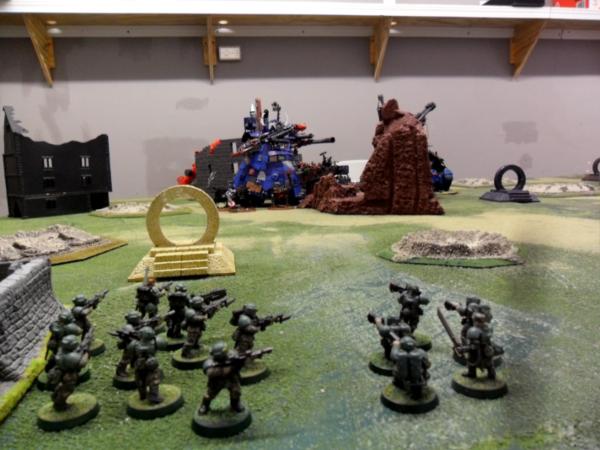
And what those
IG see plus a look at the ‘power stations’
And so the game begins!!
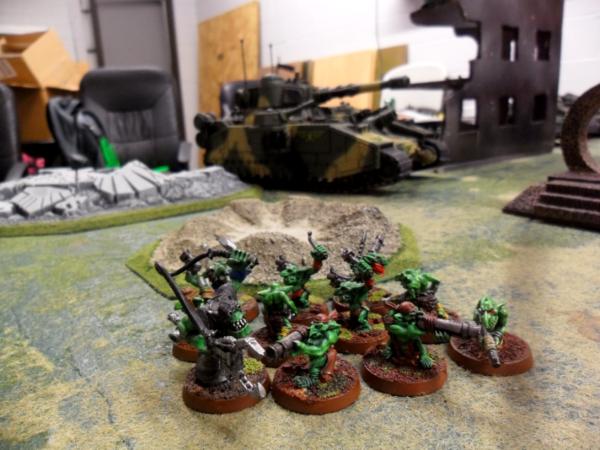
Turn 1 - Orks
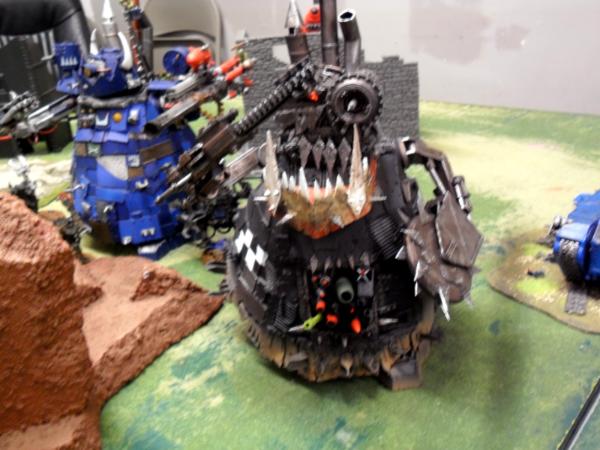
He moves everything up but the BW, intent of facing that Baneblade and to try for the middle power station. In this scenario, any infantry unit can try to claim them. The Orks also have to worry about the main objective which is any infantry unit can claim the enemy’s immobilized or wrecked tank. The player voiced he was hesitant about this double duty on his troops/infantry but had a plan to deal with it.
In shooting the Kans ran 3”, and a Deff Dread (not attached) ran 3”. The Kustom Stompa shot the Arsenal at a Hammerhead for a stun, gazed at the broadsides and shot 3 supa rokkits for nothing. The Stompa killed a plasma vet with his big shoota, immobilized a Devilfish with a rokkit, and wrecked the right Hammerhead. The Supa Gattla geared up and shot 7 shots at the
IG plasma
HQ hitting 0, the broadsides took 8 shots/2 wounds for a drone and a wound on a broadside and then dried up on a double on the
HQ. This time it killed two plasma vets. The Broadsides fail leadership and run 2” to shuffle on the 2nd floor of the ruin. He also pointed the Deff Kannon on the
IG command and hit (on a reroll) and killed the medic and the Commander. The lonely plasma vet ran 3 “
His last weapons were the 2 big shootas and a
tl big shoota that killed 3 guard in the
PCS though they passed their leadership. You can also see the wrecked Hammerhead.
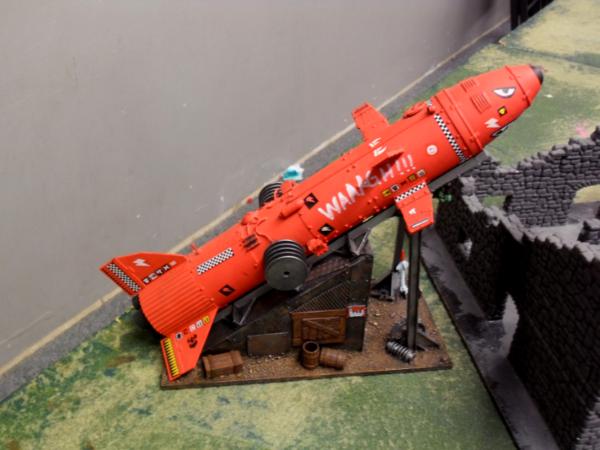
Oh, and here’s the Big Pulsar Rokkit that landed a hit right by the short edge with the Devilfish and Shadowsword.
It gets a wohhhm! of 8 “ and ends up glancing the Devilfish with into a wreck and the crew manage to pass leadership. The Shadowsword also gets 3 glancing hits and the Orks get two 6’s. That’s immobilized folks!
For assault, the Kustom Stompa tries to super charge into the broadsides but falls short.
Turn 1 –
IG/Tau
The lone trooper moves very little and he rallies the broadsides. He tries to marshal his forces. The
IG platoon moves up behind the power station near him, and the Baneblade and chimera try to get around the black ruins and away from the Pulsar Rokkit.
In shooting he proceeds to miss with his Baneblade, Shadowsword, Manticore, and Broadsides in the
HQ building. Well, some hit but they do no glances or penetrating hits on the Stompas with the two
KFFs in place. One unit of Broadsides do get a drive damage on the Kustom Stompa and the surviving Hammerhead gets a structure point off of it as well.
Both sides are claiming a power station at this point.
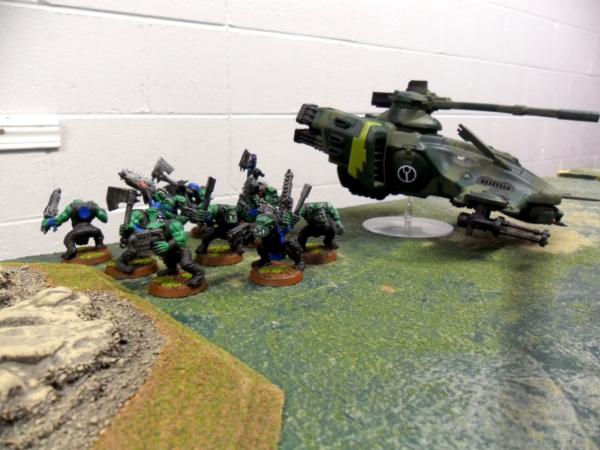
Turn 2 - Orks
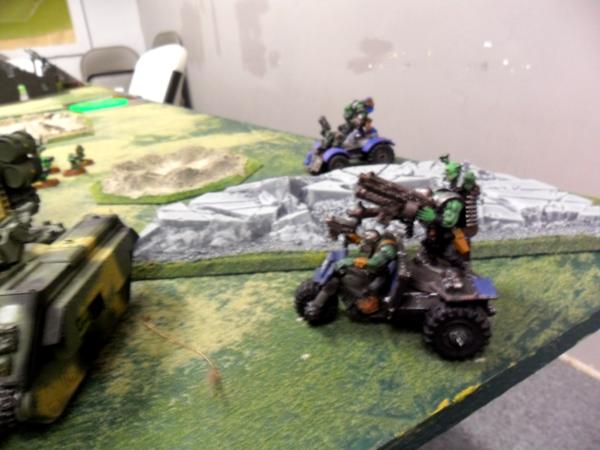
There are 10 units in reserve and 5 come on with Flank March. The Tank Bustas come in behind the Manticore
The Warboss on a bike comes in behind the Banesword
And the gretchin come in to try for the power station near the Baneblade and chimera
IG
And two units of boyz come in near the
HQ building. Here’s two angles of one unit near the remaining Hammerhead
You can see how close they are to the
HQ building.
And here’s the other unit right behind that building
The Pulsar Rokkit gets another wohhhm! at 16” and it catches the Manticore (shaken), Shadowsword (left
LC sponson is destroyed) , and the Fire Warriors get pinned (none die). A unit of boyz exits the Kustom Stompa and moves for the power station. The Kustom Sotmpa moves closer to the
HQ building and the other Stompa moves for the
IG on the Power Station.
The unit of boyz behind the
HQ have shootas and make 11 hits on the Broadsides!
This kills the commander and removes a wounded broadside. The last one
passes it’s test. .
The Tankbustas shoot out the Manticore immobilizing and destroying the missile system. While the gretchin run 3” and are shy of claiming the last power station. The Stompa is successful at killing a handful of the
IG in shooting while the Kustom knocks off the left
HB sponson on the Banesword.
Assault: the orks are a great and terrible calamity. The Stompa wipes the
IG 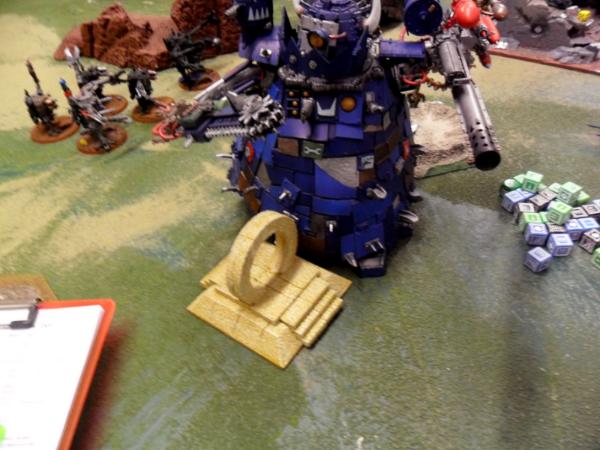
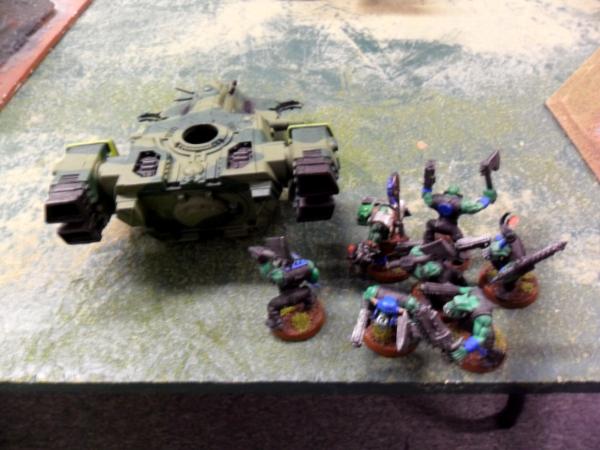
The boyz assault the Hammerhead
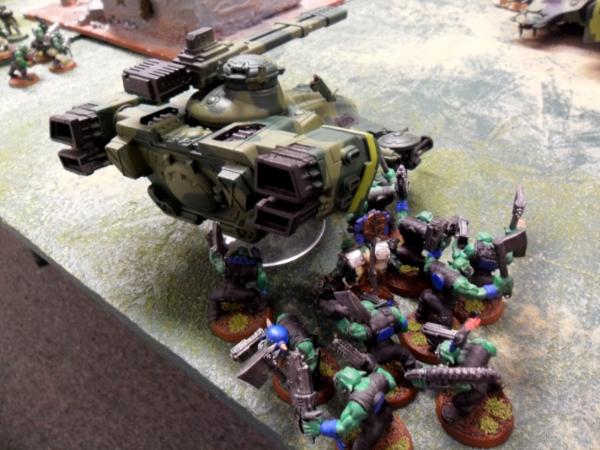
And wreck it
The Warboss rips the engine out of the Banesword wrecking it.
And the Tankbustas wreck the Manticore
Carnage!!
The Orks have 2 power stations (boyz in the Stompa claim one)
Turn 2 –
IG/Tau
Things look bleak with a Superheavy wrecked, another immobilized and the Warboss and Tankbustas nearby. Reserves come in with a Devilfish with Fire Warriors, and a Tau Commander with drones. The Devilfish come in near the right wrecked Hamerhead and pulls a you turn to face them. The Tau Commander walks in near the shoota boyz at the
HQ building to try to clear them up.
The plasma vet runs 3” doubling back as it was blocked by the boyz and movement begins. The Baneblade and chimera try to get closer to the gretchin.
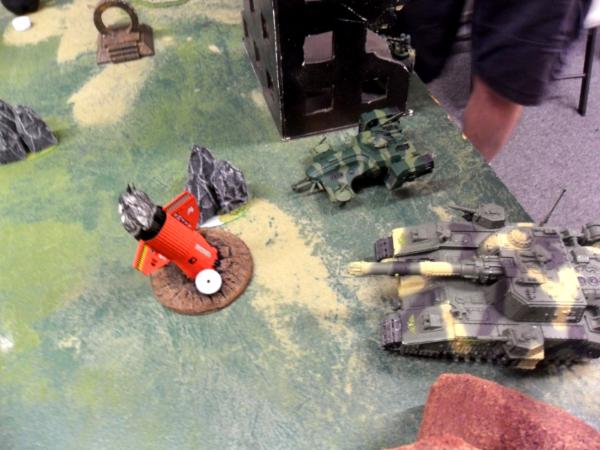
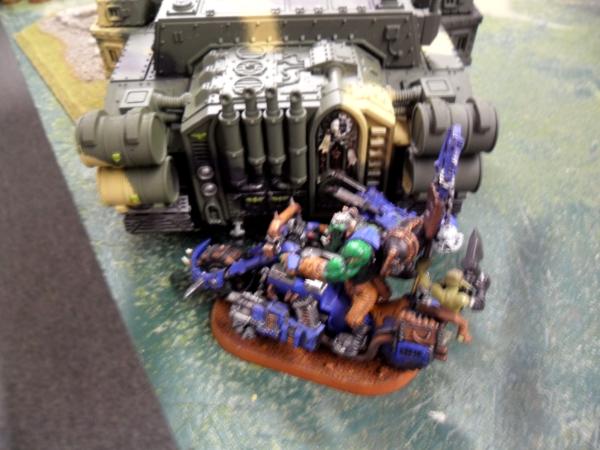
In shooting the chimera multilasers the gretchin for a dead grot and the Baneblade tries for the Pulsar Rokkit and a 1 is rolled for damage. The Demolisher cannon manages to knock off a structure point though. The Shadowsword main gun manages to explode the Battlewagon despite the Big Mek’s
KFF and exposes the Meganobz. One of them does take a wound from the explosion.
The Baneblade cannon aims at nothing as it scatters 12”.
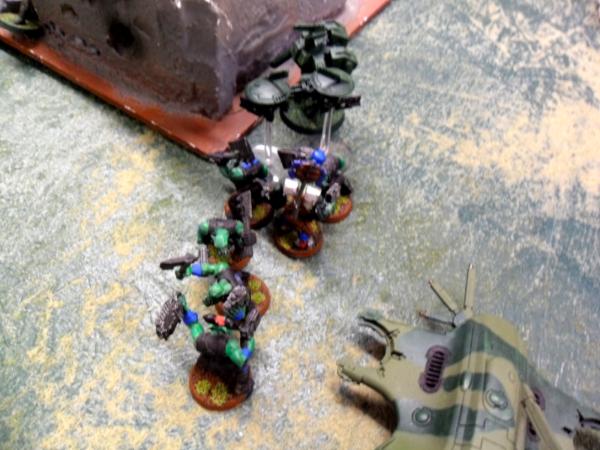
The Tau commander has his drones take shoots at the shoota boyz and kills 1. The burst cannon kills another 2. The fleeing plasma vet shots and kills another 2 leaving this:
They’ll pass their leadership and the Tau will move 6” away to the side.
The lone Broadside will take a structure point off of the Stompa while the black ruin Broadsides will take a point off the Kustom Stompa with a 6 and then a 2.
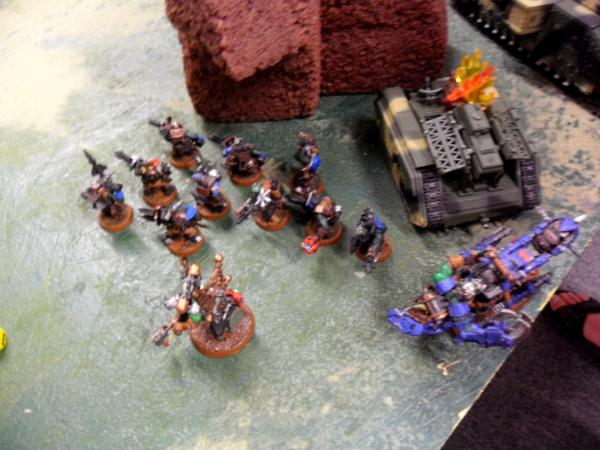
Turn 3 – Orks
The last of the Ork reserves will come in. That’s a Big Mek and a squad of boyz near the Warboss
And the three buggies will come in to support the gretchin near the Baneblade
The Pulsar Rokkit will once more wohhhm! for 15” and pin the Fire Warriors killing 5. The Baneblade will get stunned (2) and a weapon destroyed (3) losing a sponson I believe.
In movement the gretchin will get to the Power Station, and the Warboss will go for the Shadowsword.
The boyz that wrecked the Hammerhead will move towards the Tau Commander and the newly arrived boyz near the Warboss will try to stay near the Banesword.
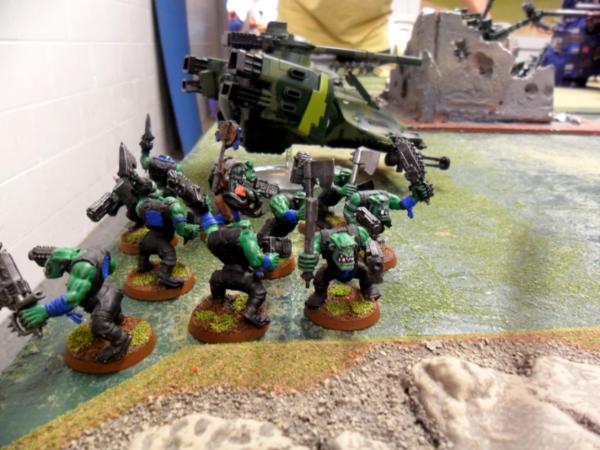
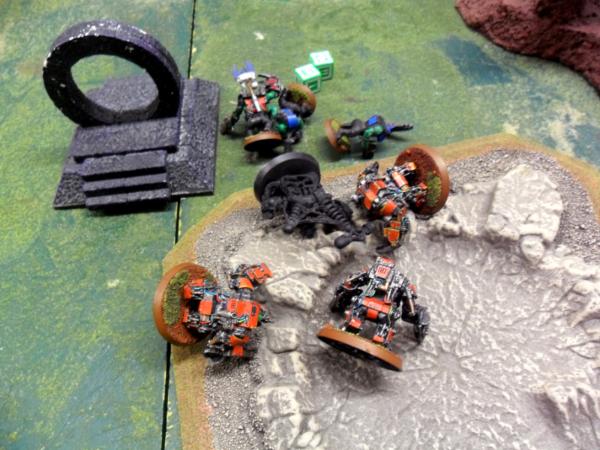
The Kustom Stompa will unload some boyz at the middle Power Station and the Kanz/Deff Dreads will move up between the two Stompas. The regular Stompa will dump boyz on the Power Station and move through difficult terrain 10”.
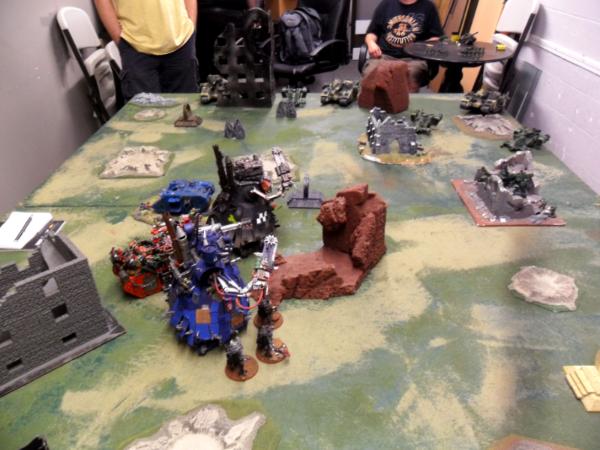
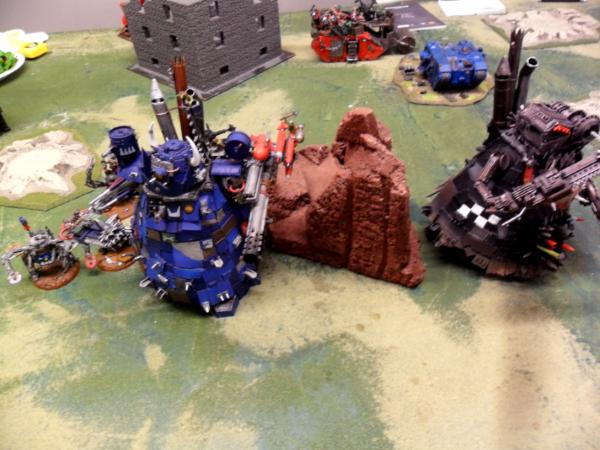
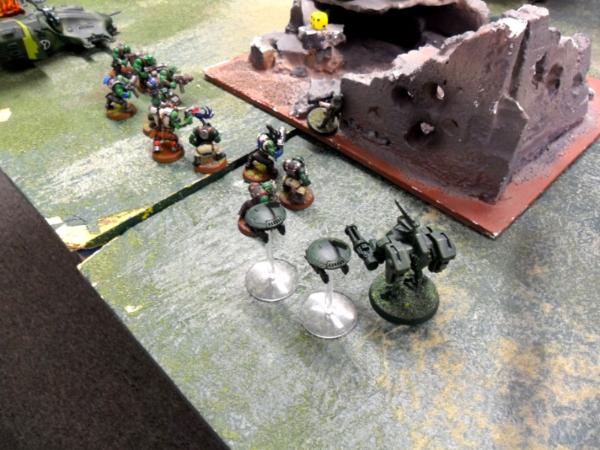
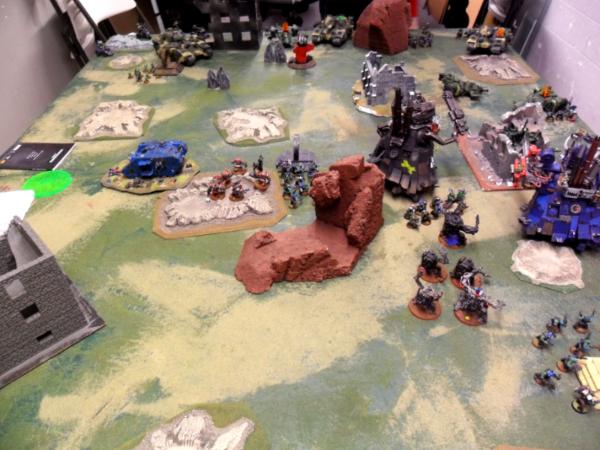
Here’s an overall photo of that area.
A Waaugh!! Is called now and a unit of boyz will roll a 1 and a save!
Most other boyz go about 4” while the lone Defdread gets a 1 to run also. Here’s an overall for those playing at home
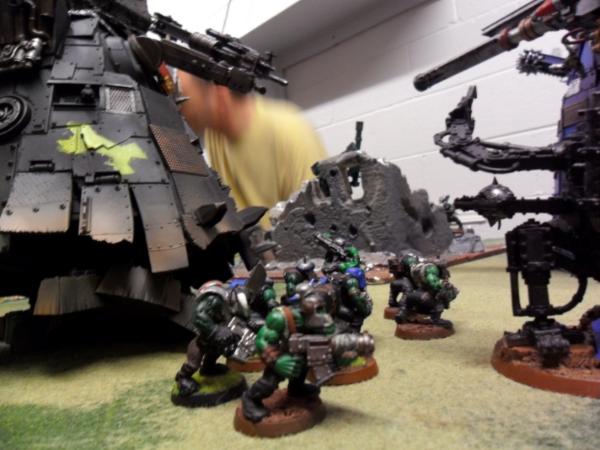
These boyz want to get at that lone Broadside even though it’s so far away
In shooting, the Kustom Stompa gazes at the Devilfish and glances the Burst Cannon off.
The Deff Arsenal tries to finish the job and gets 3 penetrating hits and 1 glancing. The Disruption Pod goes to work and blocks 2 of the penetrating and the glancing. Damage is two 1’s.
The Super Rokkits that are grot guided try to finish this Devilfish off and only 1 hits. But that’s enough as it does wreck it and the Fire Warriors are pinned.
The Tankbustas release their squig and it goes for the Pulsar Rokkit! It does no damage however and it’s loss is not mourned. Their shooting manages to stop the one
LC sponson from firing though.
Of the 3 separate buggies, one tries to fire on the Broadsides in the black ruin and fails. The second manages to get a penetrating hit on the chimera wrecking it. The platoon pile out with no ill effects.
The last buggie shots the now exposed troopers and while hitting all 3 times, there are no wounds.
The gretchin in the meantime smell flamers from that squad and run 2” away to get cover from the power station.
The Stompa tries to kill that lone Broadside with big shootas only to see it make its saves.
In assault, the boyz near the
HQ go after the Tau commander that shoot them up. A drone will kill a boy before both drones die to the boyz. Another two wounds will go on the Commander and the power klaw will not wound. It’s a lock.
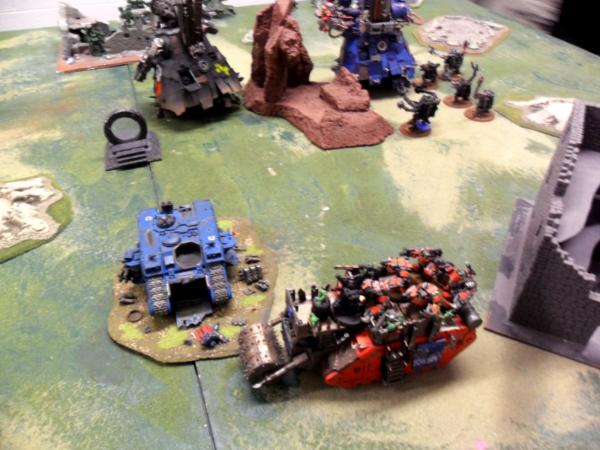
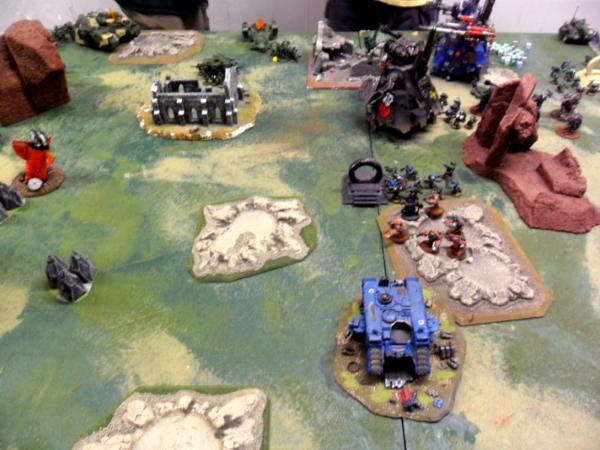
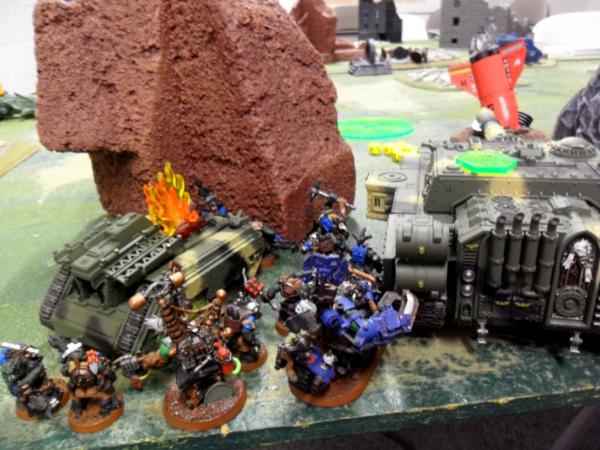
Here’s the middle of the board
Turn 3 –
IG/Tau
The lone plasma vet will now run of the table 11”. The last of the reserves com on and it’s a
LR Punisher in the corner near the lone
IG sarge that’s by the Power Station.
The flamer
IG move across some broken terrain to get at the gretchin in the movement phase.
In shooting, the player remembers the strategy Remote Drone System and targets the Stompas. It does not help the Broadsides shooting at them.
The Baneblade tries to go after the Meganobz and they got to ground when 4 wounds are going their way and another 7 for the boyz. 4 boyz die and a Meganob will die.
The Shadowsword will also try for the boyz/Meganobz (as it’s immobilized and that's all it can see.) Another 3 boyz will die.
The
LR Punisher will shot the boyz near the last Power Station wounding 8 and killing 6
The lone
IG Sarge will pistol 1 to death and the boyz will break and run 5”. That of course prompts this motivational poster
Join Today and kill the weak Xenos!
You know, completely editing out the Kans, Dread and Stompa in the previous picture.
The assault with the Tau Commander ends with the boyz making that last wound. They consolidate 5” behind the
HQ building.
Both sides have a Power Station at this point as the Baneblade is contesting the gretchin held one.
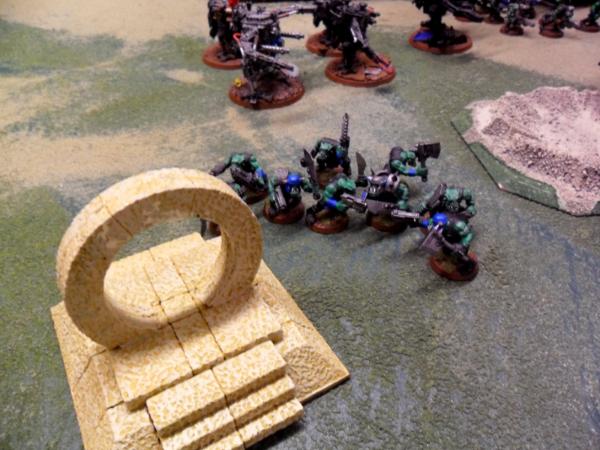
Turn 4 – Orks
The Pulsar Rokkit Thrrrummms and the Fire Warriors fail their pinning test while the 2 drones from the Devilfish pass their theirs…
The Kanz and a unit of boyz move towards the lone Sarge holding a Power Station while a Deff Dread moves for the
HQ building.
The Shoota boyz and Slugga boyz move inside the
HQ building for that lone Broadside.
The Warboss and Tankbustas go for the Shadowsword
Shooting! The Kanz rokkit the lone Sarge and the boyz run to claim the Power Station.
The Stompa tries to get at the Punisher with a Deff Kannon but it scatters 7” off the board.
The Shootas and Sluggas try to kill the lone Broadside and cause 1 wound.
The Kustom gazes at the lone Broadside and even going to ground doesn’t save it.
Before
The Fire Warriors that showed last turn get a taste of the Deff Arsenal and while 6 hit/5 wound, only 3 die.
After
The Tankbustas fire at the Shawdowsword but fail to do anything.
The Grots manage to kill a guardsmen and so does the Runtherder (that’s two off the squad) and so the Buggies pulp another 6 into the squad. And heroically they stay their ground.
In assault the Stompa tears into the Punisher taking off the cannon (sticking in) while the Warboss and Tankbustas go for the Shadowsword.
And it goes

In 11” to be precise. An interesting question came up as to whether the
KFF would have helped but was decided it didn’t. All but 1
FW die as well as 6 Tankbustas. The Warboss is untouched…
Here’s another angle
The Orks maintain 2 Power Stations
Turn 4 –
IG/Tau
The movement is very slim with the unit of Fire Warriors moving toward the Kustom Stompa and
HQ building and the lone Fire Warrior moving toward the Broadside black ruins.
The
IG squad move 3” through difficult terrain toward the grots and power station.
In shooting the Broadsides take another point off the Kustom Stompa (2 left).
The Baneblade shoots a
LC at a buggie stunning it while the coaxial gun tries for 2 wounds on the Meganobz. They save as they have still gone to ground near a
KFF.
The main gun rerolls scatter for 4 boyz and 5 Meganobz . 1 boy dies and they fail leadership and fall back 8”.
(This came up before as to whether units gone to ground can fail leadership and fall back and the rule couldn’t be found so, yeah they can.) A meganob fails his save and a combi scorcha dies.
The
FWs near the
HQ building shoot at the slugga boyz and kill 3, they’ll pass leadership.
In assault the Stompa will explode the Punisher. The Ork player asks if the
IG/Tau player wants to call it and it is agreed to be over.
Tallying up points, the Warboss and Tankbustas claim the Manticore, some boyz claim a Banesword, and the Kustom Stompa boyz claim a Hammerhead. 3-0 as the
IG HQ fled in the first round of Ork shooting.
For the bonus objectives, the
IG/Tau held 2 power stations during the game at rounds 1 and 3.
The Ork had 1 in turn 1, 2 in turn 2, 2 in turn 3 top, 1 in turn 3 bottom, and 2 in both halves of turn 4. That’s 6 orbital strikes if I stick to my initial ruling. I think I’m going to change that up as that’s too much of an advantage for the larger game. Also, I think I should have kept the objectives secret from the other army instead of posting it for both to see. It's my first time organizing a game and this was a good warm up for the larger 10 person
apoc game.
Thanks for reading and I'll try to answer any comments and questions promptly.


 )
)


