Ok Im just gonna dive right in here...
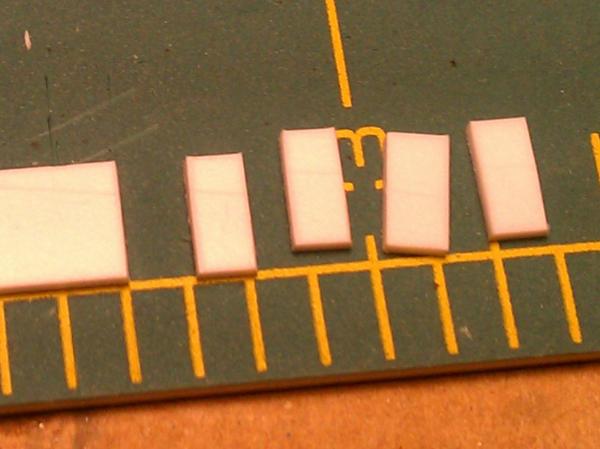
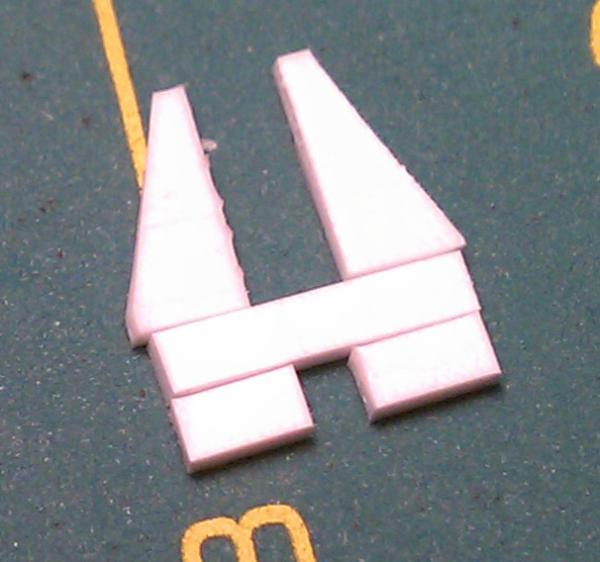
cut four equal pieces of plasticard
cut each of these from one corner to just above the opposite corner
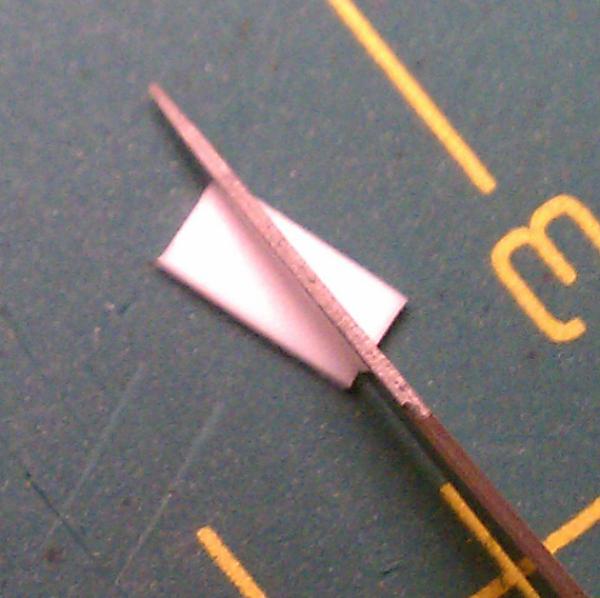
you end up with four claws, ok i need to trim one...
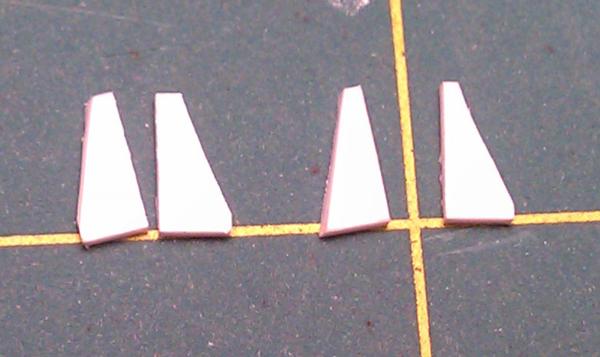
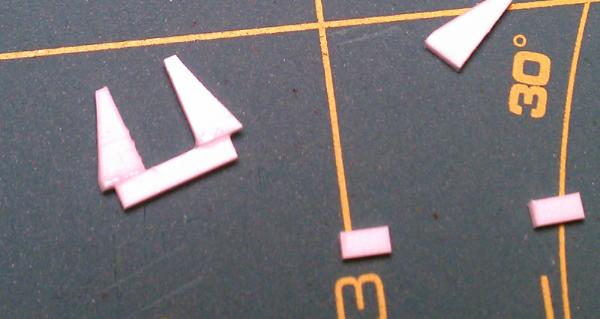
Then two strips to form the base * do not glue anything yet
cut a section from one of the strips the same width as the thickness of the strip itself (more or less)
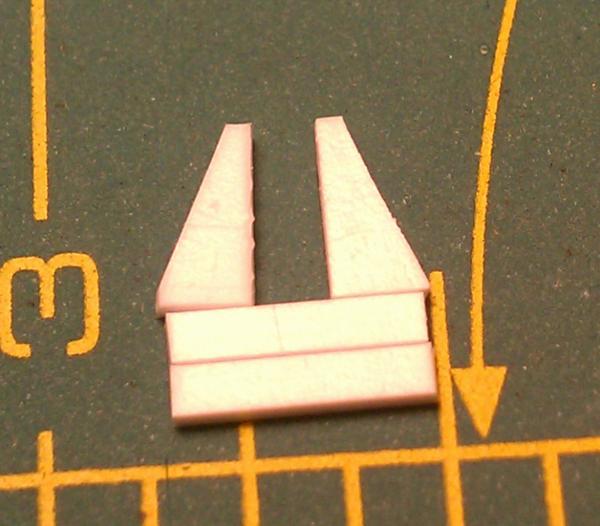
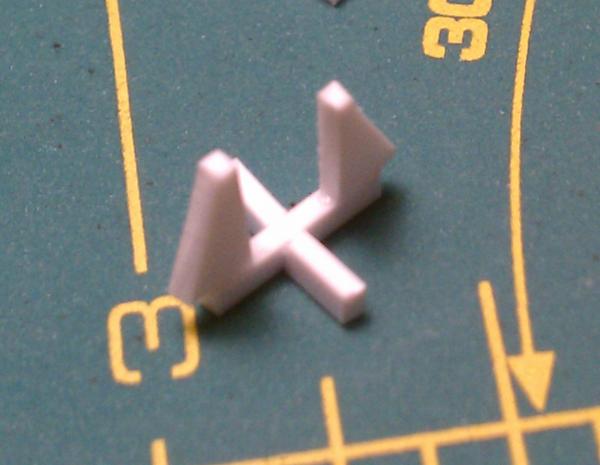
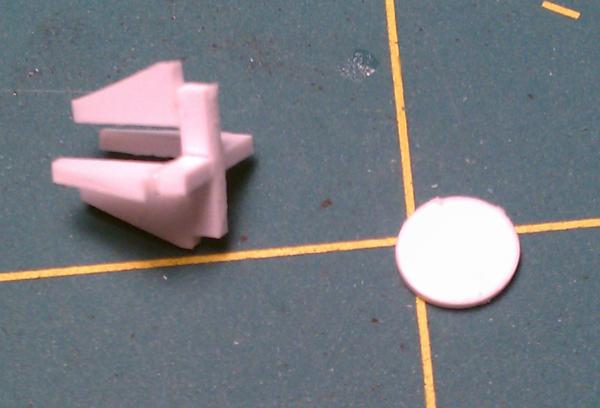
OK now glue on two claws, at this point you can pose the claw open or closed by cutting an angle where the claw meets the base
the two smaller pieces of the base are glued to form an x
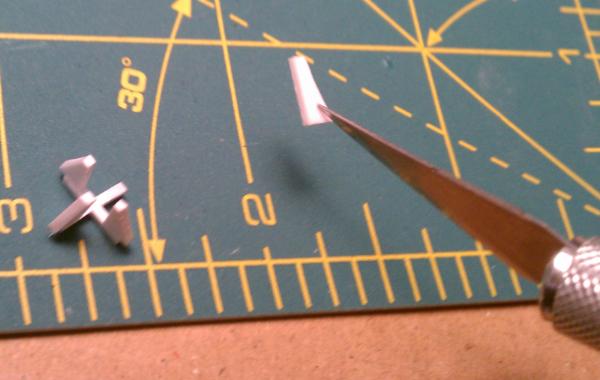
then add the other two claws * like to use my hobby knife to position small pieces so they dont end up glued to my fingers
to create the next part I used my faithful die punch set from harbor freight
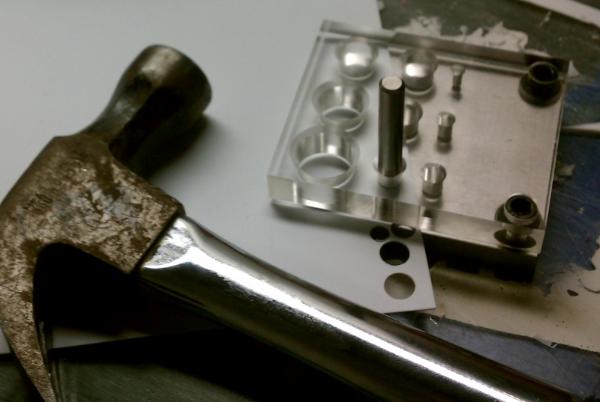
yep a perfect circle
attach to the base, cut a piece of hollow tube which will be the plugin for cord
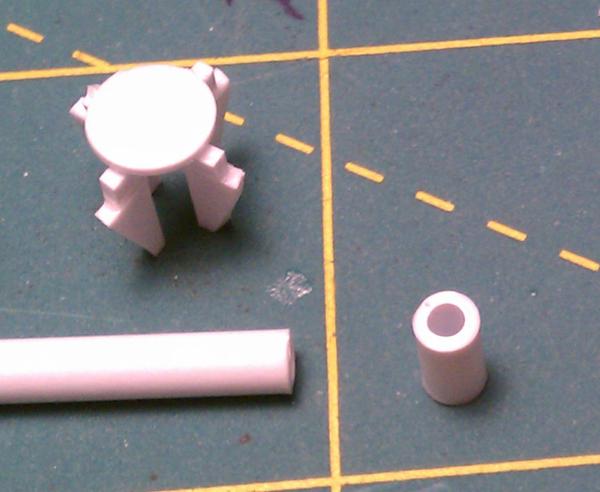
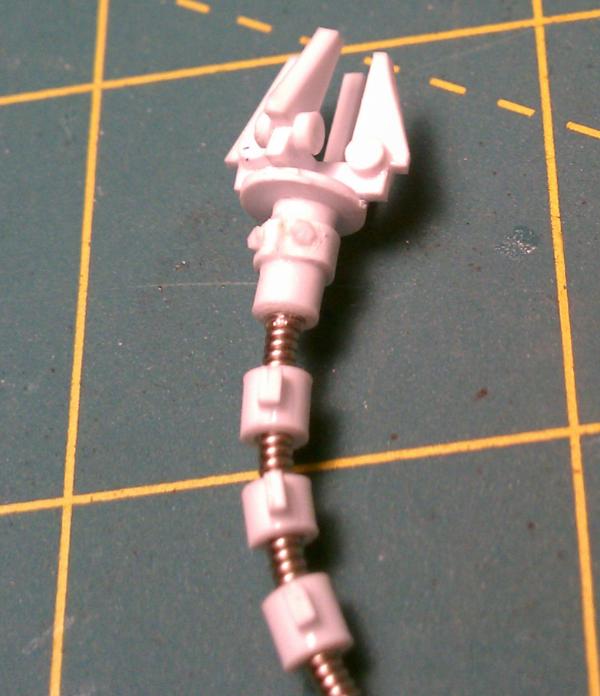
a piece of guitar string for the mechandrite bit
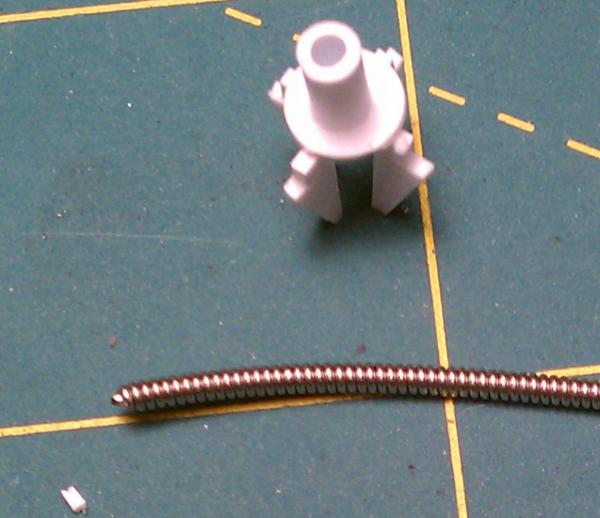
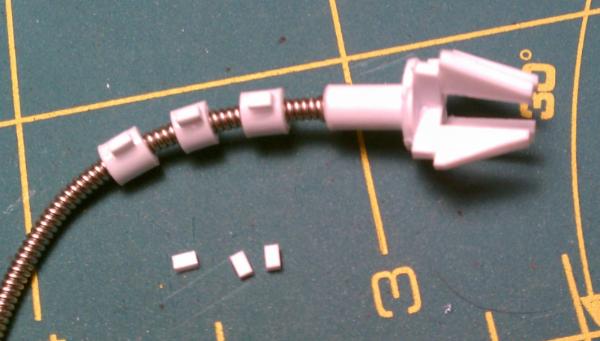
after attaching cut 3 more piece of hollow tube. *I use a pointy tool to apply my glue, cuts down on mess.

apply the glue to the guitar string and slide up the hollow tube up. cut six pieces of plastic strip, glue these on either side of the tubes...
Eight small circles will be the claw hinges
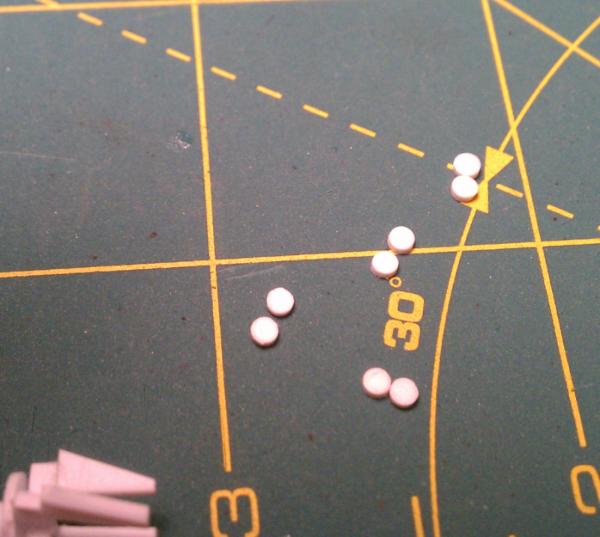
attached like so..
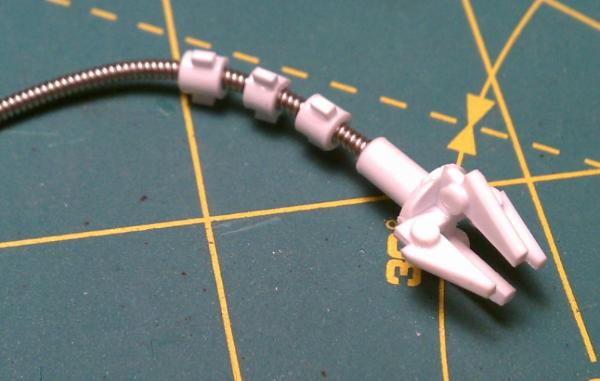
attach thin plastic strip like so and allow it to dry

bend the thin strip around, trim it to fit and glue it down
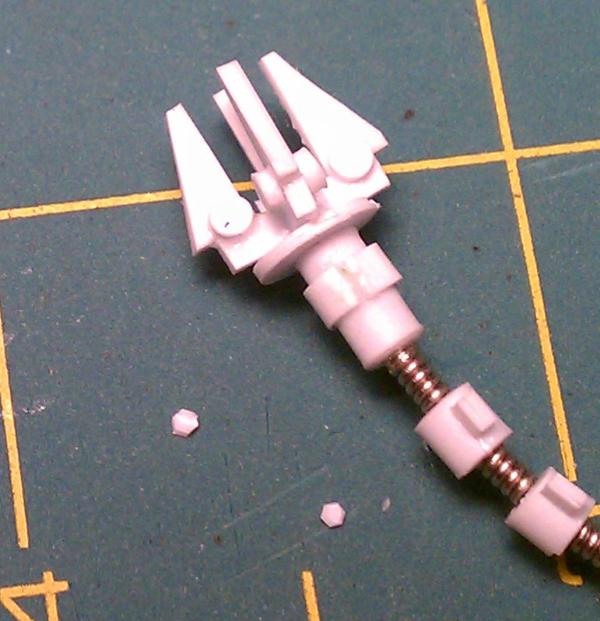
Slice a couple ends off a hex rod and attach
That's the basics of it. At this point there is plenty of room for more details. More bolts, add rivets, extra wires, knock yourself out.

