Like many, when I first started wargaming, I wanted to built an amazing gaming table. But I had no idea where to start.... Then one day many months ago my friend
Loki Kaden also expressed interest in this project. After many minutes of planning spread out over a year, we finally began building a table.
As we all know a gaming table can take up a lot of space, we wanted to make it modular, and easy to take apart for storage and transportation. So what we finally decided was to make it into four, 2'x4' sections, with removable legs. In that size, we can easilly put it int he backseat or trunk of a car for transportation(gaming at a friends place instead of the usual location). It's also easy enough to take apart, put into a corner for storage if we wont be using it for a while.
For now all we have completed is the base structure. The gaming surface will be on seperate 2'x2'
MDF boards to be worked on at a later date.
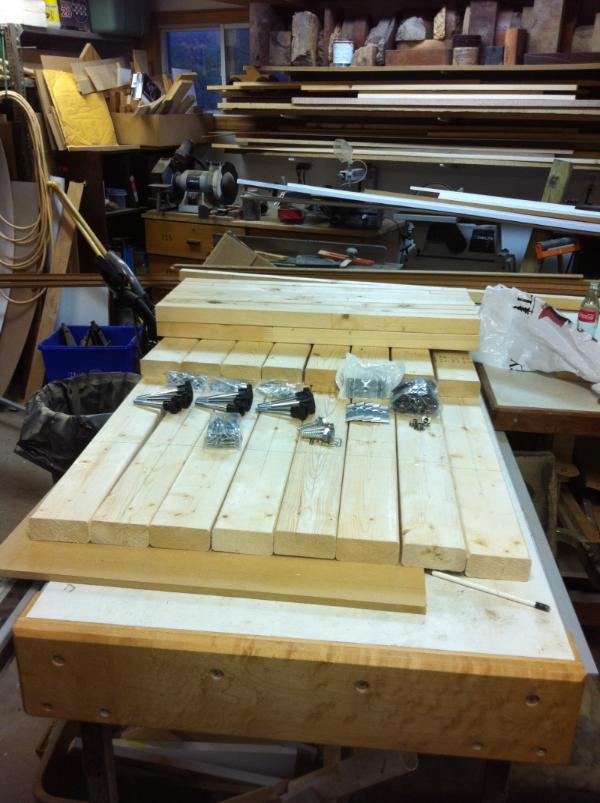
First here's a picture of (most) of the material's used. There are 2"x4"(table frame), 2"x2"(to be used as table legs), hex bolts,
t-bolts,
metal brackets, and screws. Not included in the picture are the
MDF boards, epoxy, carpenters glue, or the vast amount of cola that was consumed. Before this picture was taken, we had allready cut the wood into the needed length.
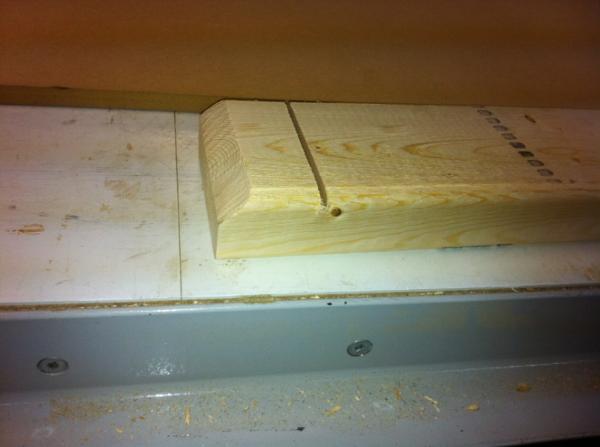
We the used a band saw to cut a 45 degree angle at the end of each length of 2"x4", and a table saw to cut a slot just on the inside of that.
After that we then cut a 45 degree angle on the leg's for mounting to the brackets later on.
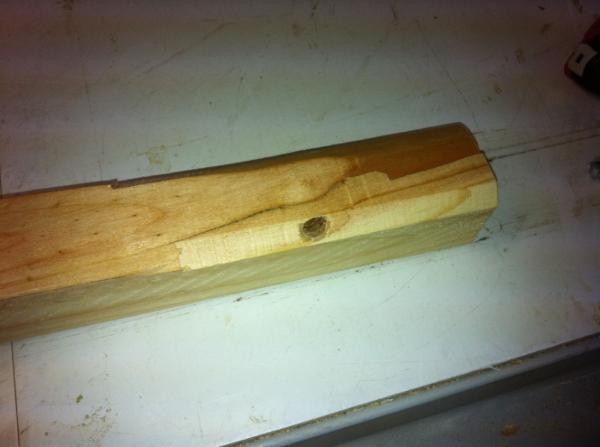
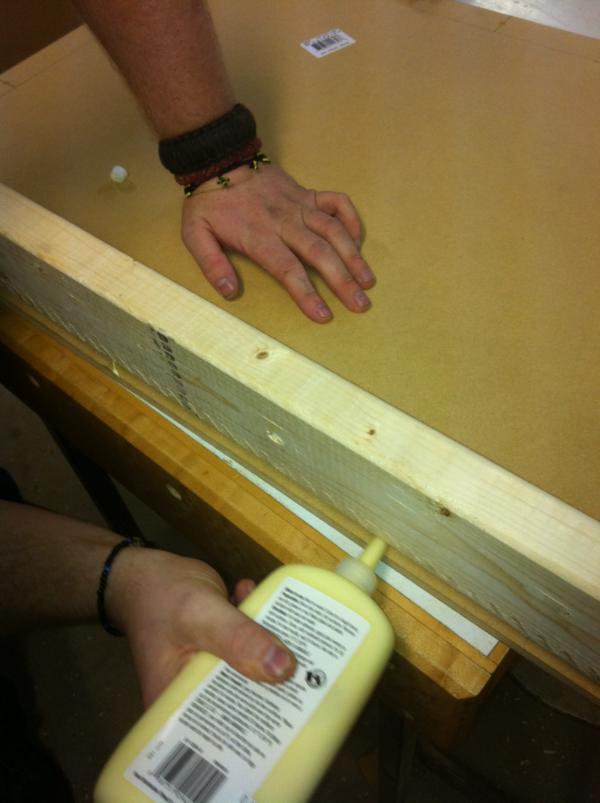
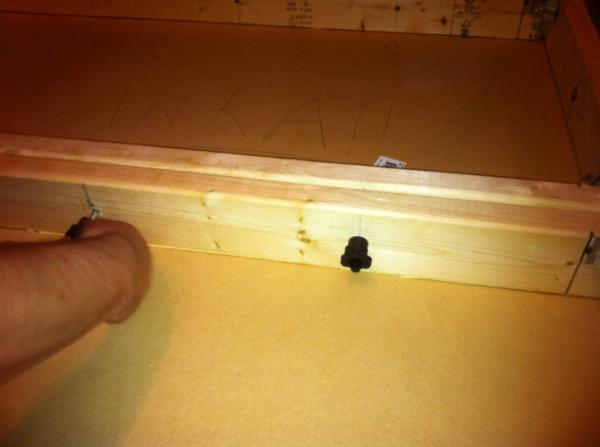
As we were planning on fastening the different table sections to each other, we drilled holes down each part of the table frame, and used epoxy to adhere t-bolts into the frame.
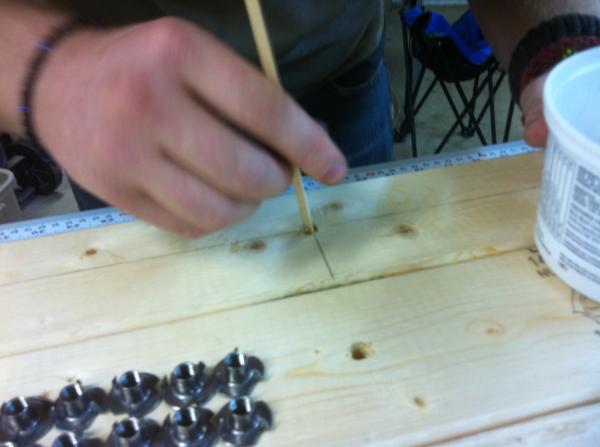
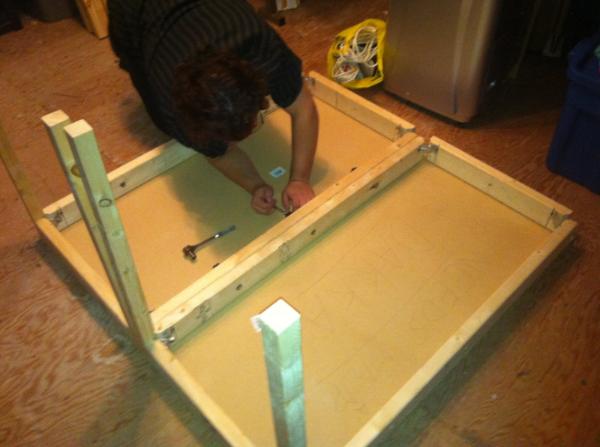
Automatically Appended Next Post: We then drilled some pilot holes in the
MDF table top where we planned to attach it to the frame. I forgot to take a picture of this stage, but I have one of the next. We screwed the 2"x4" framework to the
MDF, and added some carpenters glue for added strength.
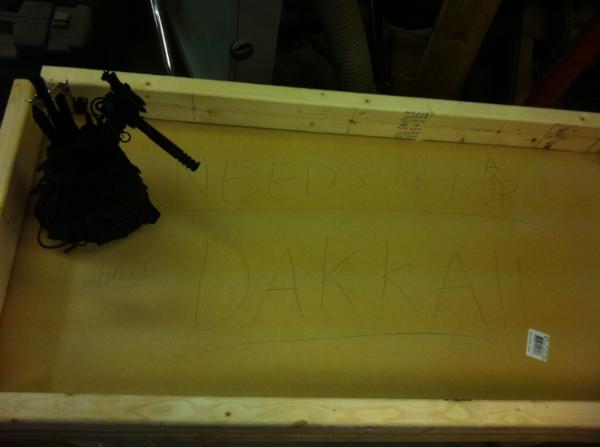
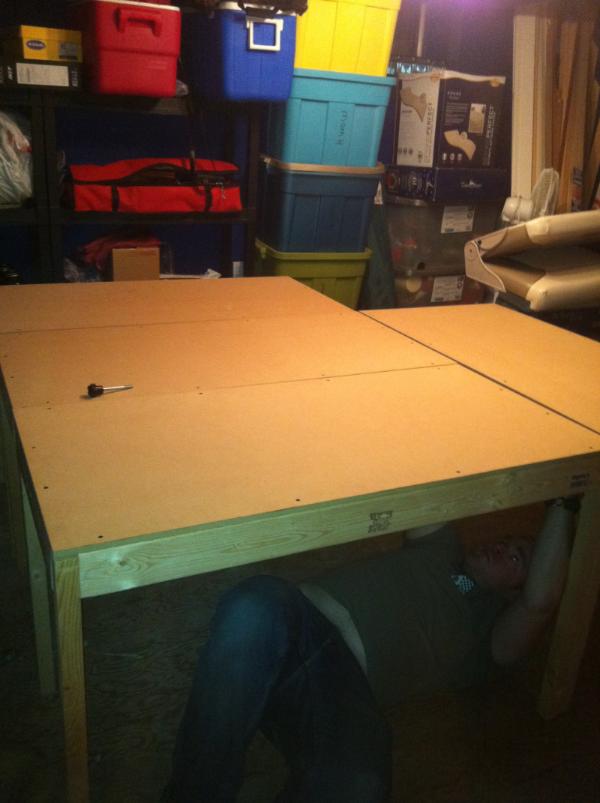
And here is what it looked like at this point.
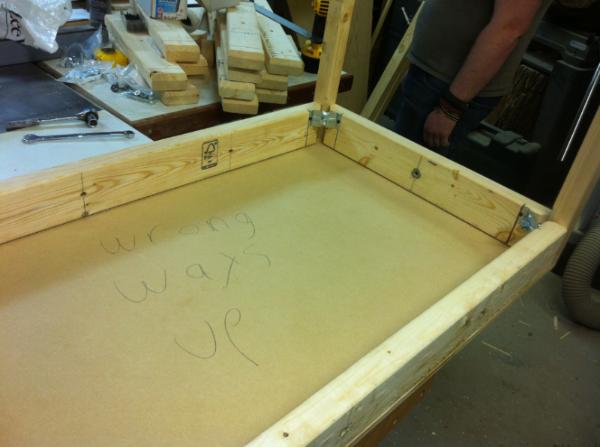
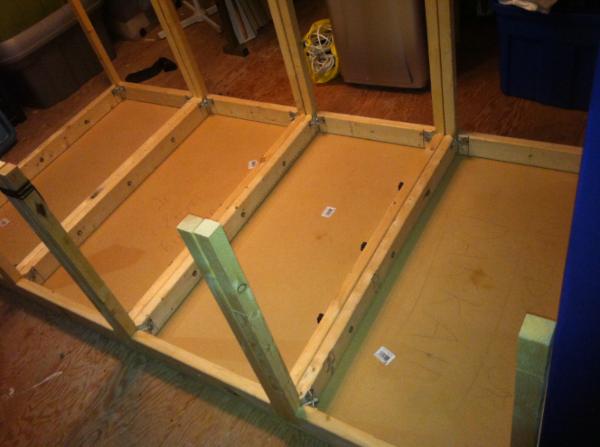
Next we put in the metal brackets for attaching the table legs.
Here is one section of the table at this point
You can see how the multiple sections are attached to each other.
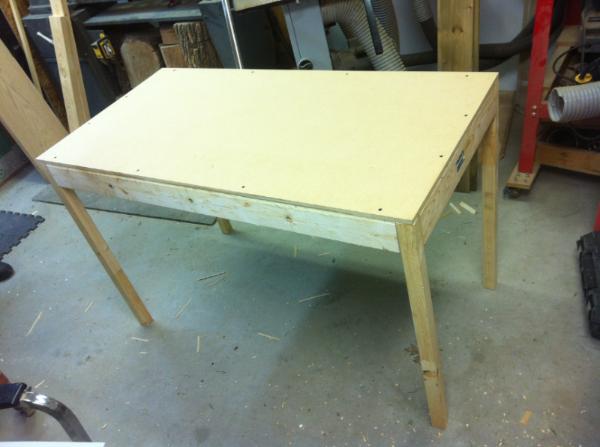
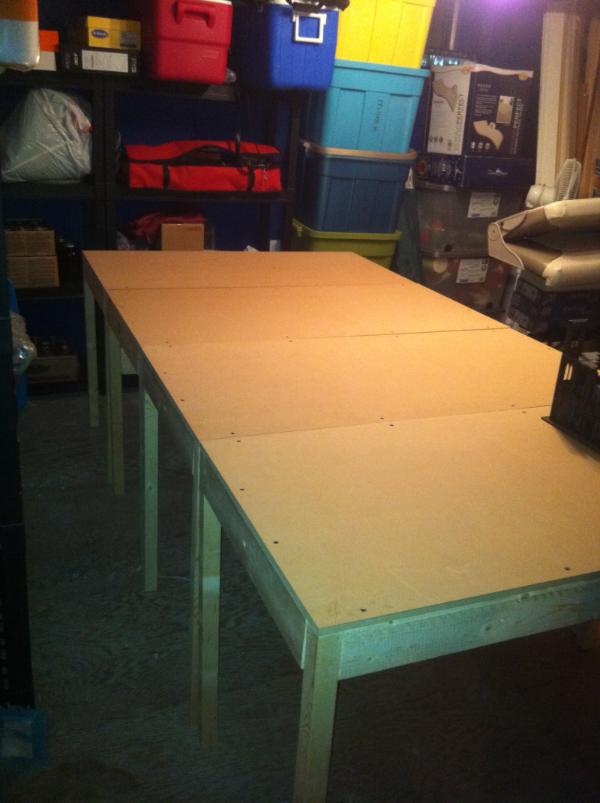
Automatically Appended Next Post: And here are some finished pictures of the table stucture.
Each section is attached to the others, so if you pull one side of the table, they all move with it.
I also have eight sections of
MDF 2'x2' that we will be adding texture to later, and turning into a gaming surface to be placed on top of the table. We are planning a ruined urban battlefield, and I have many imperial buildings(from
GW) to assemble and paint for the table. Completion of this project will probably take a few more months, or a year, but I'm looking foreward to it. I'll post more as I have worked on it.