Ok..sorry for the hiccup..here we go..
Zavulon's deployment;
He chose to deploy on his right quarter with the bastion, but put everything as close as possible to the centre with the aim of reaching my line early. Tervigon & Hive Guards loitering on his right, just next the objective in his quarter, while Tyrants, Prime, Warriors & Tyrannofex towards his left. Gargoyles screening everything all along the no-man's-land border. Genestealers outflanking & Zoanthropes deepstriking.
My deployment;
1 Crusader Sqd deployed at the top of the 3-storey ruin to claim 1 objective that my friend put there. 2nd Crusader Sqd was behind the low hill. 1st Terminator Sqd on the ground floor of the 3-storey ruin, while 2nd Termie Sqd was deployed outside the ruin. Marshall hiding behind the corner right wall of the same ruin with the intention to go right into the huge rectangular ruin a.f.a.p. Speeder was put hiding out of
LOS behind the same ruin.
EC + Assault Termies put in reserve embarked in the
LRC.
I failed to seize the initiative. Here's my Crusader Sqd at the top of the ruin.
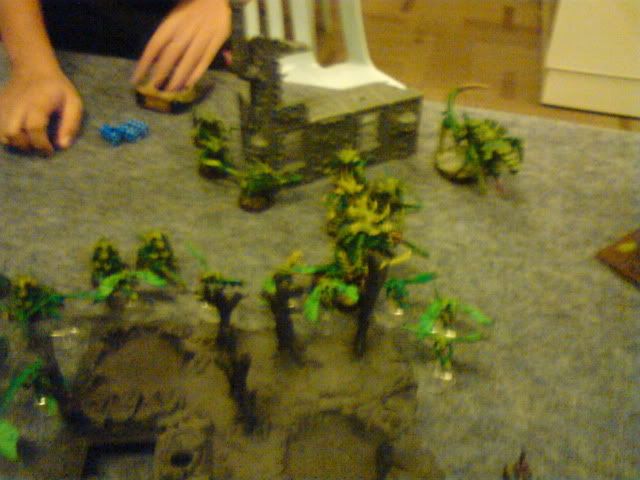
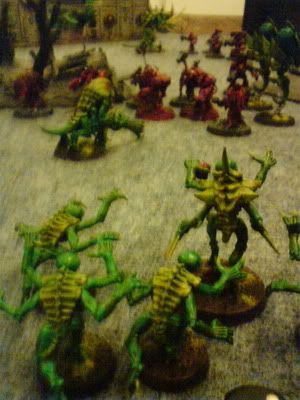
And here is a pic of his deployment..well, some of them anyway..
 TURN 1
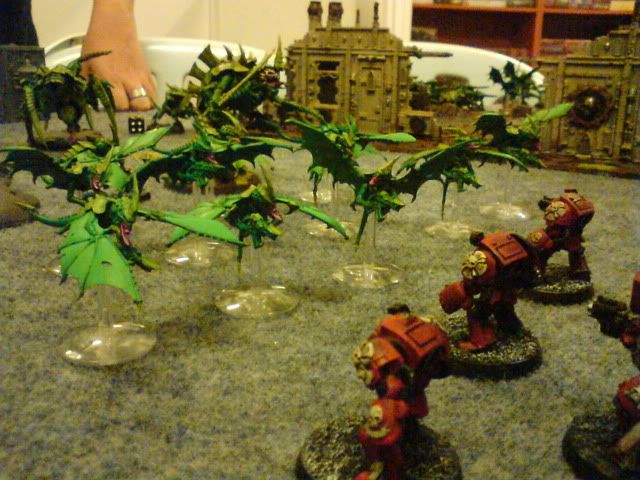
He started moving everything forward, with Gargoyles flying towards his left. Termagants to his right, while Tervigon casting
FnP on itself & spawning about 10-13 more Termagants which predictably moving towards my 2nd Crusader Sqd. He still didn't have range to my unit on top of the ruin (except for his Tyrannofex), so he concentrated all firepowers towards my 2nd Termie Sqd outside the ruin, killing 1 Terminator. The Termie Sqd consolidated 4" forward.
On my turn, I couldn't think straight, maybe was too stumped to see the green-Nid-tide coming towards me. I barely made my move, just enough so that all my units can make shots at his army. Marshall jumped 12" out of the ruin, & ran straight towards the Gargoyles screening the Warriors. 2nd Termie Sqd followed his lead. My shooting phase wasn't very inspiring, with on several casualties among the Gargoyles, Termagants, & causing 1 wound to the Tyrant & Tervigon.
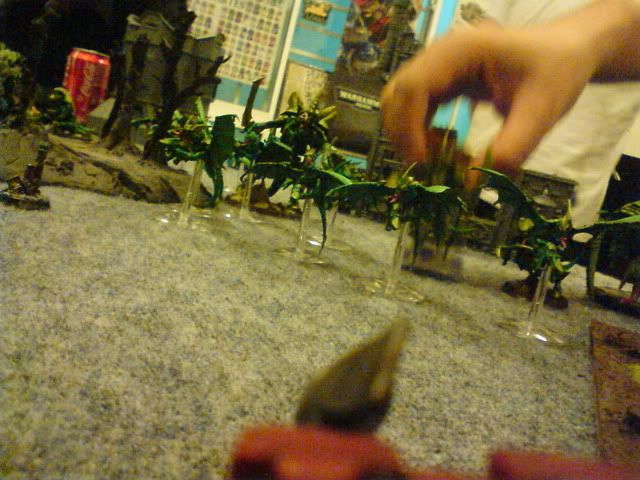
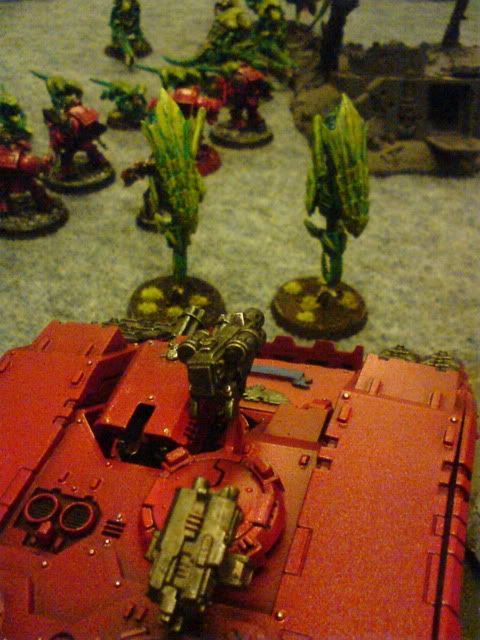
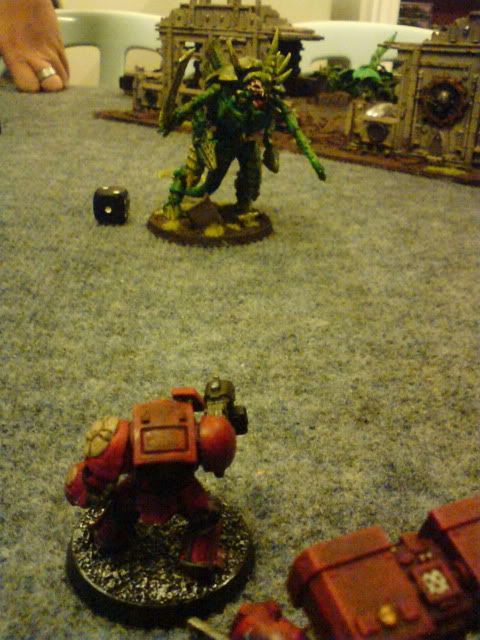
A pic from the Marshall's eye view -
Marshall: Hmm..I wonder what the bugs will do next?
TURN 2
His Zoanies came in, aiming to deepstrike close to the 3-storey ruin, but scattered waaay back towards the area terrain at the centre of the table.

Tervigon spawned more Termagants, but he rolled a double & cannot spawn anymore next turn. He moved the Termagants to screen the Zoanthropes from potential counter charge by my units.
On his left, he moved the Tyrant towards the Marshall, but still out of charge range. He pulled back the Gargoyles..don't know why. Shooting phase, The Zoanies & Termagants targeted the Crusader Sqd behind the low hill, but passed all my saves. Unfortunately, I lost another man from 2nd Termie due to concentrated firepowers like before. Marshall was shot by Tyrant, but pass all his saves too.
When it's my turn, my reserve came in. The
LRC crusing straight towards the Termagants covering the Zoanthropes.
EC & Assault Termies disembarked & ready to charge. Marshall jumped into the corner of the rectangular ruin, getting as close as possible to his Warriors. 2nd TermieSqd moved towards the Mycetic Spore. 1st Termie Sqd got out of the ruin & moved towards the Gargoyles.
In the shooting phase, I managed to kill 3 Warriors from shots fired by 1st Termie Sqd. 2nd Termie Sqd destroyed the Mycetic Spore, Here i thought that by destroying the Spore, I could then charge the Zoanthropes due to them being the Spore's passengers. Unfortunately, my friend said that the Spore was not a vehicle, so such rule cannot be applied here.
LRC failed to kill enough of the Termagants covering the Zoanthropes, forcing my
EC & Assault Termies to just charge these meat-bug-shield later on. The rest of my firepowers concentrated on the Tyrant & Tervigon but somehow I kept rolling 1s for to-wound rolls.
Needless to say,
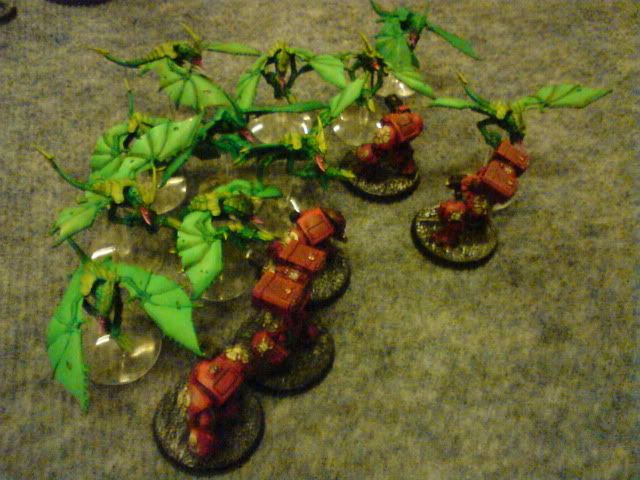
EC & Aslt Termies massacred 2 Termagants screen sqds. They consolidated towards..you can guess it..the last Termagants sqd screening the Tervigon & Hive Guards.
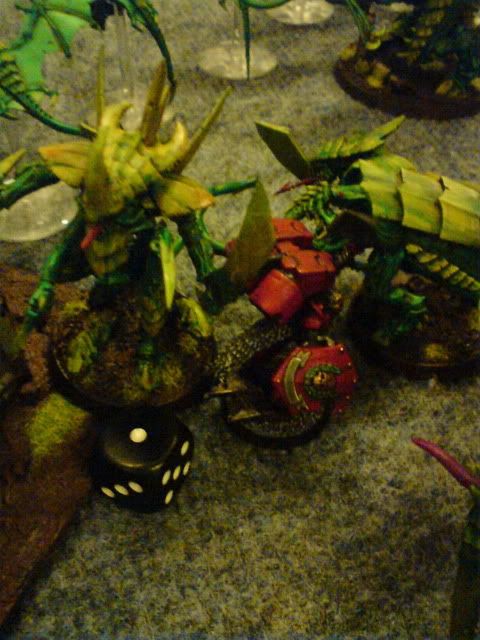
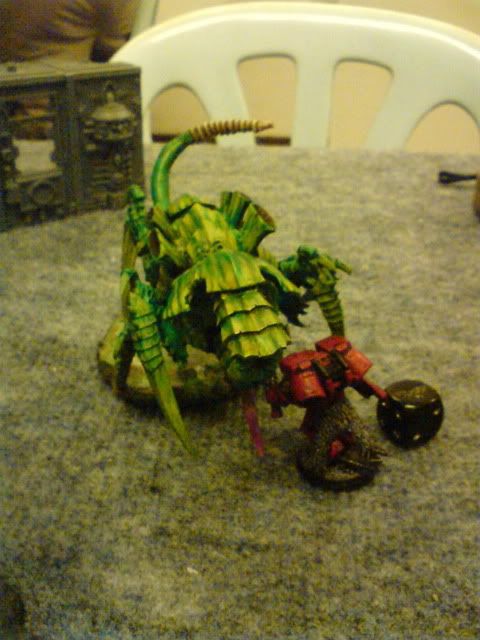
Marshall charged the Warriors & Prime sqd, suffering 2 wounds before instant-killing 2 Warriors & causing 2 wounds to the Prime. He lost combat, rolled his armour saves due to being Fearless, & lost the whole sqd. Marshall consolidated 4" towards the Tyrant.
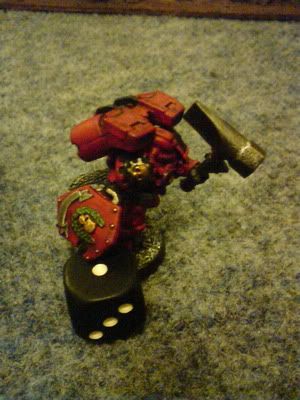
The Marshall during his close combat v/s the Prime & Warriors.
 TURN 3
His Genestealers came in, appearing on his right flank, which effectively meant that my Crusader Sqd atop the ruin would be 90% safe. He moved & ran them towards
EC & Termie Sqd.
Tyrant & Gargoyles moved towards Termie Sqd 1.
Zonthropes moved closer towards the
LRC, with the Tyrannofex also moving so as to get clear shot at the
LRC. Somehow, he ignored the wounded Marshall right behind the Tyrant.
Pilot: Brace for impact!!
Lucky for me, the
LRC was only immobilized & shaken. Termie Sqd 1 was shot at by the Gargoyles & Tyrant but everybody survived.He also cast Paroxysm to them.
Hive Guards shot at the Marshall, but again he passed all his armour saves (remember, he was down to his last wound here).
He charged the Gargoyles to Termie Sqd 1, somehow killing 2 guys (my 2+ saves here sucked!). The Termies killed about half of them, he lost combat, but somehow managed to roll tremendously for his forced armour saves due to being Fearless. Combat continued on..
In my Turn 3,
EC & Assault Termies moved slightly to their right, making a long line into the area terrain with the intention the simultaneously charge the Termagants, Tervigon, & 1 Hive Guards sqd.
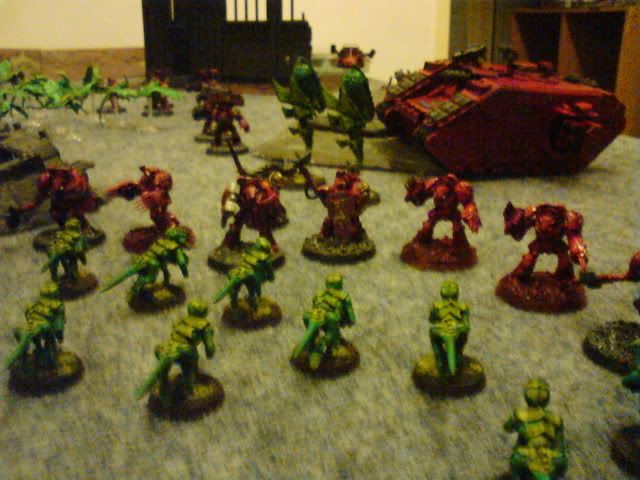
Meanwhile, Marshall moved to confront the Tyrannofex.
I didn't do much in the shooting phase, killing only a few of the Stealers from assault cannon shots from the
LRC, & wounding 1 of the Zoanthropes from the Speeder. Plasma Cannon shots failed to wound the Tyrant..again..sigh..
I managed to roll far enough for Ec & the Aslt Termies to reach all the intended targets, wiping them off in 1 swoop. Marshall caused 4 wounds to the Tyrannofex, survived the ordeal, & the combat continued on. Termie Sqd 1 destroyed the Gargoyles.
In the excitement, I totally forgot to charge my 2nd Termie Sqd right next to the Zoanthrope into them..what a waste..
TURN 4
He's got only 1 more scoring unit - the Genestealers. But to claim the nearest objective, he had to go through my
EC & his bodyguards. Left with no choice, he moved the Stealers closer.
His Tyrant moved towards Termie Sqd 1, made his devoure shots & Leech Essence...
..killed 1 guy, I rolled

for morale & fall back 8", & suddenly the Tyrant was left hanging by himself..
In the assault phase, the Marshall finished off the Tyrannofex, and survived the fight against this monstrous creature. I've got nothing to say, somehow, his invul saves that day were magnificent!!
Genestealers charge into
EC & his bodyguards. Despite all the 3+ to hit & re-rolling to wound due to poisoned attacks causing several rending & normal attacks, all 8 men survived. The Genestealers were wiped out instead.
In my Turn 4, I moved the
EC & Aslt Termies to multiple charge the Zoanthrope & the last Hive Guard. Marshall moved closer towards the Tyrant. This time, in the shooting phase, I finally managed to cause 2 wounds to the big bug.
EC & Aslt Termies did their multiple charging, killing all their targets.
Then we paid our attention to the Marshall..
mano-o-mano against the Tyrant..After the imaginary dust settled down...
...he prevailed yet again!!!
Result: Templars of The Blood Crusade won (Objective claimed 1-0). Bonus - Hive Fleet Zavulon massacred.
Man of The Match: This on is easy - the Marshall of course. Personally, this lone wolf claimed 4
KPs worth almost 1000pts. A squad of Tyrannid Warriors, a Prime, a Tyrannofex, & a Hive Tyrant. This guy rocked!!

Well, that's all folks. Sorry if the pics are of poor quality. My hands were not so steady due to the excitement of the game.


