Switch Theme:

Whats Your Technique for Excavating Pesky Plastic Parts?  [RSS] Share on facebook Share on Twitter Submit to Reddit
»
Author Message
Advert


Forum adverts like this one are shown to any user who is not logged in. Join us by filling out a tiny 3 field form and you will get your own, free, dakka user account which gives a good range of benefits to you:
  • No adverts like this in the forums anymore.
  • Times and dates in your local timezone.
  • Full tracking of what you have read so you can skip to your first unread post, easily see what has changed since you last logged in, and easily see what is new at a glance.
  • Email notifications for threads you want to watch closely.
  • Being a part of the oldest wargaming community on the net.
If you are already a member then feel free to login now.


Made in us
Regular Dakkanaut


Say that you're sitting there at your workbench, waiting for some green stuff to cure.
You drag an index finger through the bits box, and decide to try a kitbash.
Because that Grot would look great wearing a Gray Knight helmet.

Now, you could just lop off the head and replace it with the helmet wholesale. Easy. Lazy, but easy.
But what if you want to hollow out the helmet and have it sitting at a jaunty angle? What do you use?

Do you whittle it out with a hobby knife?
Slowly bore out the helmet with larger gauges of drill bits?
Set the helmet in a shallow pool of MEK and wait for the lower portion to turn to jelly then mash it on the grots head followed by some trimming?
Heat up a metal punch and then ram the red hot tip up through the neck?
Lasers?

I know most conversion work is largely situational to the job at hand. but what techniques do you use?
   
Made in us
Monstrous Master Moulder


Utah

I would drill out as much as possible and then scrape out the rest with a hobby knife.


Made in us
Never-Miss Nightwing Pilot


Archim3des wrote:Slowly bore out the helmet with larger gauges of drill bits?
This is what I do to my helmets. You can kind of see it in the helmet on this 
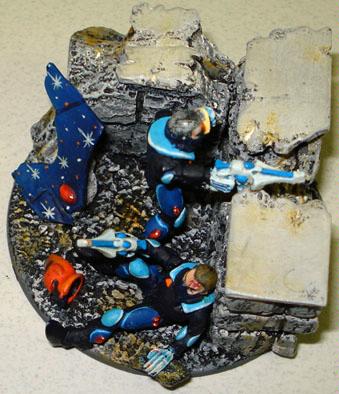
Apoc objective marker:


I used a smaller bit to drill out, then used a larger one to open it wider. I finish off with a Dremel bit with a round cutting head:


I use this bit wit my hand so that I have better control. I turn it with my fingers. It takes awhile and it tends to hurt the fingers eventually, but the result is great. This bit can be found all over online.


King Ghidorah

   
Made in nz
Longtime Dakkanaut


New Zealand

Some rotary tools have a little ball-shaped grinding head attachment, which can be perfect for smoothing a hole already partially dug with normal drill bits.
   
Made in us
Never-Miss Nightwing Pilot


Clang wrote:Some rotary tools have a little ball-shaped grinding head attachment, which can be perfect for smoothing a hole already partially dug with normal drill bits.
Brought to you by the Dept. of Redundancy Department.


King Ghidorah

   
Made in au
Anti-Armour Swiss Guard


Newcastle, OZ

That ball shaped grinding attachment is a "milling" bit.

My usual technique for making any hole is to start small then enlarge it.

I had to create a head socket for a mate's "Brother Captain" Stern (he'd got it second hand and someone had crudely hacked the head off). Metal model.

Started with my pin vice, upped it to my cordless drill with a 3mm bit, then went to the dremel with milling bit.

Helmets is similar, just skip the cordless drill.

I'm OVER 50 (and so far over everyone's BS, too).
Old enough to know better, young enough to not give a ****.

That is not dead which can eternal lie ...

... and yet, with strange aeons, even death may die.


Forum Index » Painting & Modeling
Go to: