http://www.imperiusdominatus.com/2012/06/battle-report-necrons-vs-space-wolves_13.html
Got a game in with Shaun on Sunday. Last time I played Shaun, my Wraiths stomped a mudhole in his Space Wolves. Shaun is hoping to get revenge, will it happen?
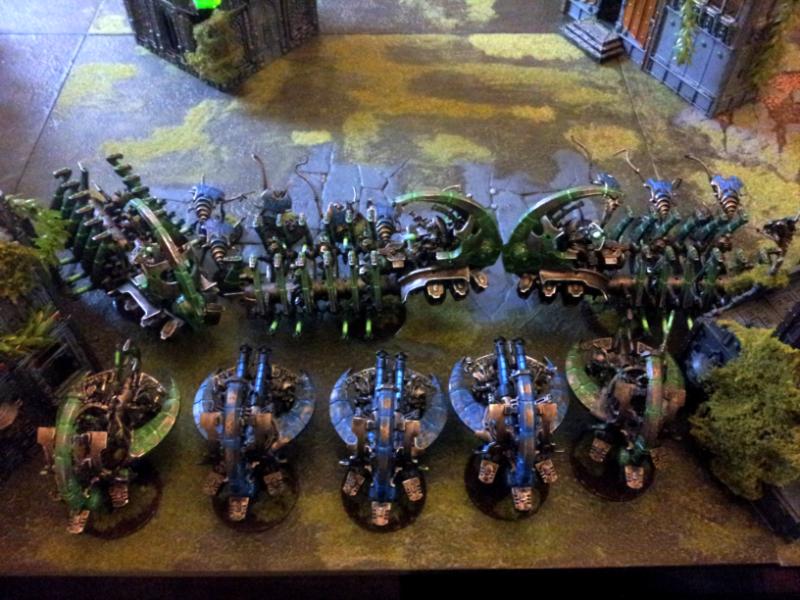
Necrons 'Necro-Wall' - 2,000 points
HQ
Necron Overlord w/ Catacomb Command Barge - warscythe & mindshackle scarabs
Royal Court - 3 x Crypteks w/ harbinger of destruction & solar pulse
Necron Overlord w/ Catacomb Command Barge - warscythe & mindshackle scarabs
Royal Court - 3 x Crypteks w/ harbinger of destruction & solar pulse
Troops
5 x Necron Warriors w/ Ghost Ark
5 x Necron Warriors w/ Ghost Ark
5 x Necron Warriors w/ Ghost Ark
5 x Necron Warriors
Fast Attack
6 x Canoptek Wraiths - 3 x whip coils
6 x Canoptek Wraiths - 3 x whip coils
Heavy Support
Annihilation Barge
Annihilation Barge
Annihilation Barge
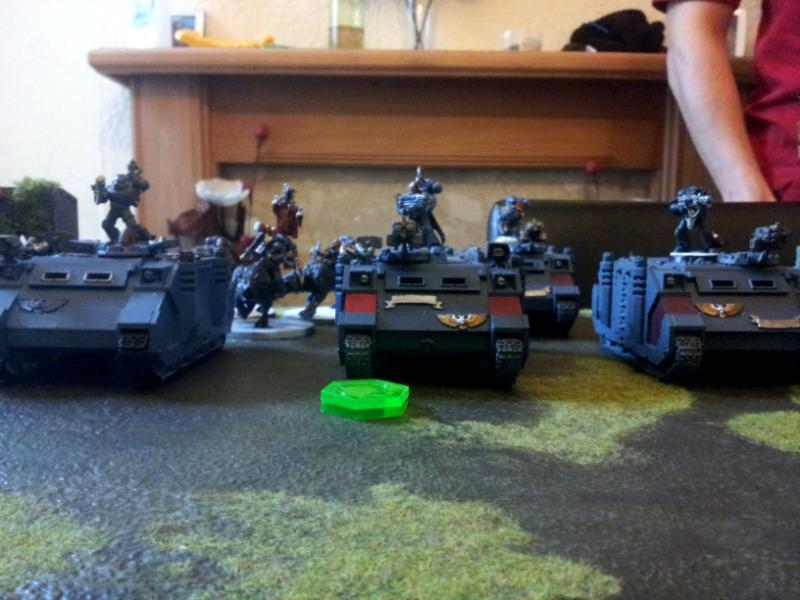
Space Wolves 'Wolfstar' - 2,000 points
HQ
Wolf Lord - runic armour, storm shield, frost axe & thunderwolf mount
Wolf Lord - runic armour, storm shield, wolf claw, saga of the warrior born & thunderwolf mount
Wolf Lord - runic armour, storm shield, wolf claw, saga of the bear & thunderwolf mount
Troops
10 x Grey Hunters w/ Rhino - 2 x plasma guns, mark of the wulfren, power weapon & wolf standard
10 x Grey Hunters w/ Rhino - 2 x plasma guns, mark of the wulfren, power weapon & wolf standard
10 x Grey Hunters w/ Rhino - 2 x meltaguns, mark of the wulfren, power weapon & wolf standard
10 x Grey Hunters w/ Rhino - 2 x meltaguns, mark of the wulfren, power weapon & wolf standard
Heavy Support
5 x Long Fangs - 2 x missile launchers & 2 x lascannons
5 x Long Fangs - 2 x missile launchers & 2 x lascannons
5 x Long Fangs - 2 x missile launchers & 2 x lascannons
Pre-game Analysis
I think I might be in for a tough game here. The Wolfstar will be extremely tough to take down, I'll have to torrent them to death and then follow up with dual Wraith assault.
The only Grey Hunters which worry me are the melta totting ones, which can be easily taken out of their metal boxes by tesla and then taken down to china town with gauss flayers, tesla and Wraiths.
Fangs maybe a issue as they now have lascannons. If my pulses do well for me, then I can rock up and rapid fire into them and the squads will soon be quickly depleted or destroyed.
Game: Seize Ground + Pitched Battle
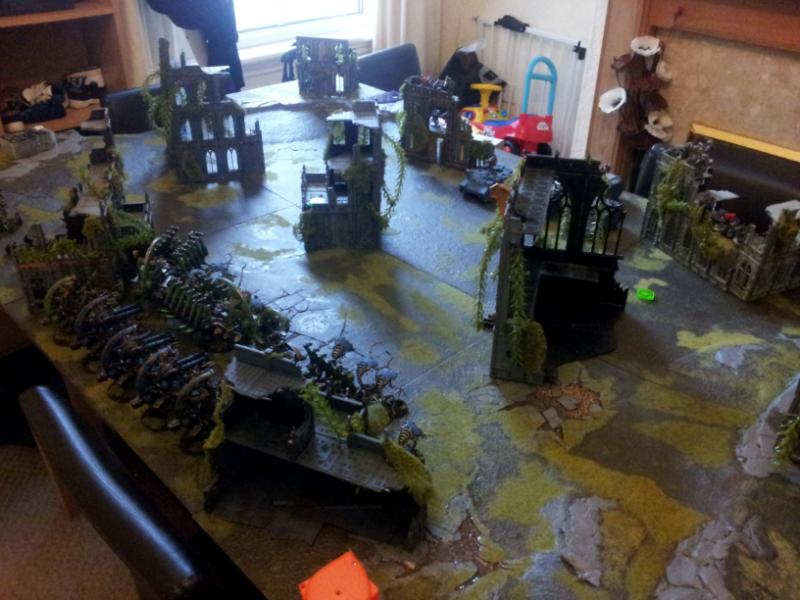
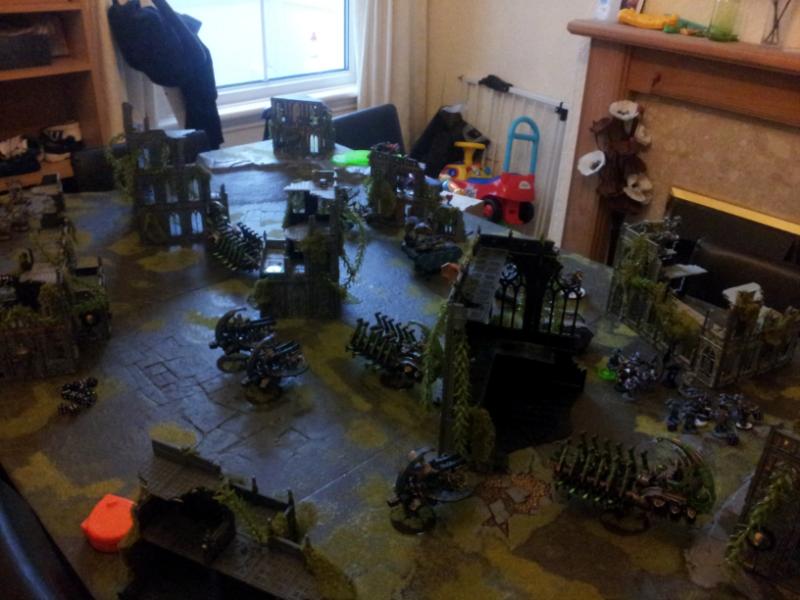
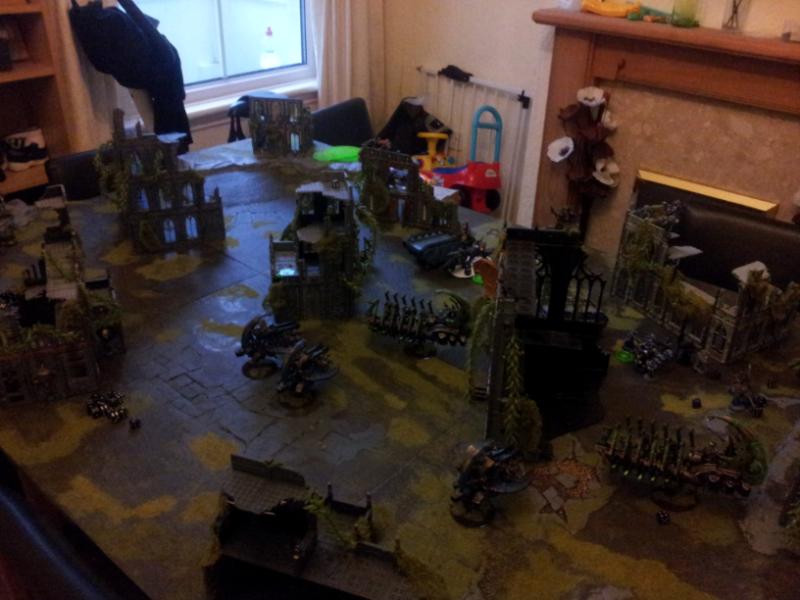
Deployment
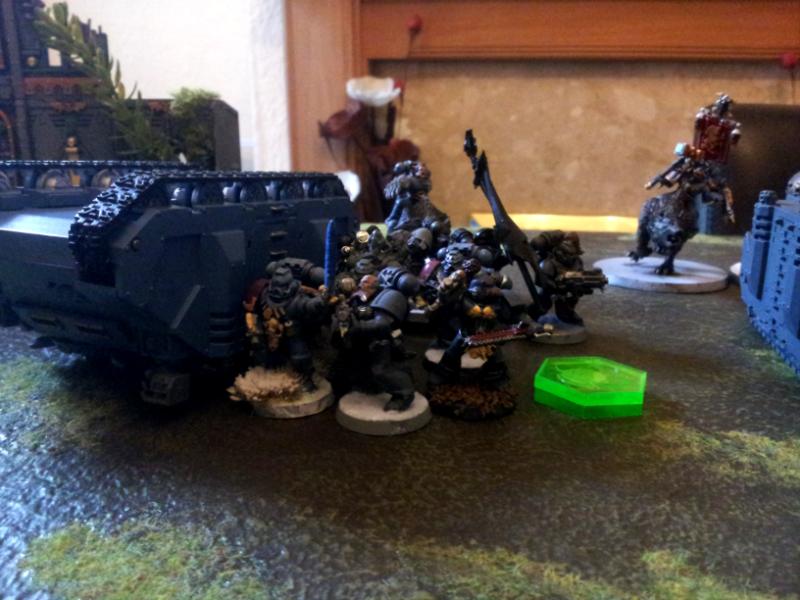
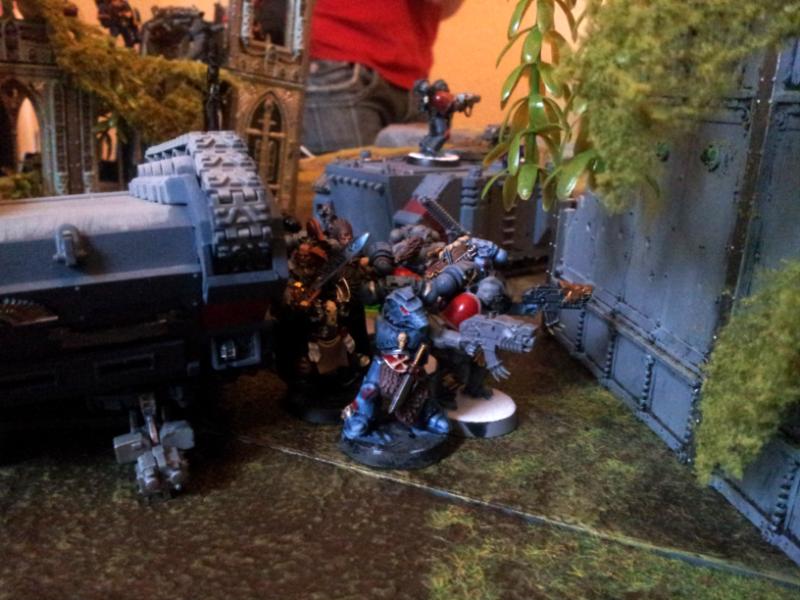
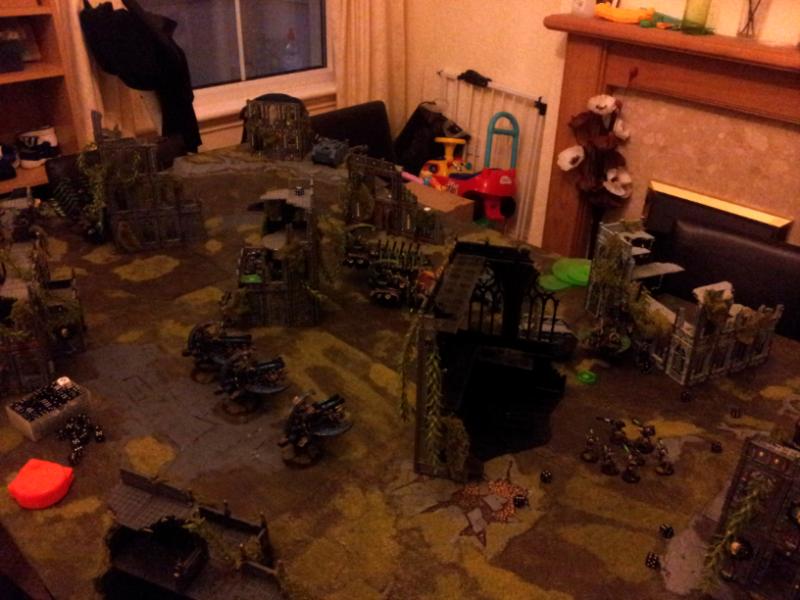
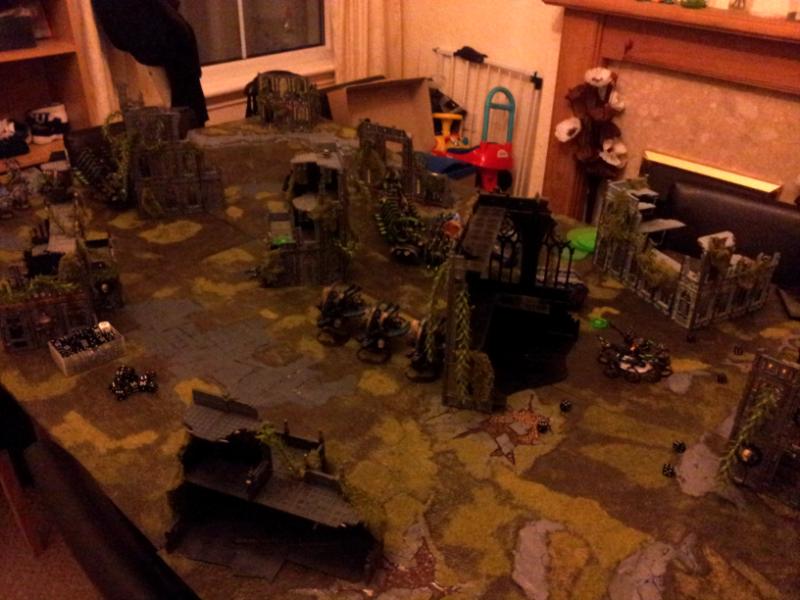
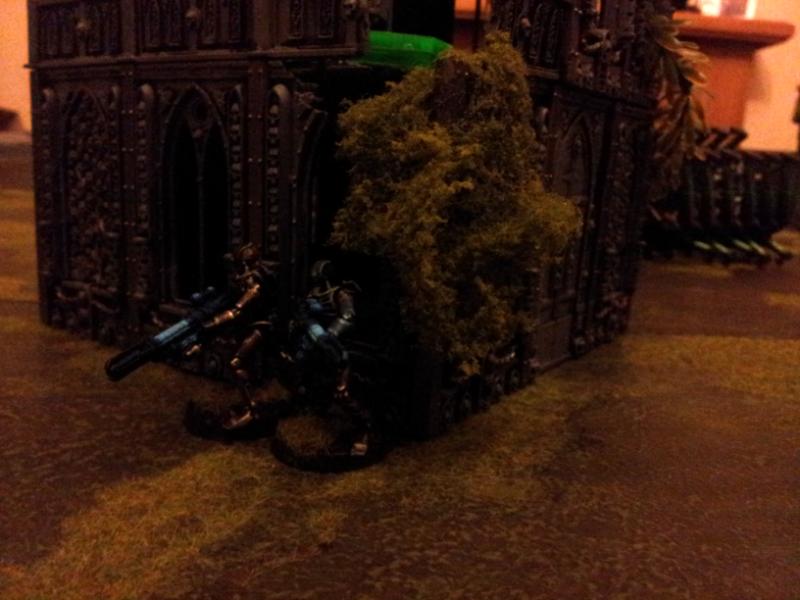
I lost the roll off and Shaun deployed first, he deployed his Rhinos in the centre between two ruins with the Wolfstar behind them. Deploying the Wolfstar behind is swings and roundabouts, they do not get shot this way and cannot be assaulted so easily, however they're not getting into assault quickly and assault is what they do. Long Fangs deploy in the ruins either side of the Rhinos, two Long Fangs are in the larger ruin on the right.
I deploy in the centre with my usual setup; Wraiths out the front, Ghost Arks side on, all forms of Barges behind with
CCB's on either flank. Warriors on foot are in reserve.
Objectives had been placed with one bottom left corner just 12" away from the table edges, one in the centre first floor of the tower ruin, one 12" in the centre from Shaun's table edge and one in the top right corner near the dual Long Fangs.
 * Tactical Notes
Ok, Shaun has done well with his deployment. He knows after our last game that I'll torrent those Thunderwolves and then assault them with Wraiths, which should cause some mega damage to them. I'll move all units up the centre while Wraiths and CCB's take a flank each, they can deal with Long Fangs while gauss flayers, tesla and lances deal with the Rhinos and squads inside.
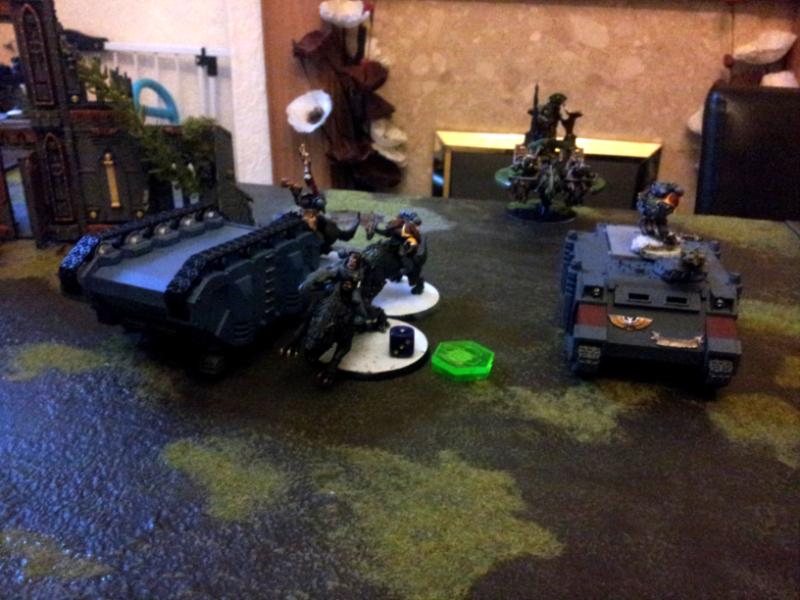
Turn 1
Shaun brings all Rhinos forward 12" and pops smoke on all of them, though one Rhino carrying a melta unit moves to the right and goes early for the objective. Wolfstar comes forward, though still lingering back. I also activate my solar pulse.
Shooting; Long Fangs fire at the Wraiths and a machine from each unit is instagibbed.
My first turn; I decide to split my army and go after the lone melta Rhino, unit of Wraiths,
CCB and Ghost Ark moves up the right flank while a Ghost Ark, Wraiths and
CCB move up the left flank and in the centre a single Ghost Ark remains with triple Annihilation Barge support.
Shooting; lances from the Ghost Ark on the left flank pop open a Rhino carrying a melta unit; they fail pinning test. The Ghost Ark blasts into the Long Fangs and kills a single Space Wolf. In the centre Annihilation Barges blast into the pinned Grey Hunters and plasma carrying Rhino, Marines die and the Rhino is immobilised and stunned. The other plasma carrying Rhino gets blasted by eldritch lances and is wrecked; squad passes pinning test. On the right flank the Ghost Ark fires at the Long Fangs and kills one while the lances blast the Rhino, though Shaun makes the smoke saves.
 * Tactical Notes
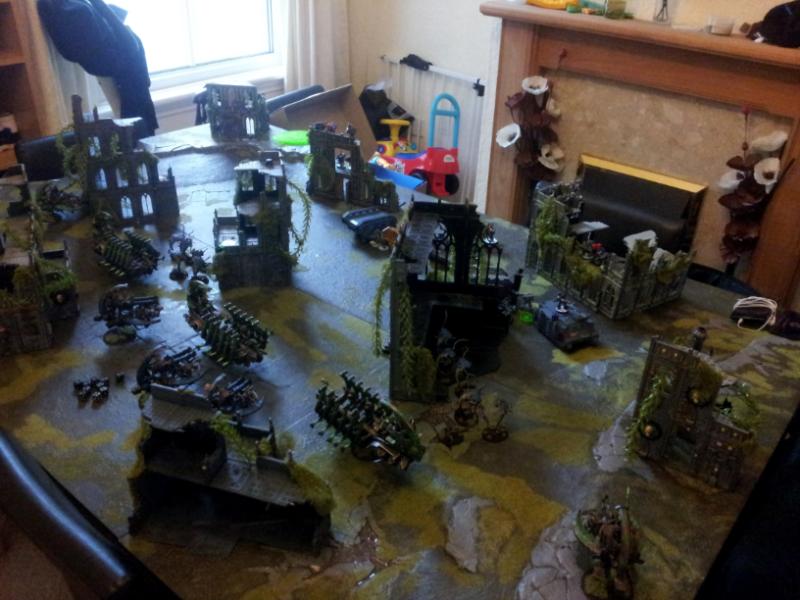
Ok, a cracking first turn. Long Fangs on each flank have started to lose numbers while three out of four Rhinos have been taken apart - two of those have been wrecked and one squad has been pinned. All in all I cannot complain and losing two Wraiths isn't too bad.
Next turn I'll sweep the Long Fangs on the left flank and gauss them to death while the Wraiths assault the pinned melta unit, though not before the unit takes damage from fire power. The last Rhino on the left I'll sweep and dakka the squad inside along with the already depleted Long Fangs.
Turn 2
Last Rhino moves along so the plasma unit on foot can move and get the objective. Wolfstar doesn't move much and waits for the Wraiths to come. I activate my second solar pulse.
Shooting; Long Fangs on the left put some damage on my Wraiths and only three remain, though things go bad for the Wraiths on the right and they are wiped out thanks to combined fire of boltguns, plasma guns, meltaguns, lascannons and krak missiles.
I roll for reserves and my Warriors fail to arrive, which is good for me, but even if they did come in they can bunker down in a ruin and have
LOS blocked to them.
CCB on the right sweeps the last Rhino and it goes boom; squad fails pinning test. Ghost Ark on the right moves up with Annihilation Barge support. On the left the
CCB sweeps the Long Fangs and kills one while the Wraiths move to assault the pinned melta unit as the Ghost Ark moves up behind. In the centre the Ghost Ark moves up to get into rapid fire range while the Annihilation Barges hold position.
Shooting; gauss flayers and tesla dakka the pinned melta unit and four only remain; they pass morale. Long Fangs get blasted by gauss flayers and only one dies. On the right flank I decide the Long Fangs are more of a threat as plasma can only glance my vehicles and the melta unit is pinned and cannot act next turn, the Long Fangs eat tesla, gauss and lances and are wiped out.
Assault; Wraiths charge the remaining Grey Hunters, they take a wound but the Grey Hunters are wiped out. They consolidate onto the Rhino wreck with hope it may slow down or cause damage to the Wolfstar, who no doubt will counter assault next turn.
* Tactical Notes
Things are going really well for me at the moment and I cannot complain. All Rhinos have been dealt with, so Shaun has lost his mobility, which means the objective bottom left should be safe. One melta unit has been taken out and the other cannot fire next turn, add in the destruction of Long Fangs and Shaun's fire power is starting to drop.
While Shaun hasn't had a huge impact yet thanks to his army being mostly ranged and my pulses holding his shooting back, he has destroyed a unit of Wraiths and I have no doubts the remaining unit is going to be dog food.
Next turn I suspect the Wraiths will be dead, so I'll torrent the Wolfstar to death as those fast moving units can reach assault quickly and destroy any unit holding a objective. I'll also assault the pinned melta unit with the Overlord, but not before they get shot at.
Turn 3
As suspected the Wolfstar moves to assault the remaining Wraiths. I think that's about it from Shaun.
Shooting; Long Fangs on the right fire at the
CCB and manage to shake it, which I save with living metal, the plasma unit has better luck and manages to immobilise the Ghost Ark coming up the right flank. Long Fangs on the left blast the
CCB, but fail to do any damage.
Assault; Wolfstar ploughs into dangerous terrain and the wolf claw takes a wound, the Wraiths ultimately die but not before they put another wound on the wolf claw and also a wound on the frost axe.
I roll for reserves and the Necron Warriors refuse to show up, the longer they stop off the board the better.
I move the
CCB on the left flank and sweep the Wolfstar, though storm shields make the saves. Ghost Ark on the left moves up ready to rapid fire the Long Fangs. Ghost Ark in centre holds position as will be in range of the Wolfstar. On the right the Annihilation Barge adjusts to to draw
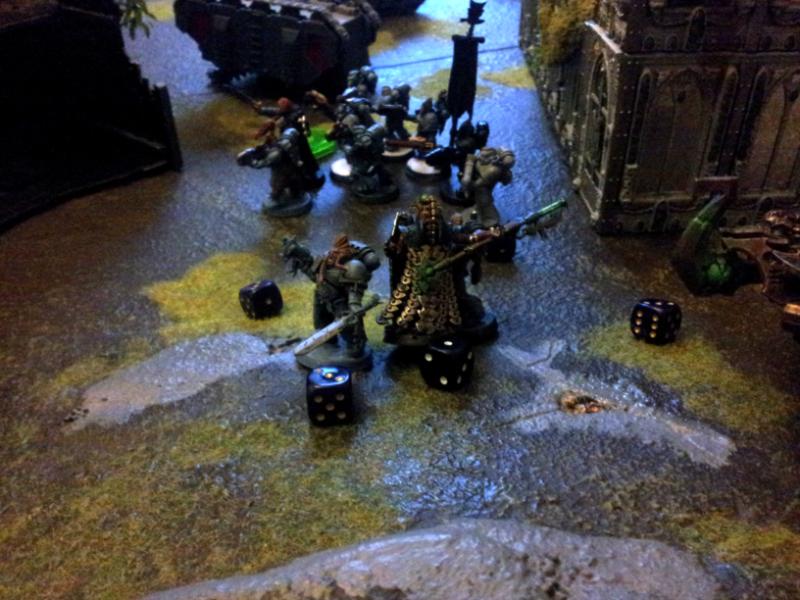
LOS while the Overlord sweeps the pinned melta unit and kills a Grey Hunter, Overlord disembarks ready to claim some heads old skool style.
Shooting; gauss flayers, lances and tesla blast the Wolfstar, they take a pounding but still going strong with the wolf claw on a single wound and also the frost axe too. Pinned melta unit get blasted by tesla (arcs off on my Overlord, but he's ok), gauss flayers and lances; four remain and they pass morale.
Assault; Overlord charges the Grey Hunters, mindshackles control a naked Grey Hunter who wounds his squad, though the wound is saved. Overlord kills two Marines but also takes two wounds; combat is a draw.
* Tactical Notes
Things are still going strong for me at the moment; Wolfstar has taken wounds, but still remain and a melta unit is virtually destroyed.
Next turn I am hoping the Overlord can beat those Grey Hunters in combat and then consolidate onto the Long Fangs nearby, the other Overlord can sweep the Wolfstar, who will also get shot at with fire power.
Turn 4
Wolfstar moves to engage the
CCB which just swept them while the plasma unit on foot moves to get rear shots on the centre Ghost Ark.
Shooting; plasmas fire and score weapon destroyed on the centre Ghost Ark while Long Fangs on the left fire at the Ghost Ark on the left and fail to score any damage. Long Fangs on the right flank do better and make the Ghost Ark go boom; squad passes pinning test and all models inside are safe.
Assault; Wolfstar charges the
CCB and manages to stun and immobilise it, I decide to take a wound off the Overlord so the
CCB can move and hopefully contest objectives. Mindshackles from the Overlord manage to control the power weapon, who kills himself, though the wulfren kills the Overlord.
I roll for the Warriors and they finally arrive and bunker down in the ruin so they cannot be shot at.
Ghost Arks on the left and centre move up and meet up, they now contest the objective centre of Shaun's side. Empty
CCB on the right moves flat out to contest the objective top right, which the single wulfren holds. The Overlord bails out the stunned
CCB and moves to assault the Long Fangs on the right.
Shooting; gauss flayers rip into the Long Fangs on the left flank. Gauss flayers fire at the Wolfstar and they pass armour saves. Lances fire into the immobilised Rhino hoping to open it up so tesla can fire, though even with tesla I only manage to score weapon destroyed and stunned twice. Tesla fires into the plasma unit on foot and they are wiped out, the single wulfren is overkilled by gauss and lance fire from the Warriors out of the exploded Ghost Ark.
Assault; Overlord assaults the Long Fangs and mindshackles control a Fang, Overlord wins combat and two Long Fangs remain in the fight. The Wolfstar do better and make the stunned
CCB go boom.

* Tactical Notes
Ok, I've taken a bit of damage this turn. I've lost a Ghost Ark and took weapon destroyed on another. Also add that I've lost a
CCB and a Overlord. I cannot grumble though as I haven't done too bad myself, Shaun now has a single troop choice left and the Wolfstar are pretty far away to contest the centre and left objective. Also one Long Fang unit is on its last legs while the other is engaged in combat.
Next turn I hope the Overlord will deck those Long Fangs and I can use all my fire power to take out the Wolfstar unit to stop them contesting objectives.
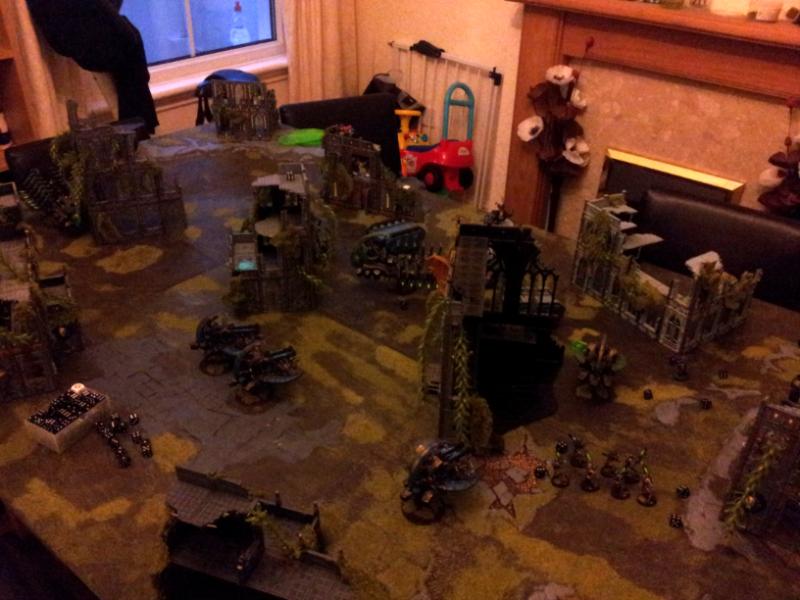
Turn 5
Wolfstar move up to assault whatever they can and that's about it.
Shooting; only the Long Fangs on the left fire and they wreck the Ghost Ark in the centre; unit passes pinning test.
Assault; Wolfstar charge the Warriors out the wrecked Ghost Ark and wipe them all out, cannot say I am surprised at that result,
lol. Overlord batters the Long Fangs in assault and consolidates down so could get into the
CCB next turn.
Necrons turn; the unit of Warriors in the ruin move out slightly and claim the objective on the left. Warriors bail out the Ghost Ark on the left and claim the centre objective while the Ghost Ark moves up and contests the objective Shaun's left troop unit hold.
Shooting; last Ghost Ark dakkas the the Wolfstar and the Long Fangs, the Fangs take 25% damage and fall back while the wolf claw dies. I think that's it for my turn.
At the end of turn 5 I am in a winning game position, I have two objectives and contest another while the one of the right is unclaimed.
* Tactical Notes
Well the game appears to be in the bag for me
atm. I've got two objectives and Shaun only has a single troop choice left. He will have to destroyed the remaining Ghost Ark to hold that objective and split his remaining Wolf Lords up with hope to contest others and make the game a draw.
Turn 6
We roll for turn 6 and it's game on baby!
Long Fangs auto regroup, though cannot shoot this turn. Plasma unit bails out the Rhino and go to assault the Ghost Ark. Wolfstar split up with power fist moving towards the Warriors on the right flank to stop them claiming the objective and the frost axe moves to assault the Warriors on the centre objective; this could end the game in a draw.
No shooting, so straight onto assault. Plasma units assaults the Ghost Ark though fails to score any damage with krak grenades. Power fist Wolf Lord charges the Warriors on the right, Shaun rolls badly and only a single Warrior goes down, squad holds in combat and the downed Warrior gets back up again. Frost axe tears into the other Warrior unit, only two Warriors and two Crypteks remain, squad holds in combat.
I move the last Ghost Ark so it's not auto hit in assault but also so it contests the centre objective, to be sure I move the last
CCB over to also contest. Annihilation Barges move up the centre to dakka the plasma unit. Overlord moves to assault the power fist Wolf Lord.
Shooting; all guns fire into the plasma unit, they still remain and pass morale.
Assault; Overlord charges the Wolf Lord, Necrons lose combat and the Overlord goes down, but he gets back up again! Shockingly the remaining Warriors against the frost axe win combat and kill the Wolf Lord, though only the Crypteks remain to claim the objective.
At this point the game is still in my hands as I have two objectives and one is contested and the other unclaimed.
* Tactical Notes
Ok, game is sitll in my hands and now there's only a single Wolf Lord to worry about and depleted Long Fangs and Grey Hunters. If my units can hold tight, which the ones who have my objective can, then this game is mine.
Turn 7
Plasma unit goes to assault the Ghost Ark again and that's it movement wise. Shooting, the regrouped Long Fangs fire into the rear of the last
CCB and I make the saves. Assault wise the plasma unit charges the Ghost Ark and causes minor damage with rending from the wulfren, the Wolf Lord also batters the Warriors, killing the Overlord and destroying the unit via sweeping advance.
At this point the game is clearly in my hands and I offer to Shaun to end the game as there's no need to table him to claim a victory.
Summary
That was a cracking game with Shaun and pretty tough. All I had left was a whole unit of Warriors, two Crypteks, a
CCB and a Ghost Ark. Shaun had a Wolf Lord, depleted unit of Grey Hunters and depleted unit of Long Fangs, this game was truely a slobberknocker.
Mistake wise I think I forgot to move the Overlord after he won the fight with the Long Fangs. There was another mistake I made, which has slipped my mind.
Shaun played extremely well this this. He took out my Wraiths as quickly as he good and tried for the
CCB's, though they didn't give him a break. He made a few mistakes this turn like forgetting about saga of the warrior born, though he was using that for the first time.
All in all a cracking game


 Blood Angels - 2000
  Iron Warriors - 2000
  Orks -2000
  Imperial Guard - 2000
 Eldar - 2000
  Hive Fleet Krakken - 2000
  Dark Eldar - 2000
  Necrons - 2000
  Grey Knights - 2000
  Daemons - 2000
  Ravenwing - 2000


 Totally agree with your philosophy on the
  .
.
 . Plenty of meltas though!