so I did this in a night after about 4 hours.
for all my time painting, I don't really see a massive benefit between the paints after you thin them down. so for the yellow I use the apple barrel from Walmart because it's dirt cheep. the rest are dropper bottles because their easier to store. If you have any questions about how I did any other type of painting let me know. This tutorial is focused on a quick and easy way to paint yellow with an airbrush.
when I mention devlun mud you can use seraphim sepia or nuln oil depending on how light/dark you want it to turn out.
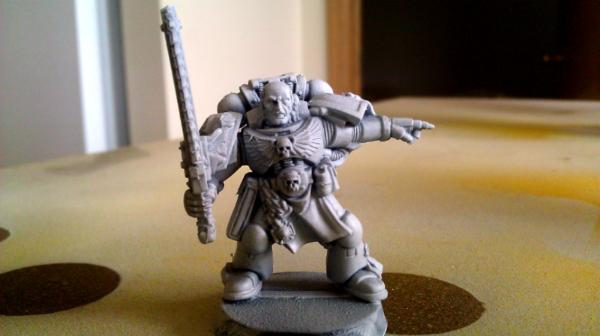
first one is prime the model, you can paint it with whatever primer you want because the next step is foundation paint. I prefer white just because I like not hurting my eyes when I paint.
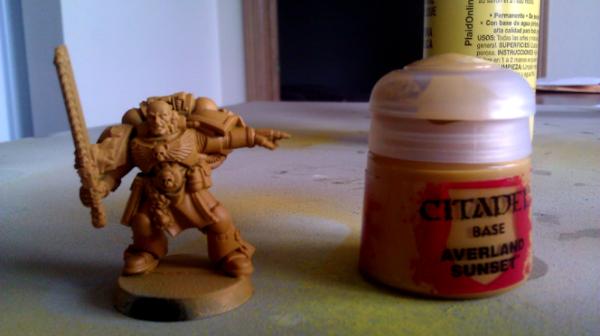
this step I airbrush on the averlund sunset. covering the entire model. Thin your paint to the consistency of milk.
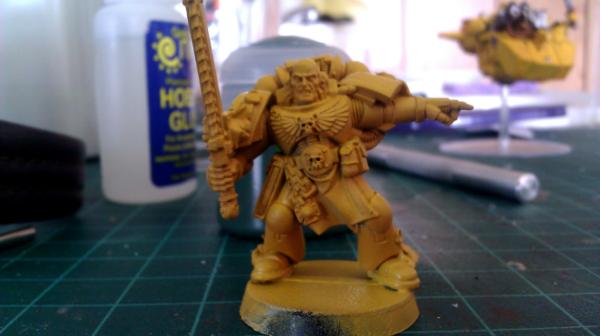
I paint yellow on from the top of the model down. you can't see the shading as much in the picture because the yellow shades the same way the light does. I do it this way to give a little more depth to the model. You can just as easily paint the entire model yellow and not worry about it.
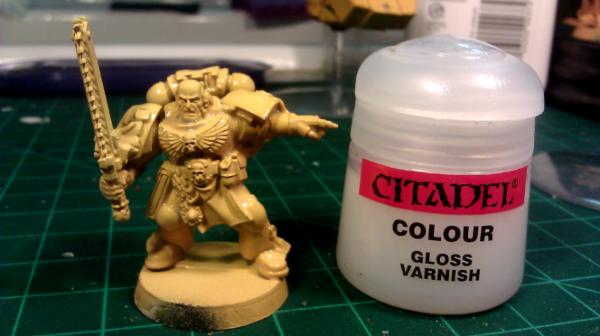
simple part, cover the rest of the model in gloss varnish. After that dries you want to put devlun mud (or whatever) over the entire model and let it dry. ( forgot to take a pic of that stage)
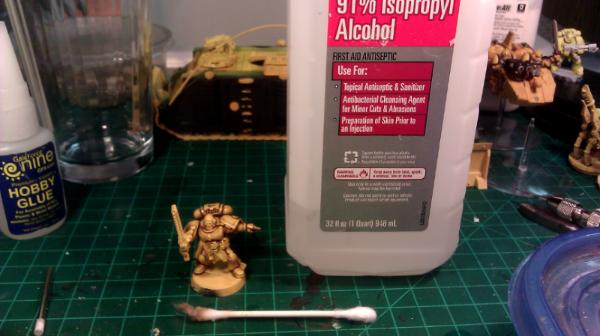
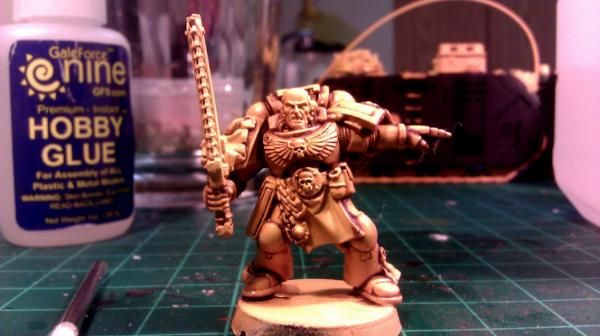
next part, take rubbing alcohol and a Qtip with rubbing alcohol. Use the Alcohol the rub off the devlun mud over most of the model. don't rub to hard the alcohol will pull off most of the wash after it's dried. If you push to hard you may rub off the gloss coat.
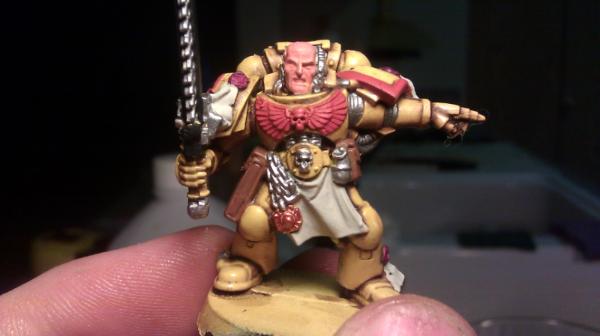
blocked in the rest of the colors. traditional Imperial fist color schemes.
wash the newly painted parts with devlun mud.
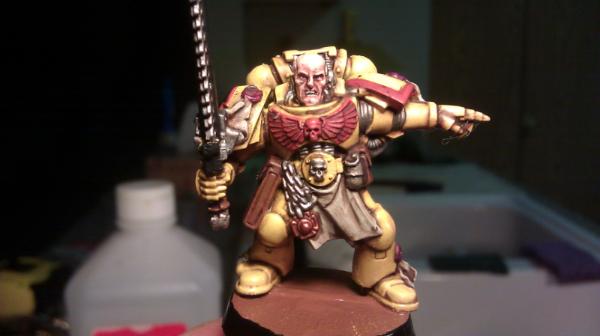
paint the highlight on the skin, and brown/black the base.
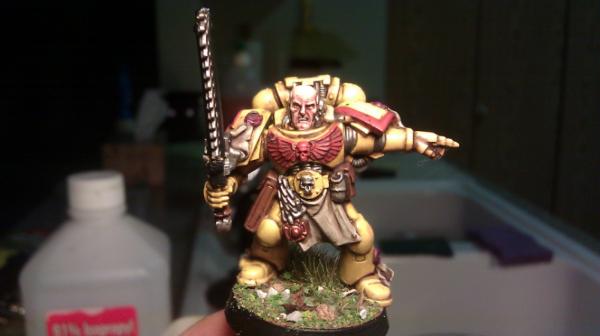
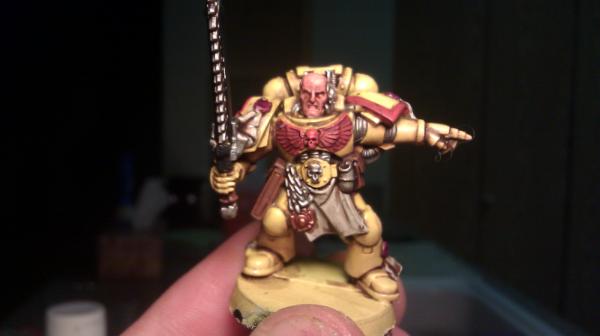
put some flock on the base, enjoy your new yellow model!
here's some other examples.


