Switch Theme:

IG Master of Ordnance - Full Borer Miniature's The Artillerist  [RSS] Share on facebook Share on Twitter Submit to Reddit
»
Author Message
Advert


Forum adverts like this one are shown to any user who is not logged in. Join us by filling out a tiny 3 field form and you will get your own, free, dakka user account which gives a good range of benefits to you:
  • No adverts like this in the forums anymore.
  • Times and dates in your local timezone.
  • Full tracking of what you have read so you can skip to your first unread post, easily see what has changed since you last logged in, and easily see what is new at a glance.
  • Email notifications for threads you want to watch closely.
  • Being a part of the oldest wargaming community on the net.
If you are already a member then feel free to login now.


Made in us
Willing Inquisitorial Excruciator


Pittsburgh, PA, USA

Out of the Box, Out of the Gates

I recently purchased a miniature from Chris Borer's Full Borer Miniatures line called The Artillerist. It was a conversion based off of his Adepticon 2010 miniature. Chris painted and converted this miniature for the Heroes of Armageddon charity project in Spring of 2011 and also won a subsequent 1st Place Golden Demon in Chicago of that year. He had the base model cast up, and being a huge fan of his work, I decided to pick one up for my own Steel Legion army.


There is both a resin and white metal version of this mini. Me, being a metal guy, chose the latter. I purchased this mini late on a Saturday night, and it arrived at my door Monday afternoon. I was extremely impressed by the quality of the cast. The mold lines are light, and the details are crisp. Although there's not as much bling and detail by the standard of today's GW miniatures, the sculpt is brimming with character: from the haughty pose to the middle-aged paunch of a non-combat officer.

I haven't painted a character miniature from start to finish in a long time, so this blog will be my motivation to get the job done. I'll post more pics in the coming days. Please stay tuned!

   
Made in us
Ultramarine Master with Gauntlets of Macragge


Boston, MA

I like the model; I look forward to seeing some paint on it! I'm assuming it will be painted to match the handful of IG you have pics of in your gallery?

Check out my Youtube channel!
 
   
Made in us
Willing Inquisitorial Excruciator


Pittsburgh, PA, USA

Brother SRM wrote:I like the model; I look forward to seeing some paint on it! I'm assuming it will be painted to match the handful of IG you have pics of in your gallery?


Yeah, the scheme will be pretty consistent with what I already have on my Steel Legion figs. They were painted a long time ago, though, so I have a few new tricks and skills that I can use on this guy 
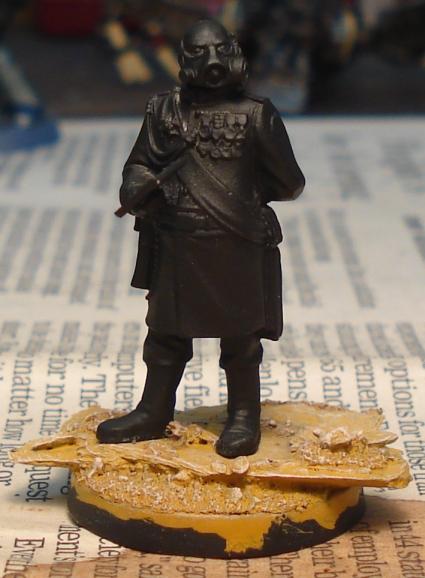
The great thing about this mini is that it was designed to match the aesthetic of the original Steel Legion sculpts. Since converting is not my strong suit, it's nice to have something I can just pop out of the box and paint as is.


Automatically Appended Next Post:
Basing

For some reason, I really enjoy making bases. Lately, I've been mixing things up a bit and using pigments on some of my bases rather than just the standard drybrush method which I've used for years. I really like that look of “fresh earth” on a base and pigments are fantastic for that. This is my base before I apply weathering powder. Pretty basic, TBH; a couple of pieces of shale that I broke up and glued to the base. I added some crushed bits of shale and some beach sand in the crevices. Basecoat of Tausept Ochre and then a couple drybrushes of Bleached Bone and Skull White. I then hit the beach sand areas with a thinned wash of Gryphonne Sepia and brought the highlights back up with another drybrush of Skull White.


I was a bit restricted in my choice of base color, since my existing Steel Legion army--which was built ten years ago--has a simplified variation of this scheme in Snakebite Leather with a Bleached Bone drybrush. I think the bases are similar enough that my ordnance guy should fit in just fine. Here's a couple of pics of my Steel Legion models to give you an idea.


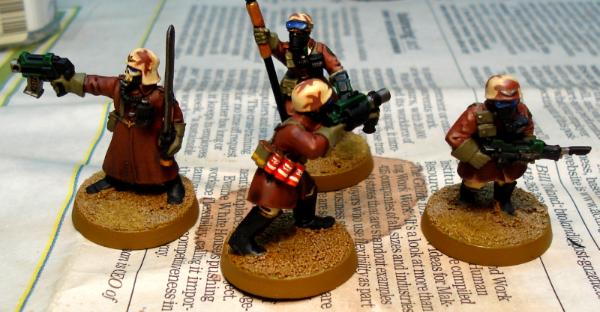
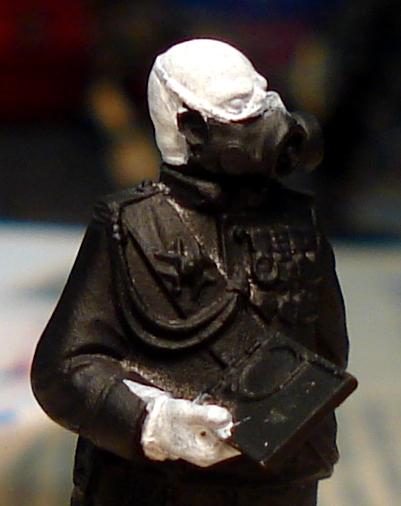
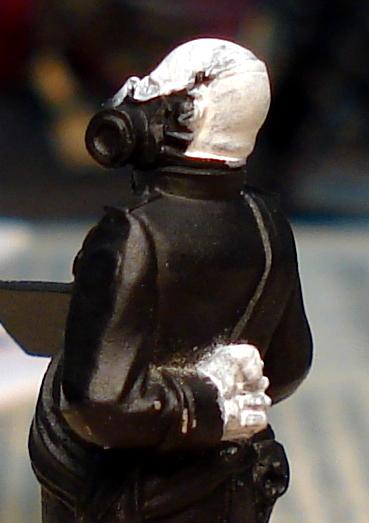
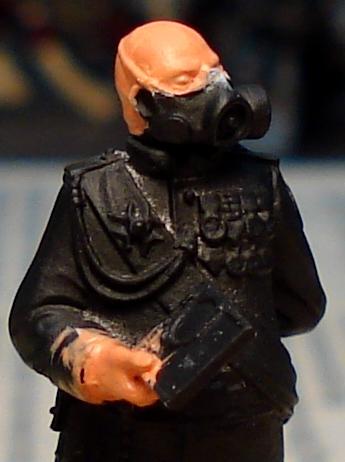
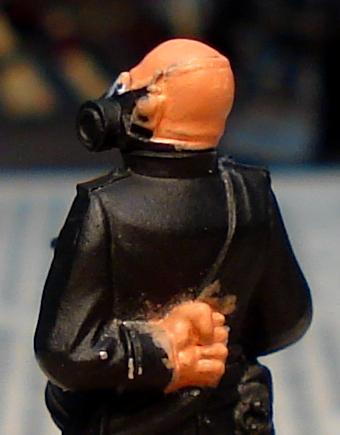
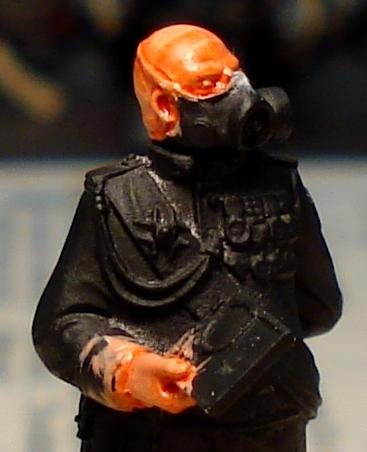
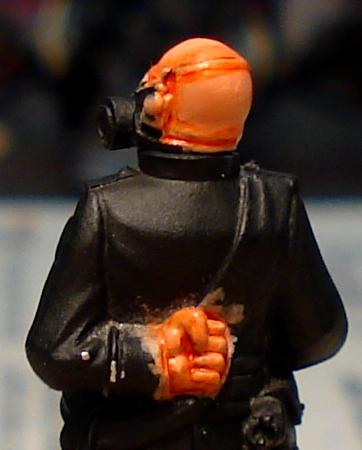
This is also a sneak peak at the color scheme. The overcoats are Burnt Sienna and the webbing is Olive Drab, both colors from Testor's Model Masters Acryl line. The pants are Bleached Bone, gas mask and boots are Chaos Black, and the weapon casings are Dark Angels Green.

More to come.

This message was edited 2 times. Last update was at 2012/07/22 04:14:49


Made in us
Willing Inquisitorial Excruciator


Pittsburgh, PA, USA

Prep

I currently have three all-metal armies: Steel Legion, Grey Knights (circa 2003 Daemonhunters), and Sisters of Battle. There's something appealing about the heft of a metal miniature that makes it feel like you're holding something of value. Don't get me wrong, plastic is definitely easier to work with and assemble. But, I'm not a big conversionist beyond the occasional head and weapon swaps, so the arguments against metal really don't affect me a great deal in my hobby work.

Prepping metal just involves a little file work and the occasional pinning. As I said before, the mold lines on this piece were very light and there wasn't any slag or flash that needed removed. I did cut off the slotta tab, since I will be pinning this mini to its base for added durability. So, a few minutes with the files and pin vice, a quick wash in warm, soapy water, and we're ready for glue and primer. Voila!


I did make one mistake that really came from poor prior planning. I forgot to drill the hole in the base to attach the fig. This was problematic since the base is made of natural shale. Shale is brittle and machining it could have been disastrous. However, I took the Dremel to a couple test pieces to make sure that I wouldn't destroy my basework, and with a light touch and patience, everything turned out okay.

   
Made in us
Willing Inquisitorial Excruciator


Pittsburgh, PA, USA

Painting In Progress 1

I always typically start with flesh areas first, since they usually make a bit of a mess. Since I prime black, it's necessary to hit all the areas of exposed skin in a thin coat of Skull White. You can paint fleshtones over a black basecoat, but it just takes longer to get good results.


Extremely Important Note: These have to be very thin coats. Basically, the consistency of milk. You will be laying down many layers in a very small space, and it is very easy to overload detail areas like eye sockets with pigment.

Another oddity of my painting style is that I don't stick to one way of doing flesh. I don't have a set list of colors I use. This almost forces variation: no two models will ever have the same color of skin. However, I do tend to stick with one of two base colors when starting: either Dark Flesh or Dwarf Flesh. I use Dark Flesh when I don't intend to do many layers and glazes and it works well for getting the job done quickly. Dwarf Flesh is for character models when I know I'll be laying down extra layers and doing more fine detail work. So, Dwarf Flesh for this guy!


Extremely Important Note: Again, very thin layers here. Additionally, before each coat has had a chance to dry completely, I'll go in with a wet fine detail brush and pull some of the pigments out of recessed areas. After this step, you'll be avoiding these areas with your later layers, so you won't have to do this again.

Lastly, I apply a glaze to deepen the recesses and add a bit of richness. The glaze I'm using here is another seat-of-my-pants mix of Chestnut Ink, Red Ink, and glazing medium thinned with just a bit of water.


I'll let this dry, and then I'll finish the fleshtones next update. See ya!


Forum Index » Dakka P&M Blogs
Go to: