With the release of sixth edition, and me returning to the wargaming side of the hobby after a long absence, I've decided to build a wargames board.
What I want from the board:
- Easy to store
- Six foot by Four to suit most game types and multiple players
- A good aesthetic quality
- A good structural quality
- Modular sections
So considering the above points I took a look around the net at different examples. A popular idea which caught my interest was a board which folded together for storage (such as the one in this tutorial
here). My main issue with that idea was any hill sections would have to be unattached terrain pieces which didn't appeal to my aesthetic vision and also the idea of using just a straightforward piece of plywood or fibreboard doesn't do much to cater for warping. So instead I decided I would go down the modular, multi-piece table route such as
GW's battle board. In contrast to their idea though I decided I would use three sections rather than six to aid storage(and hopefully come nowhere near it's price with my materials).
With an initial sketch up I found by making a raised section over two of the boards I could effectively have six possible table set ups which can then be varied by unattached terrain pieces.

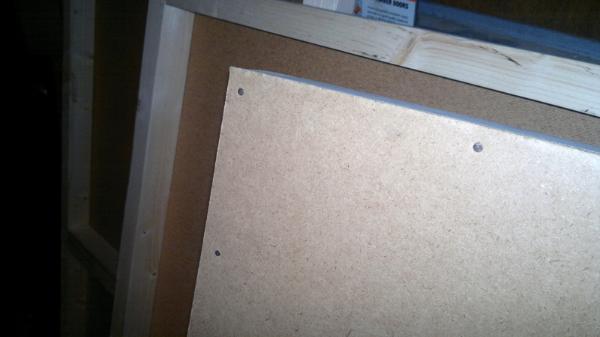
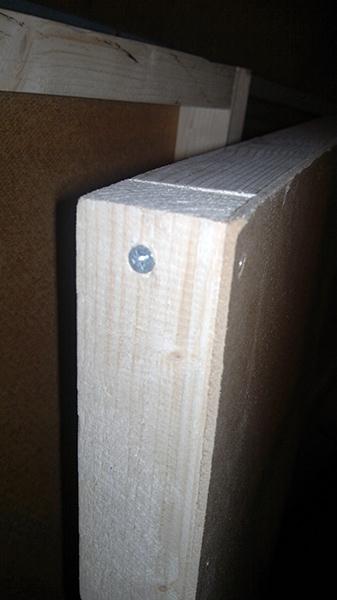
Happy with that I got to building the board. To make the base sections I used three 4' by 2' pieces of hardboard and several pieces of timber to attach them to for support, dramatically decreasing warping problems. I cut the timber to length with a mitre saw and built up a ladder like structure by drilling and then screwing the wood together. The hard board was then nailed in place on each support using small nails at roughly 5 inch intervals.
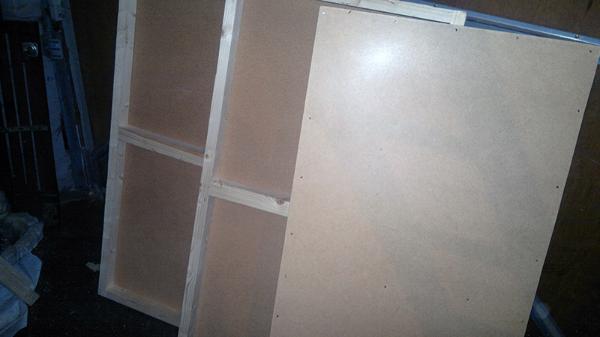
Once that was all done I used a plane to remove any anomalies where the hardboard wasn't matched up flush with the timber supports and then sanded the edge off the bottom of each section for easier handling.
To be continued...
Automatically Appended Next Post: I put
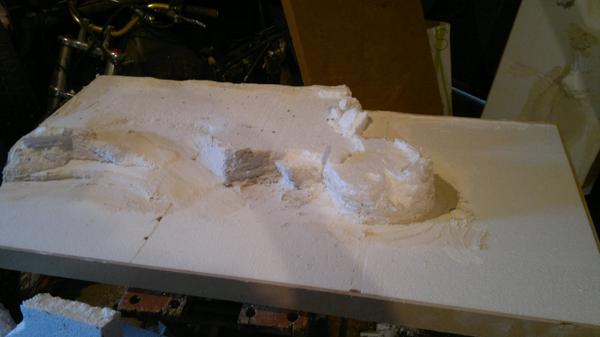
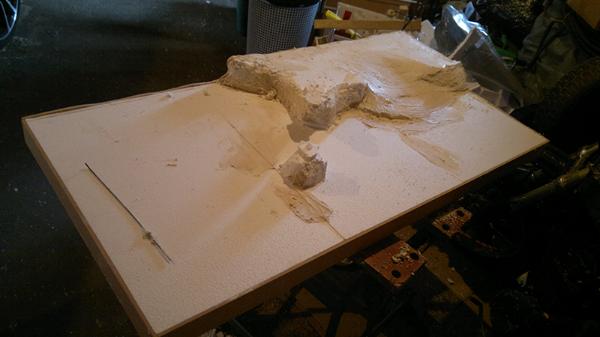
MDF strips around each board at a width just higher than the width of the structure and filled the hollow space with polystyrene sheets. This is so I can make an uneven surface and make the ground look more realisitc.
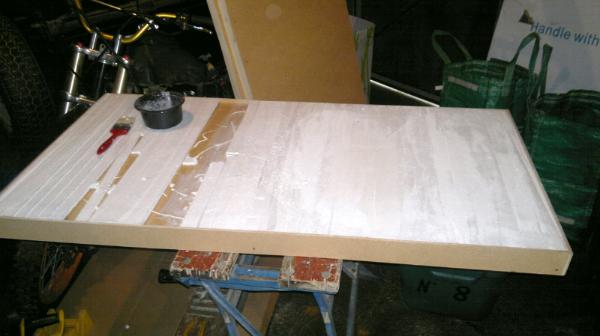
I cut matching shapes into the lengths of
mdf strips on either side of the hill boards so they would match up and began making hills from polystyrene. I used plaster to build up a smooth surface on parts of the hill section.
The next step is to add a layer caulk (a decoration filler which dries flexible) mixed with sand to seal the polystyrene (which can't be sprayed) and add the texture.


