Right chaps, first things first... this is compulsory listening on this thread:
Now that's sorted out, we're ready to actually look at the minis :p
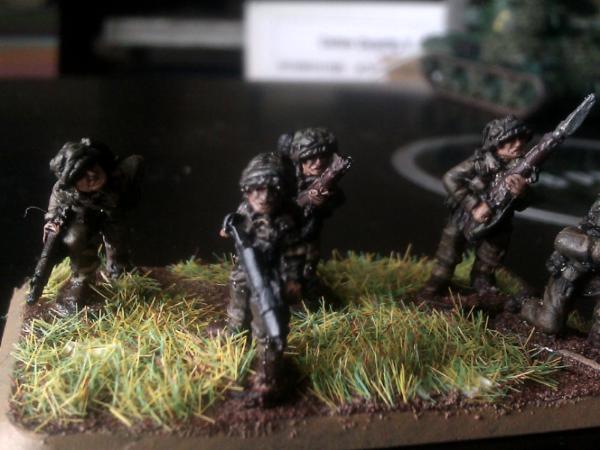
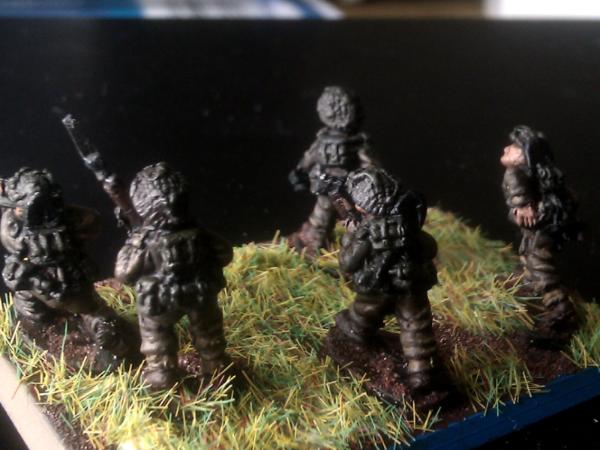
Here's the one Tommy Squad I've actually finished basing... I'd been waiting to test out Army Painter matte varnish before I put flock on any of my squads and these chaps were the test subjects. Unfortunately the lighting was pretty horrid in my flat, I'll have to take some pics outside at some point:
Painting directions (old
GW paints, because I don't replace my full range 'cos
GW decides to do a rebrand... just look up the new paint names

)
-I undercoat my Tommies Chaos Black.
-I then apply a 50/50 mix of Graveyard Earth and Charadon Granite over the fatigues.
-Flesh is painted with Tallarn Flesh
-Pouches and straps are painted with Catachan Green.
-The helmets are painted Charadon Granite.
-Rifles and boots are painted with Scorched Brown
-A heavy wash of Devlan Mud is applied all over.
-Fatigues are higlighted with Graveyard Earth. The upper portions of the boots are painted with the same colour.
-I highlight the helmet camouflage with Catachan Green.
-Sten guns are drybrushed with Codex Grey.
Pretty simple, pretty easy

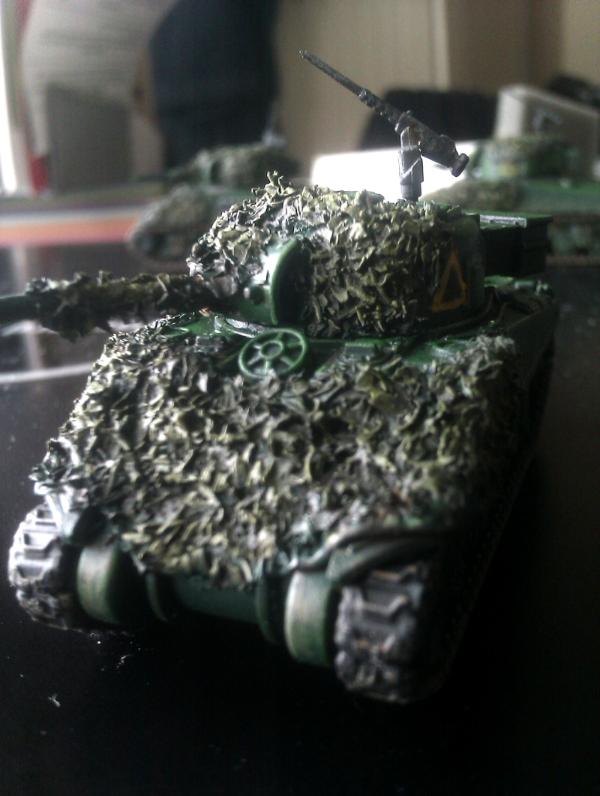
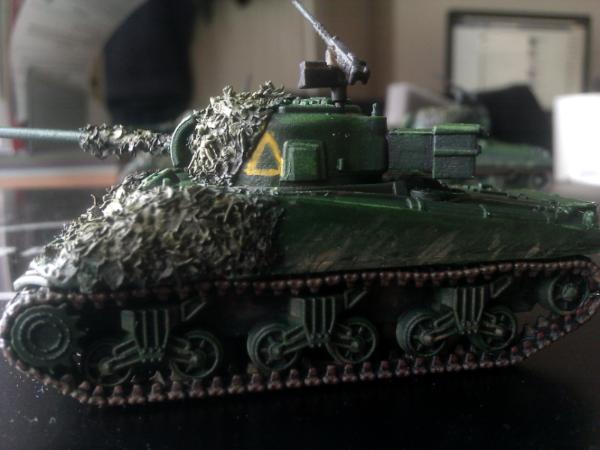
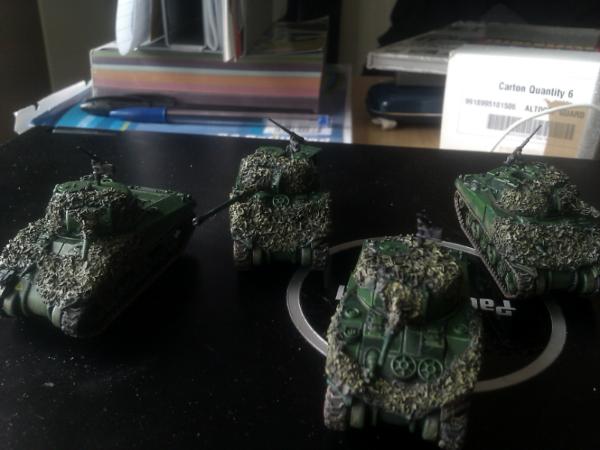
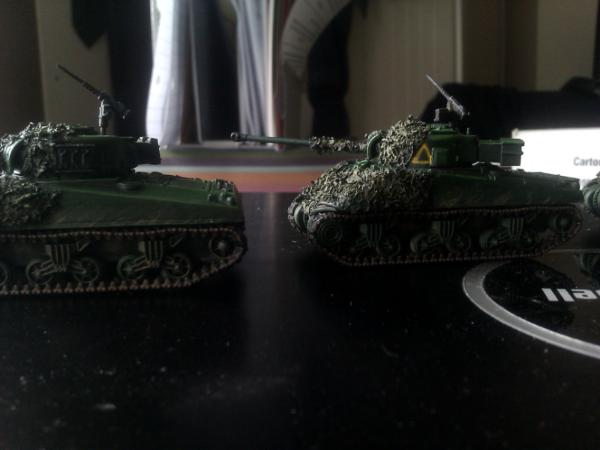
Here's what I'm actually proud of mind... my Shermans.
In another thread I detailed my concepts behind the camo nets on these, but I'll repeat myself here: the camo nets are not sculpted but are actually just tea leaves secured with watered down PVA and spray paint (the additional coats and varnish means it's as solid as the rest of the model). I literally just pressed down sausages of green stuff over the areas of the tanks that I wanted to have nets, poked holes in and then, 24 hours later, applied the leaves. I think you could get away with not even making a green stuff net as very little of them are actually showing (all that wasted effort eh?). The leaves on the guns and mantlets seem to have a similar effect to the rest of the tanks and they were not placed upon any green stuff, so that goes to show that you could prolly just get away with using solely PVA.
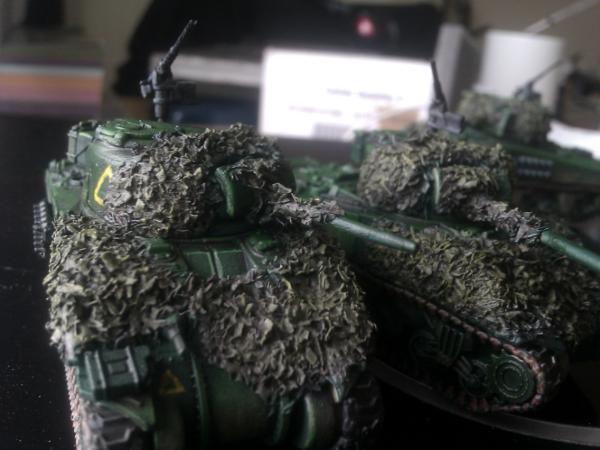

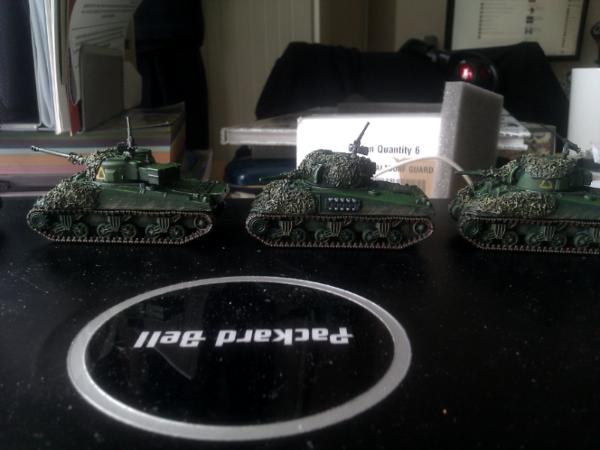

-I assembled the tank hulls but left the tracks and 50.cals on the sprue.
-I sprayed the with Army Painter Angel Green (same as Dark Angels green).
-The tracks and 50.cals were sprayed Chaos Black
-I washed them heavily with Badab Black.
-I did rough highlights and drybrushing with a 50/50 mix of Dark Angels Green and Goblin Green.
-The camo nets were painted with Charadon Granite and washed with Devlan Mud.
-The hull was washed in corners with Badab Black.
-Badab Black with some Scorched Brown added was washed around raised areas.
-Graveyard Earth, followed by Desert Yellow, was drybrushed on areas I wanted mud on.
-I highlighted the Camo Nets with Catachan Green and Camo Green.
-The edge highlighting was done with straight Goblin Green.
-The tracks had their sides and the 'teeth' painted Dark Flesh.
-I drybrushed the tracks with Graveyard Earth.
-50.cals were highlighted with Codex Grey.
There's probably a lot I've left out and without pictures I imagine this is all of limited value. So now is when I'll admit that I pretty much just adapted Dr. Faust's method for painting American armour and his guide will probably be much more useful:
http://www.paintingclinic.com/operations/15mmstuart.htm
Nevertheless, I hope that everyone liked the models/ideas. Some criticisms/comments would be most welcome. I am definitely still learning when it comes to armour and I don't think my Tommies are much better than average. Thanks!


