Ello All,
I love my
RTS games (namely Company of Heroes) so thought I'd try something similar:
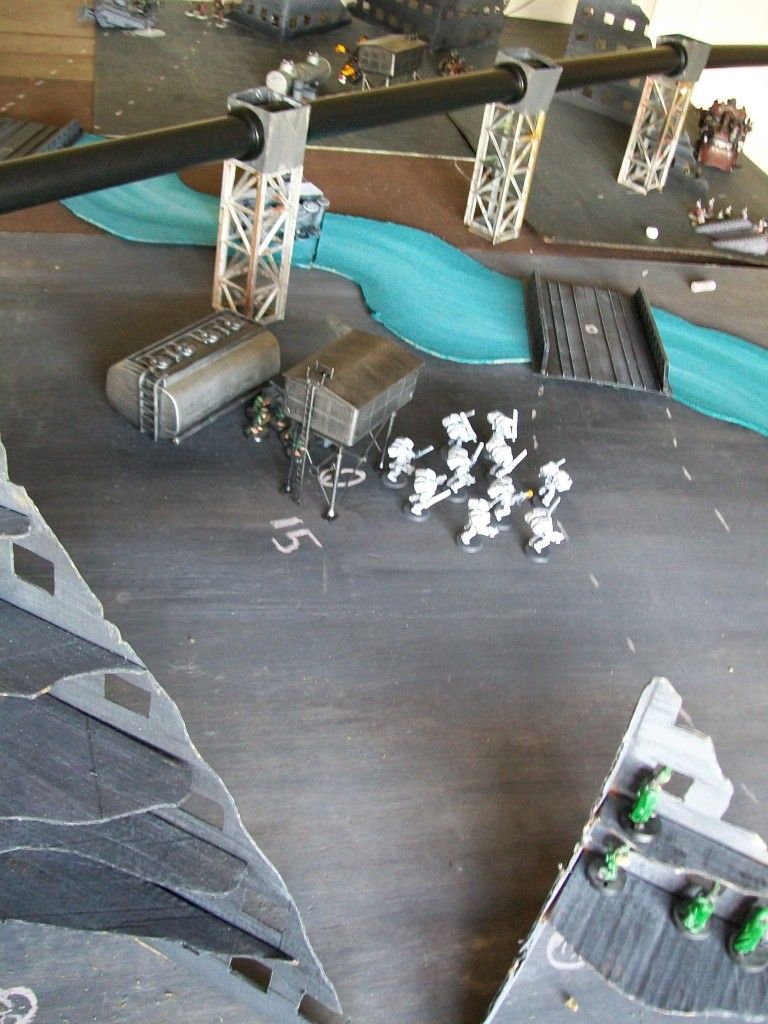
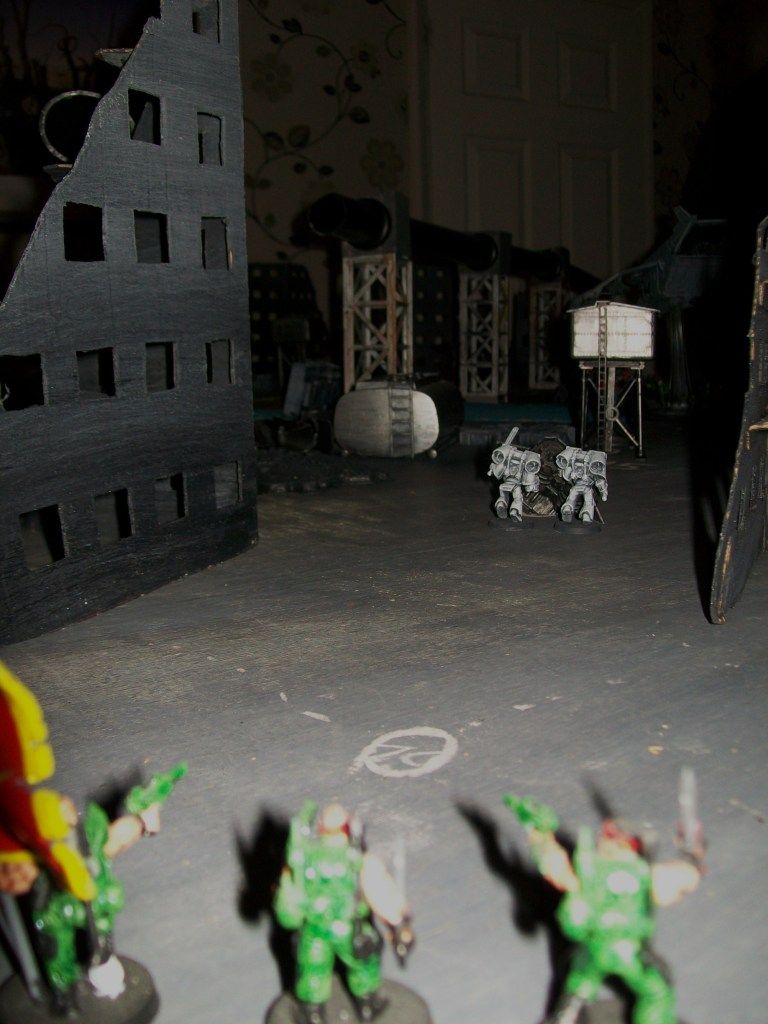
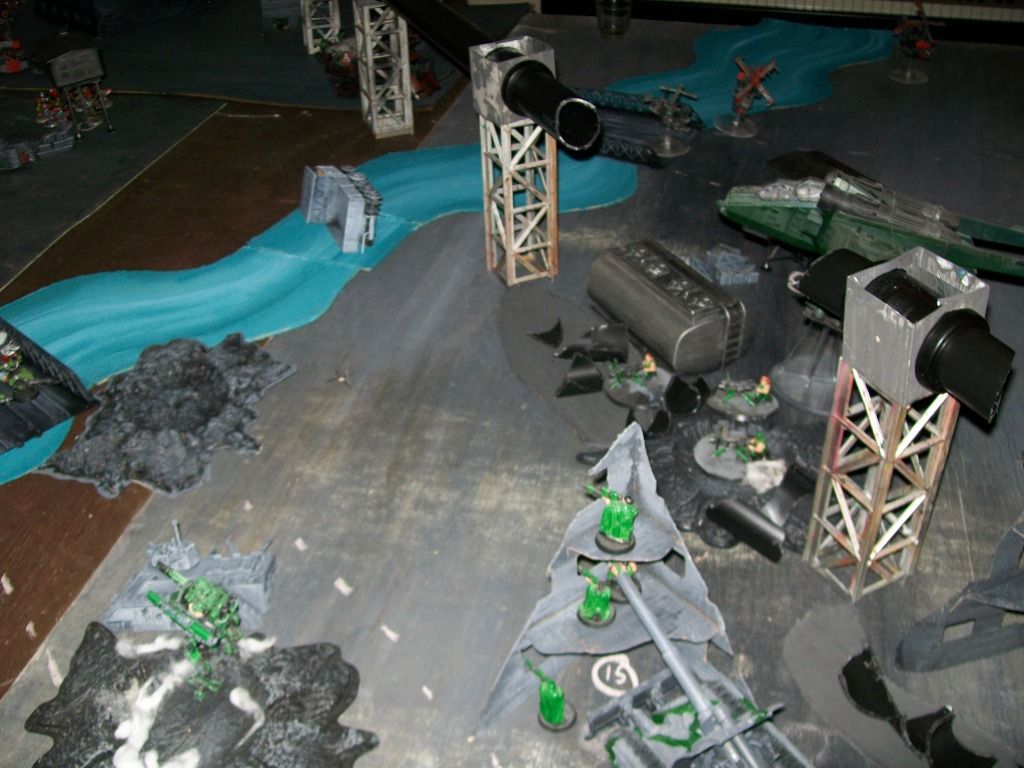
This Battle Report will be quite heavy in text initially as I describe the mechanics of the game style, if you just want the report scan down to second photo (snipers in a building overlooking a bridge).
For those that want them, here are the rules we developed:
1) Each team gets 200 points resources every turn, and can choose to spend them all, bank for a later turn or a mix of both.
2) There will be resource locations on the table which provide an additional 25 points to the team if in possession at start of their turn.
3) There is no limit on what can be brought on to the table and arrivals do not count as coming in from reserve.
4) Spawn points for 100 points.. like this, with the restrictions being that it must be within 12" of the deployment zone or 12" from another previously created spawn point - this represents the supply train snaking out into the battlefield. To make a spawn point a unit +
HQ character must be inside the building / ruin and 100 points paid.
5) All units are scoring except flyers which cannot stop. Transport Aircraft which wish to deploy embarked units must land on the table to do so, so can move at hover speed, land then disembark, then in next turn take off and move at hover speed.
6) Units with special deployment rules can use them, so units can appear by infiltrate as long as they follow all normal infiltrate rules and would never become scoring units (though could contest), scouts could out flank but not move any extra on the turn they arrive. Deepstrike infantry may only arrive within 6” proximity of a unit with a locator beacon (which can be bought for any unit at cost of 30 points). Deepstrike vehicles may not use their deepstrike ability.
7) Units can be bought the Engineers upgrade for 30 points (similar to the locator beacon), this means they can build 6" of razor wire, barricade or tank trap per turn.
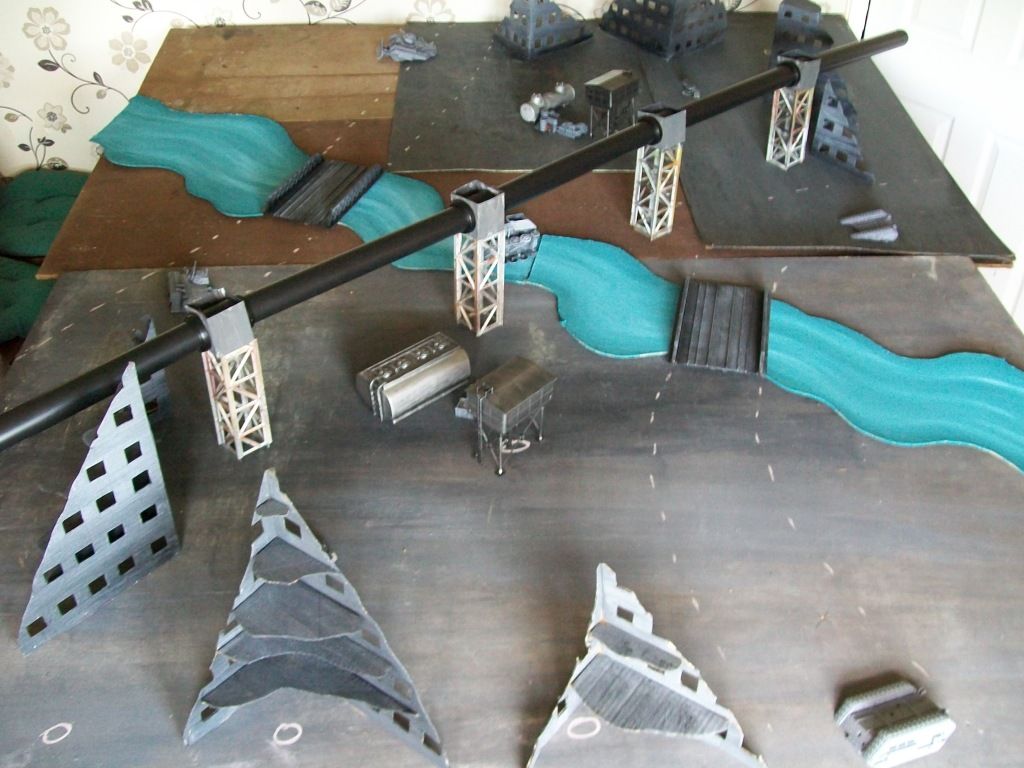
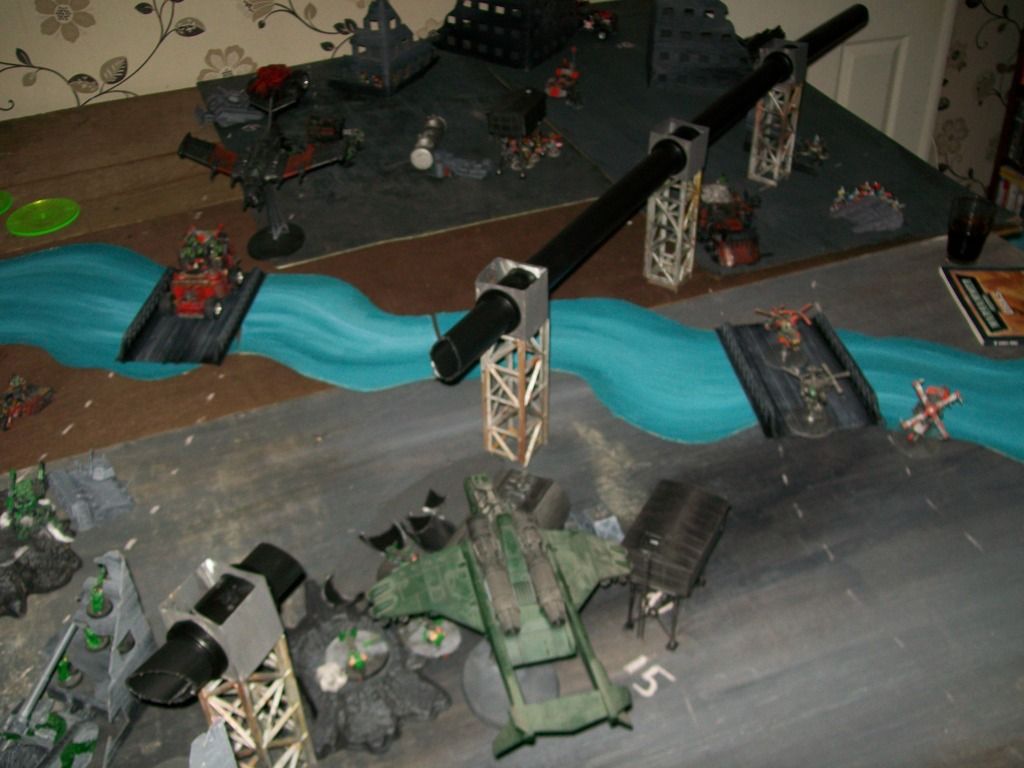
8) There would be varied terrain, simplified to reduce dice rolls (ie, difficult terrain such as the river halved movement), and a interactive piece in the form of a Promethium Pipeline (not shown on the Map as I wasn't sure if I would get the time to build it). This would be destroyable, with wreckage falling to the battlefield, and the fuel spilt could be ignited by flamers / burnas and have the stats of heavy flamer for any model in contact with an oil slick terrain piece.
9) Off Map Airfield – Any aircraft could fly off the table to their airfield. It would take 2 turns to land and be in position to embark new infantry and take off again, returning a further 2 turns later, totalling 4 turns. This would allow the Ork Bommer a chance to earn its points as it couldn't deploy units as easily as the Imperial Fly / Hover units. It would also allow Dakka Jets and other craft a chance to fly off for repairs.
10) Forces Available – I have around 15,000 points of Orks, and about the same of Imperial forces so each team had a good selection available. It was kept strictly
WYSIWYG for ease and models could only be used once. One player brought a few more deffkoptaz... because 15 wasn't enough apparently!
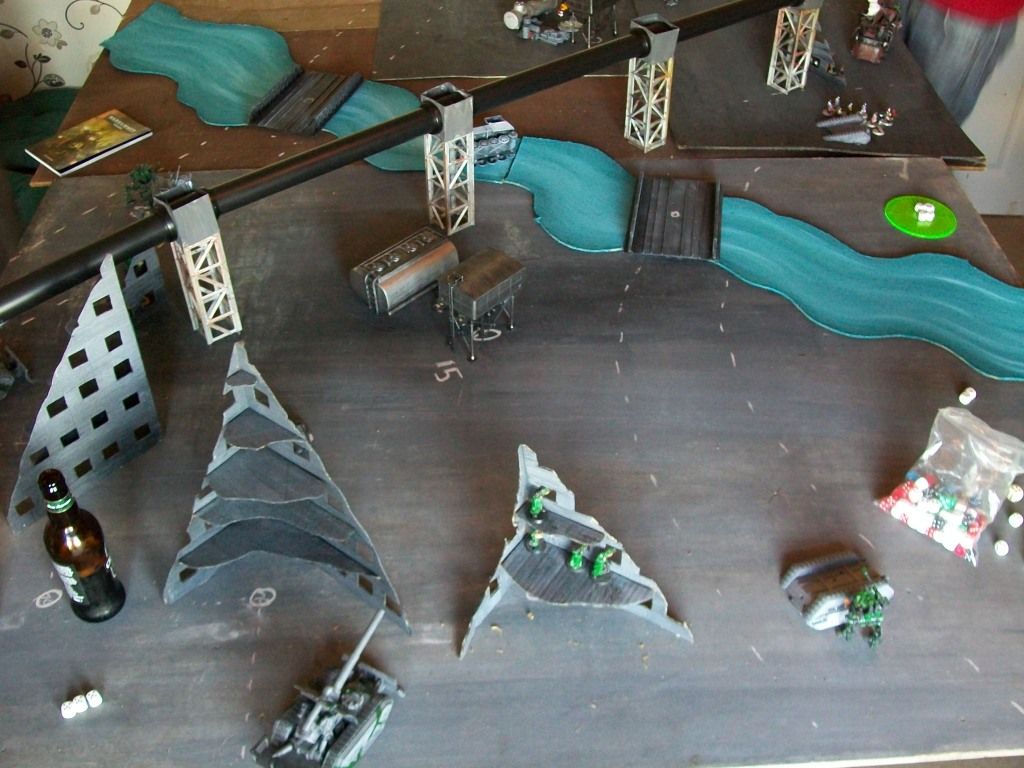
The Map:
(please note, the map was mirrored when we set up the table):
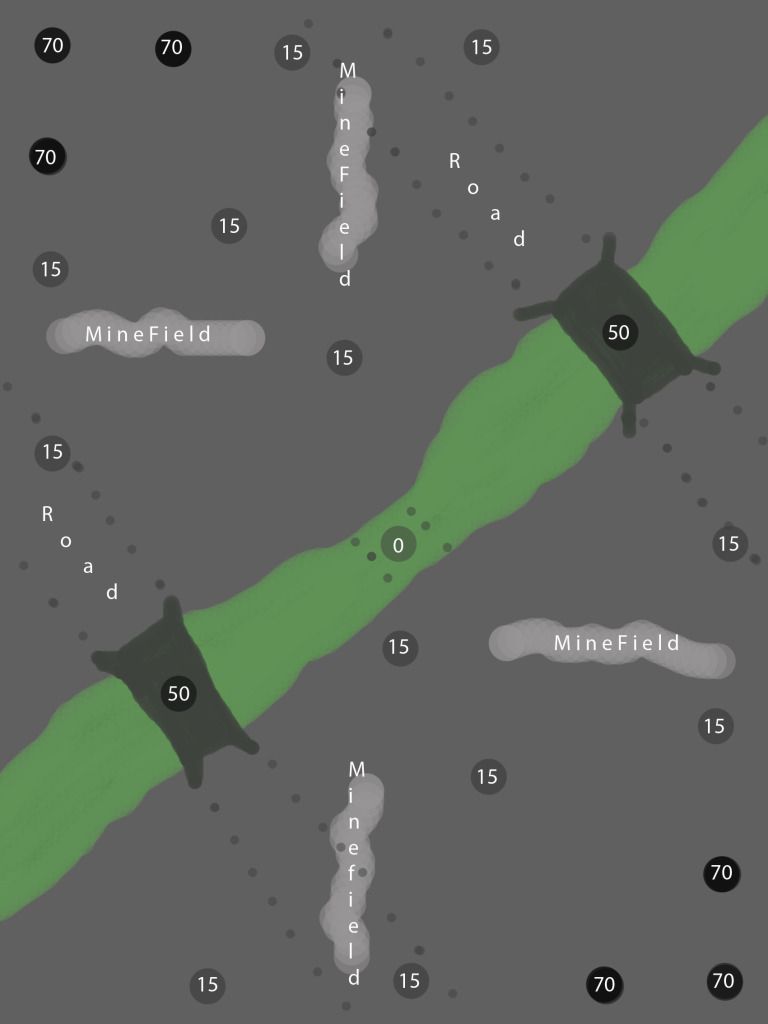
The Game Mechanics and Logistics:
There are a number of locations, marked by circles with numbers, on the map which are resource points. Capture of these locations will earn the team additional points income to be spent or saved as they choose.
To capture a location a friendly unit must be placed in base contact with the point and at the start of the next turn will earn the number of points for their team as marked on the map. If both teams are in contact then neither team earns any resource. This means units can be in close combat with their backs to the wall and still count as scoring for their team.
Each player will be assigned one Base Resource Point worth 70 points. This point will earn the team 70 points every turn. The point does not need a friendly unit to capture or control it to earn these points but if an enemy unit captures the point the enemy will deny the team these points (though not score them for themselves).
This will mean the total income for each team is 210 points per turn. The way the income is shared or spent is decided upon by the team each turn. A short list of what 210 points can buy will be included later.
There are 12 other locations worth 15 points per turn, these will be represented by small ruins or areas of cover.
There are 2 locations which are worth 50 points, these are on the bridges, these areas will have low cover and be exposed to a lot of lines of sight making them hard to capture and control for long periods.
There is a central point worth 0 which indicates the shortest crossing of the river / swamp.
There are 4 areas of Minefields.. these all have the following rules:
... (in the end we decided not to use these rules) ….
Units must roll per model over the number of inches they have moved through the minefield, eg; a unit moves 3 inches, so must roll 4,5 or 6 or take a Strength 6
AP – hit.
Grots could be used to clear 1 square inch per Grot.
The Deployment Zone will be the area around the base points; 20” in each direction of the corner.
It is possible to extend the deployment zone via a Spawn Chain. The Base Point Locations will be 12” from the deployment zone table edge, with the 15 point resource locations a further 12” then another 12”. If 100 points are spent on the Base point location this allows units to spawn from this location. If a further 100 points is spent on the next nearest resource point, then units may spawn from that location.
These locations can by captured by the enemy though they must hold them for a full turn before they can claim any resources, if they manage this, the spawn ability will be lost if then recaptured by the friendly side. If the enemy unit is removed before they have held the point for a full turn then the spawn ability remains. NOTE if the point has models from both teams in contact, the team which paid for the spawn upgrade will continue to claim points.
Game Balance:
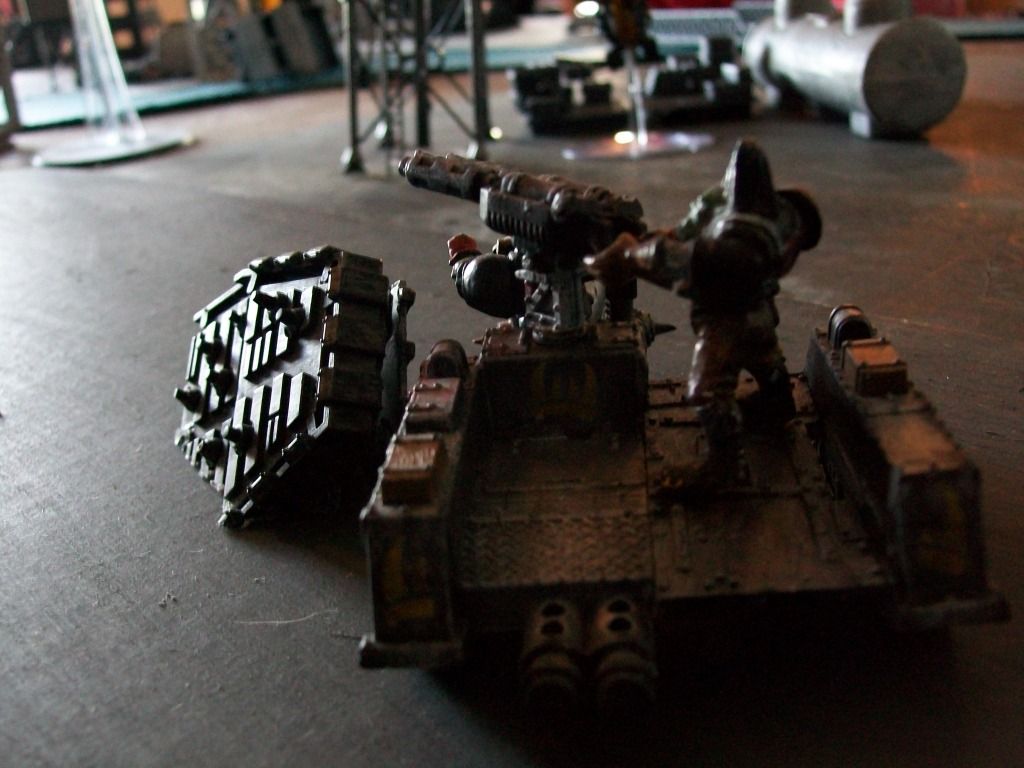
I felt that in early turns the battle for air supremeacy would take place, the Orks have 3 anti-aircraft guns mounted in trukks, and a couple of dakka jet fightaz, while the Imperium have a Strom Raven / Strom Eagle capable of delivering jump infantry on the move or landing via 'Drop Off' house rules, plus 3 Valkyrie and a Vendetta capable of delivering units by Grav Chute Insertion or by 'Drop Off' house rules *
* Drop Off Rules: Flyer / Hover vehicle must hover during turn it in which it deploys the unit, be placed on the table between turns while the infantry unit disembarks, then spend next turn in hover mode while leaving the drop zone, this makes these flying transports slightly less powerful.
Since any model except flyers may capture / control a resource point fast vehicles and mobile units (jump packs) will be popular. Transports filled with more durable units will probably make up the reinforcing waves.
Long ranged units will also be favourable due to the large size of the battlefield, barrage weapons will need forward spotters to increase their accuracy on targets beyond 60”, Barrage shots fired outside of spotting range suffer an additional
D6 scatter and will always scatter regardless of a hit (using the little arrow) and do not reduce the distance by their ballistic skill.
Spotters: spotters are any infantry or vehicle model, and have an effective spotting range of 24” this would mean the unit would have to be within 24” of the target in order to negate the inaccuracy rules for firing over 60”. (in the game I forgot the distance and used 48”.. Doh!).
THE GAME!
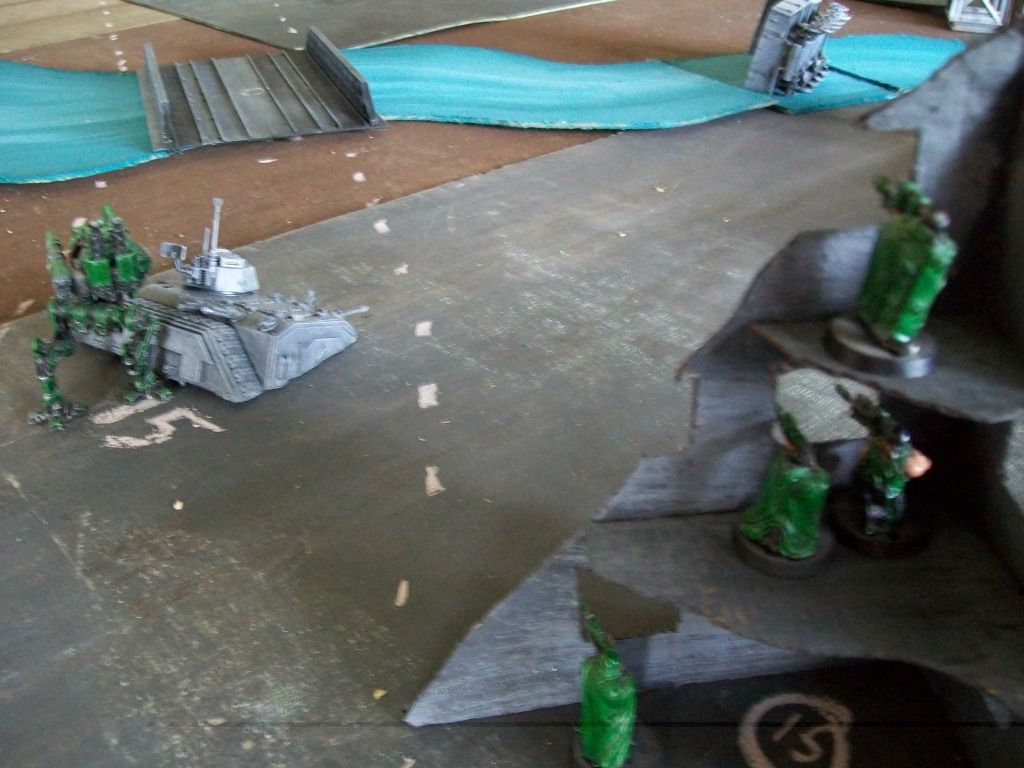
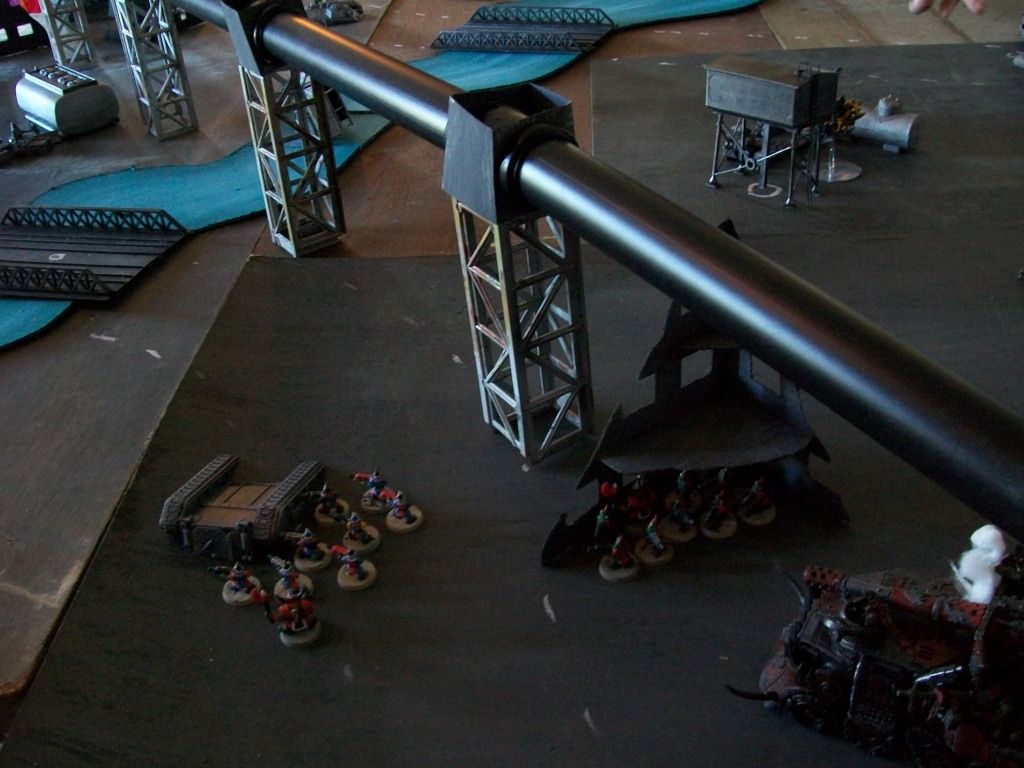
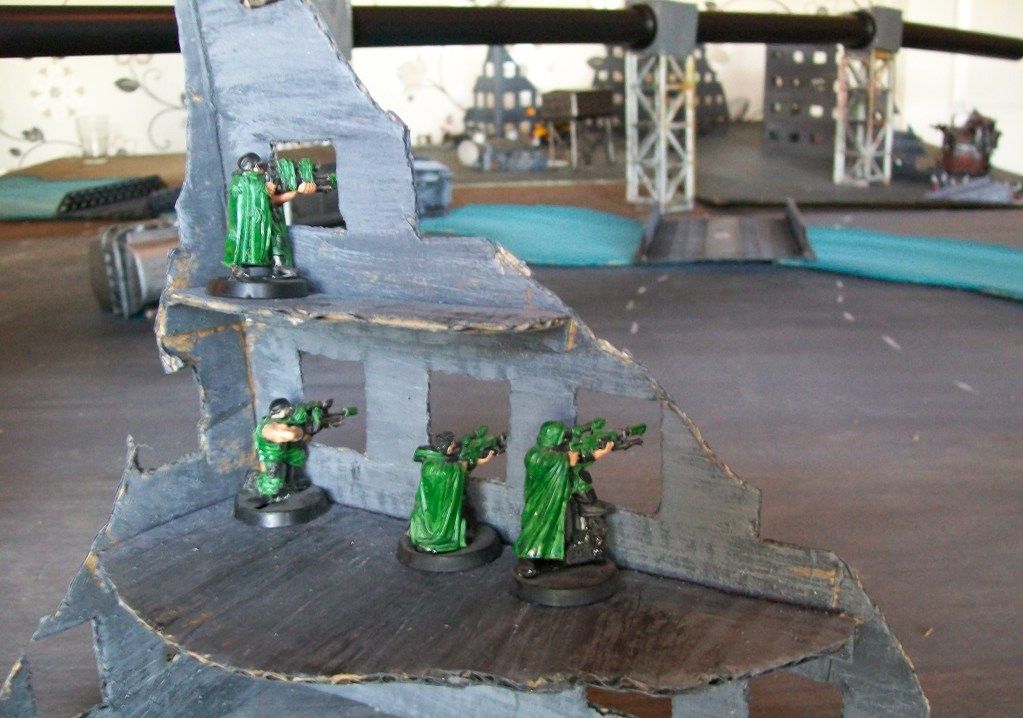
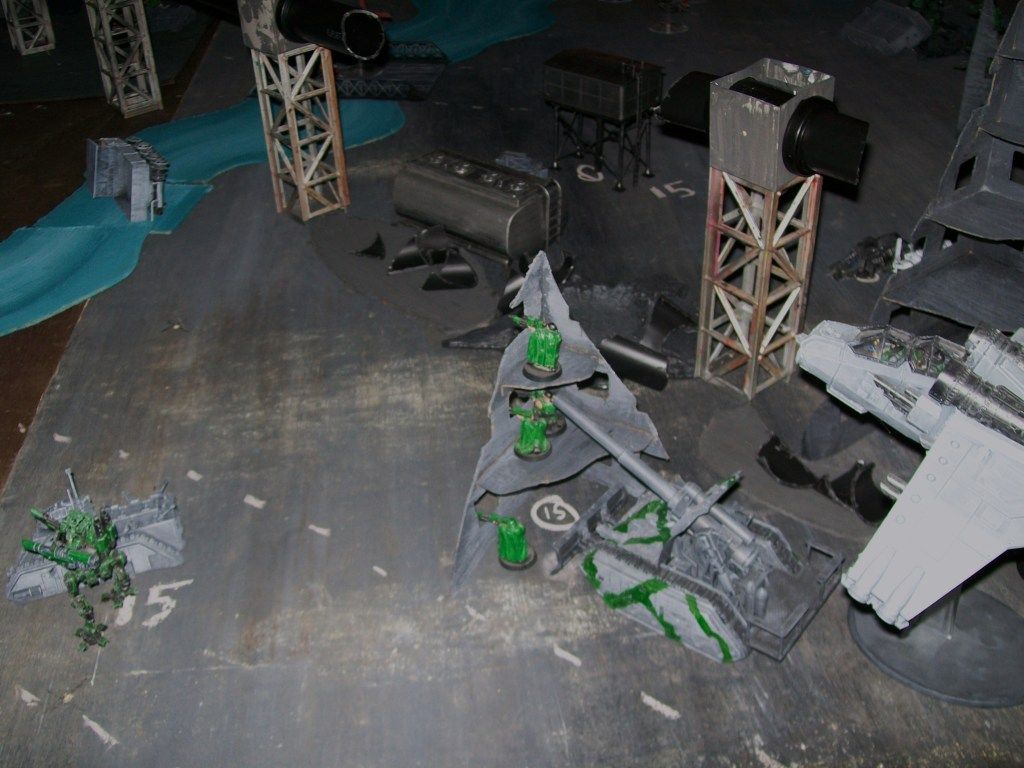
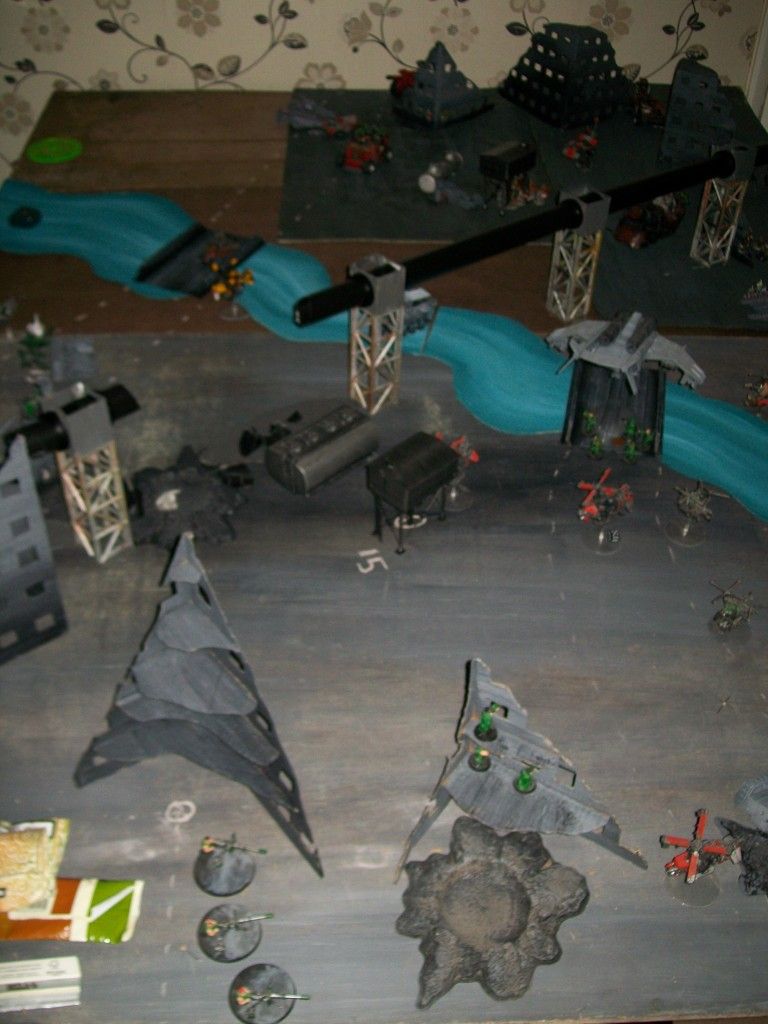
The Guard got first turn, deploying snipers (which do not score) to cover the bridges and sentinels on the flanks to score points next turn.
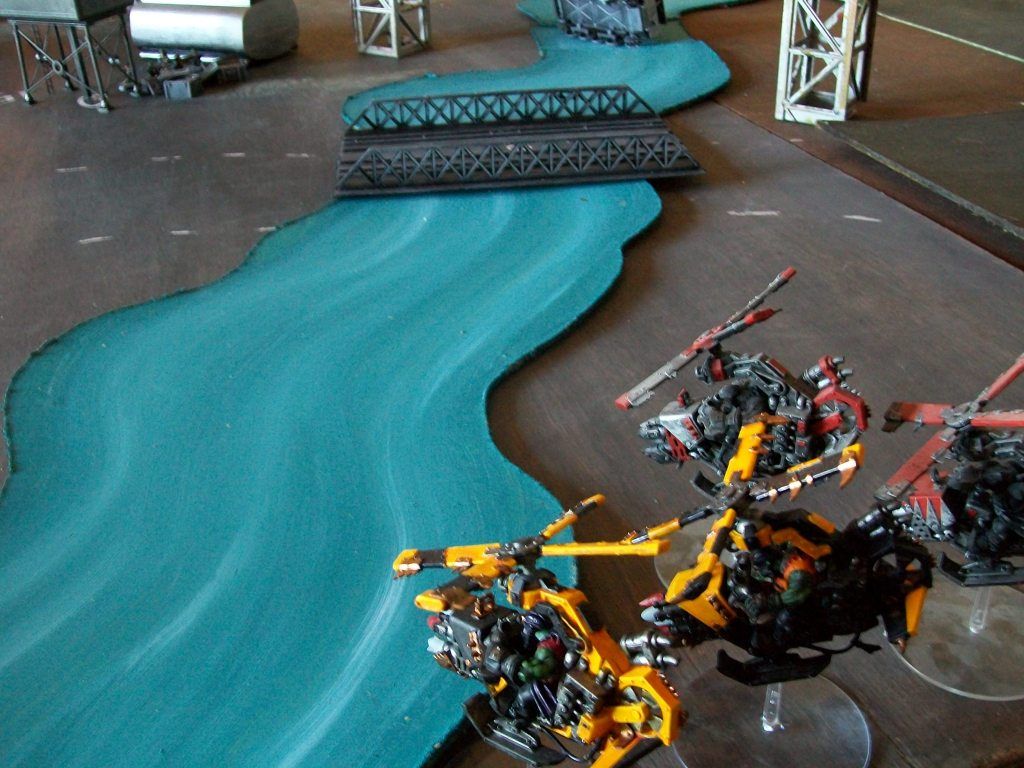
The Orks began with the first of the Deffkoptas, outflanking with 24" range scoring units made them a good choice.
Guard Turn 2, earning an extra 60 points for the 2 sentinels, and utilising their deep strike locator beacon which had been bought for the central Ratling squad the Assault Marines were able to enter play with sights set on the bridge.
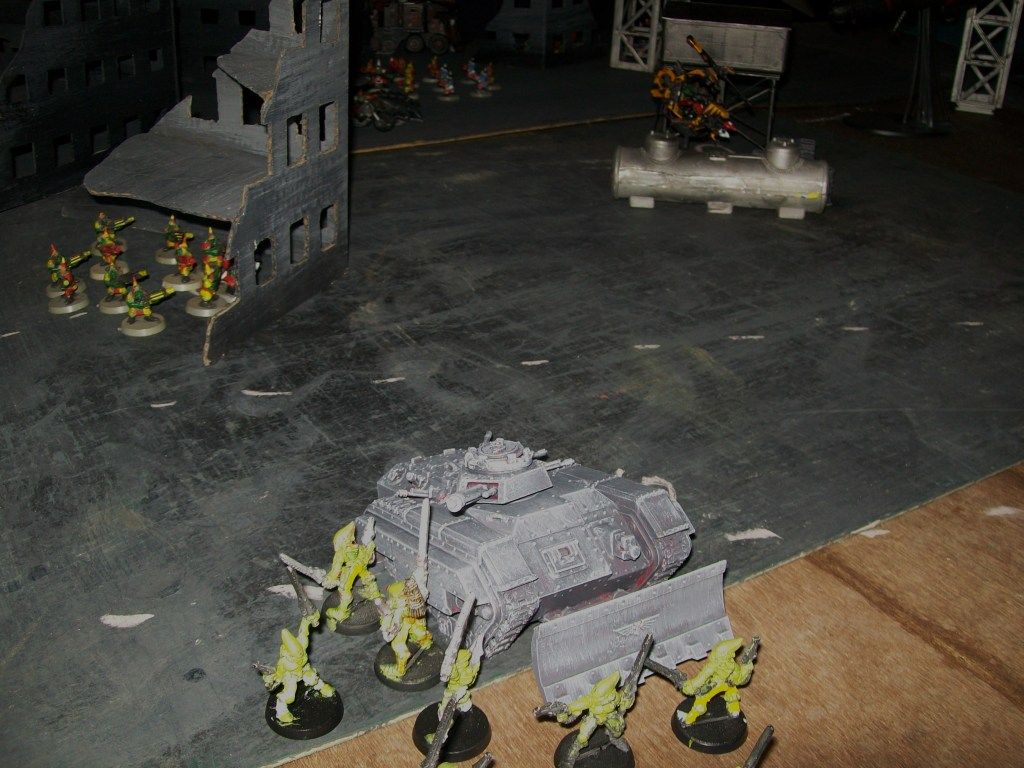
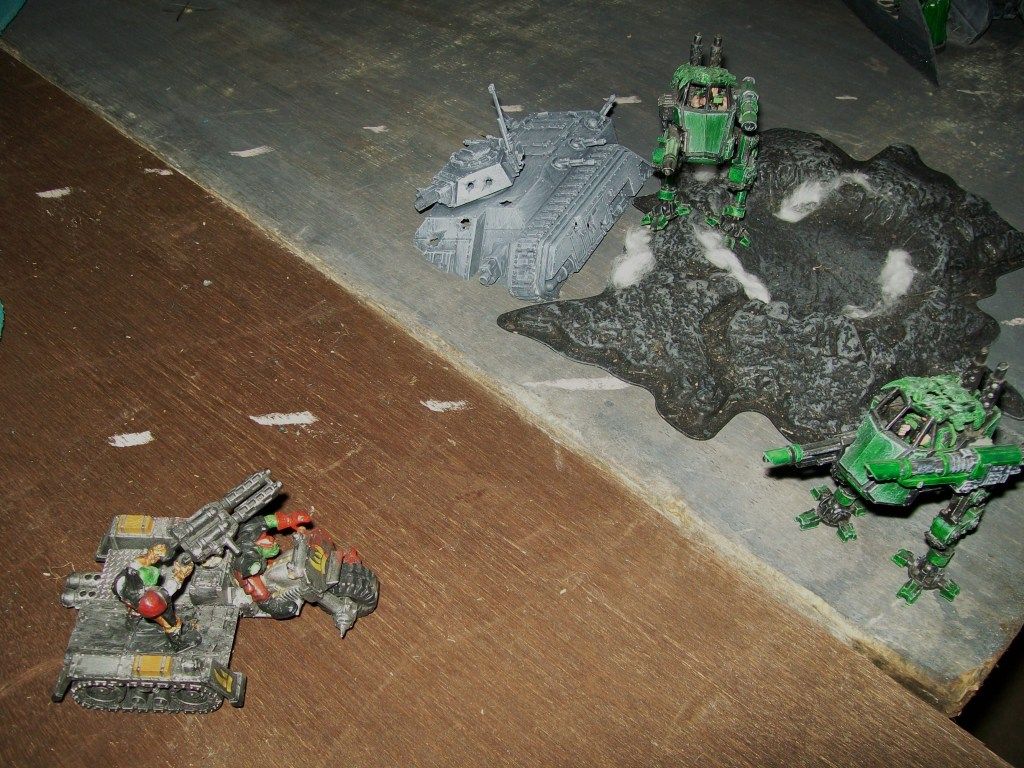
Jumping Chronogically a turn or so, The Guard have brought on a couple of Basalisks which are moving toward the closest resource points to the deployment zone, and the Assault Marines had taken heavy casualties from a Supa-Kannon on Battlewagon and fallen back to the closest to deployment area middle resource point.
The Orks had used cheap units of Grots to claim the closest resource points, and were able to call in a lot more units of Deffkoptas as a result of their higher income. This would become a strong theme for the Greenskins.
The Guard positions were holding, but the loss of the marine strike on the bridge and then the unit of Ratlings with beacon being wiped out meant the Imperial side was significantly smaller than the Xenos force.
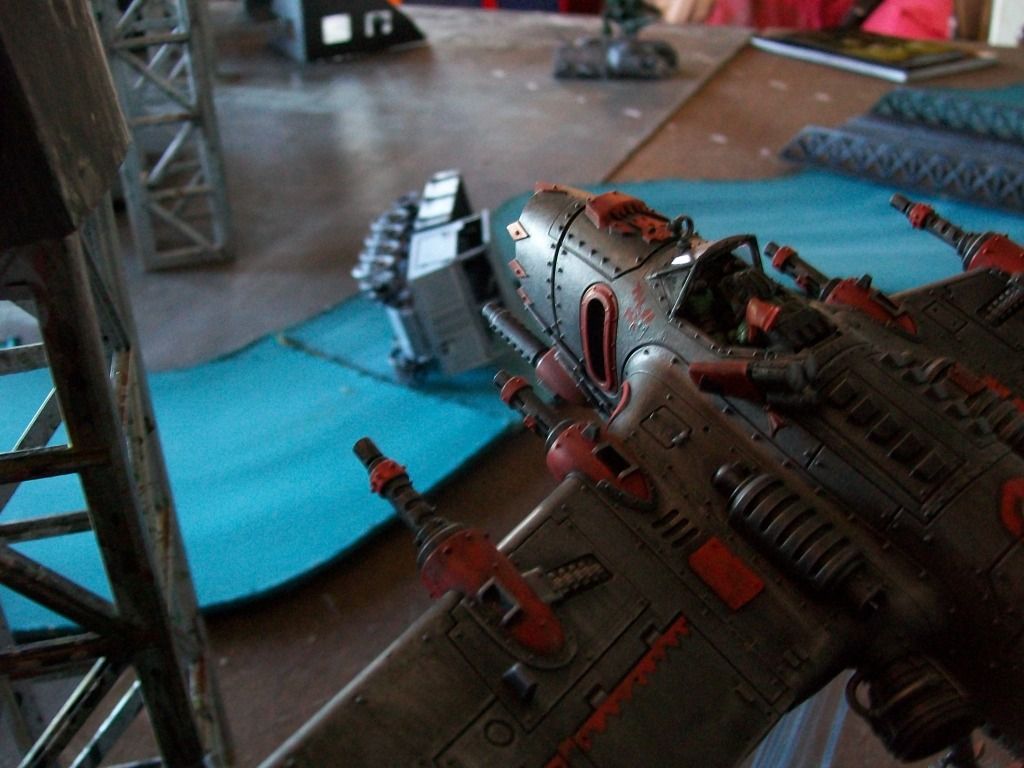
.. But little did they know, the Dakka Jet was getting drawn into a trap...
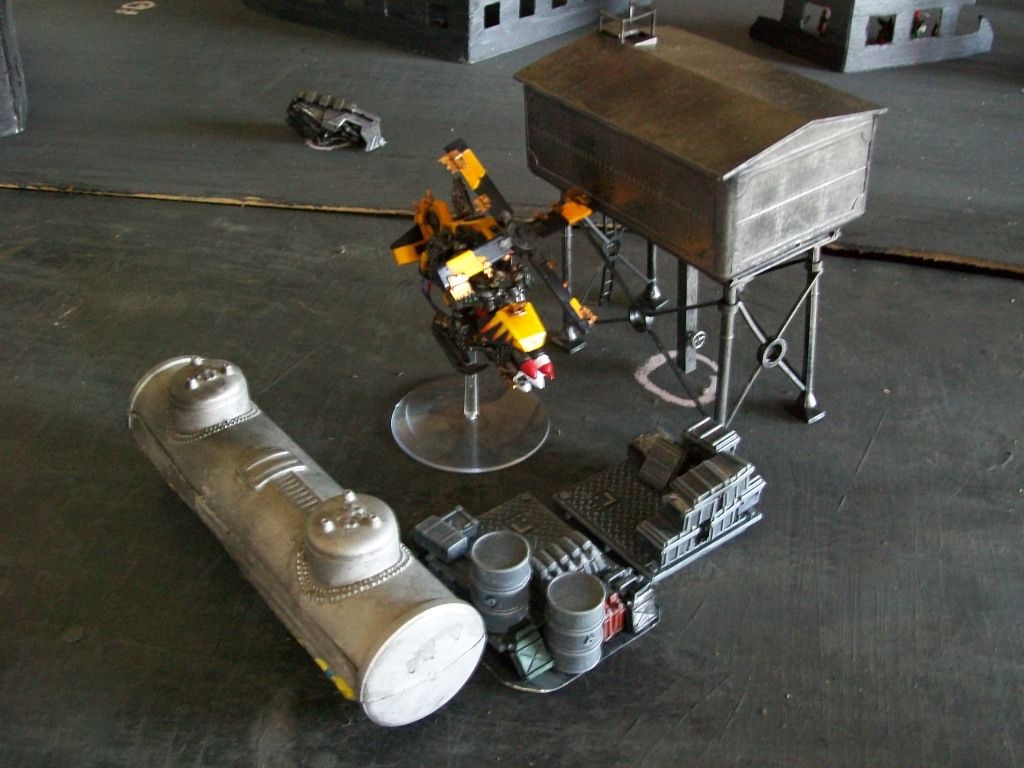
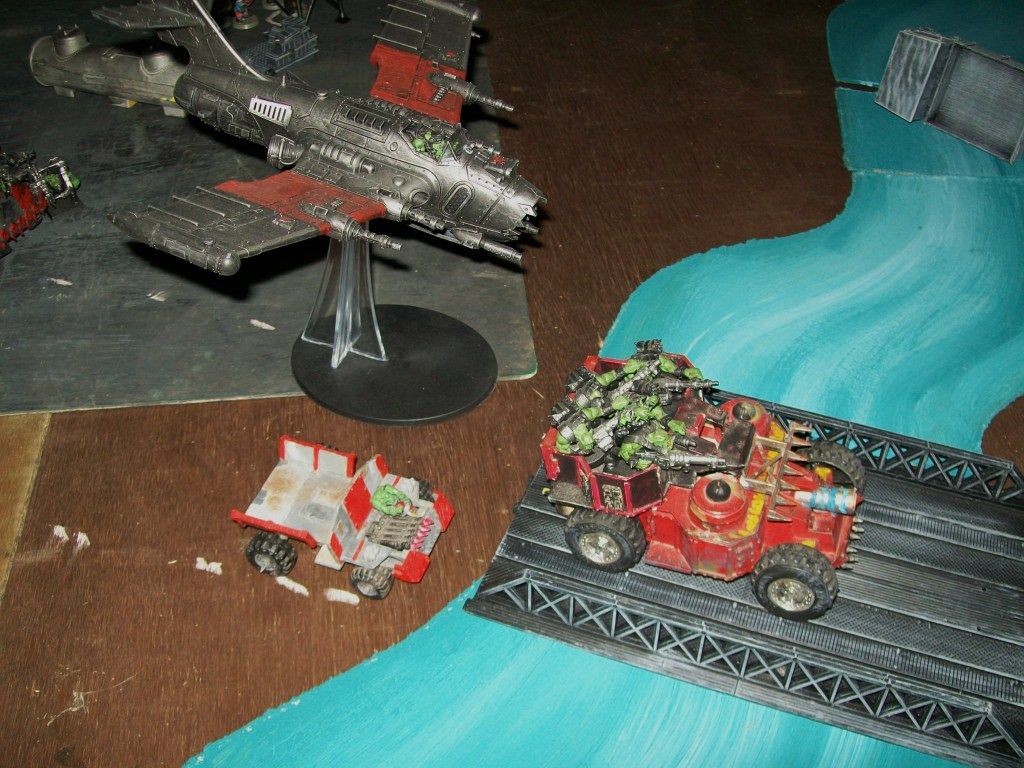
.. a Vendetta was waiting to hunt the Jet as it closed on the Basalisk, a task which it was able to achieve, the wounded Dakka jet colliding with the Promethium Pipeline as it fell to earth.
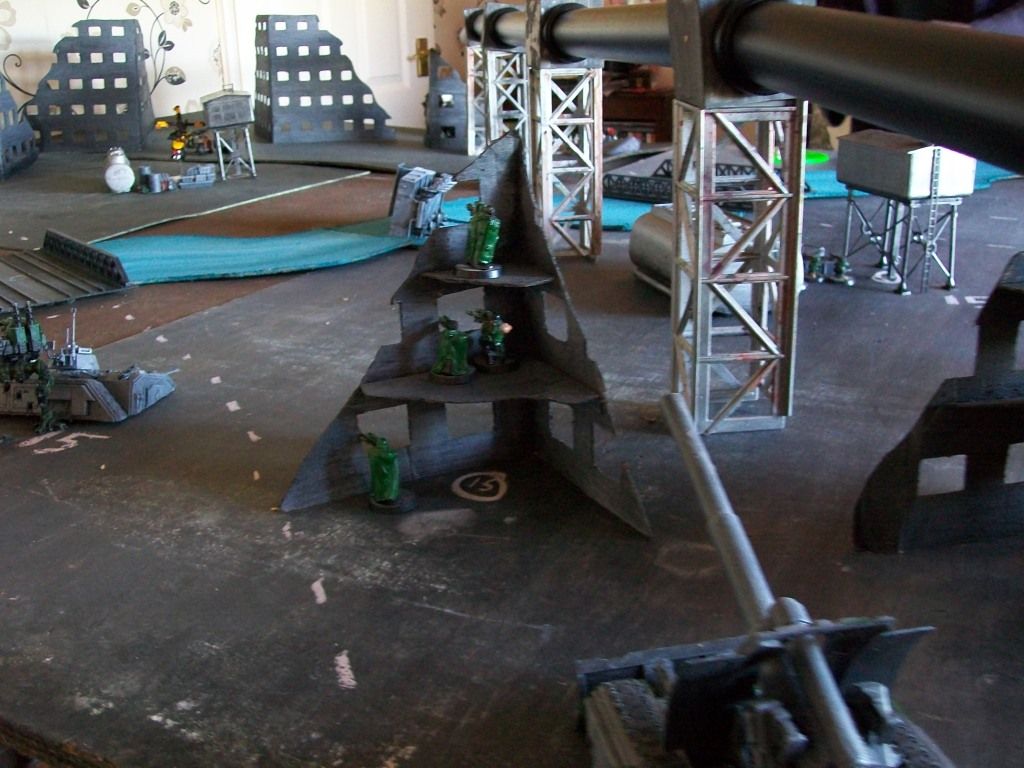
Though, yet another sneaky move by the Imperium saw a unit of allied Striking Scorpions infiltrate into Greenskin territory, managing to find a spot where they were out of line of sight of the short grots
...and able to charge (reserves are able to charge in the house rules), massacring them... they also held a deep strike beacon, which was hoped to call in more reinforcements...
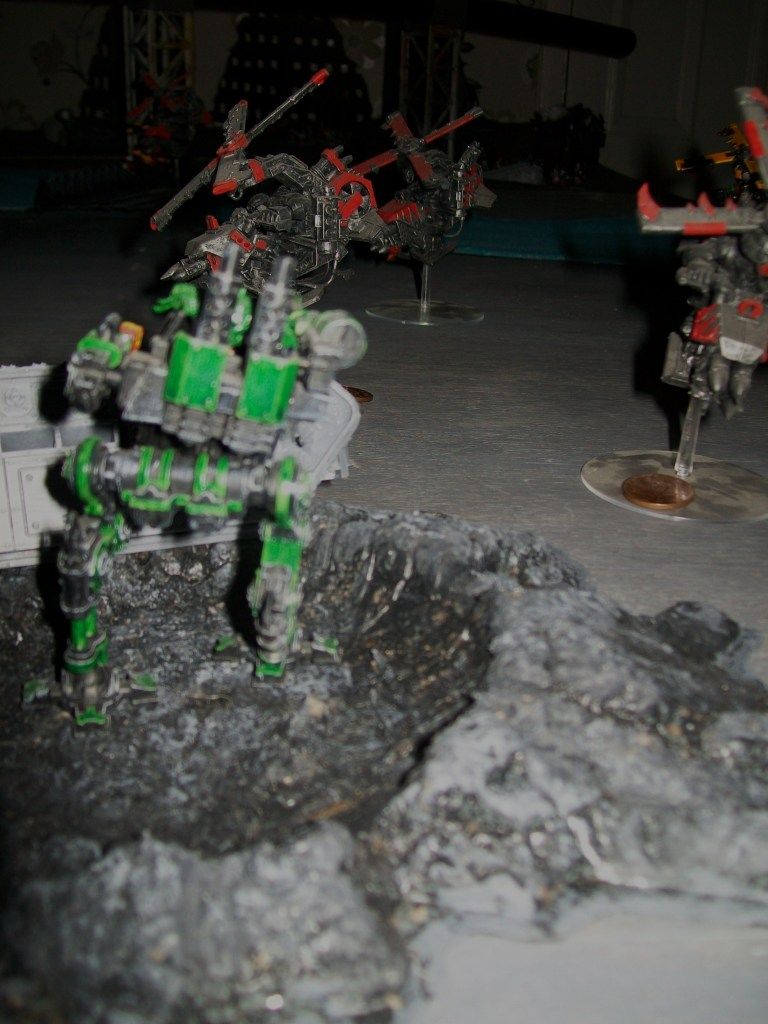
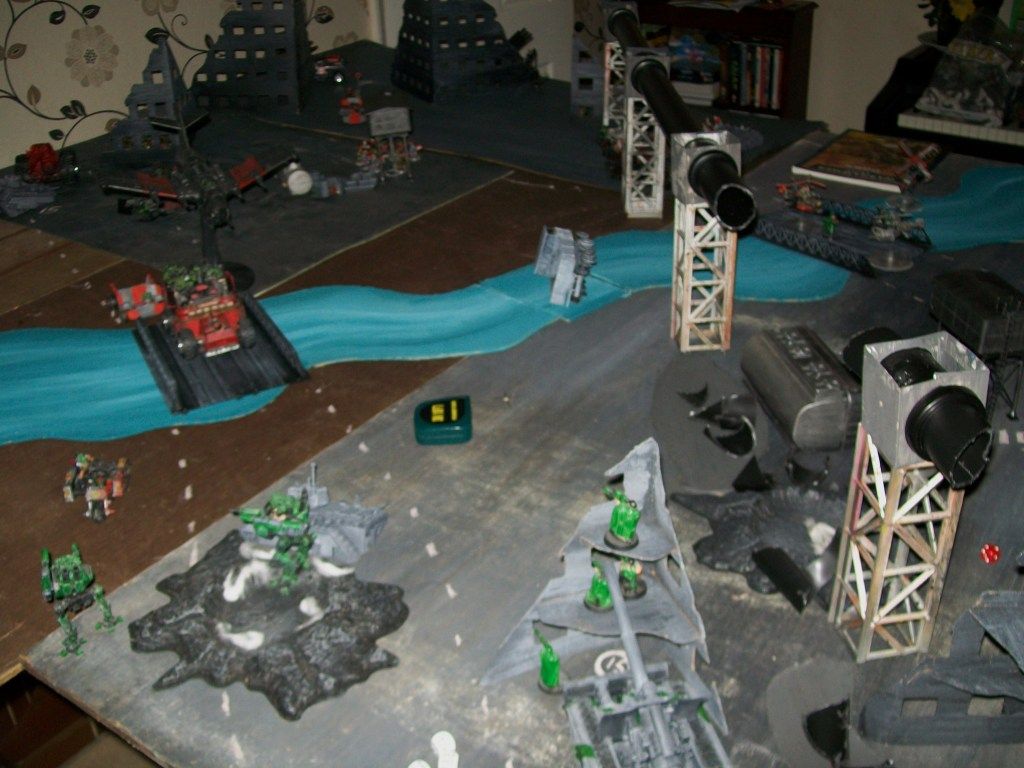
Elsewhere, the Orks pushed harder with the Koptas, becoming engaged in a battle of attrition with the sentinels and snipers:
The Basalisks were ranking priority target 1 for the Orks, and even with the Nerfs (see house rules) they were still causing a lot of damage. One had been destroyed but the other held fast.
Meanwhile, Heavy Weapon Squads entered the fray to bring more firepower onto the Koptas which were swarming the Imperial Territory.
Note the Vendetta dropping off a Commnad Squad with grenade launchers on the bridge, despite weathering supa-kannon and numerous kopta fire the commander was able to hold the point until charged by three koptas in close combat...
Meanwhile, another Command Squad was keeping units in check with the standard and issuing orders to nearby units... Platoon Sections could only be brought on within 12" of a Command or Platoon Command Squad (see house rules) they also had a good view of the Assault Marines holding the closest middle resource.
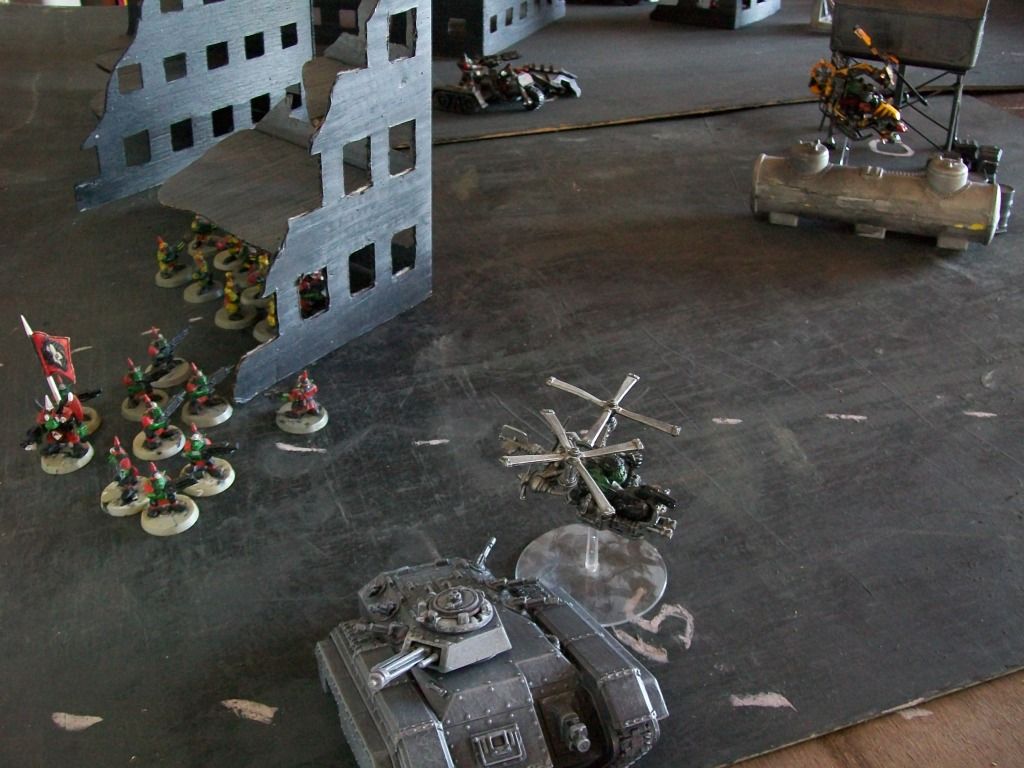
Calling on the core element of Humanities fighting force, the flashlight brigade finally arrived and were immediately able to counter the Deffkopta threat with overwhelming numbers and firepower.
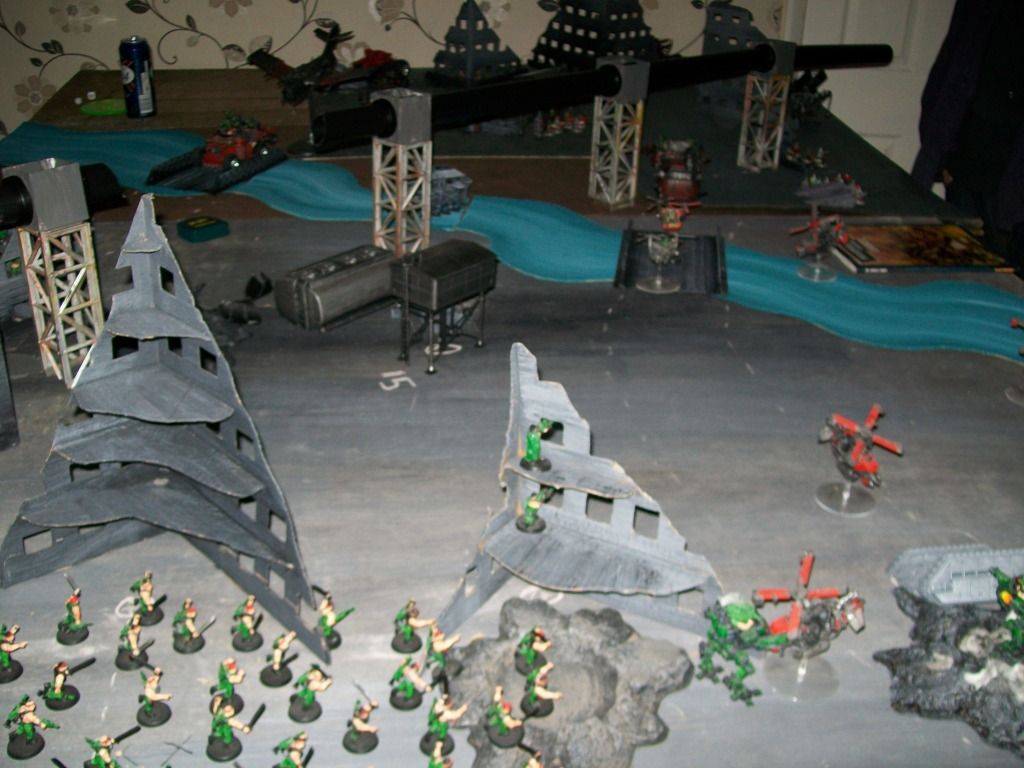
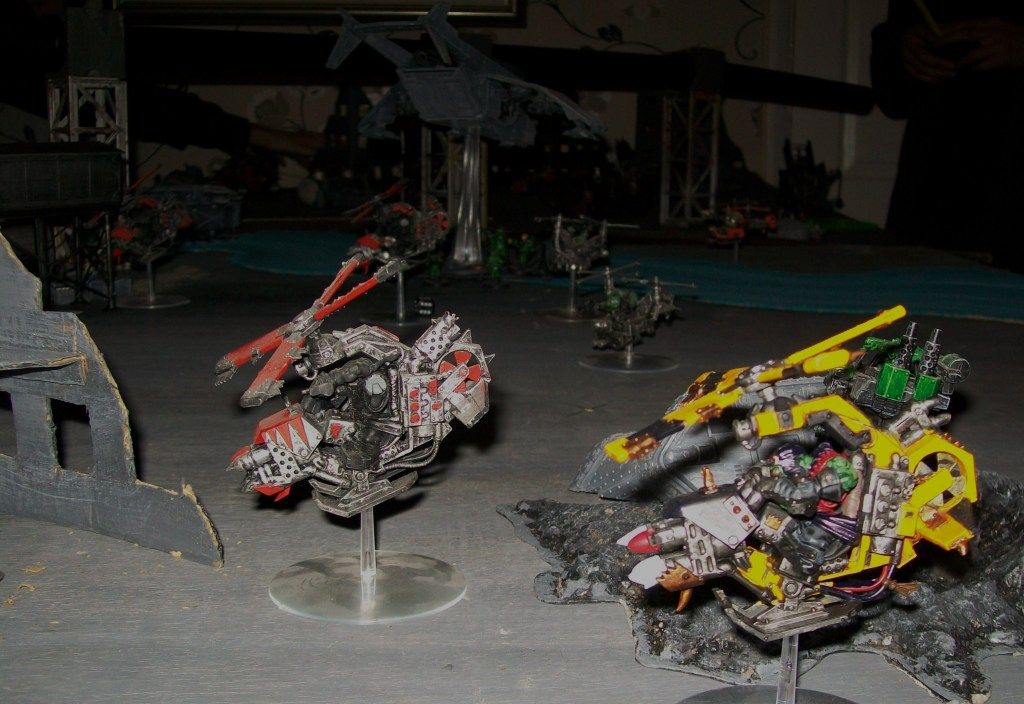
Yet when one flank felt secure, another would crumble, the left side coming under assault from Lootas in Trukks... and buggies... and wartrakks... and dakka jets
Despite the unrelenting attack, the sentinels hold steadfast to the forward resource point.
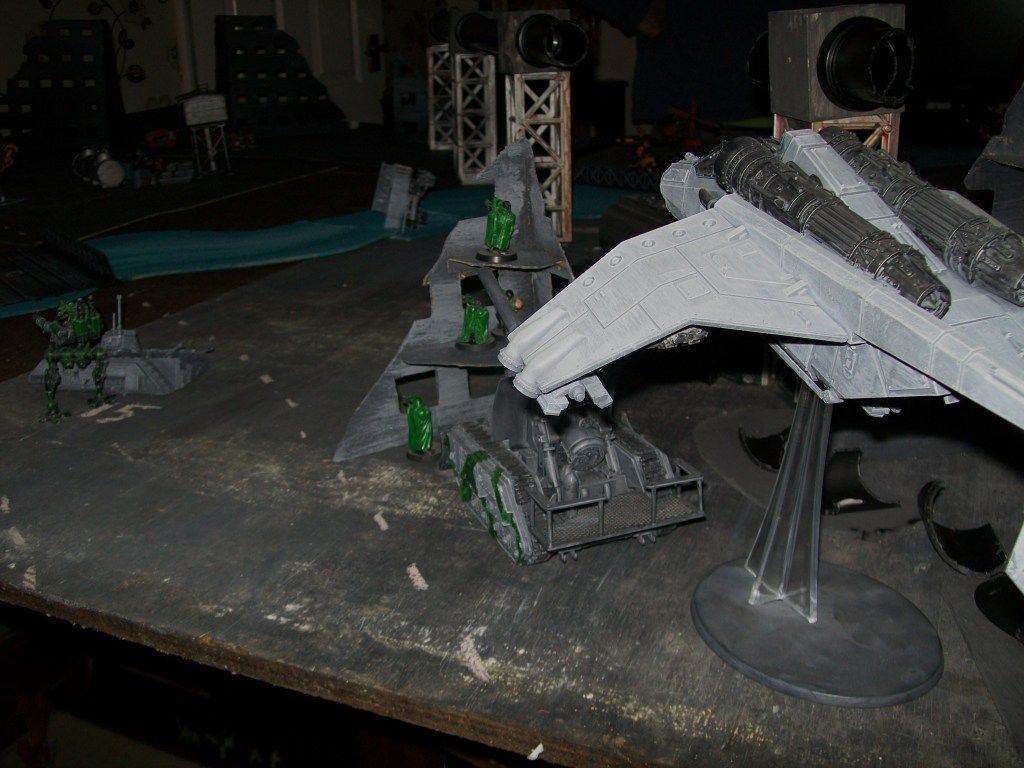
yet with a roar of engines a Valkyrie swept over the area, deploying a unit of Heavy Bolters.. which missed their intended landing but ended up able to snap fire from the cover of the Promethium drenched pipe ruins.
Given the additional inspiration from the twin-linked order by the command squad the Heavy squad was able to cause a lot of damage to the Dakka Jet, and then Vakyrie finished it off.
This destruction was followed up with the exploding ramshackle trukk, spilling its Loota cargo onto the bridge and out of range of the specific location to score (they would need to crawl through the wreckage if they wanted to earn the points) so decided to wreak havoc with their deffguns instead!
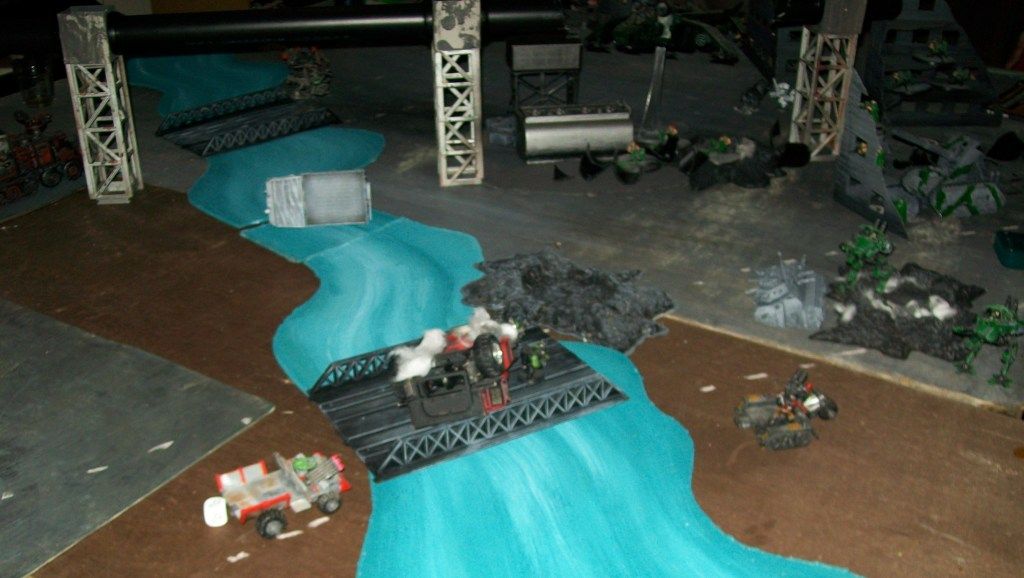
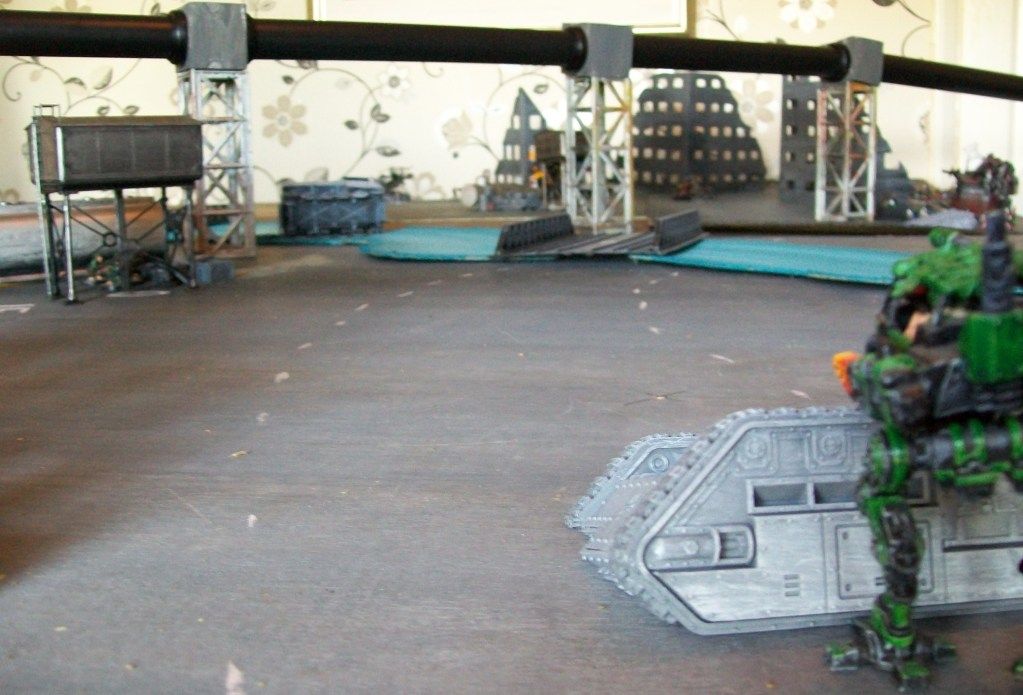
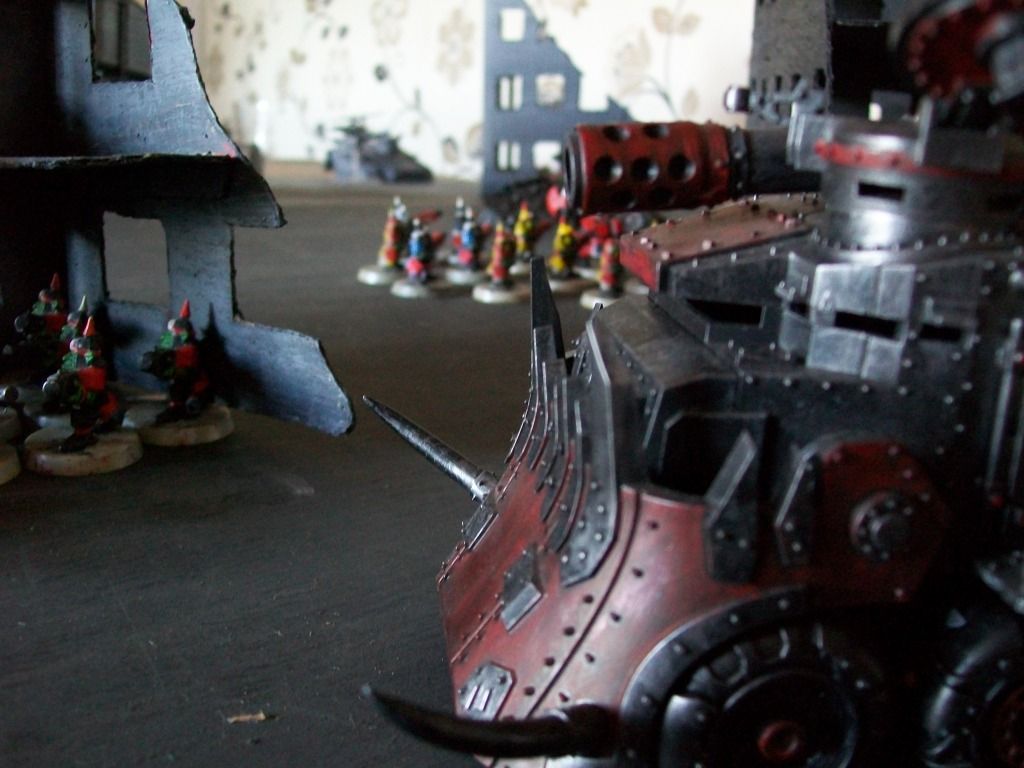
Meanwhile, the 2nd Ork Battlewagon with Supa-Kannon (the first had lost its Supa-Kannon to a Basalisk shot and had proceeded to the Bridge where it could hold the point with its AV14 quite happily. The 2nd Supa-Kannon-Wagon had deployed to attack the Eldar, which had taken heavy casualties in the first turn of their arrival (drawing the shots of 2 Supa-Kannon, and a Trukk of Lootas to achieve this though) and had been reduced to just the Exarch who had charged into close combat - hoping to survive longer in combat then exposed to more Kannon fire(this had meant He was unable to utilise the DeepStrike Beacon as it required units to be stationary to use it) - and despite slaying many more grots, he was cut down by a vindictive little greenskin and so this elite unit were lost from the battle, and left the grots in control of the resource point... this all happened a bit earlier, but there are no photo records of the xenos vs xenos conflict so cannot be assured this is true, the Imperium continues to question its allowance of xenos allies....
And with the Orks having considerable presence on the battelfield, with new waves of bikes squads and loota trukks heading out it was evident the Orks were a turn away from being able to use saved points and bring on a Stompa...
We had started at 1pm it was around 9pm and we had played 9 turns.
The Turns were pacey, the freedom of choice was excellent and all players felt it was a very tactical game which managed to reach a conclusion.
We felt the Nerfs / Game Balance worked well, though the Basalisks struggled with only 48” optimum range.
I was on the Imperial side and feel I steered the team toward using expensive Infiltrate + Beacon + Deep Strike tactics worked but were used to early in the game, on the other hand the sentinels and heavy teams were much better at fighting the Koptas (of which around 18 were fielded, with 2 remaining on the table at the end). The Expensive units were easily nullified by the Supa-Kannons which were immediately deployed as counter attack strategies. It is possible that if the Imperium had used the Infiltrate Beacon tactics later they would have paid off as mid to late game methods of advancing beyond the guard gunline. As it was, the Guard never got a decent gunline formed, having taken the attack to the Orks and therefore within the shorter Ork range, denying the Imperial side their main advantage.
Side Note on Air Attacks:
The Vendetta was excellent, and was still alive, (having flown back to the airfield 2 turns distance away to collect a techpriest and servitor.. it would have returned on turn 10...), the Valkyrie was surprisingly good against the Dakka Jet, and made me wish I had magnetised the rocket pods so I could bring HellStrike Missiles and Door Gunners for a cheaper Valk more capable of an Anti-Aircraft role. Heavy Bolter Weapon Teams with the Command Squad Order which allows re-rolls is also quite effective on Ork Jets.
From the Ork perspective, the things that worked was the relentless pressure applied by the outflanking turbo-boosting Deffkoptaz, fielded each as a seperate unit they were a considerable challenge at range and close quarters. The use of Supa Kannon to eliminate power armour and bring some range to the Ork forces was definetly beneficial, and utilising Grots as a cheap scoring low priority target worked very well. The Flyers were unfortunate in that they were unlucky not to get a better kill ratio, and the Lootaz were considerable threats that only begun to have impact as the game came to a close.
as all the players of both teams said at the end:
Next time... things will be different!


 I didn't choose the WAAGH! life, the WAAGH! life chose me.


 1500
1500


