Switch Theme:

Clasic warhammer / LOTR buildings and stuf  [RSS] Share on facebook Share on Twitter Submit to Reddit
»
Author Message
Advert


Forum adverts like this one are shown to any user who is not logged in. Join us by filling out a tiny 3 field form and you will get your own, free, dakka user account which gives a good range of benefits to you:
  • No adverts like this in the forums anymore.
  • Times and dates in your local timezone.
  • Full tracking of what you have read so you can skip to your first unread post, easily see what has changed since you last logged in, and easily see what is new at a glance.
  • Email notifications for threads you want to watch closely.
  • Being a part of the oldest wargaming community on the net.
If you are already a member then feel free to login now.


Made in se
Automated Space Wolves Thrall


Vasteras, Sweden

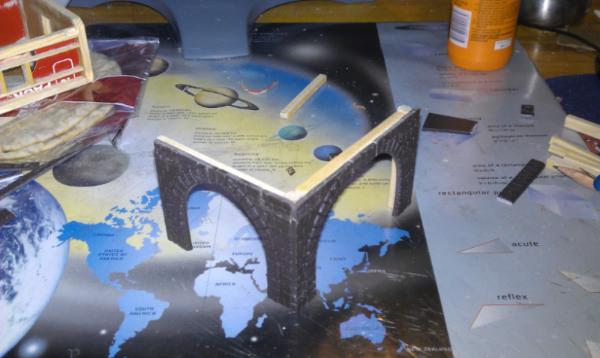
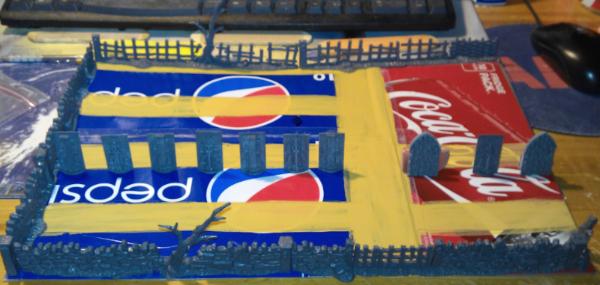
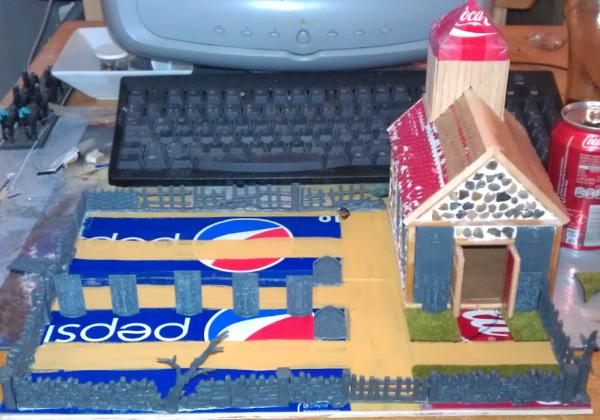
OK some times i like to back to nature, You can take heavy metal (40k) just so much . So wen i get in one of my hippie modes i like to work whit my material donated/stolen from McDonald . Didn't document this one much, sorry. And sorry about the black Dot my phone got drooped and something ended up on the camera lense, now after several drops its gone. And one other thing i got dyslexia so don't expect a novel.

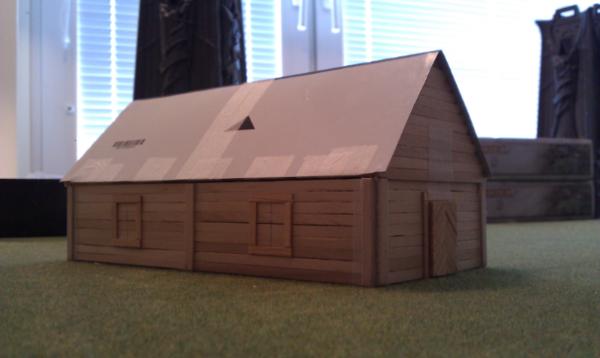
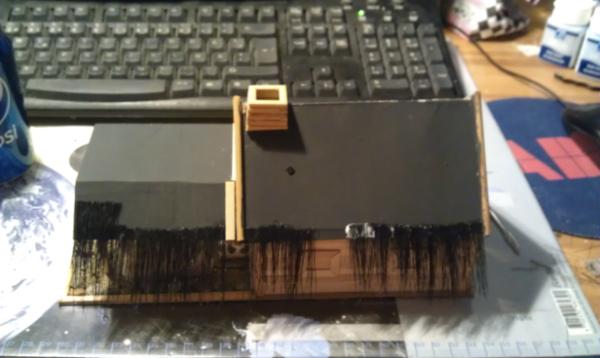
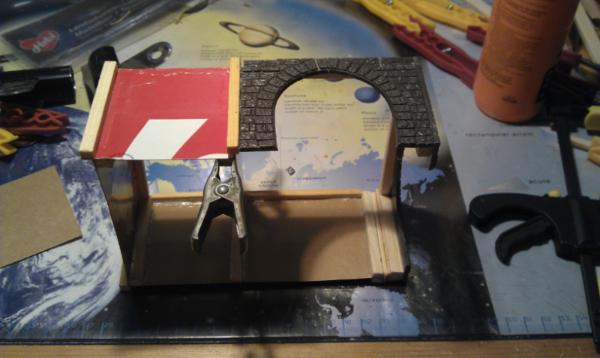
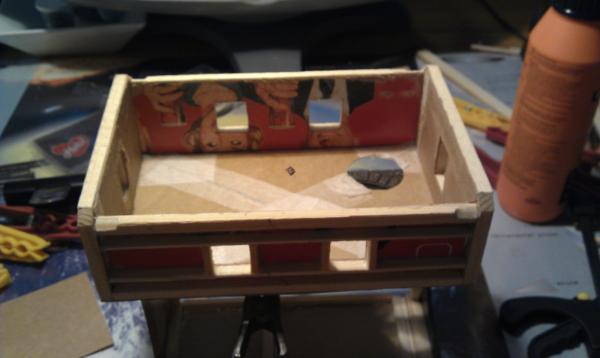
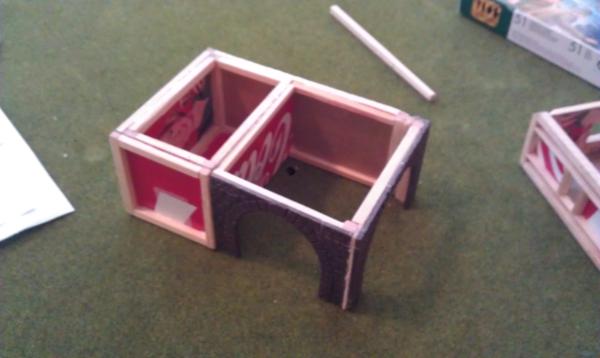
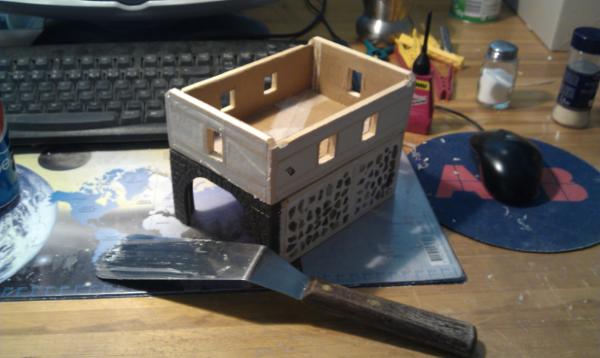
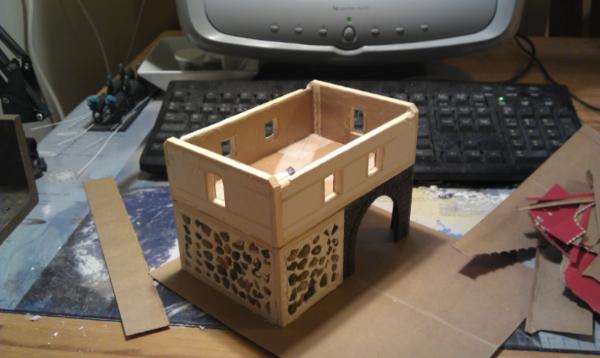
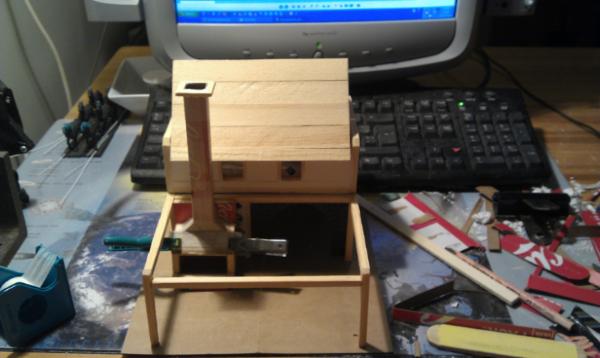
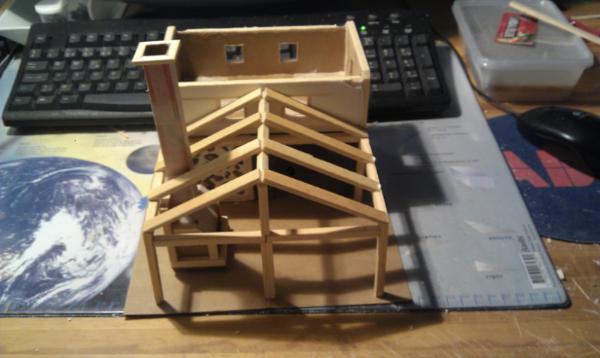
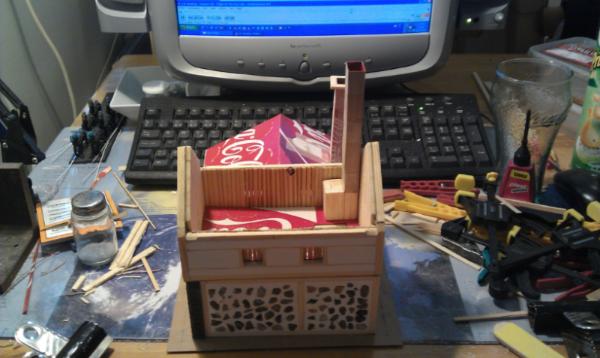
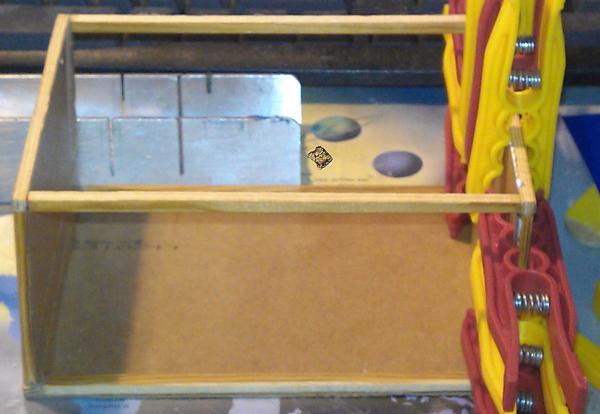
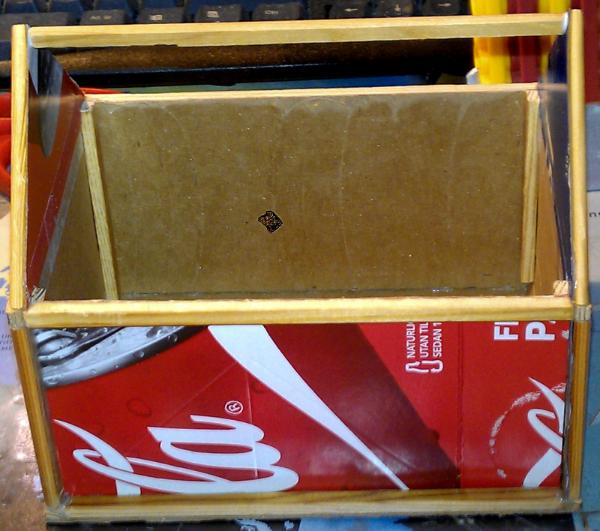
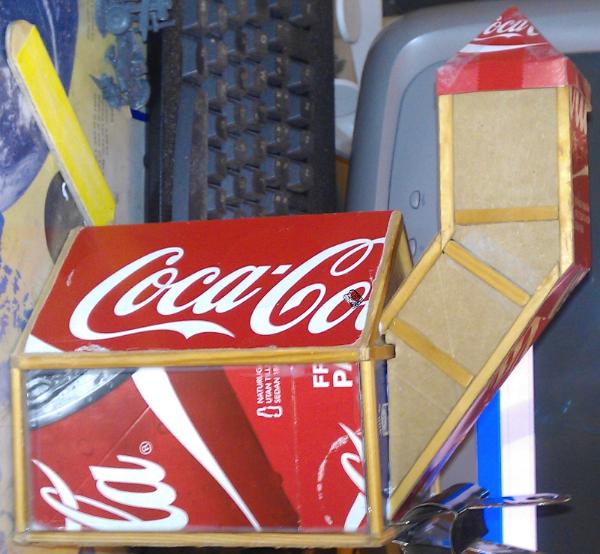
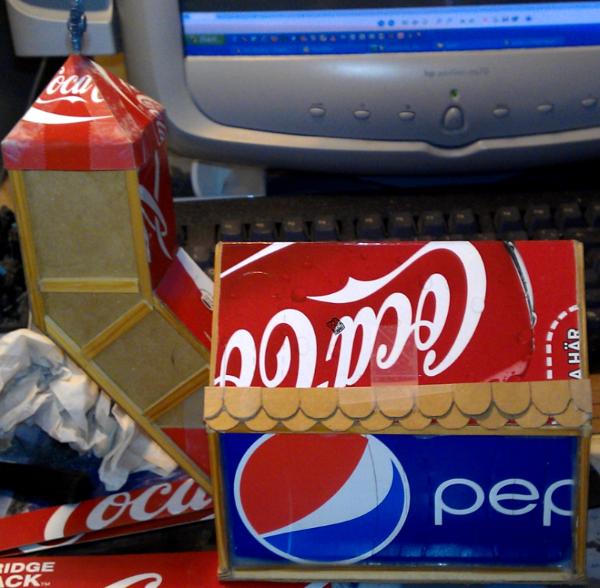
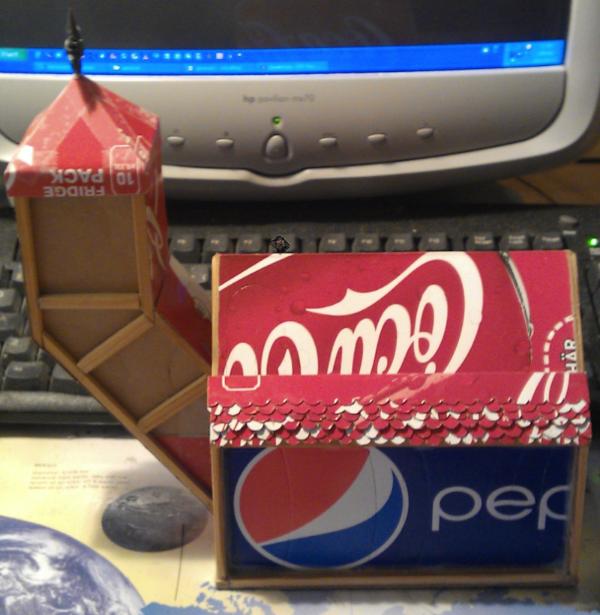
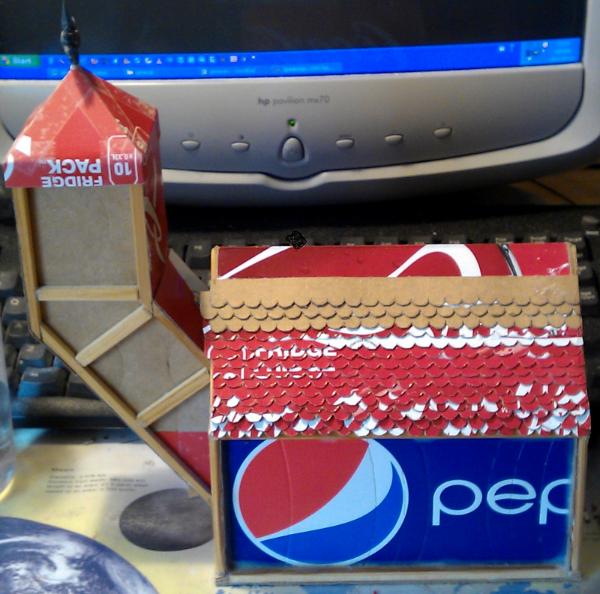
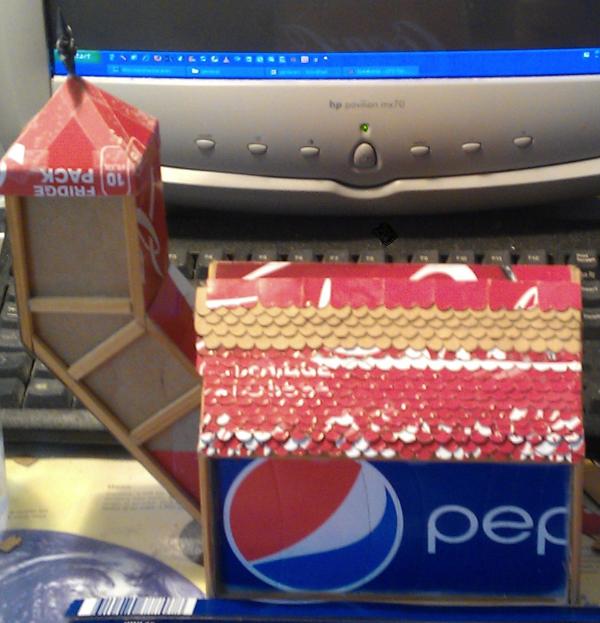
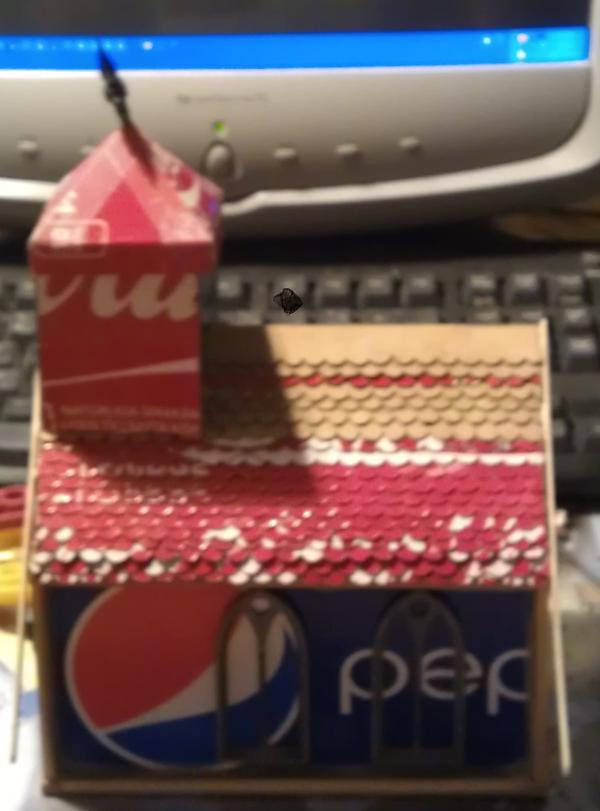
Step one, of to work on the long house.


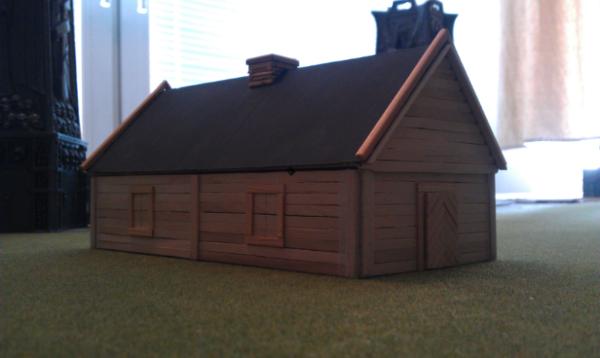
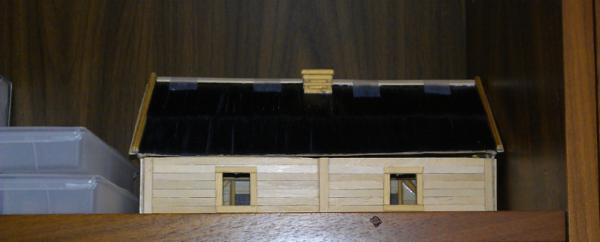
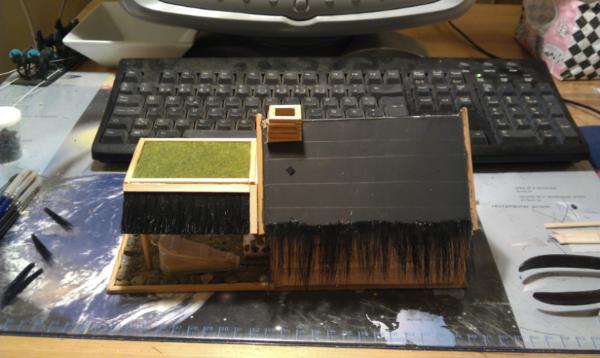
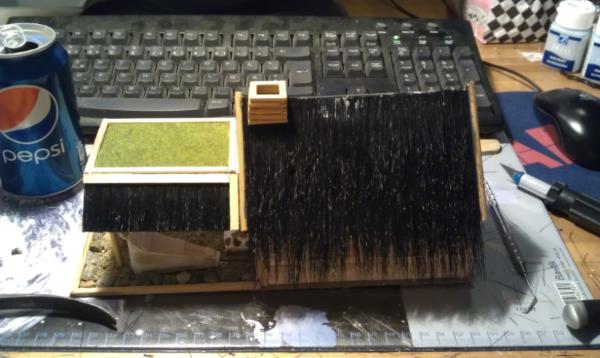
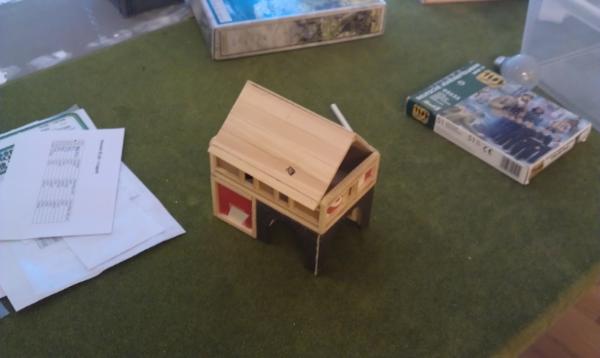
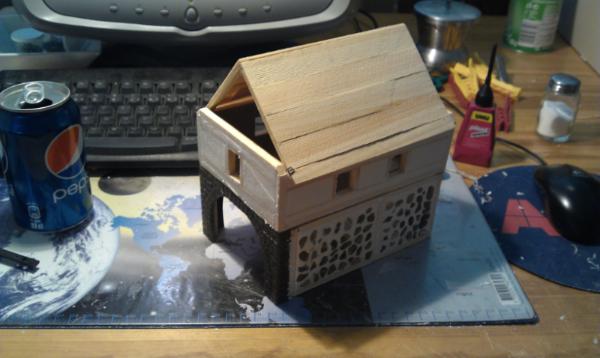
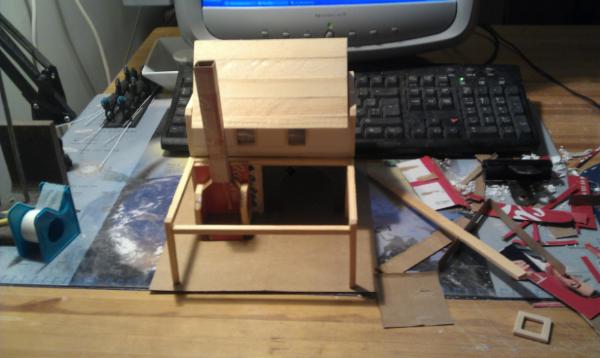
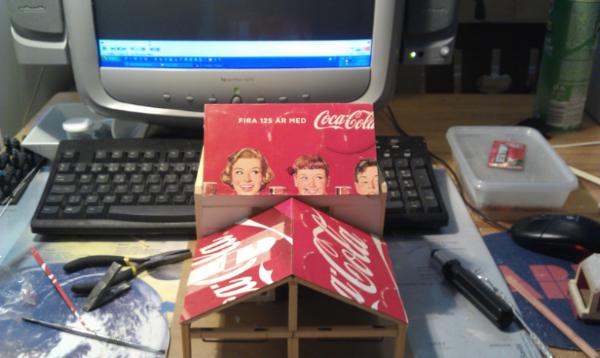
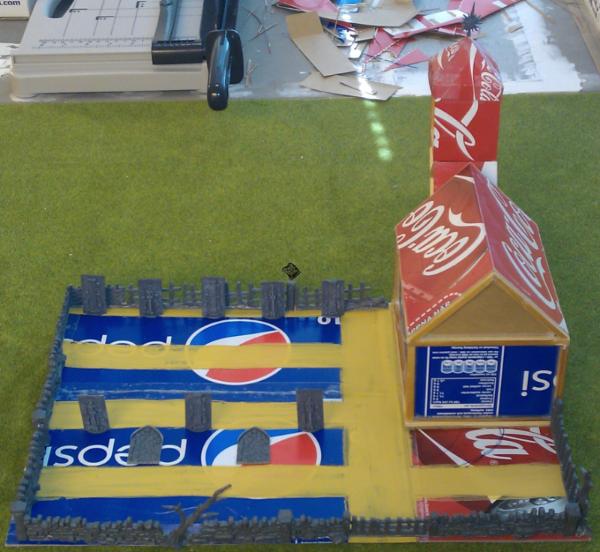
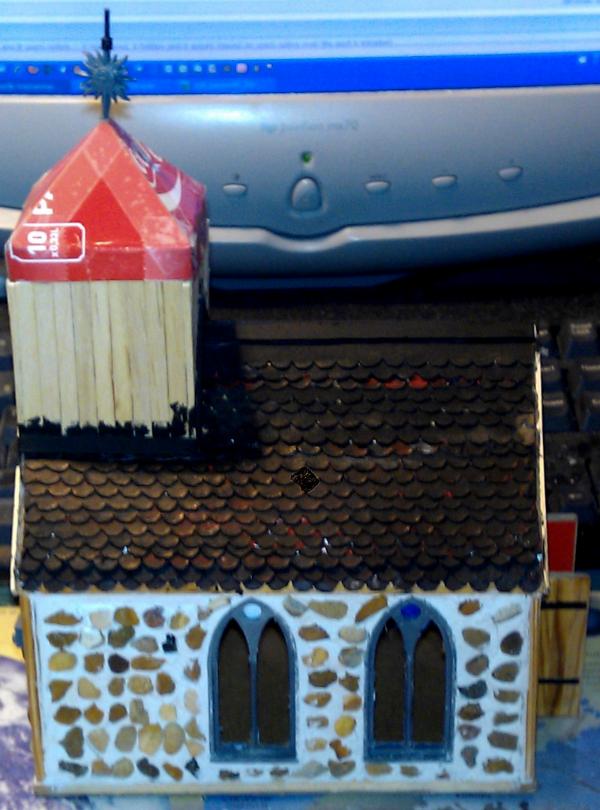
Step two, Roof painted chimney added.


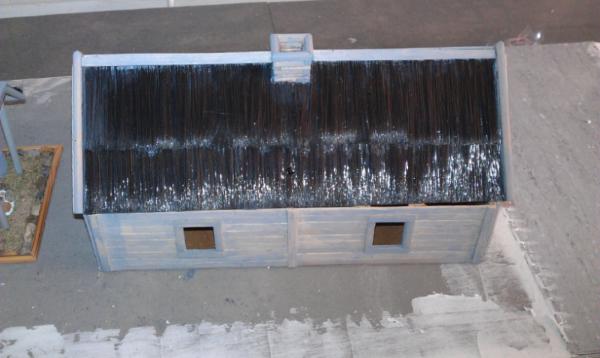
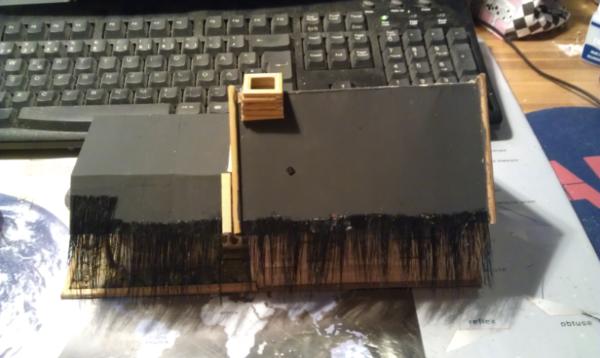
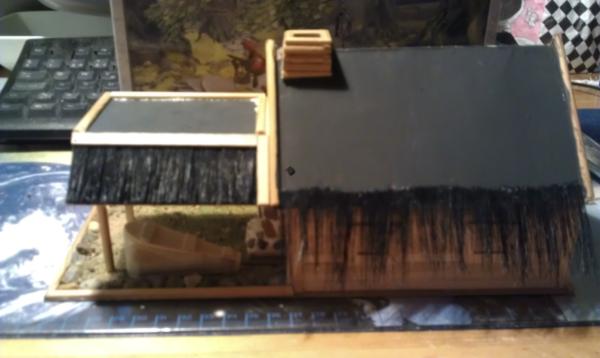
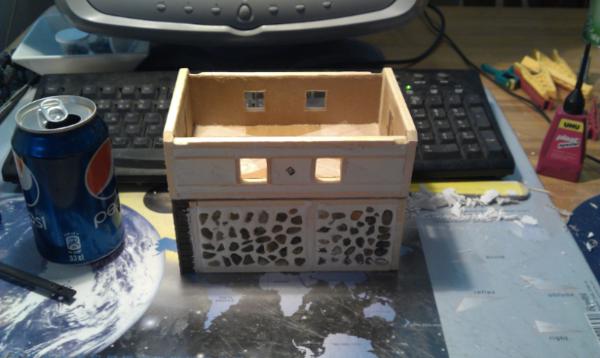
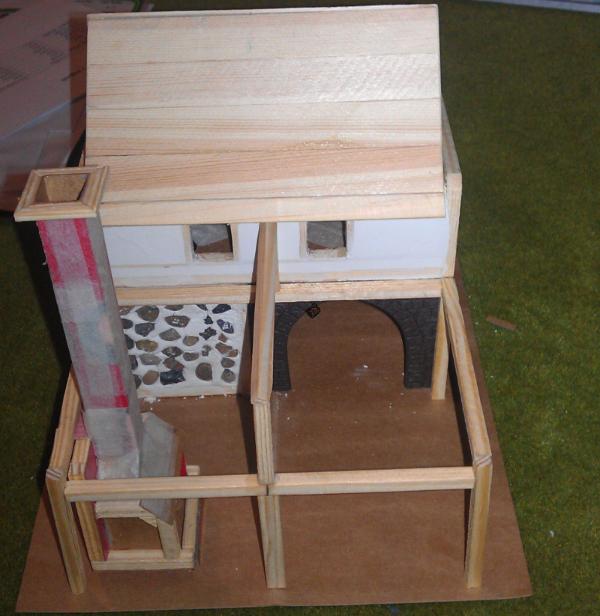
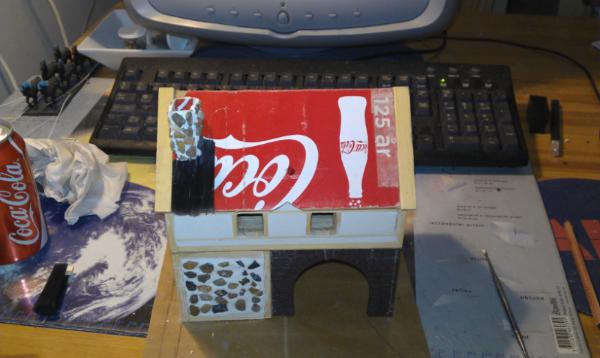
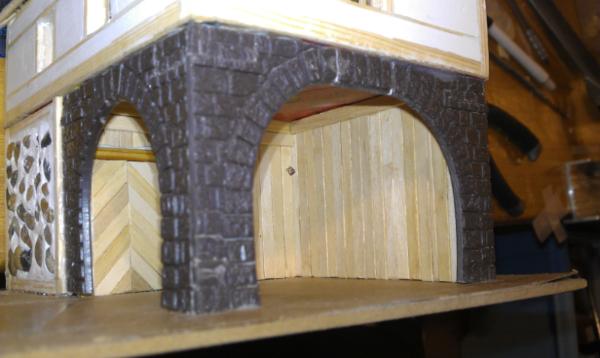
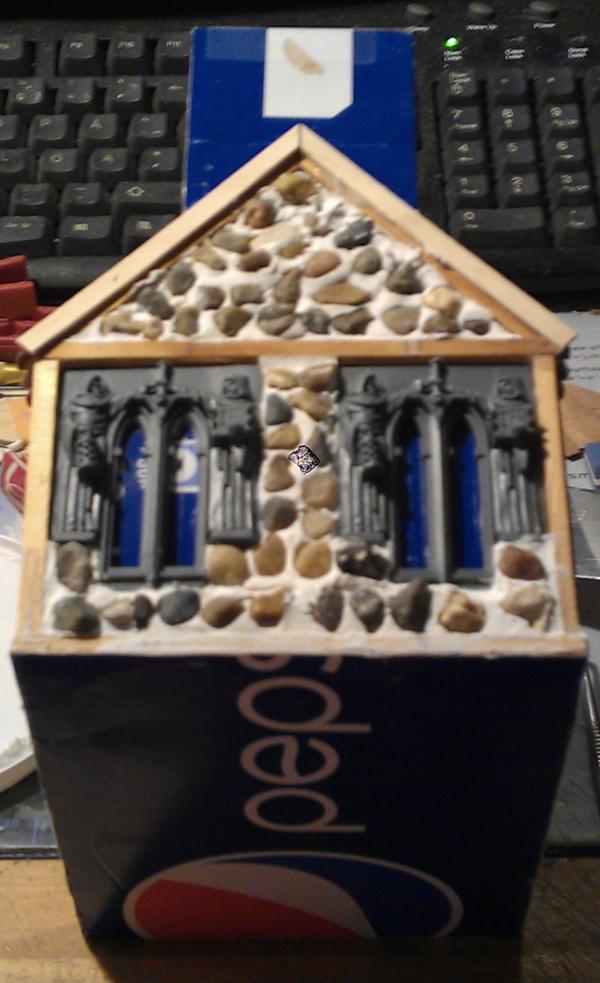
Step Three, On whit the straw effect and the boards. Cut open the windows.


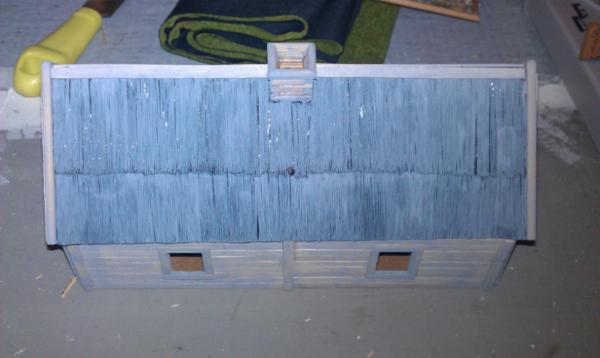
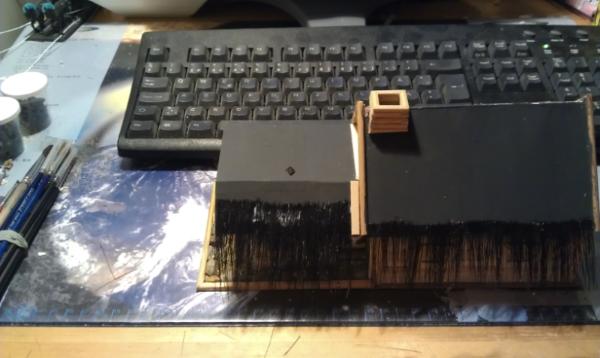
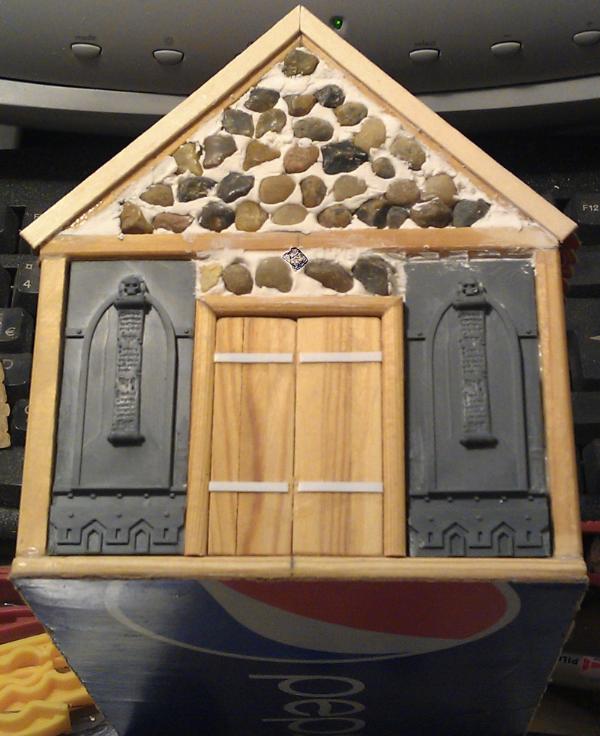
Step Four, graying down the wood.


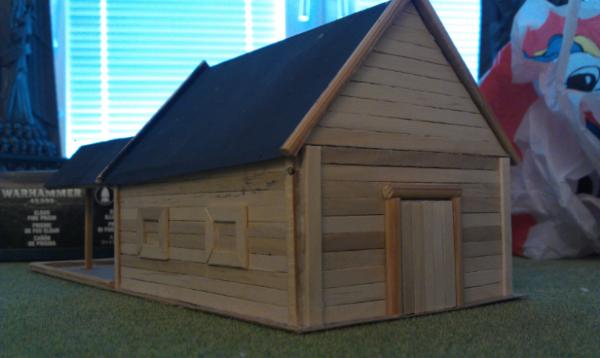
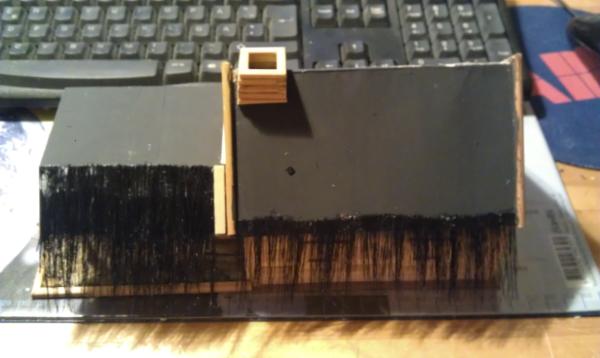
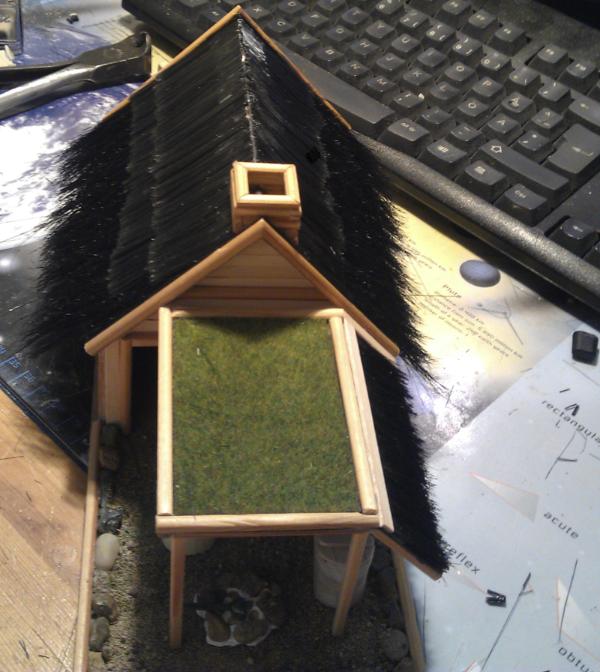
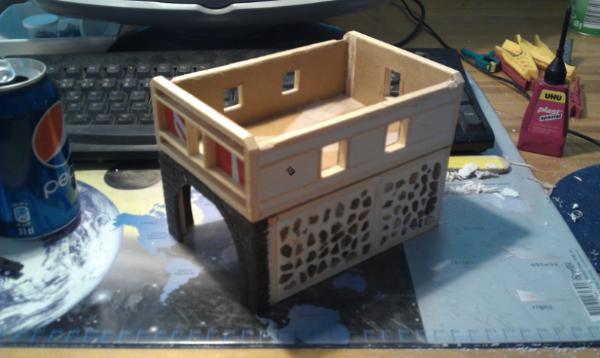
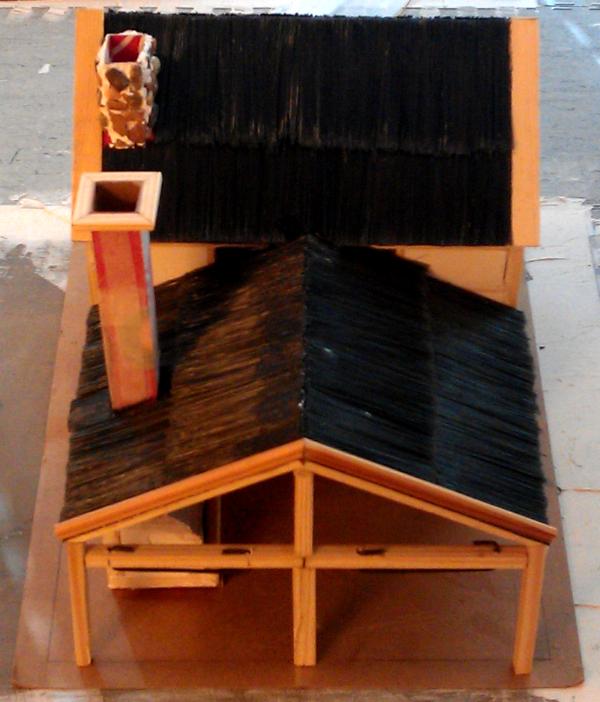
Step Five, Painting roof finishing touches.


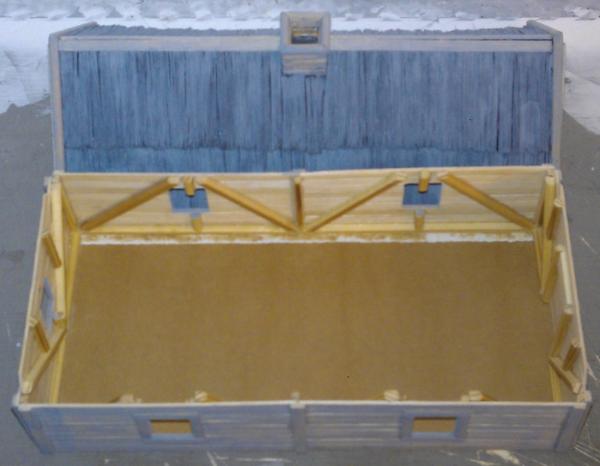
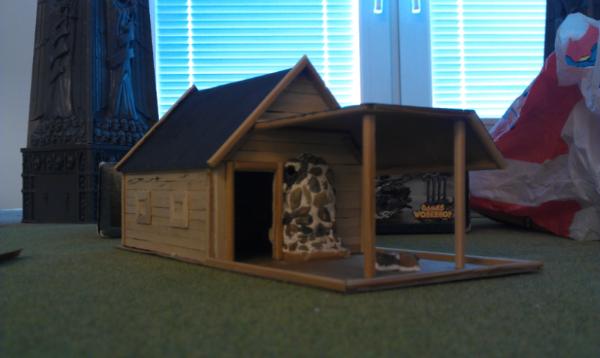
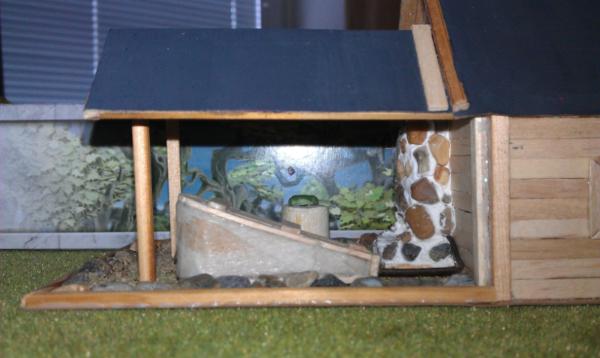
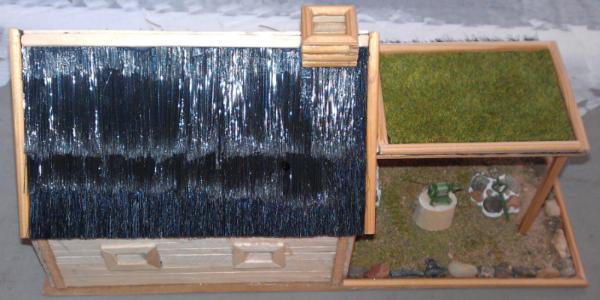
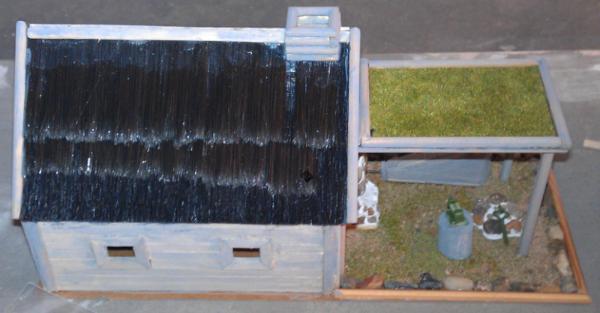
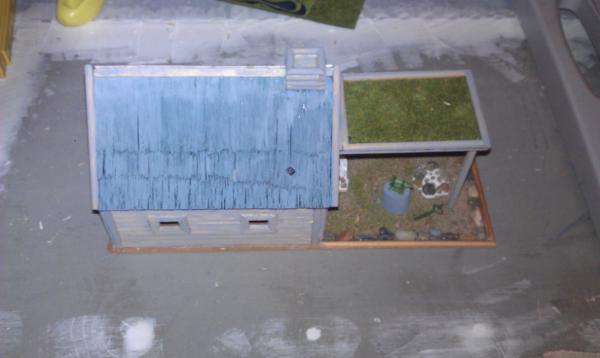
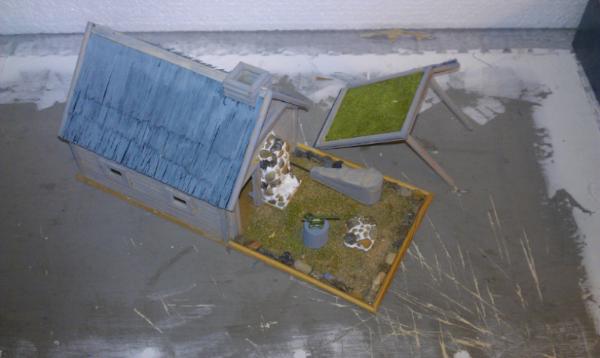
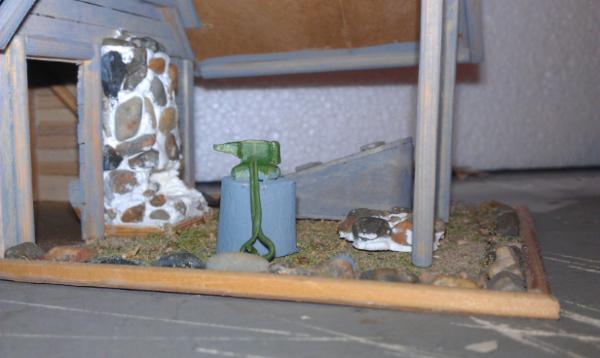
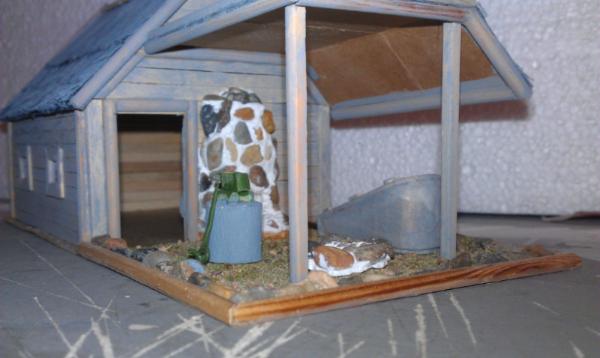
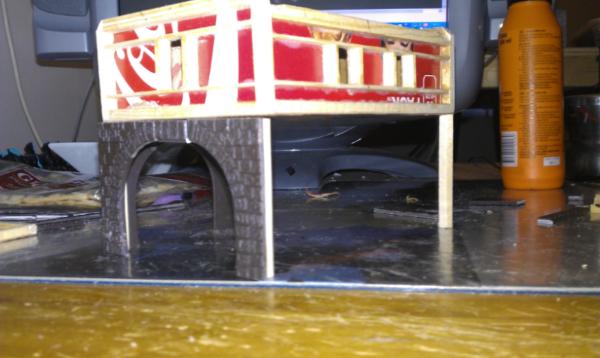
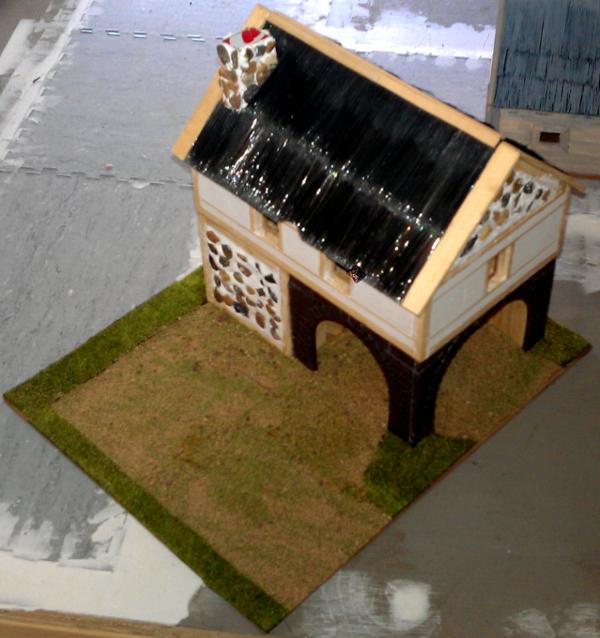
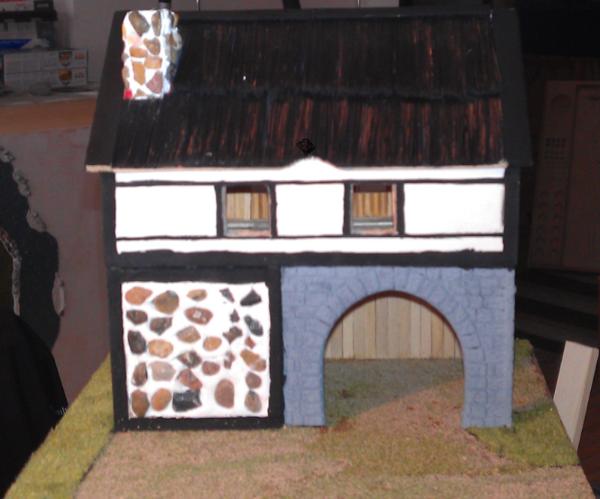
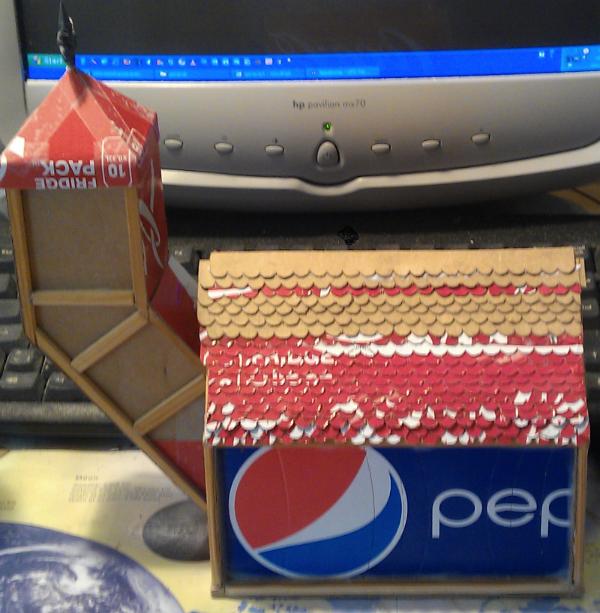
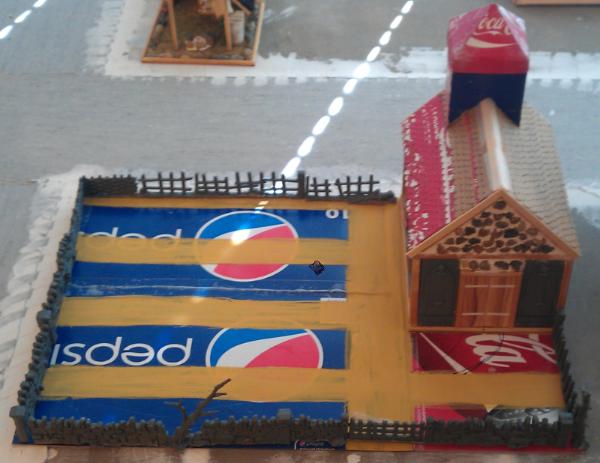
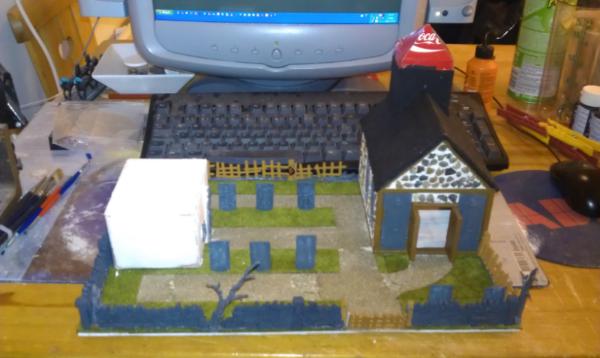
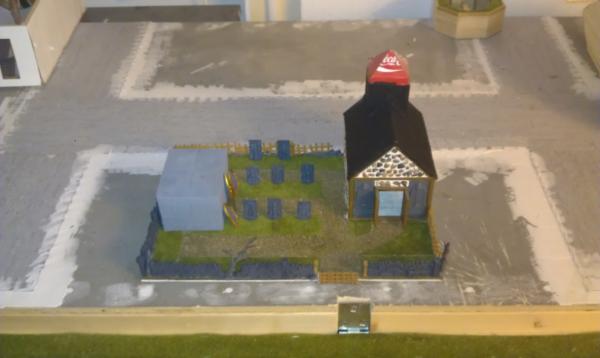
Sens this one was a test it received only 2 rows of straw, and the roof can be lifted away so wen you occupy the house you lift of the roof and set up your units inside.


---------------------------------------------------------------------------------------------------------------------------------------------------------------------------------------------------

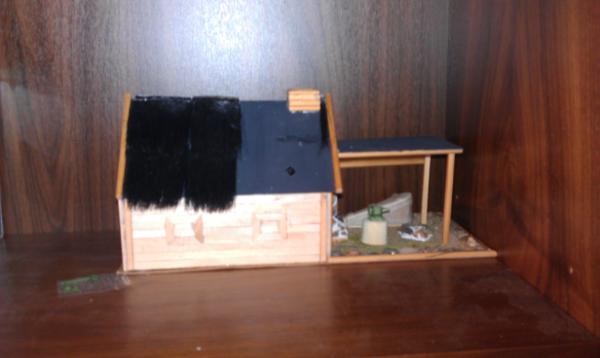
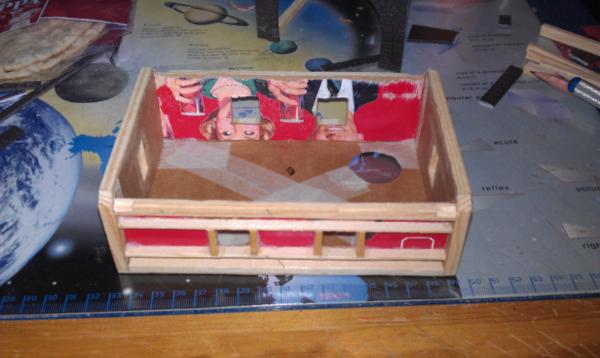
OK, building 2 a small Smithy.

step 1, i made a small square building whit a roof over the work aria.


step 2, Added a small fire and a large furnace.


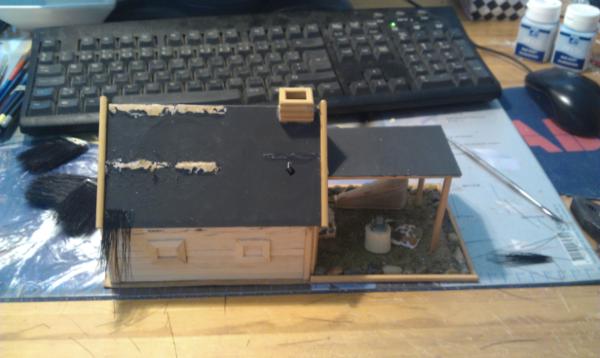
step 3, added a below, bent away fireplace and made it somewhat larger. Added ground texture, started on the anvil. Added a chimney.


step 4, started strawing the roof in a big way. Didn't like it tore it of and started over.


step 5, Restarted the strawing of the roof, this time in smaller pieces.


step 6, Kept going.


step 7, I'm working on it.


step 8, OK so i finally finished of the small roof section. and i slapped some boards on.


step 9, Some instant grass on top


step 10, On whit the roofing.


step 11, One side finished


step 12, both sides finished, it needs a hair cut.


step 13, Terre we go.


step 14, Finishing.


Step 15, extra


Thats it 4 now more later this evening

This message was edited 2 times. Last update was at 2012/12/20 13:46:53


I'm a Doctor Jim not a... 
   
Made in se
Automated Space Wolves Thrall


Vasteras, Sweden

Here we go.


Step 1: I got my hands on a pair of railroad entrances at my local hobby shop, the last they got.


Step 2: Sorry didn't take the first picture until the top main floor was finished.


Step 3: I shortened the entrances in both hight and with and glued them in an L shape.


Step 4: Here I'm just trying to get a feel for the finished product.


Step 5: First floor almost finished


Step 6: Another test to see that i didn't make the ground floor to short.


Step 7: Ground floor frame finished.


Step 8: the roof was completed around stage 2 - 3.


Step 9: Ordinary plaster and flower decoration stones from a flower shop.


Step 10: Second floor half finished.


Step 11: Just finished whit the second floor .


Another roof test.


Step 12: Finished the first floor, got hard to find proper stones towards the end.


Step 13: Started work on the work aria roof, and the furnace.


Step 14: Some more work on the furnace, its mostly finished except for plaster and rocks.


Step 15: More work on the support frame over the work aria.


Step 16: Finished the support frame.


Step 17: Made the roof and glued it on.


Step 18: Integrated the furnace to the work aria roof.


Step 19: thus far i had planed to make furniture to the house hence the stow and the chimney. But i decided against it. so the boards on the inside was really not necessary. I also added sides to the house roof. and glued it on permanently.


Step 20: The chimney got its treatment whit plaster and stones, and i started the strawing effect.


Step 21: Then i remembered to paint the darn thing.


Step 22: a few hours later the strawing was finished.


Step 23: Now i decided it was a Joly good time to start adding boards to the outside wall on the ground floor.


Step 24: Added boards on the roof, added ground effects (gravel and Grass). Just drench the aria in watered down glue and poor on sand and grass mix (green saw dust in this case).


Step 25: Painted it all nice and proper.


Step 26: Finished of the work aria support and added a below, fixed the furnace, grayed down the roof, painted the boards on the first floor brown, panted the chimney tops.

Status: Work in progress, needs some more finishing.

I'm a Doctor Jim not a... 
   
Made in gb
Rampaging Reaver Titan Princeps


Earlobe deep in doo doo

This looks brilliant these are definitely convincingly real fantasy structures with a great deal of detail. I'm really impressed by the foundry. I also like the definite Scandinavian feel to the structures which is rare to see.

"But me no buts! Our comrades get hurt. Our friends die. Falkenburg is a knight who swore an oath to serve the church and to defend the weak. He'd be the first to tell you to stop puling and start planning. Because what we are doing-at risk to ourselves-is what we have sworn to do. The West relies on us. It is a risk we take with pride. It is an oath we honour. Even when some soft southern burgher mutters about us, we know the reason he sleeps soft and comfortable, why his wife is able to complain about the price of cabbages as her most serious problem and why his children dare to throw dung and yell "Knot" when we pass. It's because we are what we are. For all our faults we stand for law and light.
Von Gherens This Rough Magic Lackey, Flint & Freer
Mekagorkalicious -Monkeytroll
2017 Model Count-71
 
   
Made in se
Automated Space Wolves Thrall


Vasteras, Sweden

Wen I first started to think about the church i was making my two Imperial Bastion's and had a few peaces over Namely the shutters you can put in place instead of your gun emplacements. So I sniped of the top and sanded down the side shown, leaving the little figures intact. Panted em dark gray & dried brushed em whit light gray.


I'm not sure how i ended up whit em but i got two skull panels from a Basilica Administratum building. First i decided to use them as lay down graves bu they were to short for that so i glued on some sides this morning and made them in to wall panels to the crypt. I also used two wall sections as decoration on the church and 4 window sections. As Well as one Door frame from same box.


So Of to my trusted hobby shop were i bought a standard GW Walls & Fences Box

So now i was set to start.

Step 1: I started by figuring out how to use the Walls & Fences parts. And i also made a test of the walkways. Problem was the board got warped so i had to make another one, to much glue i guess.


Step 2: So after scratching my head regarding the graves and the walls and fences i started on the church.


Step 3: My tea pot is finished, at this stage it sure looked Hilarius.


Just a display image so show whats finished.

Step 4: Started whit the roof. I have seen Wood cabins whit thin peaces of wood tiles in a mis match pattern, Shingles. But way to large on my first try. Luckily i had only made two rows and used tape.


Step 4: Tor of the large ones and started again whit smaller ones.

And kept going


And going


Step 5: Finally got tired of my teapot, tore the tower away cut a V shape in the frame and showed it on the roof.


Step 6: Finlay finished the roofing, and added a door frame.


Another display image.

Stem 7: Added side windows.


Step 8: Added rear windows, plaster and stones.


Step 9: Added front decoration, as well as plaster and stones.


Another Display image.

Step 10: Added boards on the bell tower.


Step 11: Started panting the roof, as well as plaster and stones on the sides.


Step 12: Finished the crypt and added plaster., panted door frame brown.


Step 13: Panted crypt dark gray and are currently working on the door and wall panels.


Will ad my Windmill project later to day, but sens its only 5 pic i might just do it in a few minutes.

I'm a Doctor Jim not a... 
   
Made in se
Automated Space Wolves Thrall


Vasteras, Sweden

OK No windmill, sorry. I'm actually thinking of taking it apart & starting over.

So to day I worked on my crypt as shown below.


Here i did a few test arias whit different colors on the door. Black, dark gray and a lighter gray towards the top.


Re did the black whit a mat color sens i used my gloss black TAMIYA color. Stupid me 
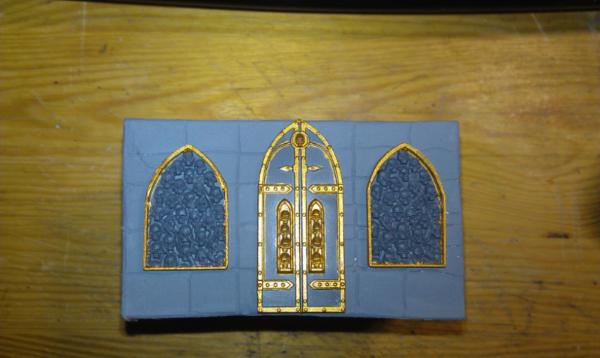
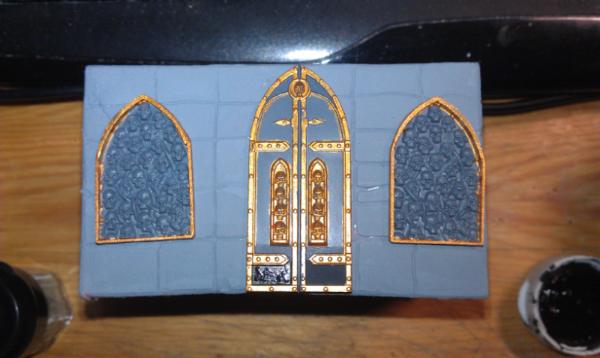
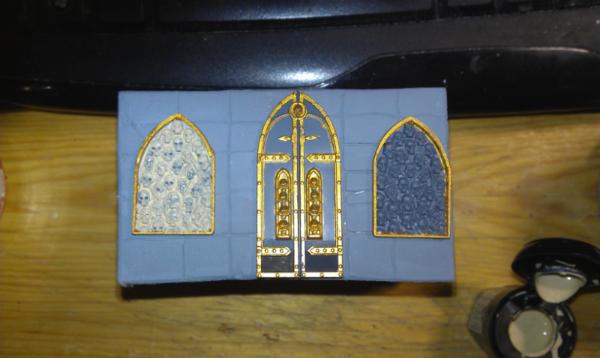
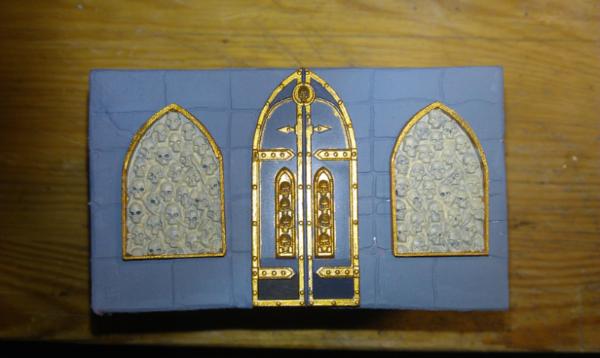
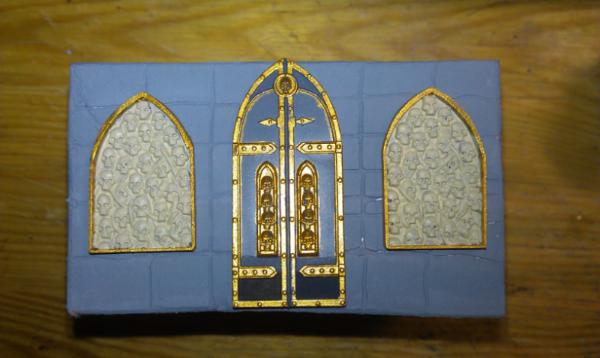
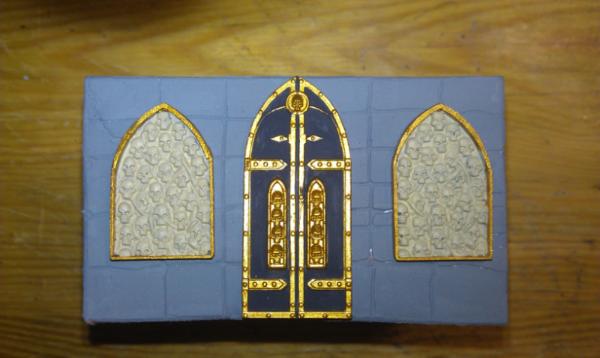
Panted second layer gold
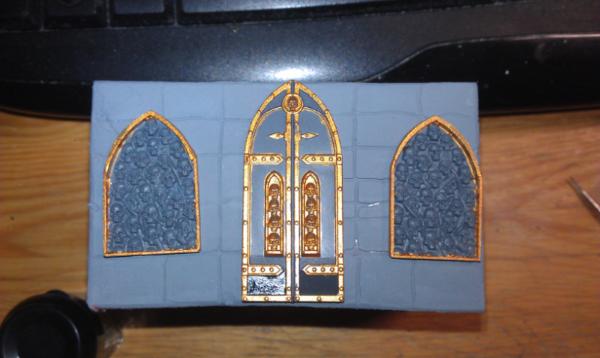

Started on one of the skull panels.


Finished of the first layer on the other one.


Second layer finished


Panted first layer of the dark Grey on the door

I'm a Doctor Jim not a... 
   
Made in se
Automated Space Wolves Thrall


Vasteras, Sweden

Hi and hello every one, sorry for my long absents from the forum. But around new year last year i got a sever allergy and the doctor told me to stay away from prolonged contact whit PVC, whit other words my models. So after having been a god little monkey for about 9 months i can now not wait any longer.

I'm a Doctor Jim not a... 
   
 
Forum Index » Dakka P&M Blogs
Go to: