Okay, it's been a year since I started my
Skaven Army blog. I did a lot of work on those rats and that work will continue through the year.
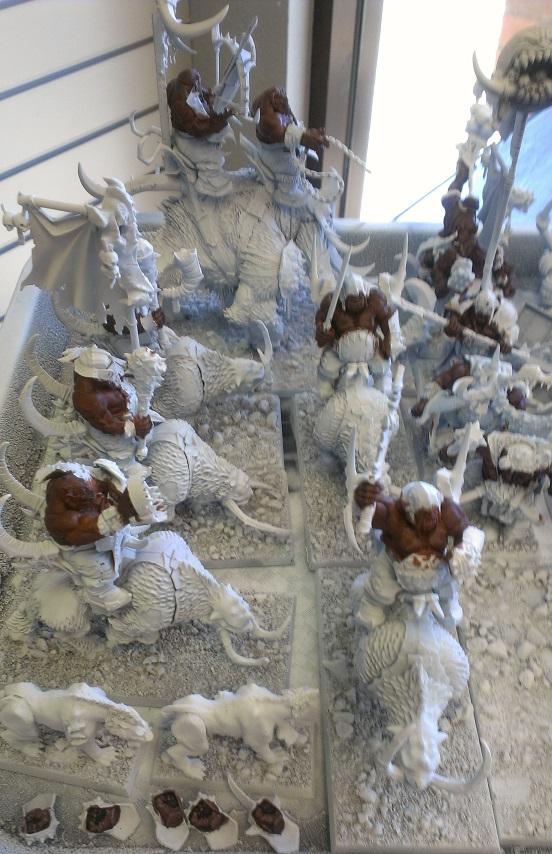
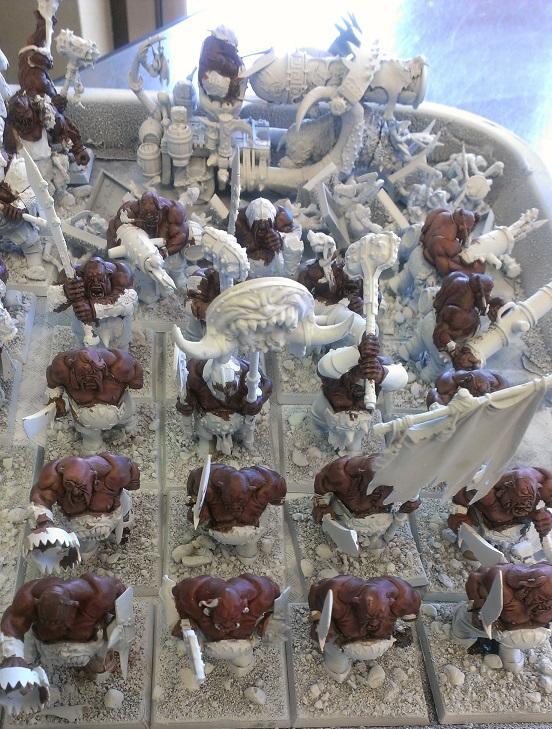
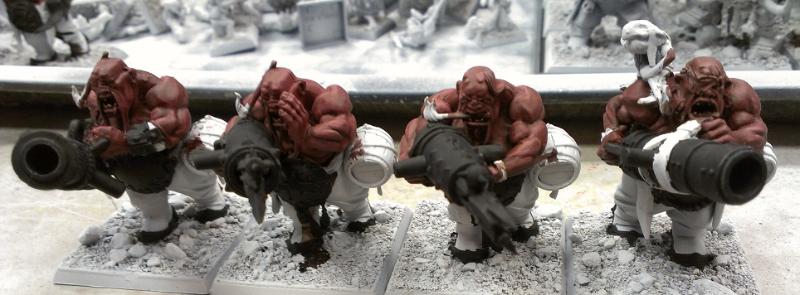
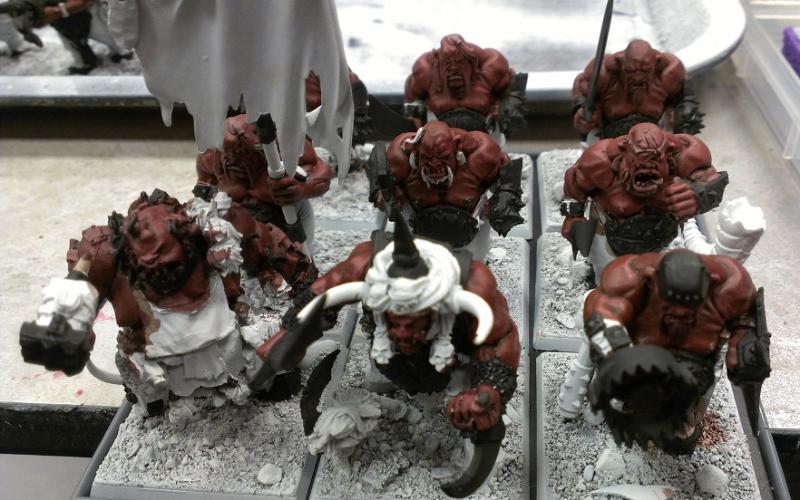
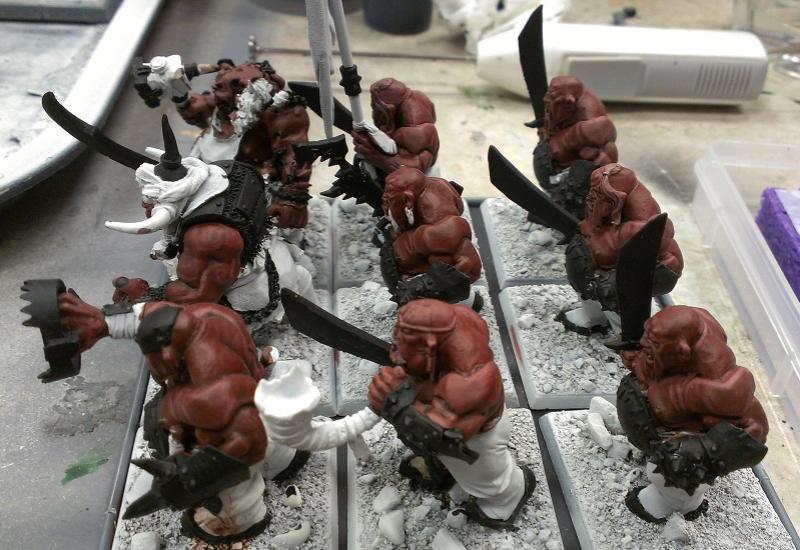
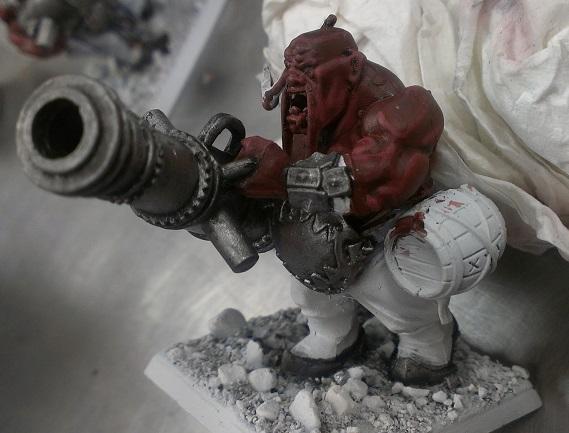
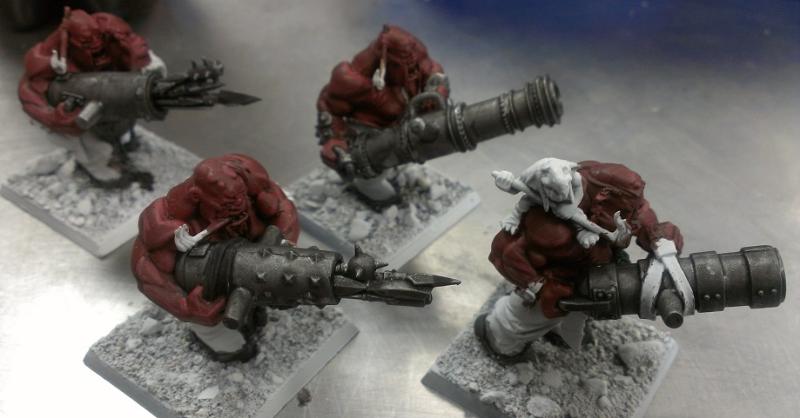
As before, I made a number of New Year resolutions. One was to finish my Skaven Army. Another was to get my Ogre Kingdoms army painted up. I am slowly (OMG so slowly) painting the rest of my rats, I've decided to dedicate some of my "construction time" toward preparing my Ogres for their turn under the brush. Most of the ogres have been built for a long time and most of my work now is gap filling the fat rolls where the arms join the bodies. Once that's all done, I've got to come up with some sort of basing scheme. I want something a little more interesting than dipping them in glue and pouring static grass all over. Maybe rocks and snow, if that isn't too difficult.
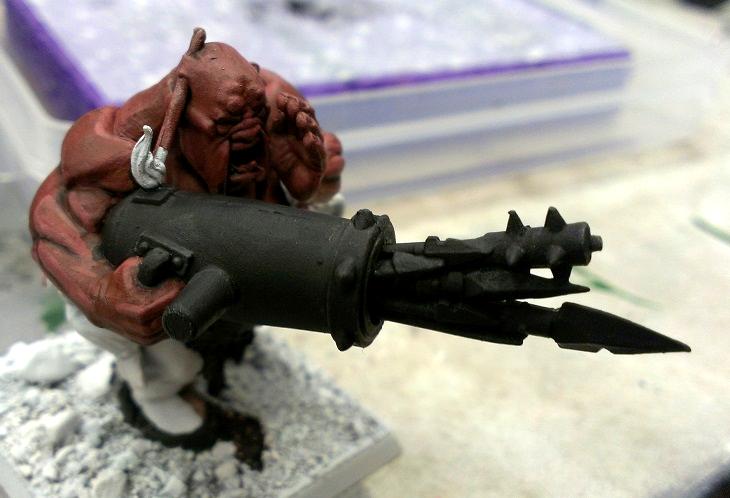
I haven't developed a paint scheme, other than to rule out blue. People in the artic don't look blue, unless they've assumed room temperature. In the ice. Outside. I'm also going to avoid deep browns or yellow flesh tones unless I vary the flesh based to give the army a more cosmopolitin look. I'm just not a big supporter of painting to stereotypes if I can avoid it.
Anyway, first pics are up. I don't know how frequently this blog will be updated while my Skaven are still being worked on but I'll try to post something every month or so.
Thanks, and I hope you enjoy what you find here.
- - - - - - - - - - - - - - - - - - - - - - - - - - - - - - - - - - - - - - - - - - - - - - - - - - - - - - - - - - - - - - - - - - - - - - - - - - - - - - - - - - - - - - - - - - - - - - - - - - - - - - - - - - - -
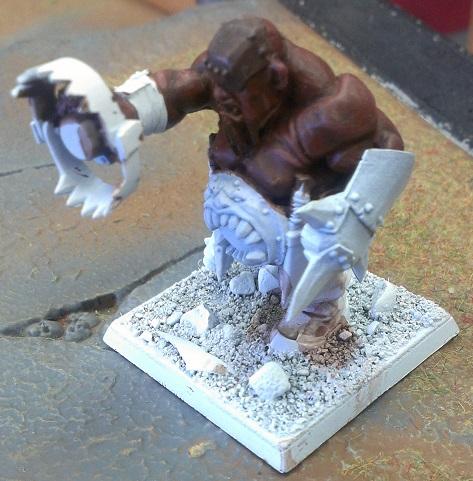
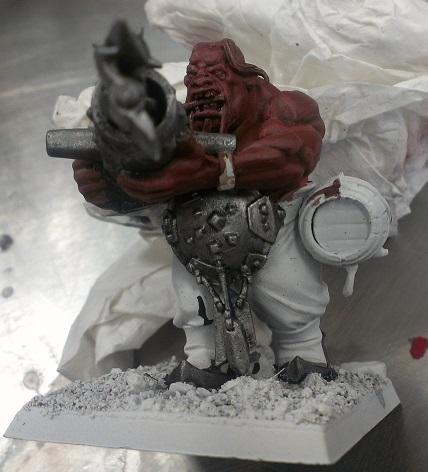
First up are shots of my
BSB. I started work on him this past Saturday when I realized that I still didn't have one. I wanted to avoid the typical double-sail look that a lot of people use. Yes, it looks impressive but everyone does it. I went with a different approach.
I envision my
BSB sitting in a unit of Ironguts, flying a Rampagers Standard. This lets me reroll the charge dice which can tranlate into better odds of getting 1d3 S6 impact hits each. A great weapon and heavy armor will make it clear to everyone who's next in line after the Tyrant chokes on hi... er, rides Eastward to the maw in glory.
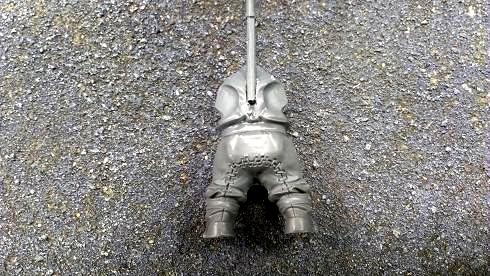
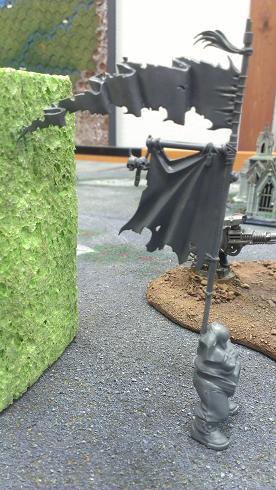
First up is the initial position of the banner. I chose to attach it in the back instead of the usual hand-held manner because the Brusier has to have his hands free to swing his massive great weapon. I figure these guys are fat enough that his back fat should pinch together well enough and hold a banner.

I used the body of the Ironblaster/Scraplauncher Ogre and the banner from the Mournfang. Having the banner trail behind the Bruiser keeps with the Rampagers Standard theme.
Next up is a side shot which reveals the ragged pennant from the Skaven Doomwheel attached to the top of the Mournfang banner. Again, this was done to improve the stature of the banner and suggest speed over chest-thumping.
This next shot shows all the bits I've used on this guy to make him look like one nasty customer. The helm is one of the variants from the Ironblaster kit, the arms, great weapon, shoulder armor, and gut plate all come from the Mournfang kit, and the bear trap and sack of bones come from the Bulls sprue.
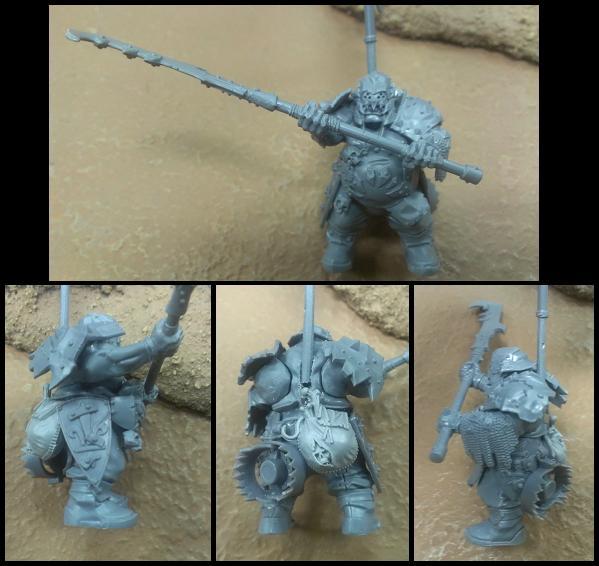
This shot shows my
BSB mostly done with the addition of a crossbar with food from the Giant kit hanging from it (to inspire the Ironguts to give chase), a shield coving the back so I don't have to do anything especially creative to explain how the banner just stays in position, and a piece from the Giant kit used as a grieve on the left arm. I think the guy comes from the Thundertusk kit but I'm not certain. Sorry about posing the grey model next to a grey building. I'll try to avoid that in the future.
Having the banners stream behind means a less impressive frontage but this guy is about charging, not receiving the charge. The model really does look nice from a 45% angle and stands out while not necessarily overpowering the look of the Tyrant. I mean, what self-respecting Tyrant would let the Brusier walk around with a more impressive gut? This final shot shows some minor adjustments and gives a cleaner image of the model than the previous.
Other than that, I've been gap filling arm fat, as I said earlier. I'm almost done with all of that and my next conversion work for this army is scheduled to be either a couple of Butchers (using the extra heads from the Slaughtermaster) or a Flying Fat Boy (seated Firebelly on an Araby Carpet). The FFB requires the most extensive work so that'll probably be left for last.
Anyway, give me some feedback and let me know what you think. You can also check out my Skaven army blog (link in the sig) to see what I'm doing there. See ya next time.