I felt like sharing my first attempt at moving water.
The results I got was from using woodland scenics E-Z water, and also using some of their "water effects" (It's basically the same as
GWs, so you might aswell use theirs if you've got it on hand.)
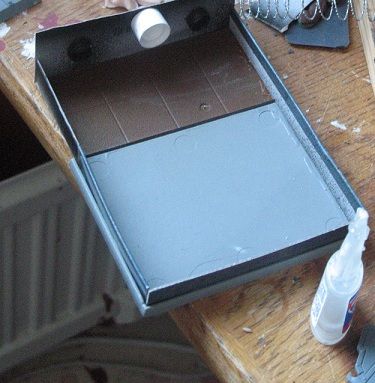
First things first, the pictures of the result.

Front side view.
The drain was made from left over parts of those ruined sectors your can buy from
GW, and the base of the pool was made from an old movement tray from Warhammer Fantasy.
If you look reaaally close you'll be able to tell there's a little skull comming out of the drain to, on the right hand side.
The skull is taken from a regular fantasy skeleton box.
And the back of it.

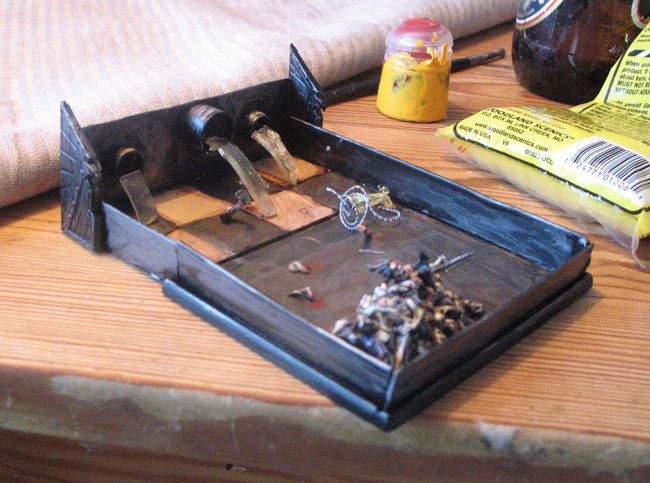
Okay so starting from the top;
I started out with making the base and the pipe.
Mind you to use some kind of hard plastic or carboard that will not bend or melt due to the hot E-Z water you will be pouring over the modell.
The pipe was just made by some spare parts, you could probably do it a lot better and beautifully, but I just wanted to try out a technique I had thought out.
Spray paint it all then paint it, as this will, of course, be impossible when the water is there.
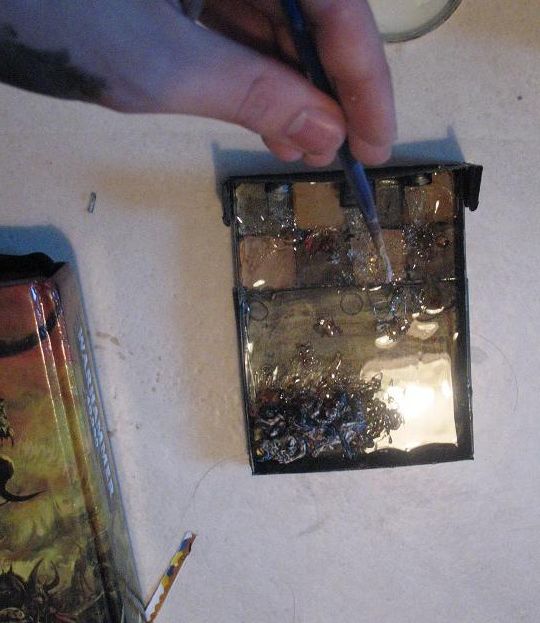
I then mixed the water with some Ogryn wash, while melting it, mixing it all to look a little more dirty.
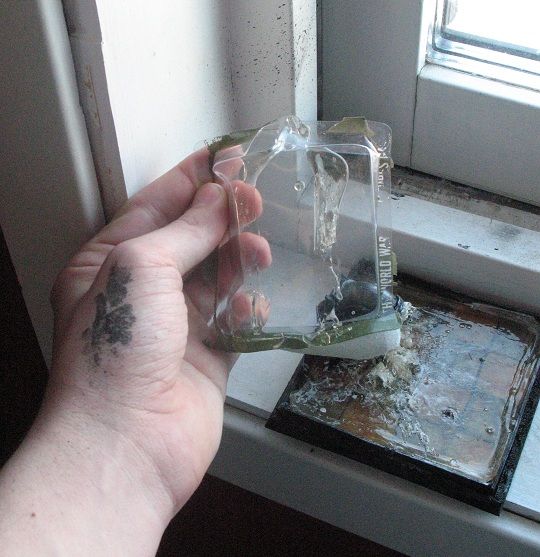
The next step I poured some melted E-Z water onto some clear plastic with a slight bend on it at the top, to represent the water comming out of the drain, and let it dry.
Once dry, I carefully bent it of the clear plastic, and glued it in place on the modell.
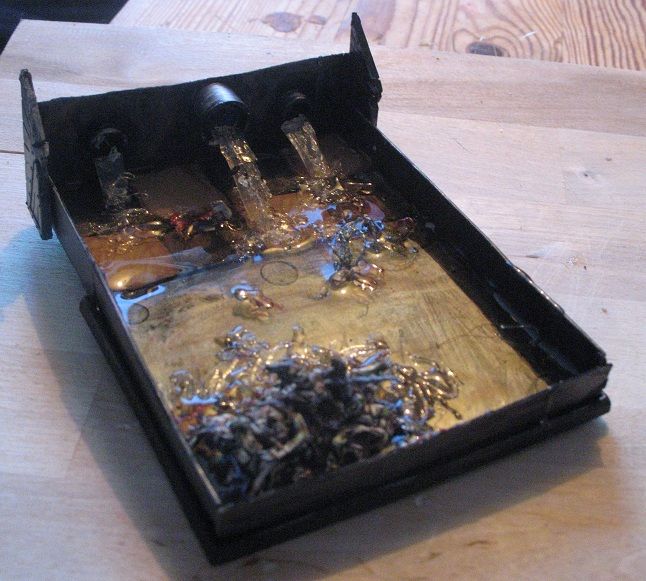
Then, I melted some more E-Z water and applied it on the base of the modell, letting it fill it all up.
While still drying, I took a thin stick and just dipped it into the water at the base of the pipe to represent splashes, making thin "splashy" effects flying out of the main body of water.
I also glued the skull in place using some of the melted water, applying it with a stick and also adding some of the squirting effect from the top of the pipe.
To finnish of the model I used regular water effects mixed with a little thinned out skull white, and simply added it to represent foam, placing it in realistic points where foam woald be expected to be, like around cables and the edges of the movint water, also splashing some on the drain installation and such.
Well, I hope you liked my tutorial, and I'm happy to do another simple model if you want some pictures of the process, and feel free to ask any questions you might have.

See ya!