The Journey of 1000 miles begins with a single Warlord Games 28mm StuG III
I really like the StuG III in Company of Heroes, and when I finally decided to take the plunge into WW2 modeling I knew the StuG III was going to have to be one of my first projects. I recently got a 28mm StuG III, a resin and metal kit manufactured by Warlord Games.
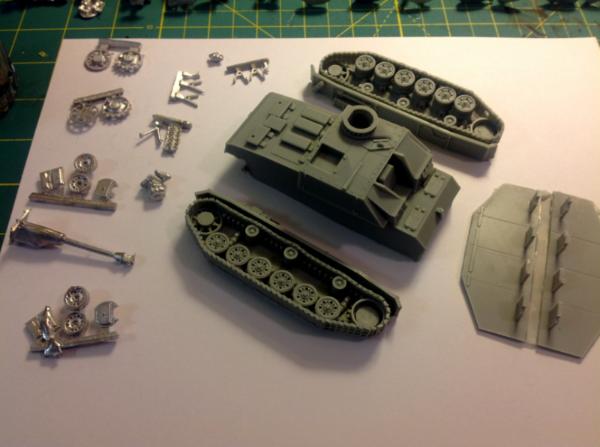
Here’s the unassembled model. Most of the parts were very well cast. Note the hole in the tracks on the front of the uppermost track. The other track had an air bubble towards the back that’s not readily visible in this picture. One of the metal frames had a big glob of extra metal in it, as shown in this picture. It seems QC at Warlord caught this, as they threw in an extra metal sprue, but left the original miscast as well. The model didn’t require too much prep, just a bit of sanding in a few places and some trimming of a rough edge with an exacto. Details were pretty good, though I think there are more some kits out there with better detail (Waffenkammer comes to mind).
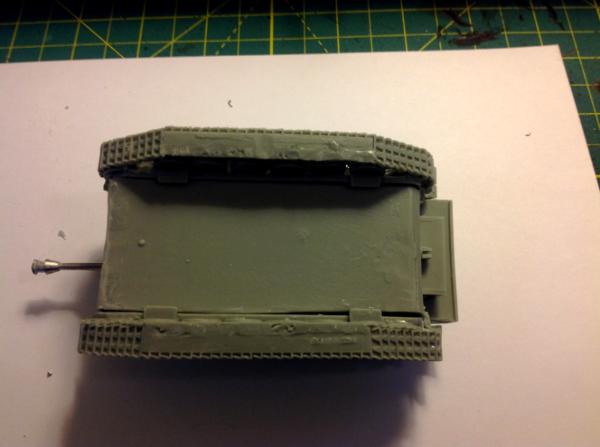
The model, held together with a glob of putty. The tracks seem to be straight, but the bottom of the hull tapered a tiny bit towards the back and bottom. The gap was much less pronounced from the front and back and almost invisible from the top, and some liquid green stuff covered it from all angles except the bottom. There was a slight gap between the right tread and the hull superstructure that became more readily apparent after painting the model.
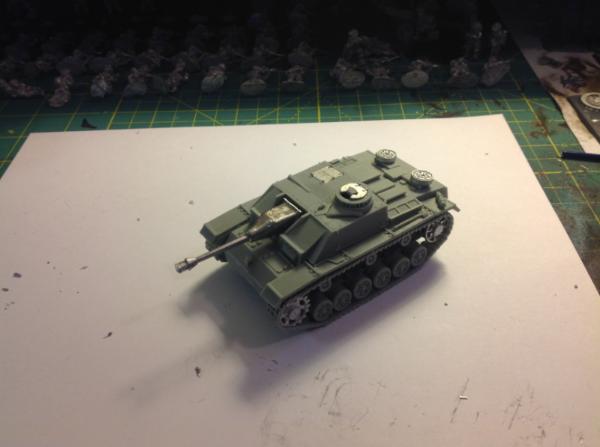
Assembled. The visible surfaces of the model were great, and only required a little sanding around some of the edges. You can see the front is still a little rough, I sanded it a bit more between this photo and priming. The metal parts fit perfectly into the resin, no trimming, sanding, or greenstuffing was required to get them in there. I pinned the barrel in place, since it sticks out a bit past the front of the tank I suspect it might end up getting stressed in transport, and it’s always nice to have a bit more support. The other surfaces didn’t strike me as needing pinning, I just scored them with a file and glued them.
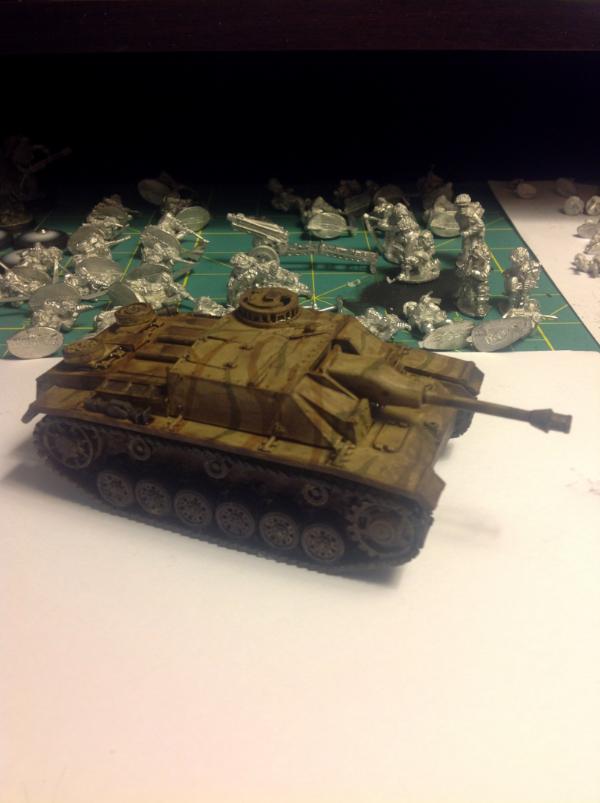
Painted. Not my best work, unfortunately. I primed it black, basecoated it Zandri Dust, then drybushed it Tyrant Skull. XV-88/Balor and Deathworld/Elysian were used for the tigerstripes, roadwheel rubber, treads, tools and other bits were painted black, gray, metal, brown etc. as appropriate. Mud was done with Stirland Mud and P3’s Thornwood Green (a good stand-in for the irreplaceable Charadon Granite). I’ll probably add more mud later. Finally, the entire model was washed. I screwed up big time here- I hadn’t cleared my workbench properly, and didn’t really have enough room for everything. The bottle of Agrax Earthshade was too close to my workspace, and I tipped it over. Since I’d already started washing it, I needed to finish before I could clean up, and I put on too much. I decided not to redo it, though that might change in the future. Since the model is so filthy from the heavy wash, I decided it needed some more mud to match that inadvertently heavy weathering.
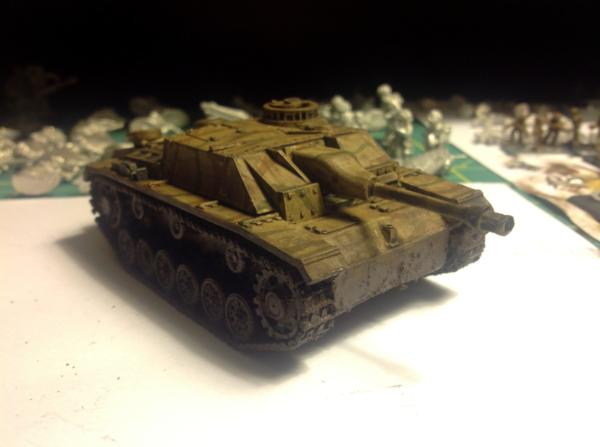
Added some more mud, and gave another very light drybrush of Zandri Dust to try to lighten the whole model up a pinch. This angle really highlights the gap between the right treadguard and the superstructure. I may add Shurzen in the future, which will help disguise it. Otherwise, I could stick some stowage, or a tarp, there, or just leave it, since I'm not too happy with the model all in all anyway. Additionally, the two spare roadwheels on the back don't have the rubber painted black; they'll need a touchup. Other than that, all that’s left now are decals and some Secret Weapon weathering pigments, though I’ll probably hold off on both of those steps until I have a few vehicles done, and then do them all at once.


