Hey guys, welcome to the first ever KOBossy Lord of the Rings/Hobbit SBG Battle Report.

I’m going to be doing a series of these and hope that you enjoy them.
Personally, I find that Battle Reports are extremely enjoyable to read. I get insight into the game, strategies that I could use in the future and mindsets of other players. Unfortunately, it’s hard to get good ones. Many are lacking in pictures and are really just written out. I find that visual aids help in understanding what’s going on. A lot aren’t very descriptive and if they do have pictures, they either aren’t great quality, there aren’t many or they’re way above the battle and it’s hard to see. Lastly, I understand that it’s not everyone’s preference, but I feel it’s a must to have painted models with painted scenery. It becomes so much more visually pleasing and satisfying. With that said, these reports are going to have lots of good quality pictures, taken from an above battlefield perspective and up close, and will be accompanied by in depth reports. Lastly, all models are painted to a minimum tabletop standard, and some to a much higher degree.
In my area, there aren’t any
LOTR players, sadly. So the only players right now are my dad (Andy) and me. We’ve set up a gaming table in my parents’ basement and built scenery to use on the battlefield. This includes big rocks, fields, ponds, forests, and we’re currently working on getting some city landscape set up for potential city battles. We have many plans in the works.
We have quite a large, painted collection that we use. Neither of us only collect an exclusive army-we have pretty much most armies, from all books, with the exception of a few (for example, we don’t collect Hobbits since there are barely any models). So in these reports, you won’t see the same two armies over and over. It’ll change up every time, and even if two armies do battle again, the chances of it being all the same models are slim. We do a variety of point values, as well, so some games will be small skirmishes, while others are giant battles. Variety is the spice of life.
Now both of us are still fairly new to the game. You might see us misinterpret a rule, miss a smart battle tactic or something. If that’s the case, feel free to let me know and correct us, or suggest a strategy for the future. Just be polite about it-I don’t want to see any “
LOL wtf you newbs suck” kinda thing.
How many of these will we do? Who knows? Right now we plan on several at least. I hope that you enjoy reading them as much as we do playing.
Without further ado, here is our first report.
800 pts
Mordor (me)

vs
Kingdoms of Men (Andy)

Scenario-Lords of Battle
My team
Warband 1
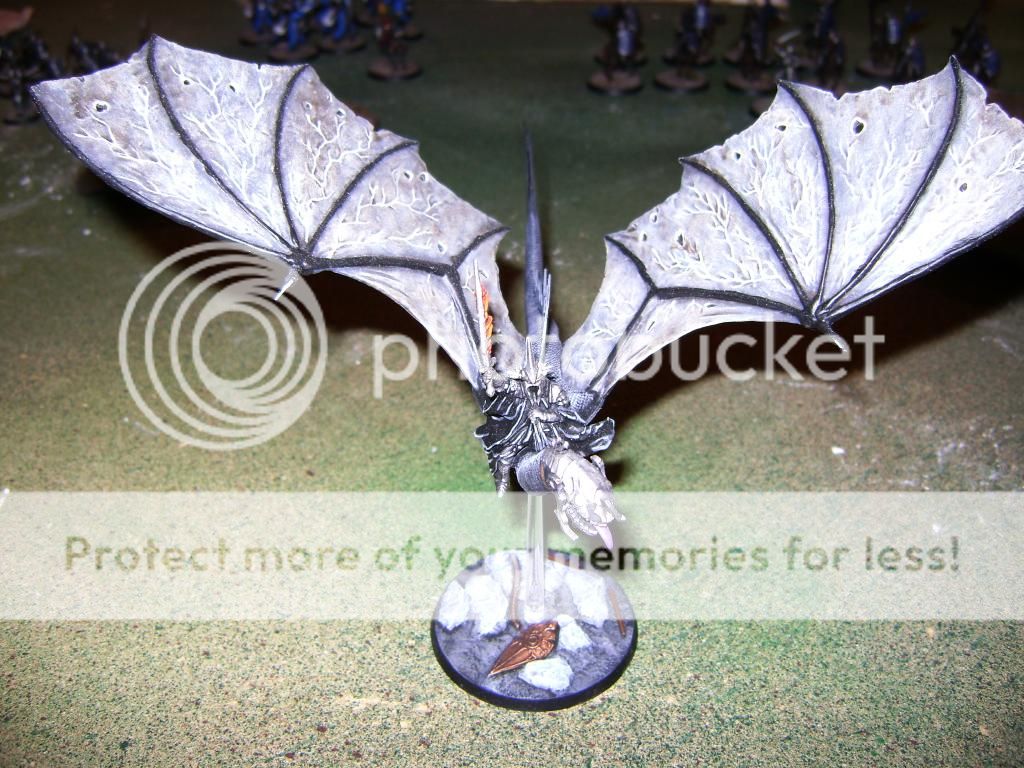
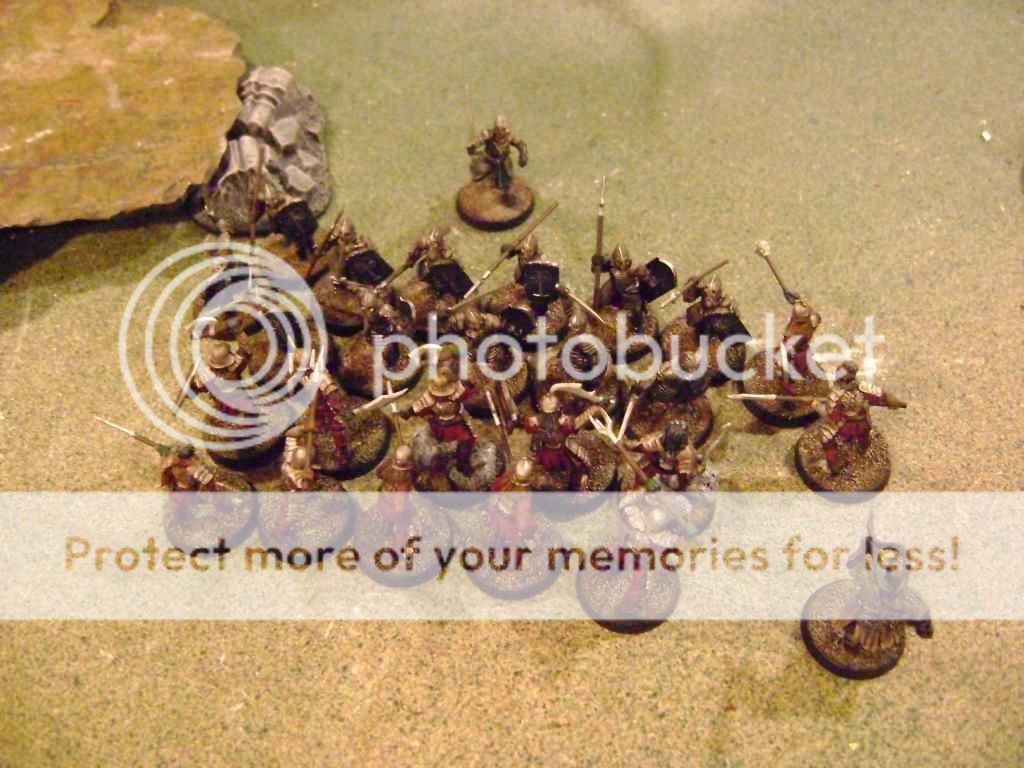
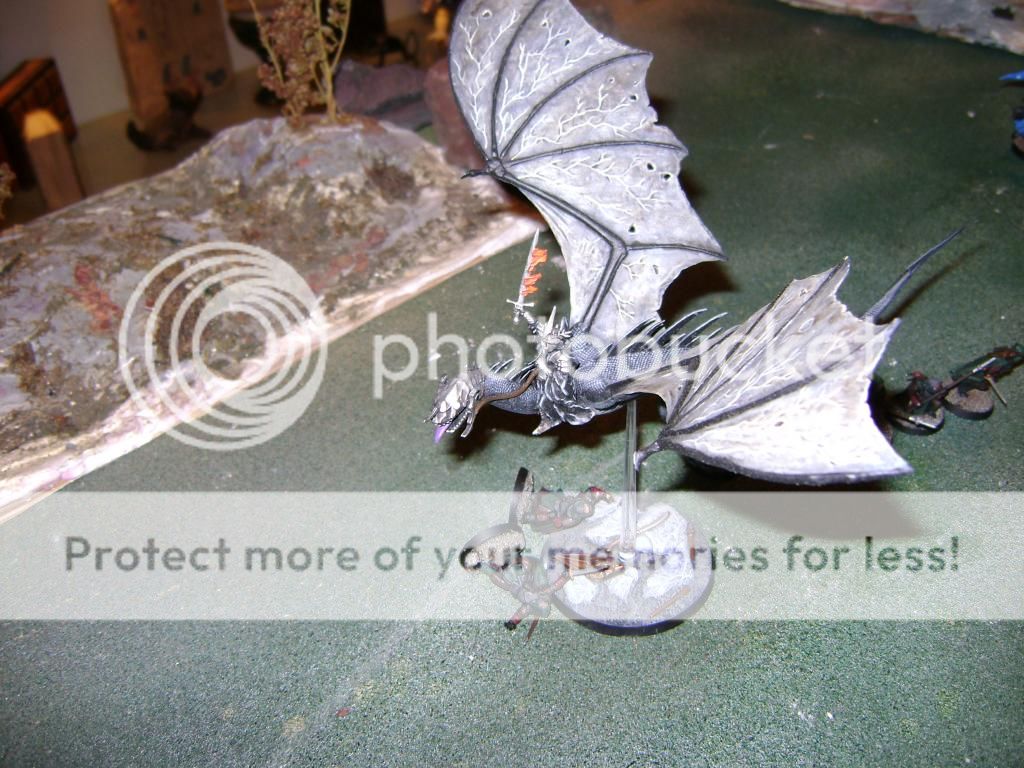
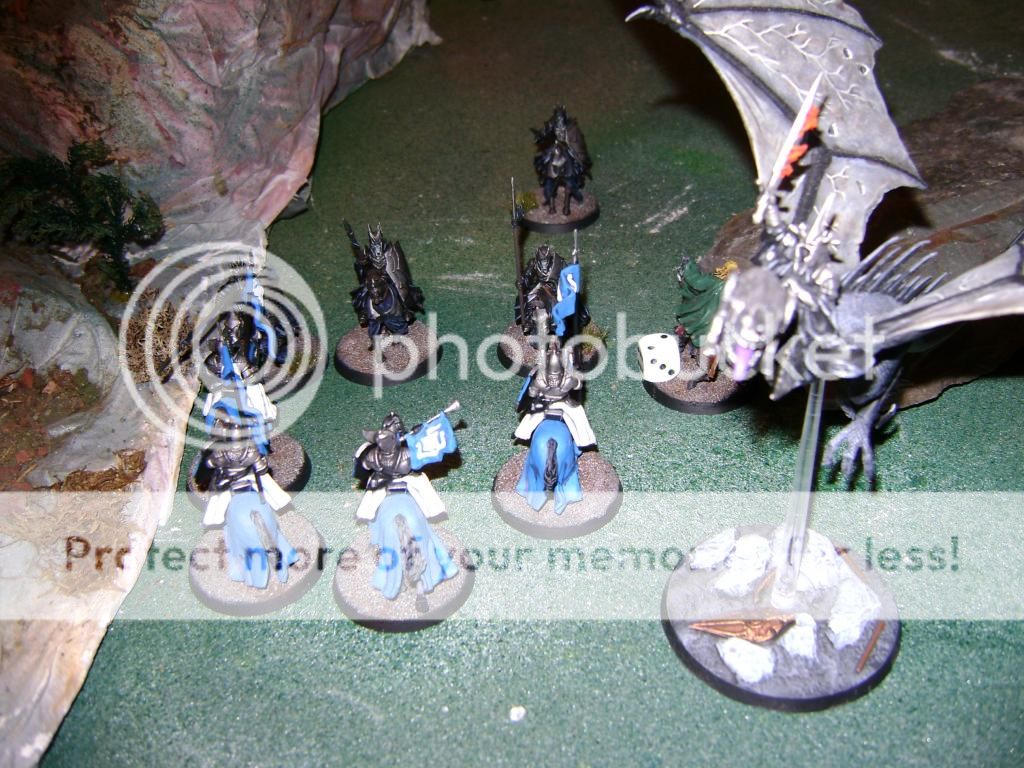
Captain: Witch-king (fully upgraded) on Horned Fell Beast w/ Crown of Morgul and Morgul Blade (also my Leader)
This guy took up a significant number of points in my army. My thinking was that, considering we were playing Lords of Battle, it’d be smart to pick a figure with a low number of wounds who might be able to deny my opponent victory points. The trade-off for the Witch-king is that he’s got extremely high defense, a good amount of Fate and Might, and considering he’s buffed up with a Horned Fell Beast and Crown of Morgul, he’d be a killing machine. 3 attacks normal, +1 on the charge, and after knocking opponents down, gaining double strikes. Borrowing the Fell Beast’s whopping 7 strength, he’d effectively have 8 strength 7 attacks against knocked down opponents. That is frightening. The only issue was his glass jaw, with 1 wound. However, I felt confident. The Morgul Blade was my ace in the hole-if I came up against anyone particularly bothersome, I’d pull out the Blade and lay waste to them in a single shot (assuming they failed a Fate role, if applicable).
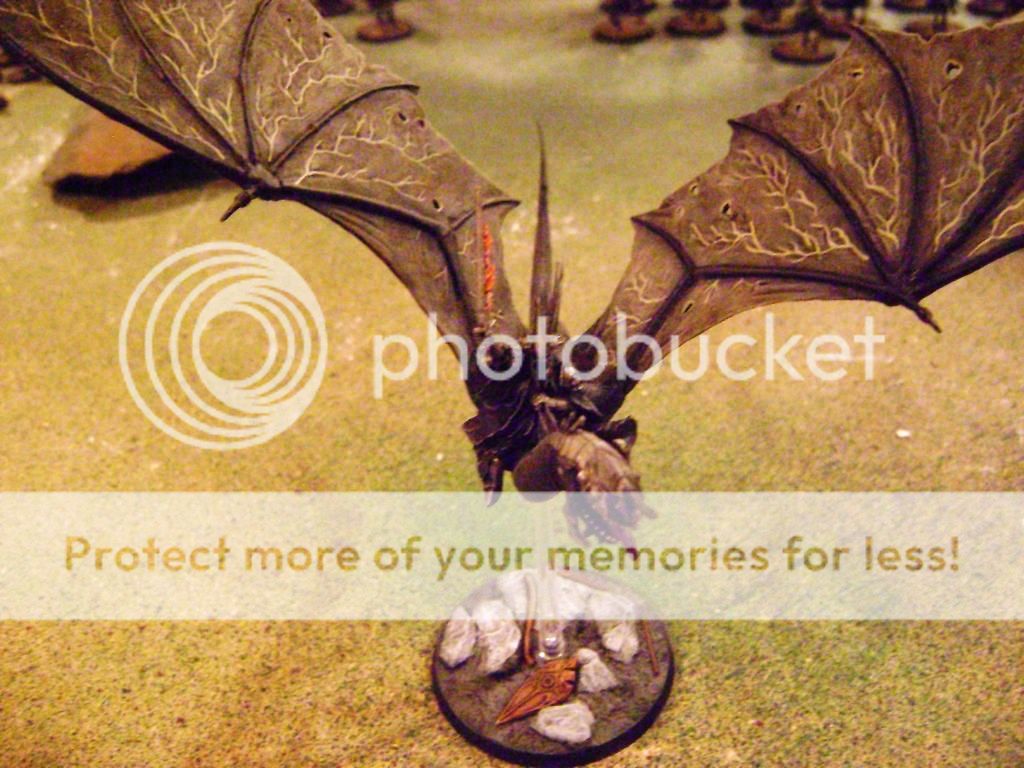
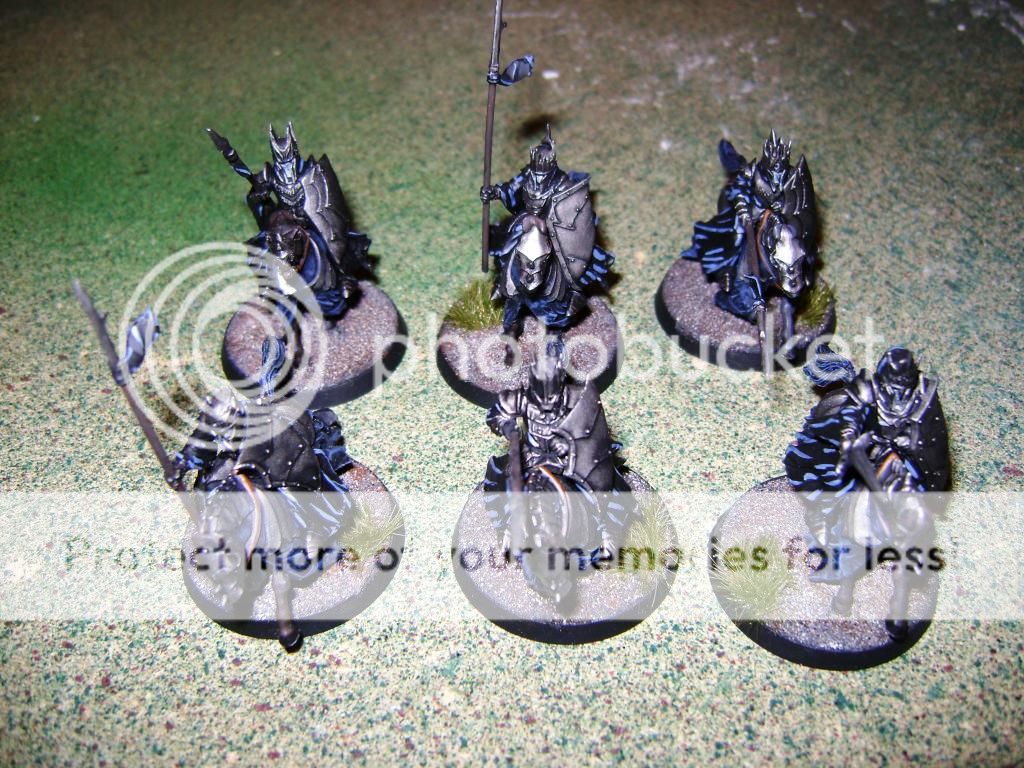
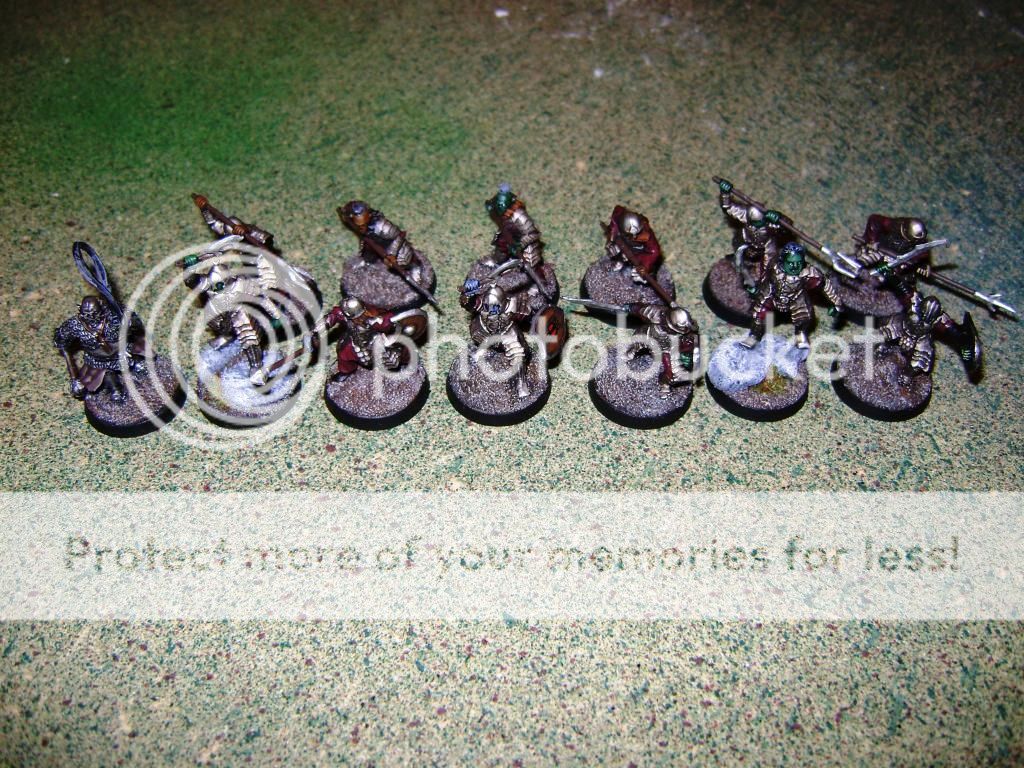
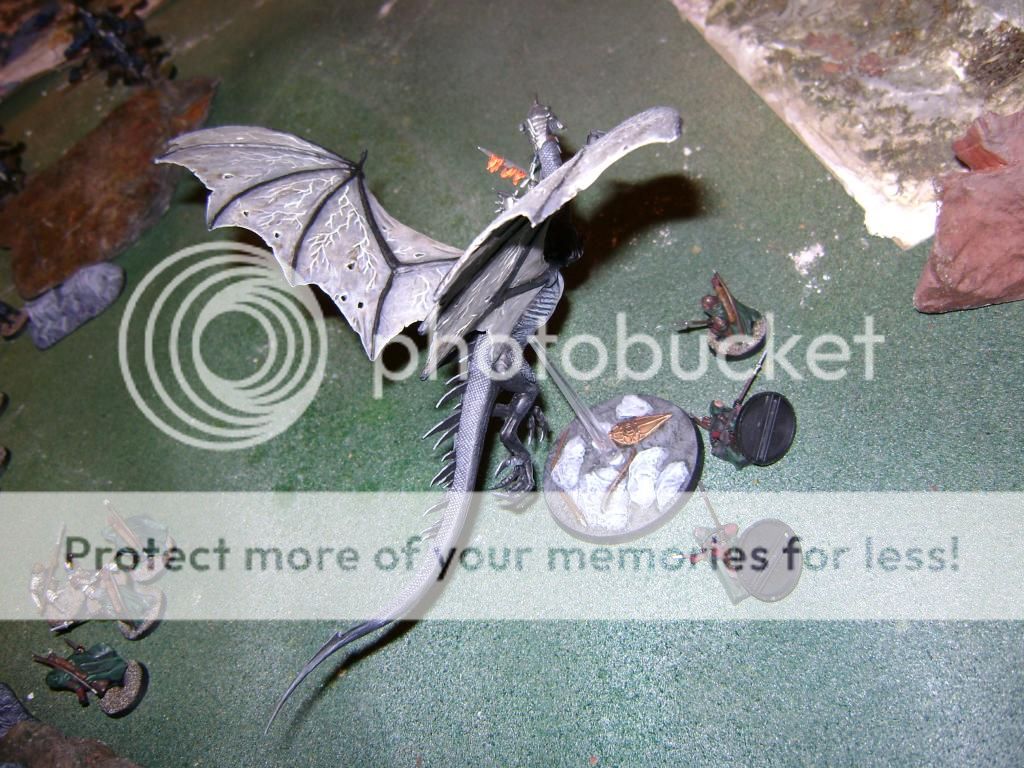
Warriors: 6 Morgul Knights and 1 Mordor Troll
It felt appropriate to include Morgul Knights with the Witch-king. They’re expensive units, yes, but they have solid armor, lances and cause Terror in charging enemies. Plus, I’ve never had a chance to play them. I also really wanted to include the Troll. He’s a terrific unit that can carve a giant path through enemy troops, thanks to his great stats.
 Warband 2
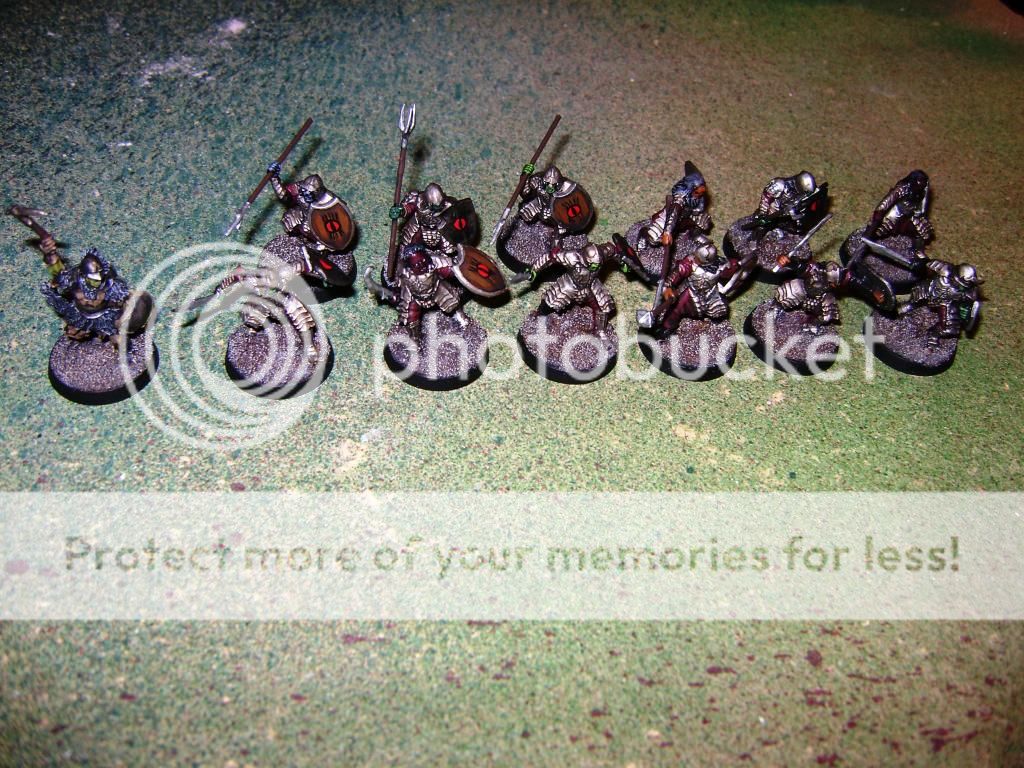
Captain: Morannon Orc Captain (using Mordor Orc Captain as a proxy until my Morannon Orc Captain is finished being painted)
Warriors: 12 Morannon Orcs
Morannon Orcs are great units. They’re a lot beefier than regular Orcs in terms of stats, though they are slightly more expensive.
 Warband 3
Captain: Orc Taskmaster
Warriors: 12 Morannon Orcs
24 Morannon Orcs in total for this list. I’m expecting to go up against a lot of cavalry and hard hitting units, so having units that can take the hits is a blessing. I didn’t take any bows in my army because…well, let’s face it. Orcs aren’t exactly the best when it comes to shooting. I figured that I was going to need to rely on hard hitting close combat to win the day.
 Andy’s team
Warband 1
Andy’s team
Warband 1
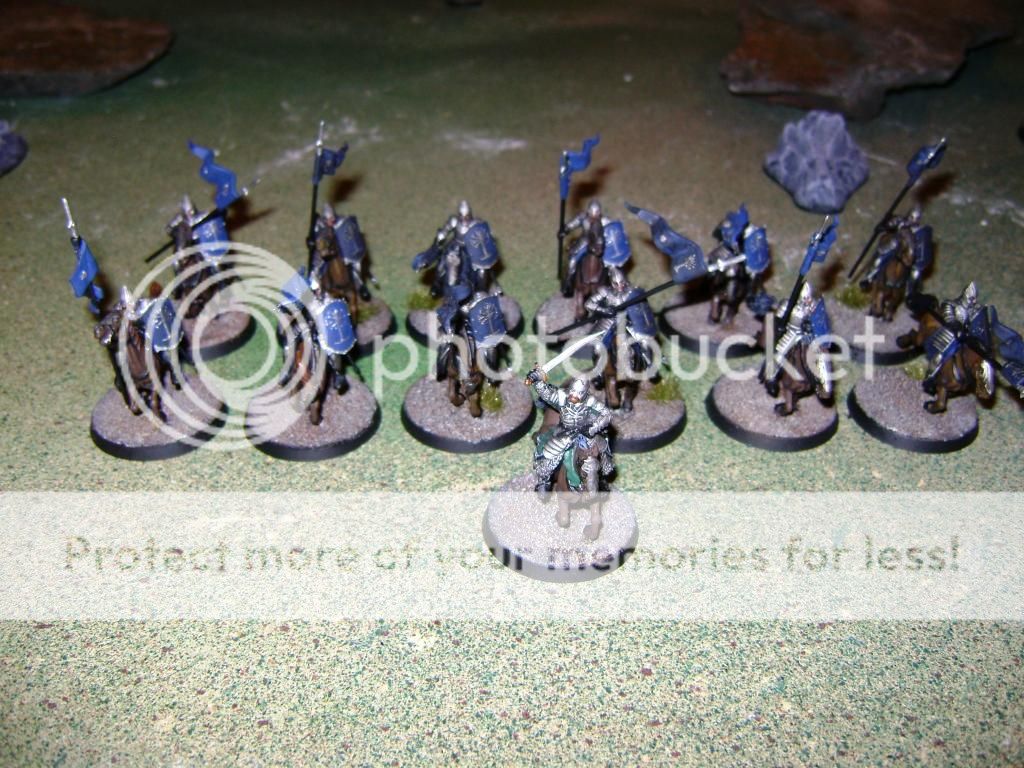
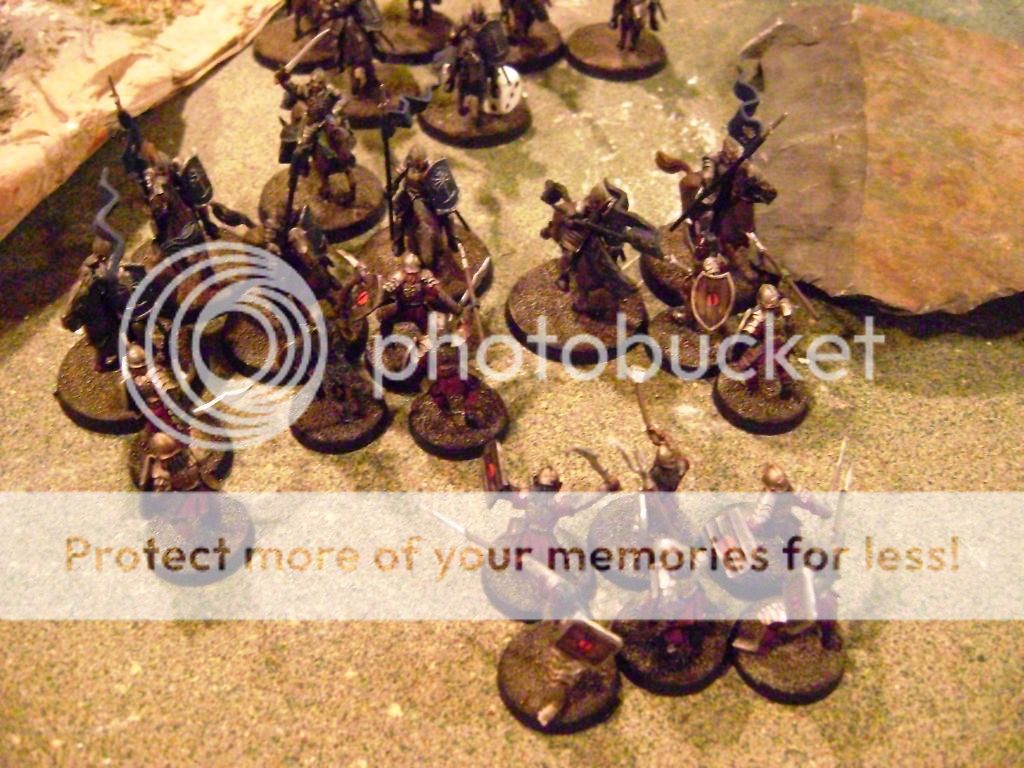
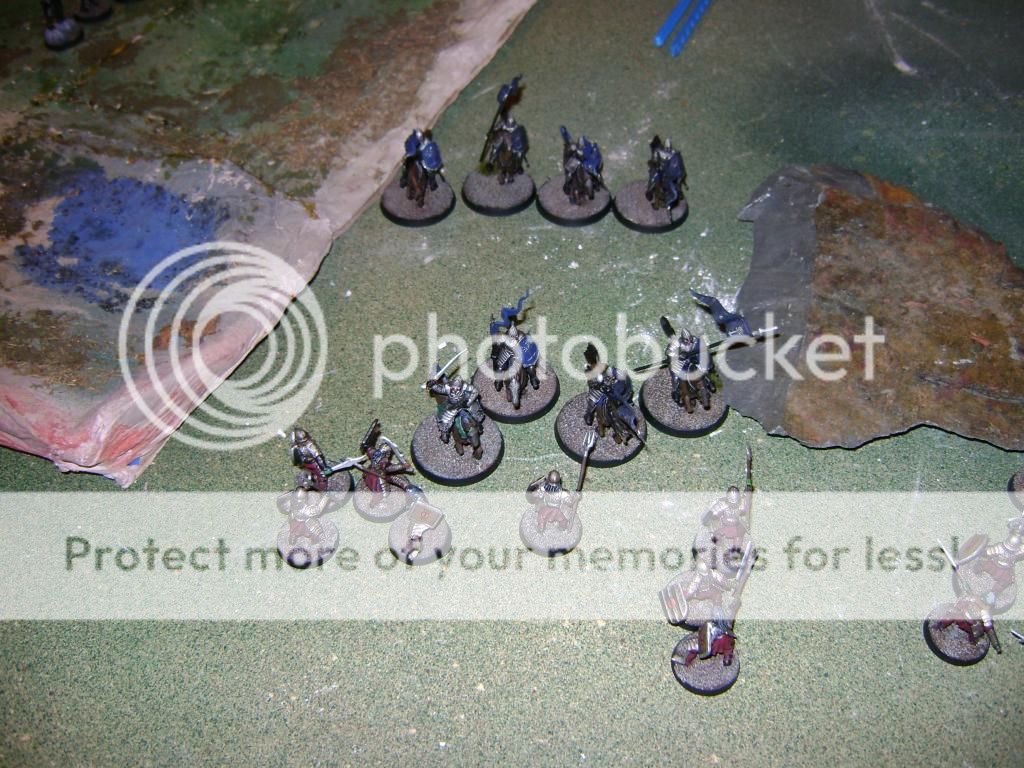
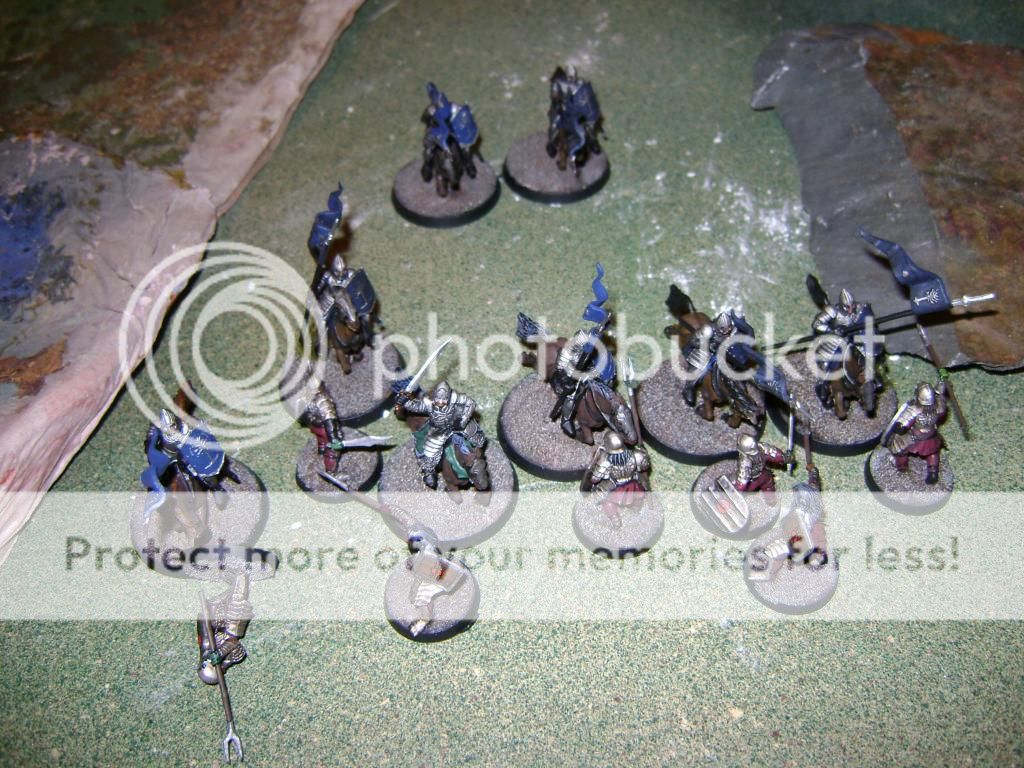
Captain: Faramir (his Leader)
Warriors: 12 Knights of Minas Tirith
Looking across the table as we start the game, I admit I’m quite nervous. Seeing this giant warband of Knights is imposing, to say the least. I also realize that I have only 3 warbands, myself, and one isn’t even a full 12. This warband is going to be a problem.
 Warband 2
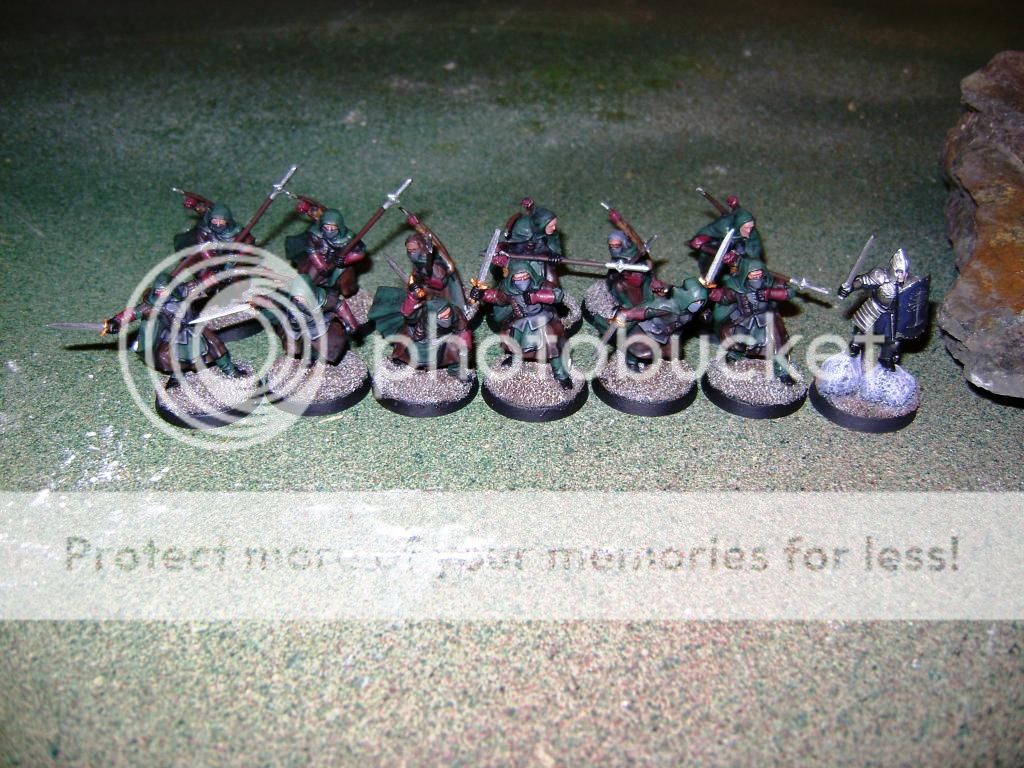
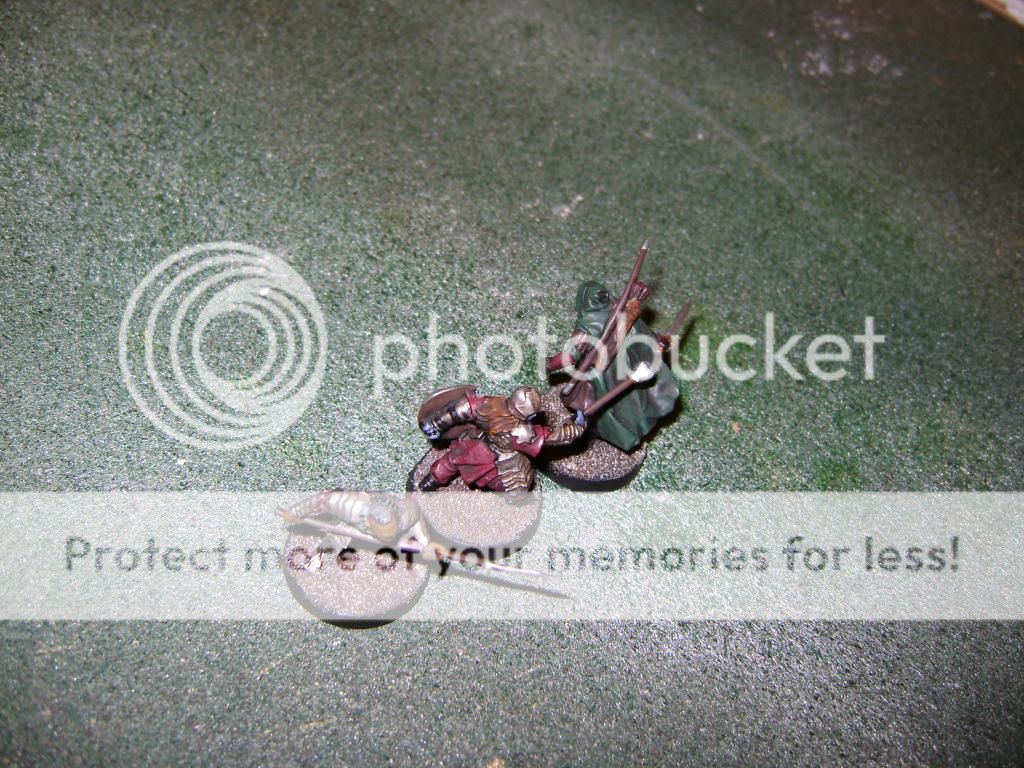
Captain: Madril (using a Warrior of Minas Tirith as a proxy since Madril himself is in the process of being painted)
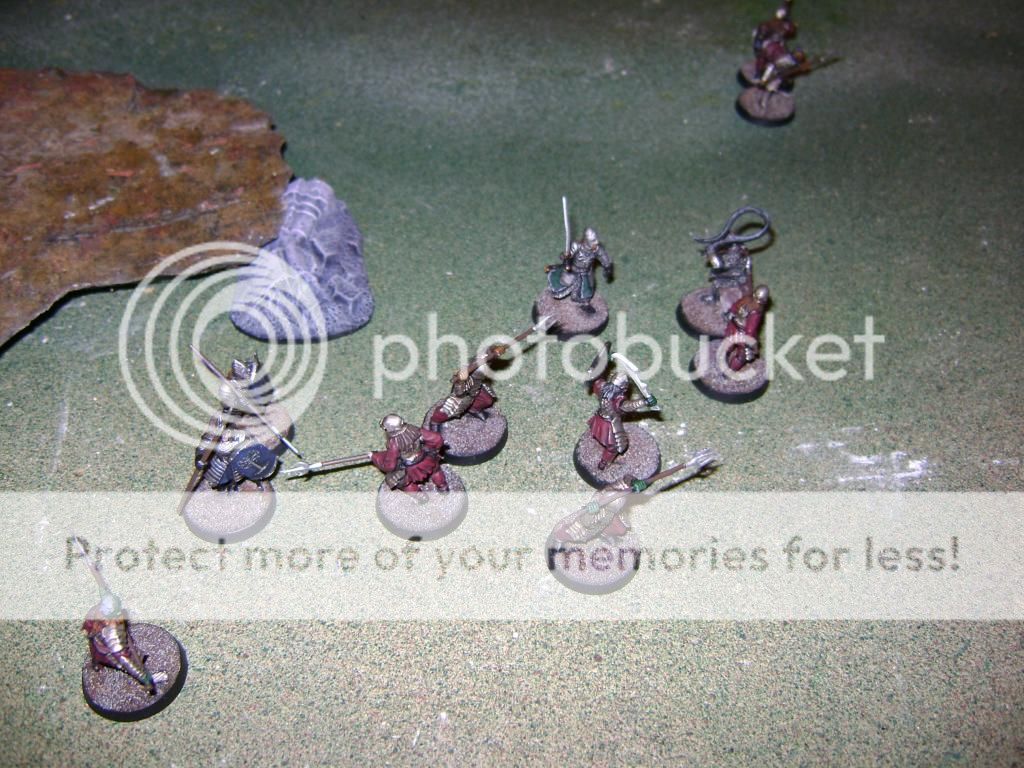
Warriors: 12 Rangers of Gondor
Andy decided to take all of his allotted bows in one warband, instead of spread across his entire force. I thought it was a smart move, myself. The Rangers can hit things really easily and cause some real problems. That is going to be a squad I have to deal with early.
 Warband 3
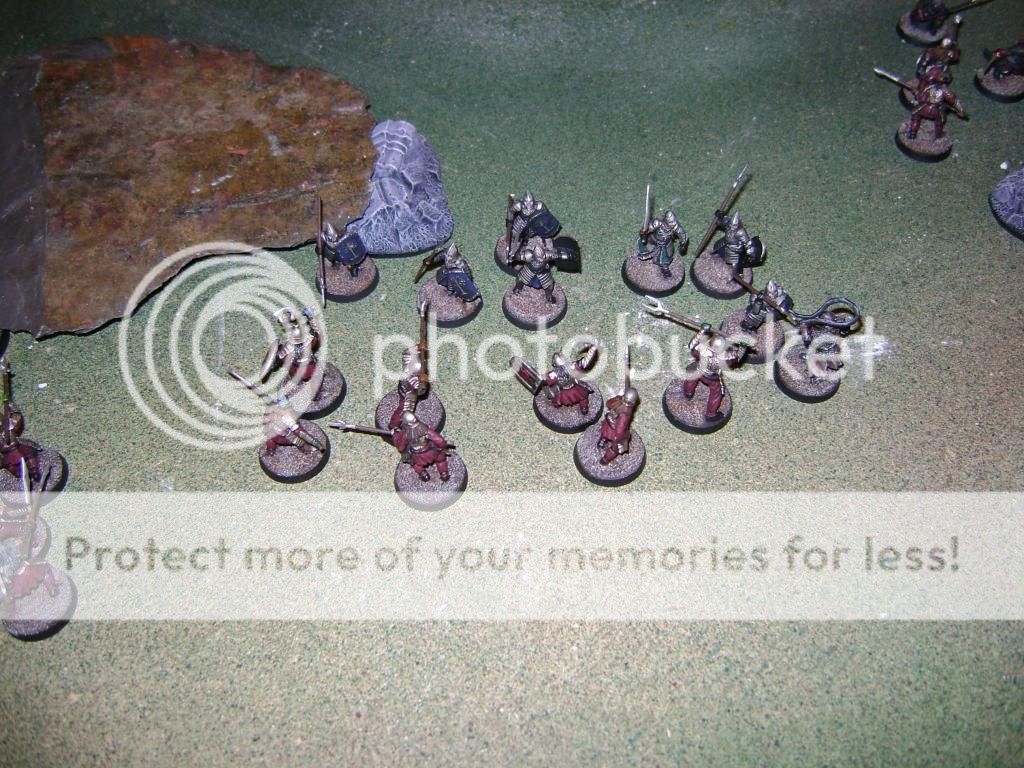
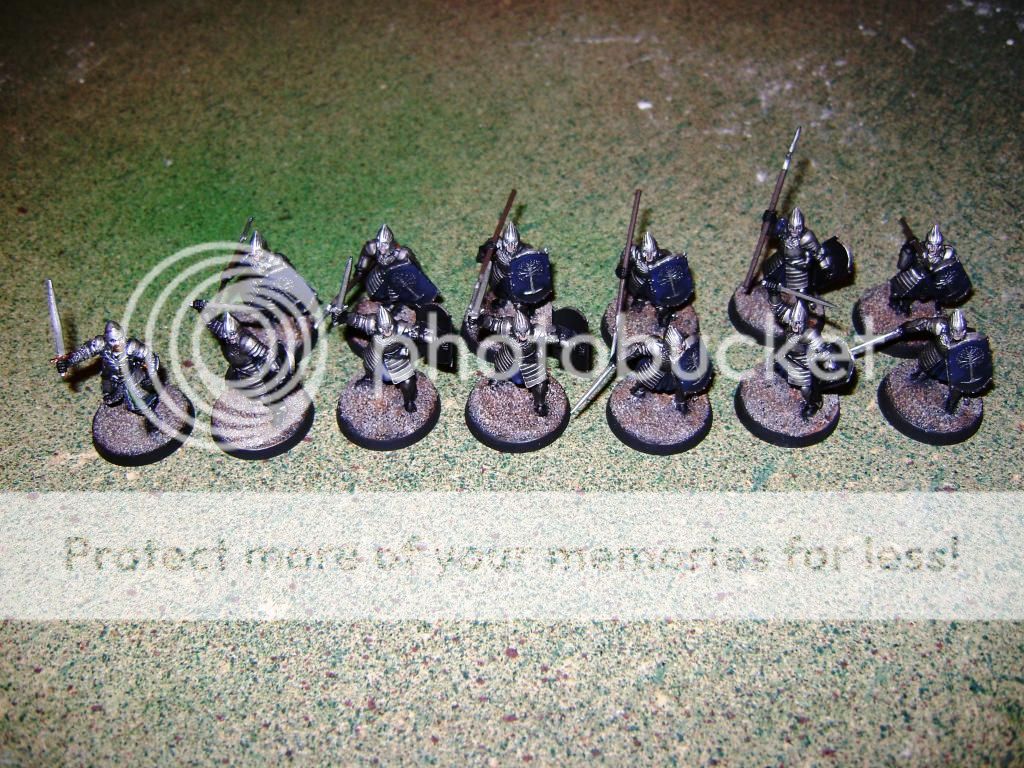
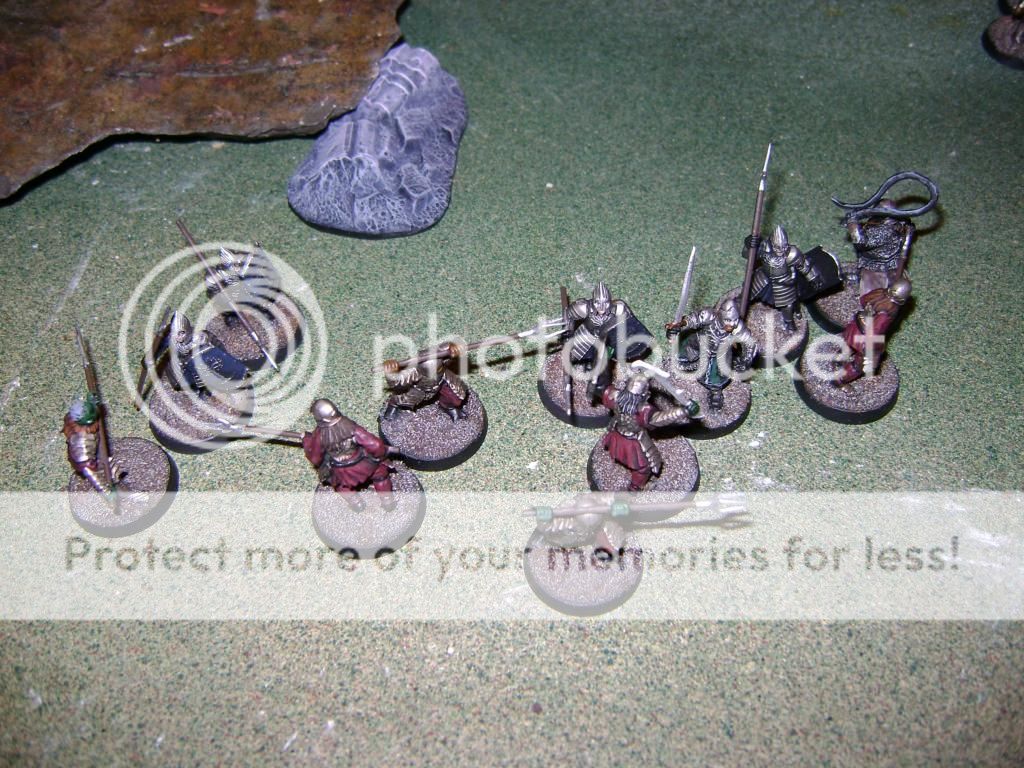
Captain: Captain of Minas Tirith (using Faramir’s foot model as a proxy for the time being…we have a lot to paint still)
Warriors: 12 Warriors of Minas Tirith
Pretty standard group of Warriors of Minas Tirith. They’re pretty good in combat, having a high defense, and can cause some damage.
 Warband 4 (Fiefdom Allied Contingent)
Captain: Prince Imrahil (being replaced by Eomer on horse while Prince Imrahil himself is being painted…Prince Eomerahil, I guess)
Warriors: 6 Knights of Dol Amroth (with banner and war horn)
I’m worried about this squad, as well. Knights of Dol Amroth are great cavalry units, and being led by Prince Imrahil…yeah, I’ll have to keep an eye on them.
 Battlefield

 Placement
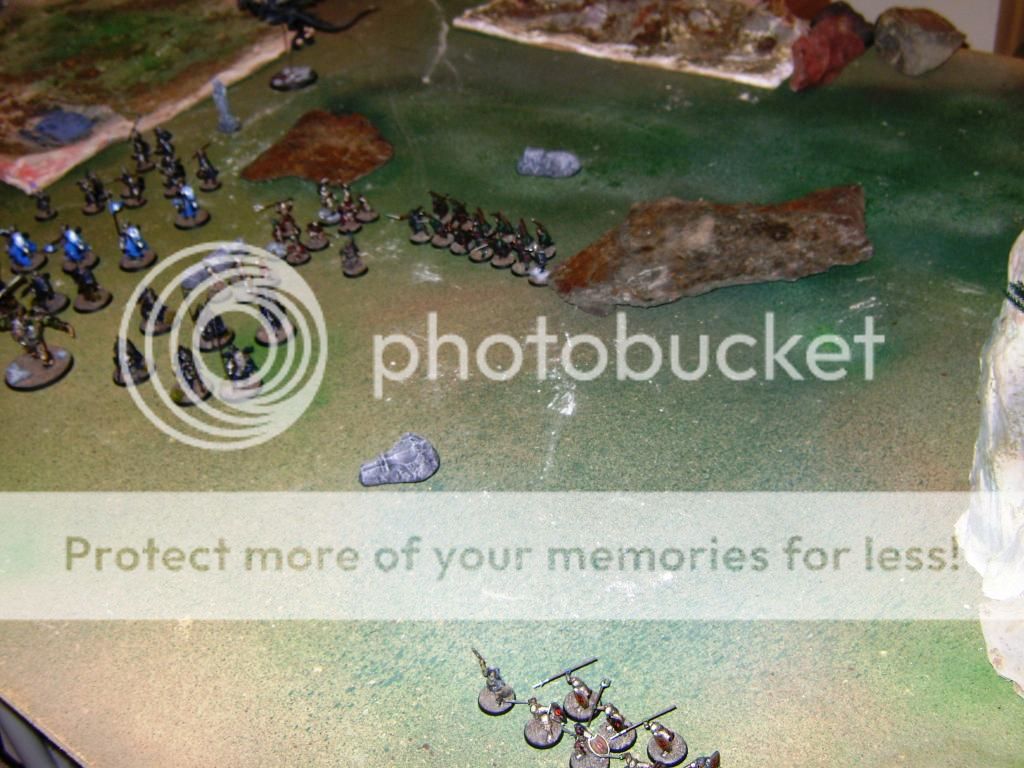
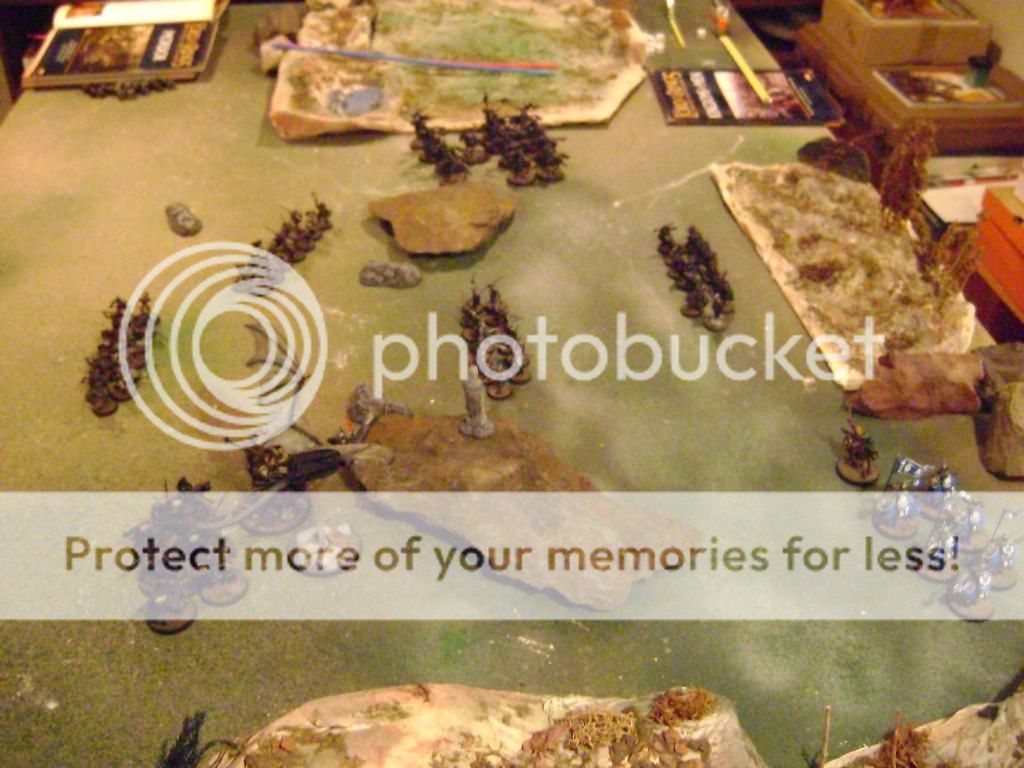
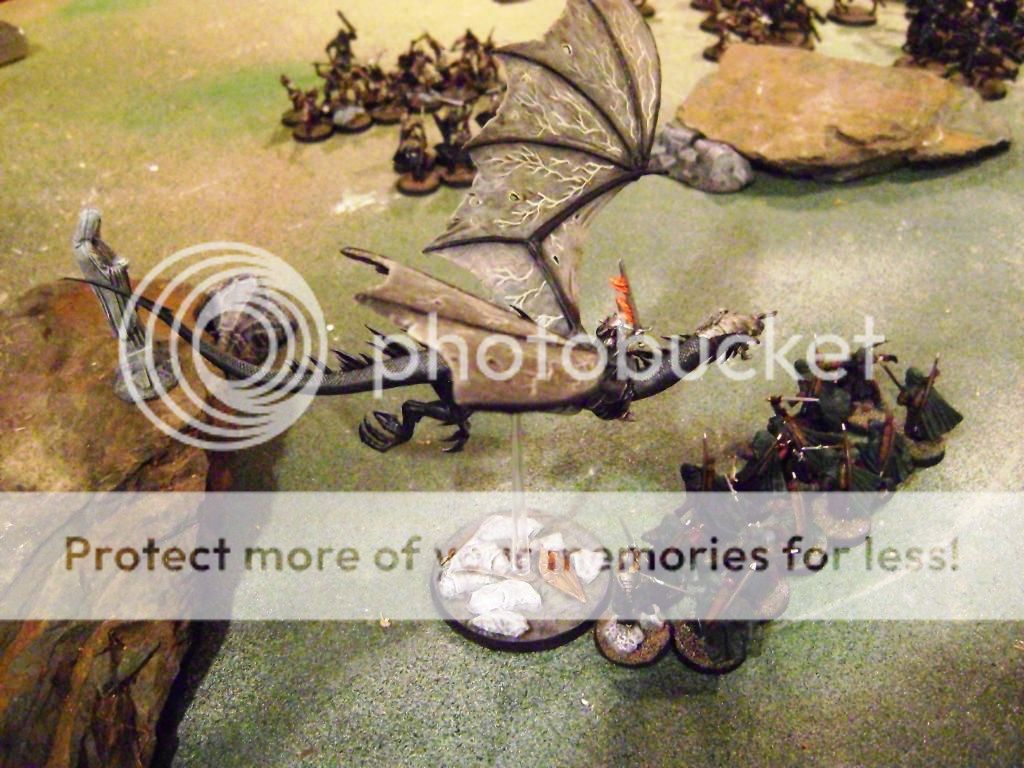
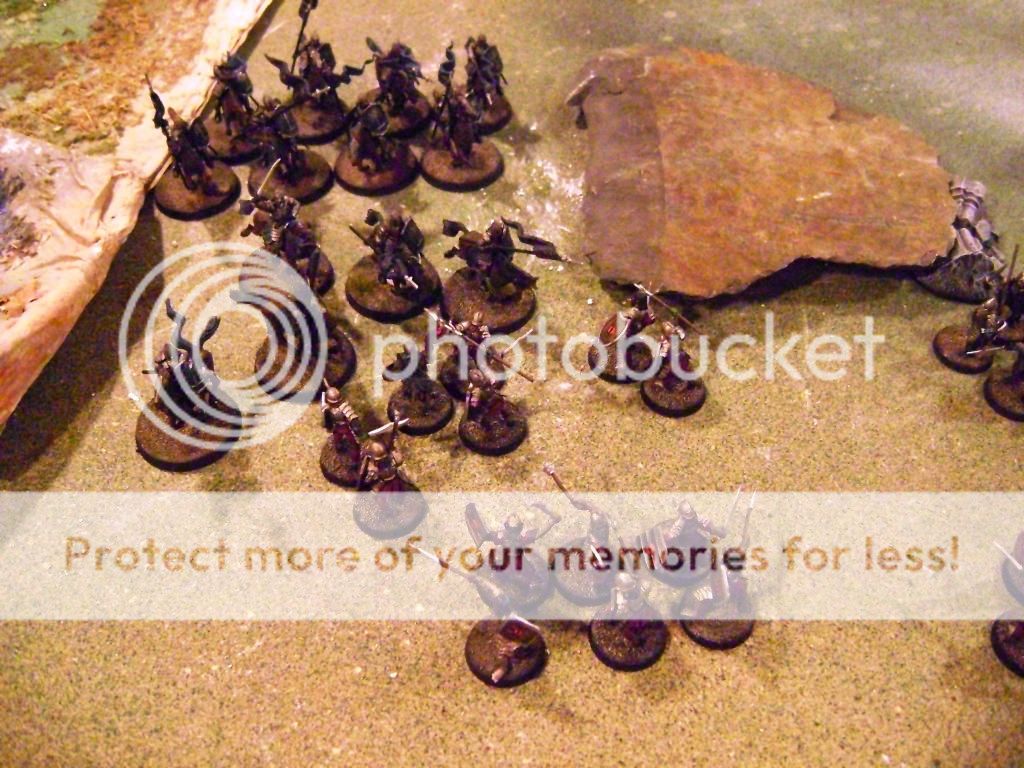
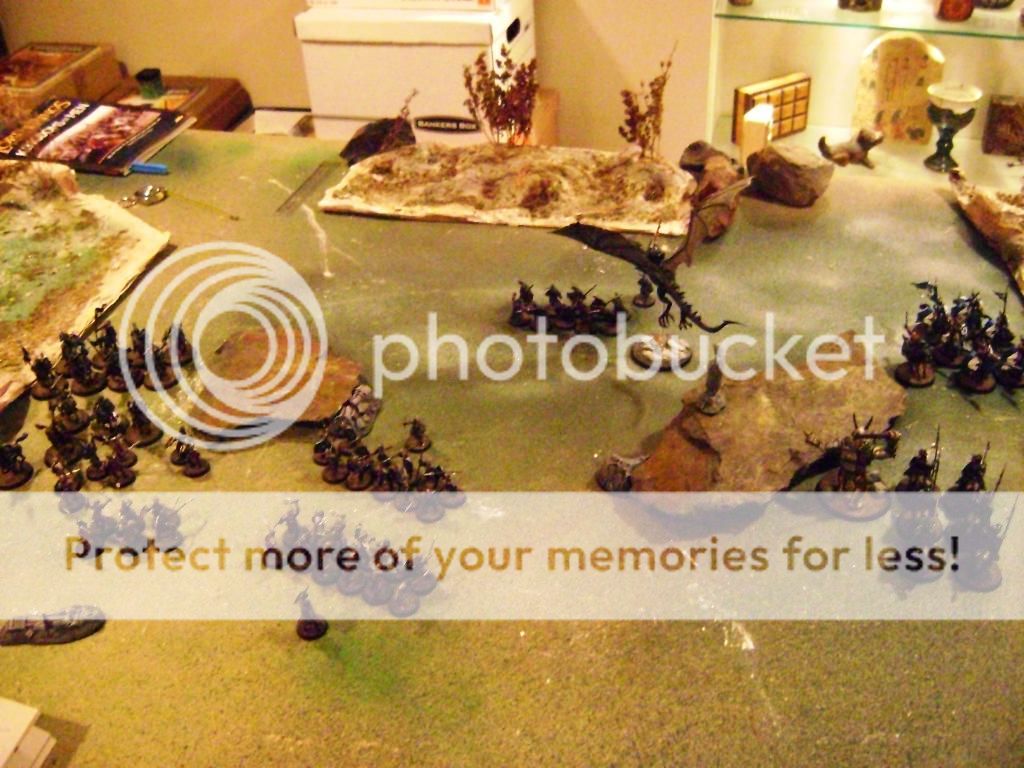
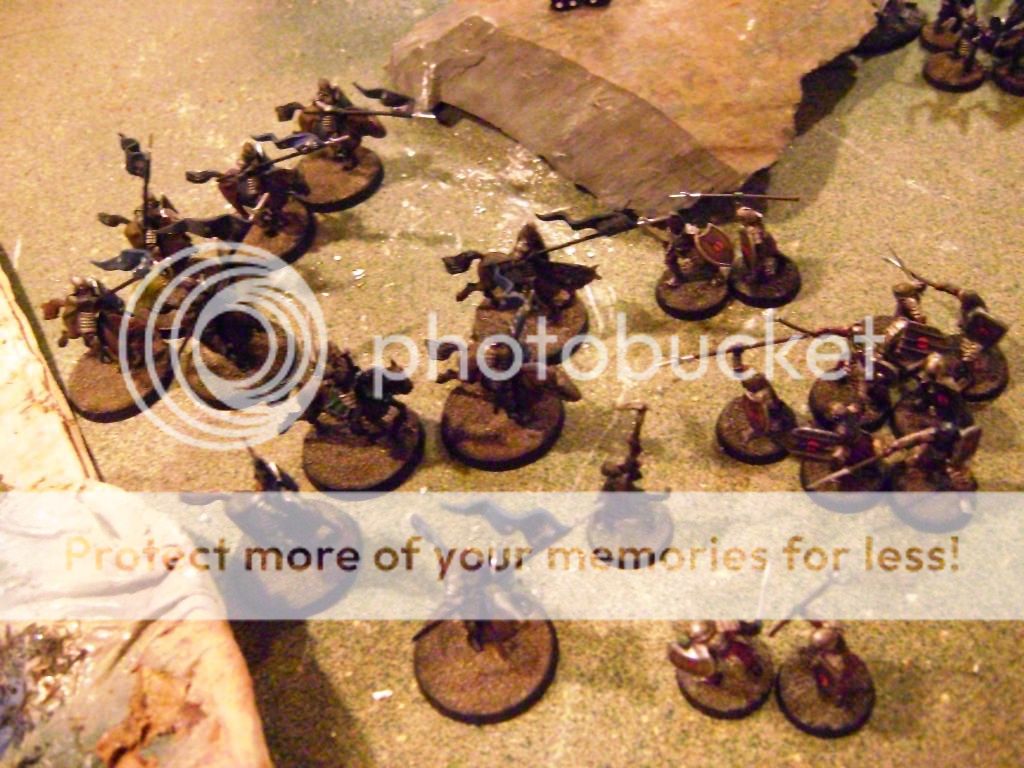
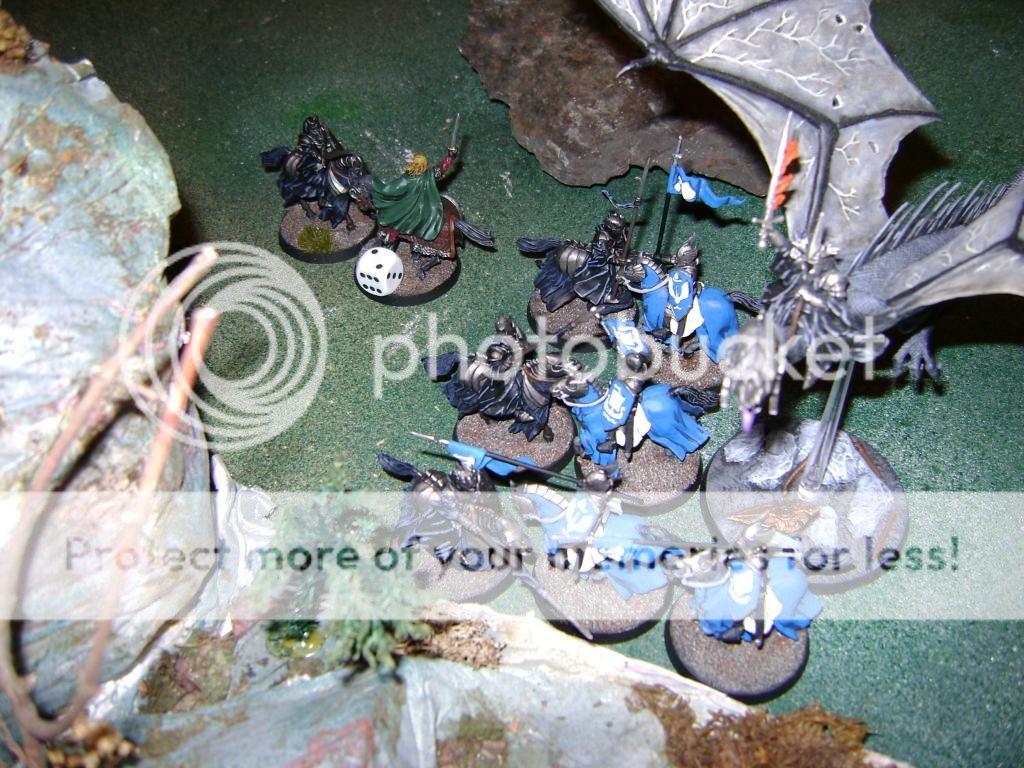
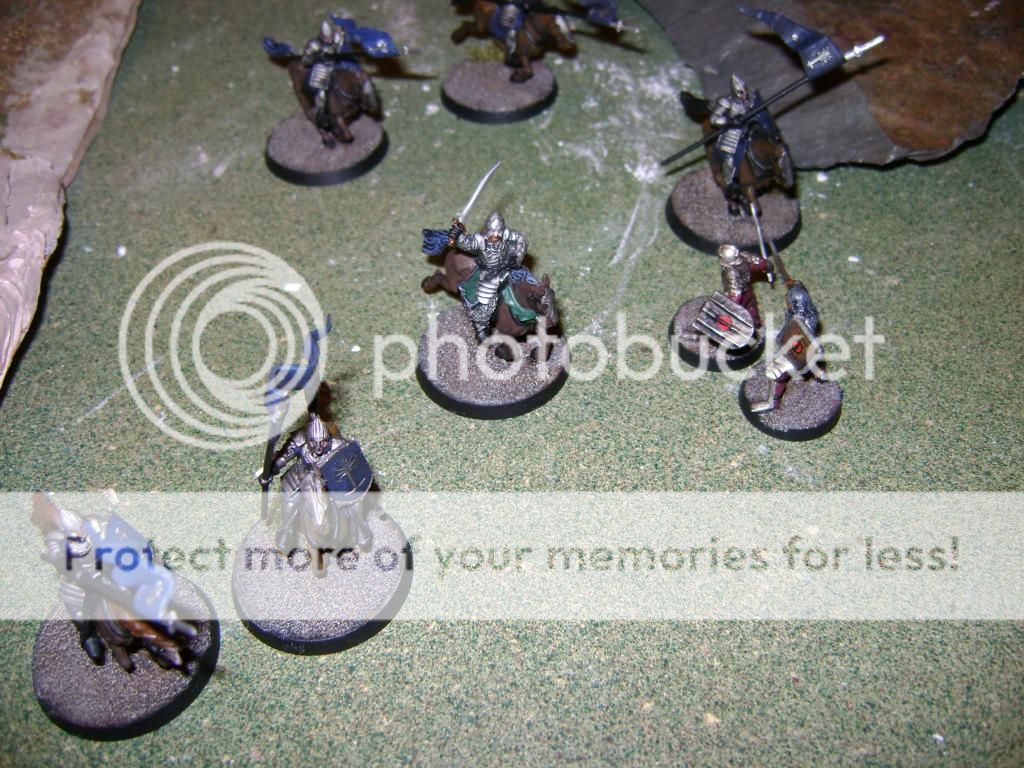
After marking the half-way point of the table, Andy won the roll off for placement. He picked his side of the table and started selecting squads to for placement. His Rangers were first and had to be placed within a foot of the center line. This worked out well or me, because it made getting to them easier. After placing them, I rolled to place my Witch-king and his warband. I also had to place within 12 inches of the center line, so I positioned my figures so that they were all within 6 inches of the Witch-king. The Witch-king himself I placed as close as I could to the Rangers. My plan was to charge them right off the bat and neutralize the bow threat. Andy’s next 3 warbands all ended up rolling to be placed wherever he wanted on his side of the table. My other two warbands did as well. This was the layout right before the first turn.
 Turn 1
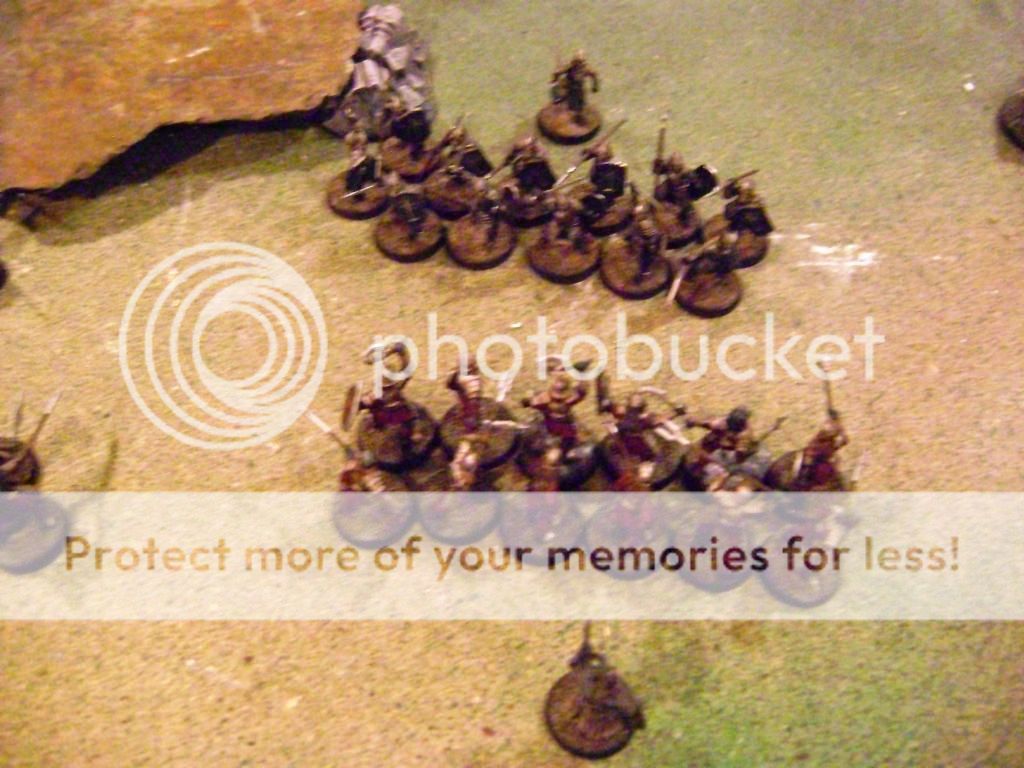
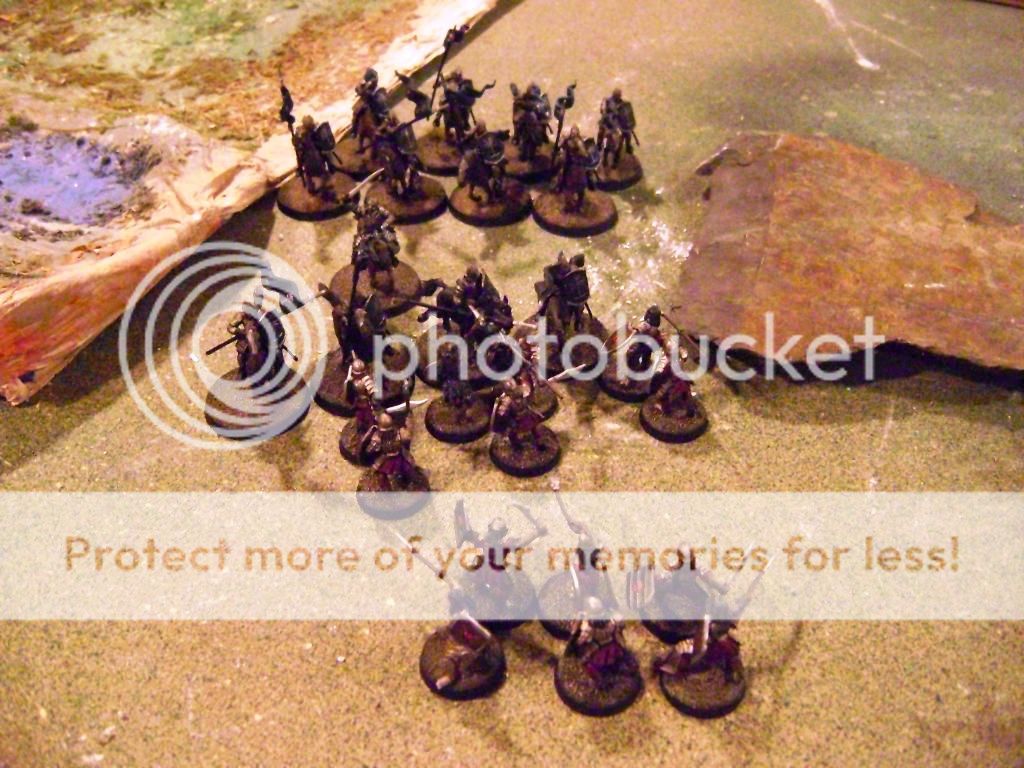
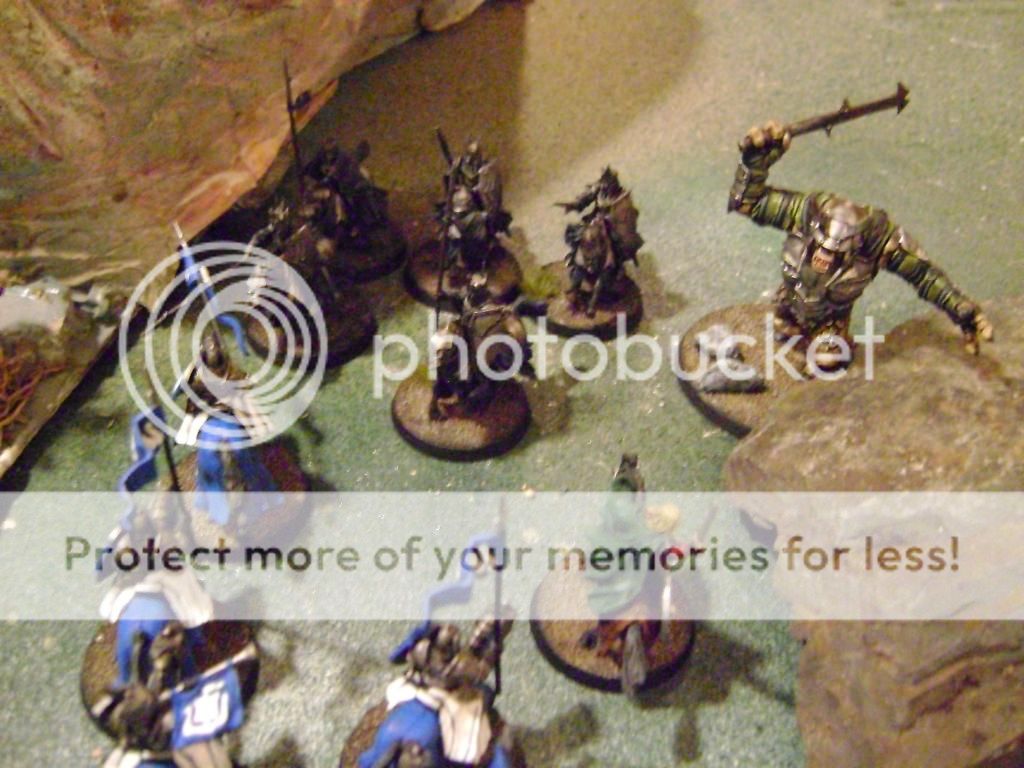
Andy won priority, and moved all of his units forward, only moving the Rangers half their movement since he wanted to shoot at the Morannon Orcs. Sadly, he neglected to note how far away the Witch-king was. During my move phase, the Witch-king charged straight into Madril and another Ranger. God, that Fell Beast movement is handy. Andy quickly came to realize that because I was now locked in combat with some of his guys, since he was playing Good forces, he couldn’t shoot the Witch-king. The Good forces aren’t allowed to shoot at enemy forces locked in close combat with friendly figures, for fear of accidentally hitting their own troops (a stipulation Evil forces never have to worry about. Take one for the team, guys!). My Morannon Orc Commander led Morannon Orcs on my left flank saw the Knights of Minas Tirith and charged them, to prevent a possible charge next turn. My Troll and Morgul Knights moved up the right to encounter Imrahil and his Knights, while my Orc Taskmaster led Morannon Orcs moved straight up the middle to take on the Warriors of Minas Tirith.
The brief shooting phase saw Andy’s unengaged Rangers take a few shots at my Morannon Orcs, but were unable to kill any.
The fight phase started off bloody, which would be a theme for the next few turns. Madril looked up and saw the Witch-king standing right in front of him (no doubt, Madril said a silent prayer). We rolled and I rolled a 6 on one of my four dice. That meant that thanks to my higher fight value, I couldn’t be beaten even if Andy equalled my roll. Madril and the other Ranger backed away and got knocked down. I directed my first four strikes at Madril. Needing an easy roll, I wounded him 3 times. Even with the Fate roll, he ended up taking 2 wounds and was dispatched. 3 early Victory Points for me. I then scored another
VP when I aimed the next set of attacks at the downed Ranger, easily slaying him.

Next were the 3 fights between the Knights of Minas Tirith and my left flank of Morannon Orcs. The extra Strength of the Morannon Orcs really started to play into the game, as I won one of the battles and slew a Knight (causing his mount to flee). The other two fights were uneventful, as no one died in them.
With turn 1 concluded, I’d already taken out Madril, a Ranger and a Knight, while suffering no casualties. Here’s how things looked at the end of turn 1.
 Turn 2
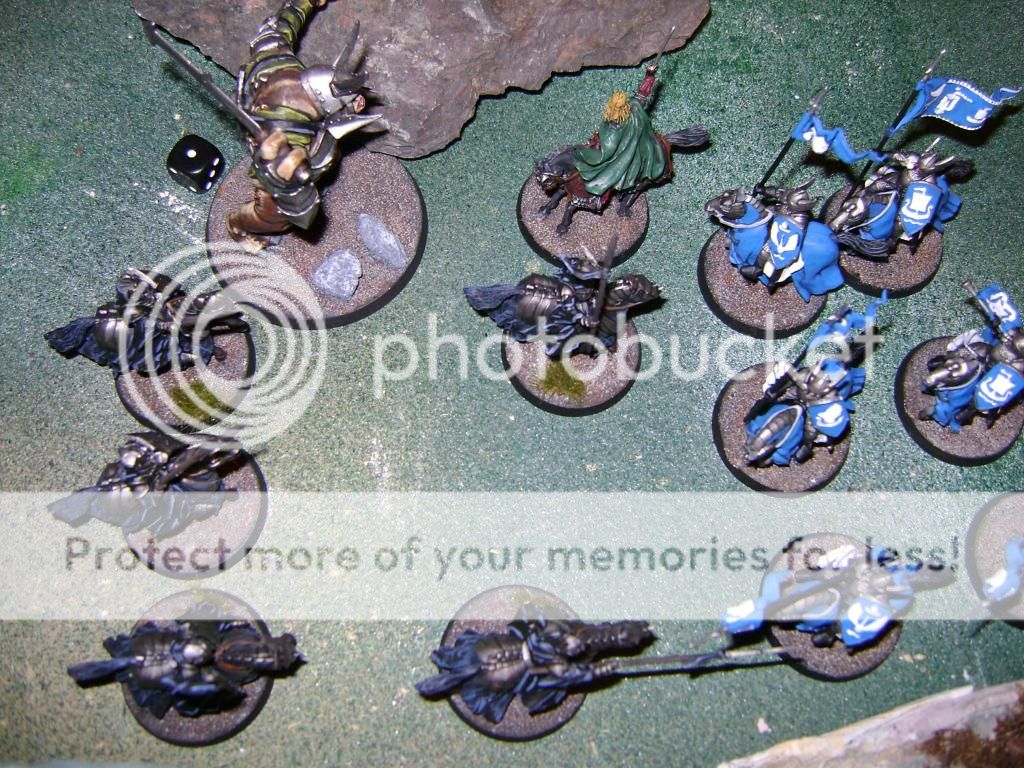
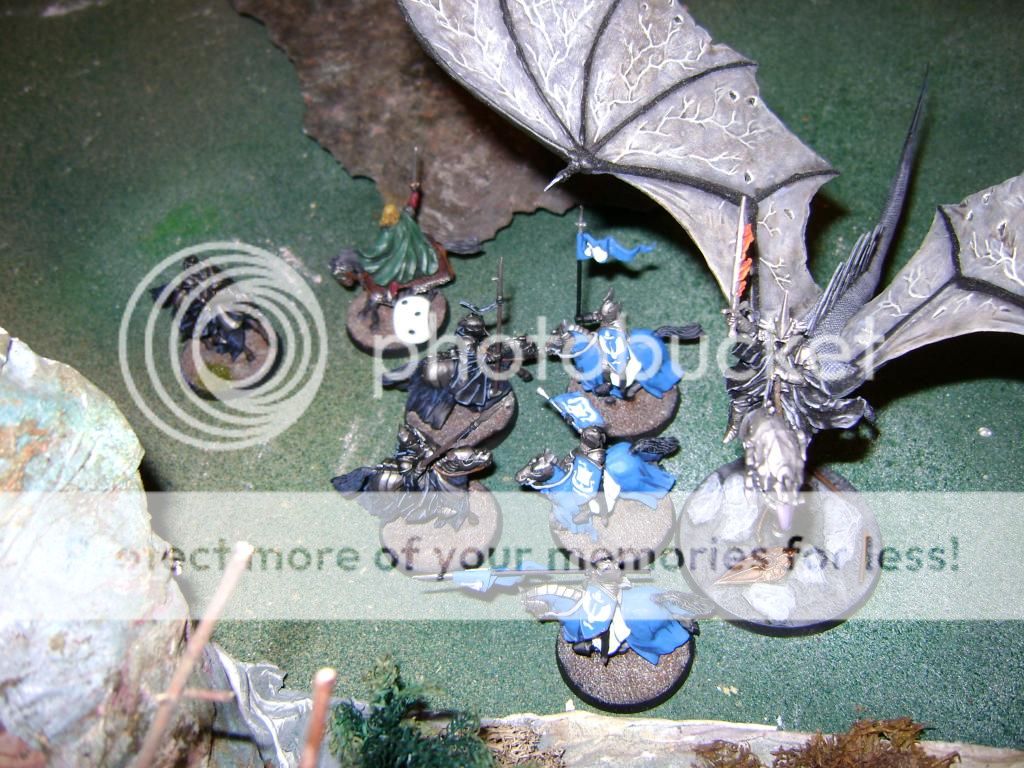
I won priority, and the Witch-king charged into 3 more Rangers, ensuring their bows wouldn’t be a factor against him. More Morannon Orcs charged into the Knights of Minas Tirith on my left. The Morannon Orcs in the center charged into the Warriors of Minas Tirith. Finally, 3 Morgul Knights charged 2 Knights of Dol Amroth and Imrahil, with the other Morgul Knights and Troll following far enough behind to allow room to back away. More of Andy’s Knights of Minas Tirith charged the left flank of Morannon Orcs, while the Rangers turned around and ran back to avoid the Witch-king’s wrath.
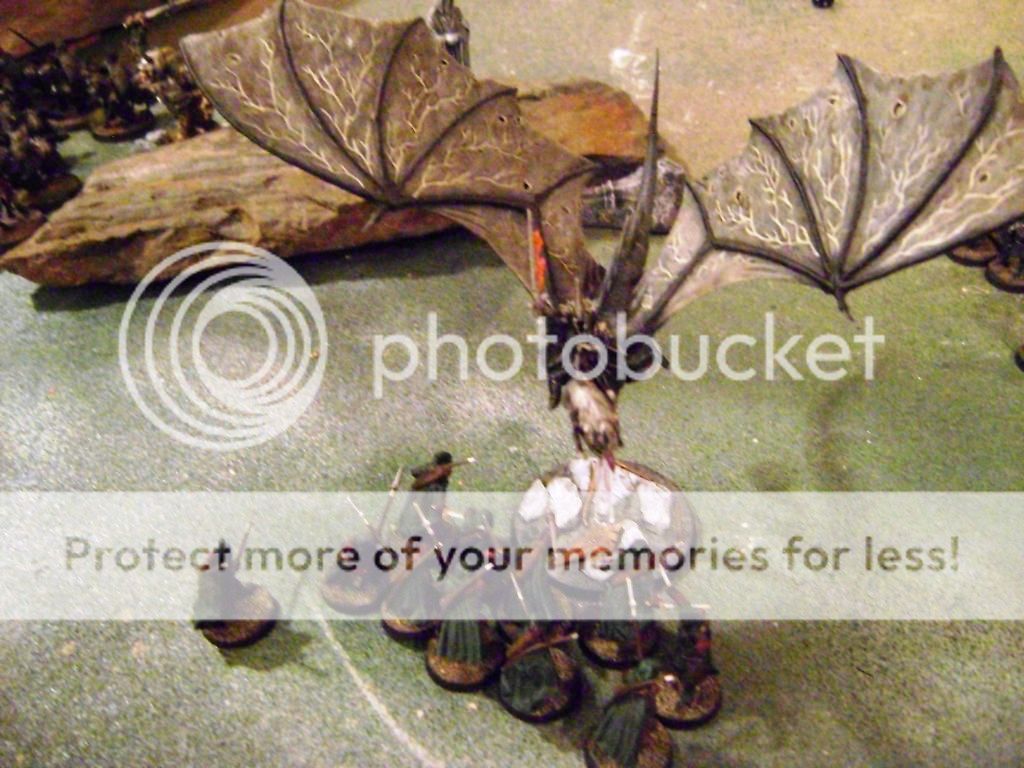
With no shooting this turn (as the rangers running back meant they weren’t in line of sight to shoot anything), we went straight into the fight phase. The Witch-king once again proved why he was worth over 250 pts and easily cut down the 3 Rangers he charged, adding to my tally of
VPs. At this point in the game, it became apparent that my dice were on absolute fire. The Morannon Orcs on the left flank managed to kill off 2 more Knights of Minas Tirith, while only suffering 1 casualty in return. In the middle, my hot rolls saw me cut down 3 Warriors of Minas Tirith, while again suffering only 1 casualty. On the right, Eomerahil struck down the Morgul Knight who charged him. So far, the right flank was quite even. However, I was seemingly dominated the rest of the field, with the Witch-king hacking up Rangers and my Morannon Orcs in the center and left flanks obliterating Warriors and Knights of Minas Tirith with seemingly little trouble. At the end of turn 2, Andy had only managed to score 3
VPs, while I was at 14.
 Turn 3
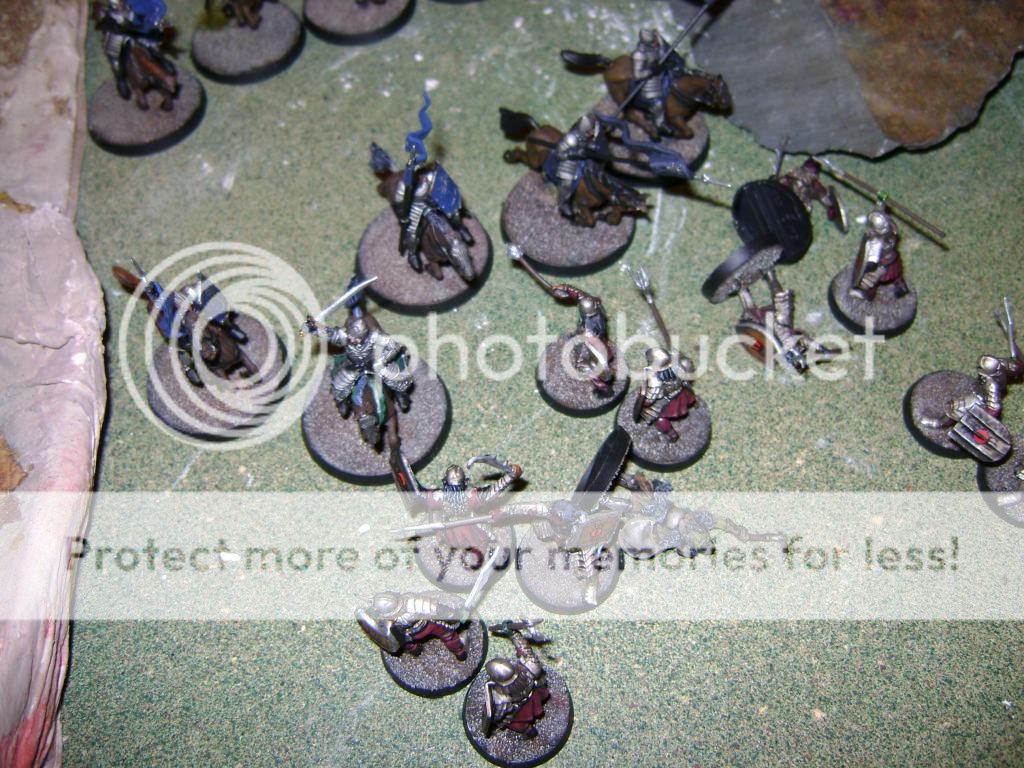
Now things were about to get quite interesting. The Knights of Minas Tirith managed to kill another Morannon Orc, while the Witch-king took out another 2 Rangers. However, my Troll charged Prince Eomerahil and to my utter shock, lost the combat. I stood in dismay as Eomerahil managed to wound the Troll twice. Andy’s rolls were heating up as well! On the left, a couple of Orcs bought the farm, but thankfully my Captain survived his encounter with Faramir, despite losing the fight and being knocked prone after the charge (this will become prevalent later).
 Turn 4
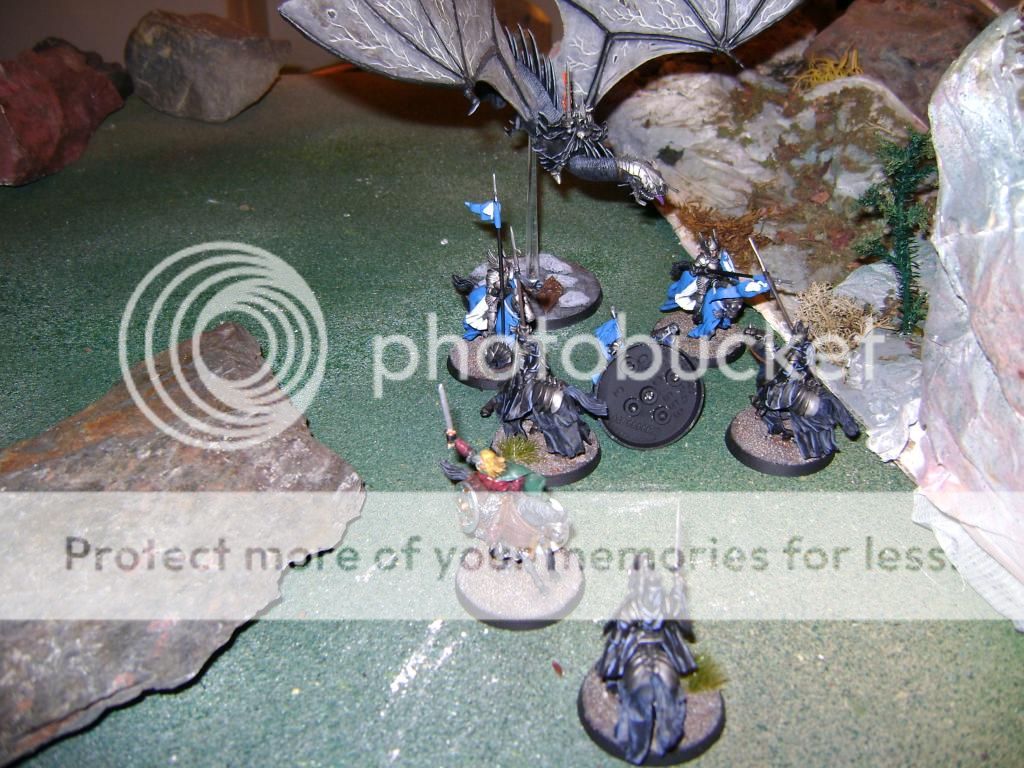
Andy won priority again and charged Faramir and his Knights rights into my Morannon Orcs on the left flank. This proved disastrous for me as he charged right into the Morannon Orc Captain and, with a little help from his store of Might, rolled extremely well and managed to kill the Captain. In the center, my Orcs kept slashing men left and right, and a few more Warriors of Minas Tirith fell. I only lost one Orc in return. On the right flank, the Knights of Dol Amroth charged my Morgul Knights and managed to fell one. My Troll got charged by Eomerahil and thankfully I won the combat, managing to use Rend and cause Eomerahil a wound and depleting all of his Fate points. Serves him right for hitting my Troll twice before! Finally, the Witch-king took out another few Rangers, while the last few fled toward the center of the board. However, he spied a promising new target off to my right flank.
 Turn 5
Things were getting quite interesting indeed! After I won priority, my Troll charged at Eomerahil, while the Witch-king swooped in from their back and charged the banner bearer. Sadly, my Troll wasn’t quite a match for the Prince on this day. The Troll was killed off and there was much rejoicing by the Dol Amroth contingent. This was short lived as the Witch-king expended little effort in decapitating the banner bearer. The banner was lost in the melee, so there would be no more rerolling in this battle. The right Flank also saw another Morgul Knight fall (though it was a trade-off as one of my Morgul Knights killed off one of his Knights of Dol Amroth). I was soon going to start feeling the effects of my elite army. Elsewhere, more Orcs fell on the left flank, though I was able to continue dominating the center. At the end of this turn, Andy’s force was broken. We rolled to continue the game and…it was a 5! Another turn would be played.
 Turn 6
Andy won priority that turn and since his force was broken, had to start taking Courage tests. Luckily he had a War Horn, but the Knights of Dol Amroth were right by the Witch-king, which negated the bonus for them. He rolled fantastically and, with some great placement, passed all tests except for two Rangers, who fled the battle, leaving one left. He charged the Dol Amroth Knights and Eomerahil into my Morgul Knights, slaying one. The Witch-king responded in kind by killing another Knight of Dol Amroth. In the center, I sent two Morannon Orcs to deal with the last fleeing Ranger, which they were able to do, finishing him off. The rest of the combat in the center was fairly standard for the game, as I dispatched another few Warriors of Minas Tirith. The left flank, however, was crumbling FAST. I took another charge from the Knights of Minas Tirith (though thankfully Faramir was stuck in combat from last turn and wouldn’t be charging himself). Several more Orcs were cut down, while I was able to at least finish off one more Knight. At that point, Faramir and about 7 Knights were still breathing down my neck, while I had about 4 Morannon Orcs left to fend them off. What was worse was that exactly half of my force was now defeated, so I was going to be taking Courage tests, too. We rolled to see if the game would continue another turn, and sure enough, it would. This was a problem. My team, while made of elite units, relied heavily on durability. Once the durability of my troops wore away, there wouldn’t be anyone left to replace them on the front lines, really. Meanwhile, it seemed no matter how many Knights I cut down, more from the back would take their places. The center was pretty secure at that point, so time was of the essence. I had to finish off the Warriors of Minas Tirith and run the troops I had left over to the left to support the Orcs who were getting butchered. The Witch-king seemed to be strong enough to handle the right flank with the remaining few Morgul Knights, so at least I didn’t have to worry too much about that.

 Turn 7
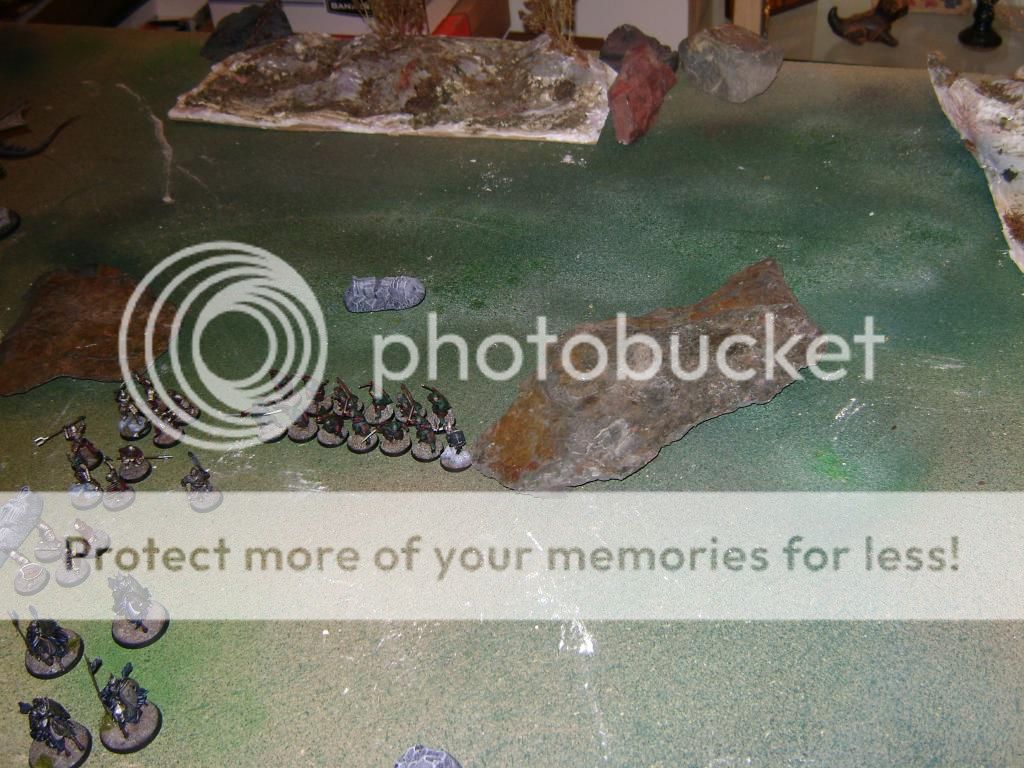
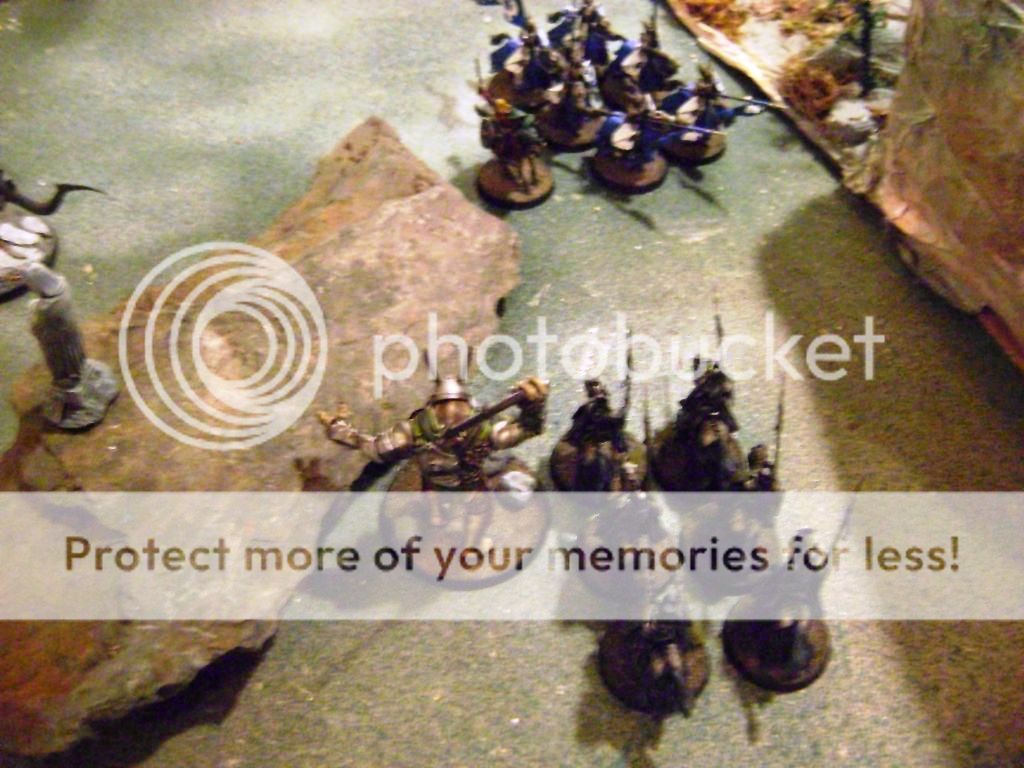
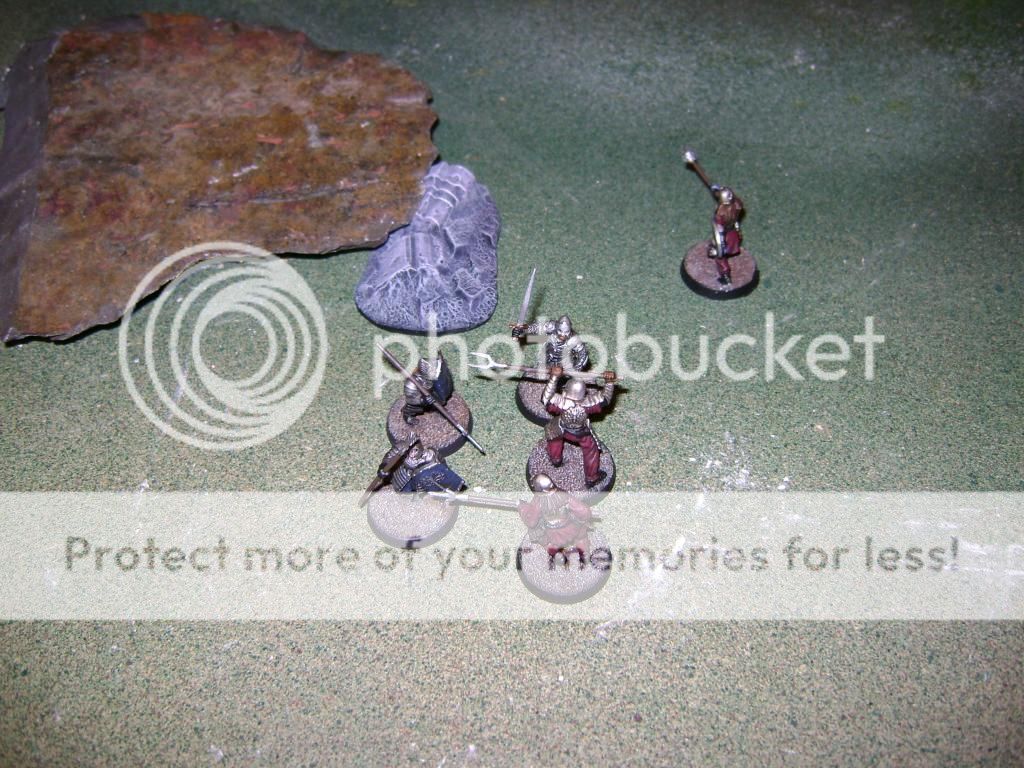
This turn started off badly for me. Andy won priority again and rolled for his courage tests, all of which he made (Eomerahil’s 12 inch Stand Fast radius sure helped). No one on his side was abandoning the fight. I couldn’t say the same for my team. The Witch-king made his courage test, keeping the Morgul Knights in battle. However, the Orc Taskmaster decided that discretion was the better part of valor and high tailed it (even spending all of my Will and Might wouldn’t have helped me pass). Seeing a captain running, 4 Morannon Orcs made the choice to join him (see the pictures below to witness just how depleted my forces on the right and in the center suddenly became). At least I was charged by a few Knights and Warriors of Minas Tirith, so a few of my units didn’t have to test courage. However, at this point my left flank had all but collapsed as the Knights led by Faramir were just too much. The Terror caused by the Morgul Knights was able to prevent 2 Dol Amroth Knights from charging, but Eomerahil and another Knight did make it in, but failed to do any damage. The Witch-king slew the Knight with the War Horn and the turn ended. We rolled…and it was a 2! The game was now over. Final score: Me with 33
VPs, Andy with 26. A great game.
 Closing thoughts
While it was definitely an enjoyable game, I did become aware of a few flaws in my team as the game progressed. First, my numbers were extremely thin. While this did have the advantage of preventing Andy from getting
VPs from causing wounds, it also meant that once my guys were gone, there was no one to take their place. Every guy really counted. Even in the center, where I had a clear advantage, an unlucky courage roll caused a captain and several warriors to run, turning an advantage into a very equal fight (and possibly even giving me a disadvantage, since his Captain of Gondor was still in there, whereas I had only warriors). My force just needs more guys. I’m thinking of taking out the Morgul Knights and maybe replacing them with more Morannon Orcs. They’re cool units with pretty decent stats, but they’re extremely expensive. They’re almost double what the Dol Amroth Knights cost, and for that price all you’re really gaining is Terror, which while cool, isn’t going to be really useful against guys with a courage of 4 and up. My Troll just had bad luck this game, but Rend is incredibly useful. I’m looking forward to playing him again soon.
I thought Andy played well. He made a mistake early in the game by not seeing my Witch-king in prime charge range, but he made up for it by pounding my left flank into oblivion. At one point I was ahead by 11
VPs, and he clawed his way back to make it a lot closer. He deserves a lot of praise for that.
Warriors of the Match
For my team, it’s obviously the Witch-king. Aside from the named Nazgul, the regular ones I find to be rather unspectacular. One wound and one attack really don’t justify the point cost for one with maxed out stats. Sure, they’re more primarily spell casters, but they have to give up Will to do that, and once their Will is gone, they’re dead. And it’s all too easy for someone to cast Sap Will and just outright kill them. The Witch-king, on the other hand, is an absolute monster. Borrowing the 7 strength and 12 inch movement of the Horned Fell Beast and taking the Crown of Morgul to give him 3 attacks makes him ferocious in combat (and he’s the only Nazgul that can take the Crown). There are very few fighters in this game that can withstand 8 strength 7 attacks (when knocked prone on a charge). He took out Madril, 3 Dol Amroth Knights (including 2 key ones with a banner an War Horn) and about 7 Rangers by the time the game was done. And the scary thing is that he had a ton of Will still left, meaning that he’d have undoubtedly added to that total, had the game continued.
For Andy’s team, I’d have to say it was Faramir. He outright killed the Morannon Orc Captain in one round of combat, which was pretty crucial since after that point, my left flank fell apart. Denying me a captain to use Stand Fast later in the game was a really good move. And even though the game started off really well for me on my left flank, Faramir was what really turned it around. An honorable mention has to be made for Eomerahil, since he blasphemously killed my Troll, including doing two wounds in one fight.
I hope you enjoyed this report. I’ll be out of town next weekend, but I’m hoping to get at least one more of report done before college starts again in a few weeks. But fear not, I’ll still be around and have time to make more.


 Proudly Gaming in the Toronto Area since 2002


 Krieg 6k
 Necrons 2.5k
 Space Wolves 5K

 Oh my...... I feel a need to do unmentionabel things with you now Scottie


