Not sure if anyone has done this before. They Probably have as it is quite obvious!
Alright, so the
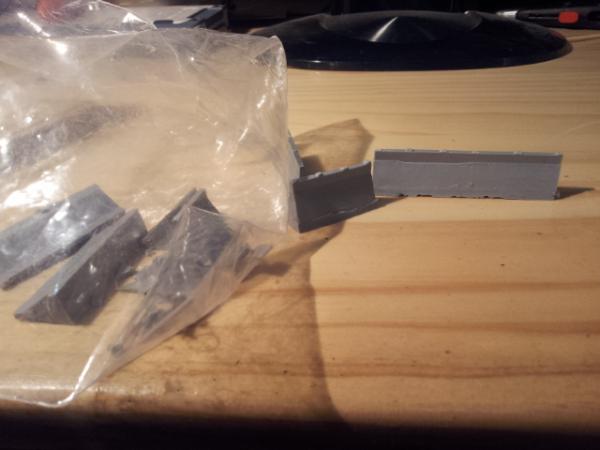
FW spurs look a lot like Jersey Barriers... It just makes sense to use them this way...

If this is not quite a Tutorial it can be moved to the P&M section....
I don't have all the pics to make a proper tutorial and I don't think it is very necessary....
Just take them out and clean them up!
File off the flash lines and all the little bumps.
Fill in the holes and bubbles with Greenstuff.
Make it look good basically...
Add a sloped side to the end by cutting it diagonally or filing it down...
Takes ages the second way and it's not too good for you...
Now Dirty it up and create Battle Damage and Wear. You don't have to but It looks much better with....
Chip the edges, weather it, add scratch marks, scorch marks, bullet holes, blast marks and whatever else you want.
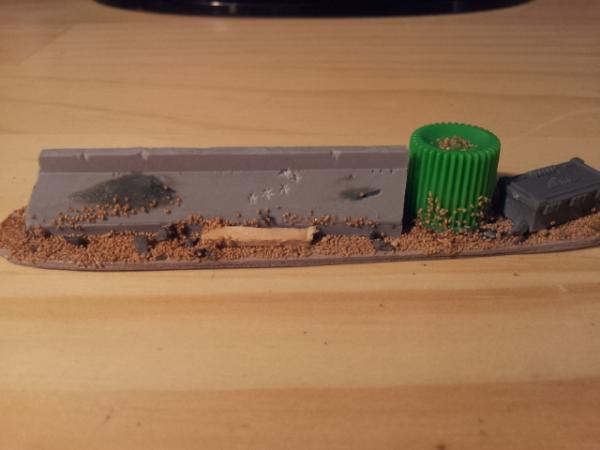
For the bullet holes like the ones in the
WIP barrier below
-Start by Drilling a hole with a drill
- Chip away little triangles with a knife
- drill the hole loosely with a model knife to roughen up the hole you drilled
Make sure you make a nice grouping because it sometimes looks wrong when random.
Think of how it would spray and how recoil forces would pull the gun upward
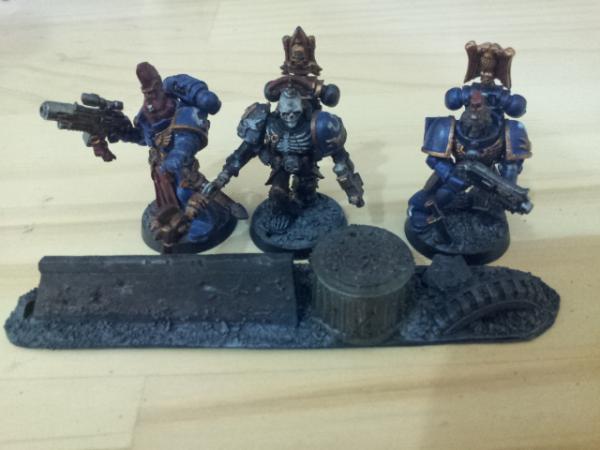
For Scratch Marks like some in the Painted Barrier I have
-Drill a hole, not too deep, quite shallow actually with a wide drill bit.
- The Resin Should be soft enough that if you drag along a Sculpting tool or something similar it should leave a scratch.
Cut out a base and Glue it down with superglue.

Now add a base and cool funky bits.
I used a top for something in both, a tire from a toy in the painted one and a ammo box in the
WIP.
Just Make it look like a barrier, you could add sandbags, Lamp posts, Street sings, Tank traps, Gateways and Checkpoints.
Use your Imaginations.
Basing is also pretty Important, Create rubble pile looking things for a good effect, but really it's up to you!
Now lets end with a cinematic shot...
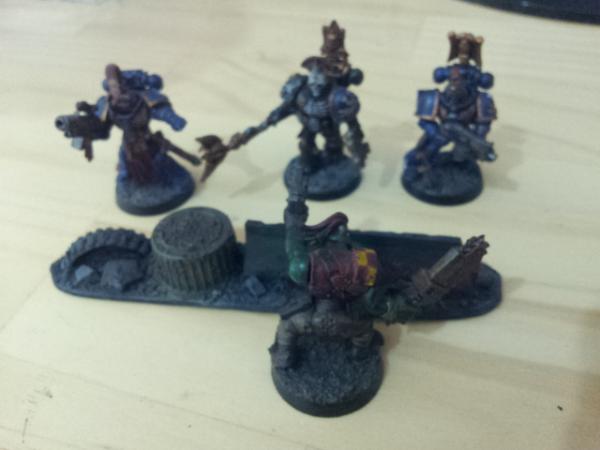
Thanks for Reading!


 "Whilst we stand, we fight. Whilst we fight, we prevail. Nothing shall stay our wrath"
  Guilliman and the Ultramarines are like Manchester United, everyone hates them because they are so awesome!