Switch Theme:

Scratch Build Rhino (WIP)  [RSS] Share on facebook Share on Twitter Submit to Reddit
»
Author Message
Advert


Forum adverts like this one are shown to any user who is not logged in. Join us by filling out a tiny 3 field form and you will get your own, free, dakka user account which gives a good range of benefits to you:
  • No adverts like this in the forums anymore.
  • Times and dates in your local timezone.
  • Full tracking of what you have read so you can skip to your first unread post, easily see what has changed since you last logged in, and easily see what is new at a glance.
  • Email notifications for threads you want to watch closely.
  • Being a part of the oldest wargaming community on the net.
If you are already a member then feel free to login now.


Made in us
Skink Salamander Handler


Lustria

After seeing so many of the amazing scratch builds, I figured I would try my hand at it. (Plus I am cheap and 35usd for a rhino is BS).

I started a rhino. I am using plastic sign material from the local DIY store (it is significantly cheaper than Sheet Styrene from the local hobby store), and some foam core.
The plastic thicknesses are approx 1.5mm (white) and .5mm (green), I haven't actually measured them. I will post updated thicknesses.
I did a primer test on them before stocking up, and primer sticks nicely.

After a couple of days work, I have discovered that I am really terrible at stopping to take pictures as the project progresses.
I am not following any directions, so I tend to jump around a bit on the parts I am working on.

Here are the parts that I have build so far:

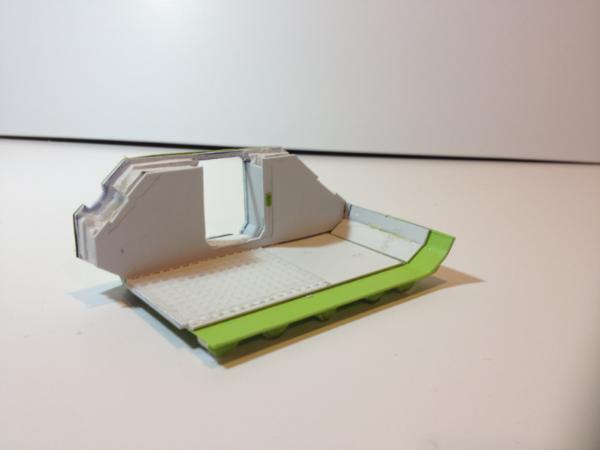
Here are the two sides and the top. The sides are a 5mm Foam Core base with plastic over it. The top is two layers of plastic.


Here is one side and the top. These have been glued together.


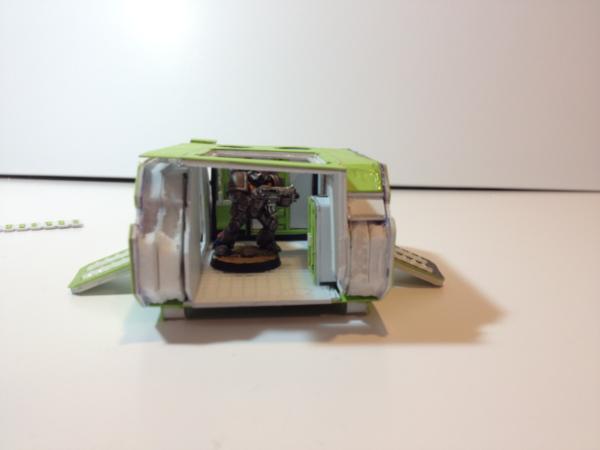
Here is the door. I will be casting this, as building them is a pain in the backside. This is two layers of the thicker plastic, and one of the thin, with grannygrating for treadplate.


After some experimentation I decided to build and cast the exhaust pipes that fit on the sides. This is the original, I still have some sanding to do on it, and may tweak it a little more.
I built it up using 3 layers of the thicker plastic, cut into the rough shape, and then carve/sanding it down to add the bevels on the sides and end.


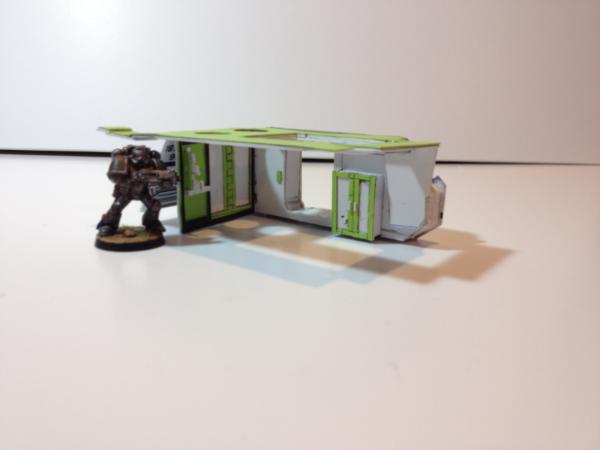
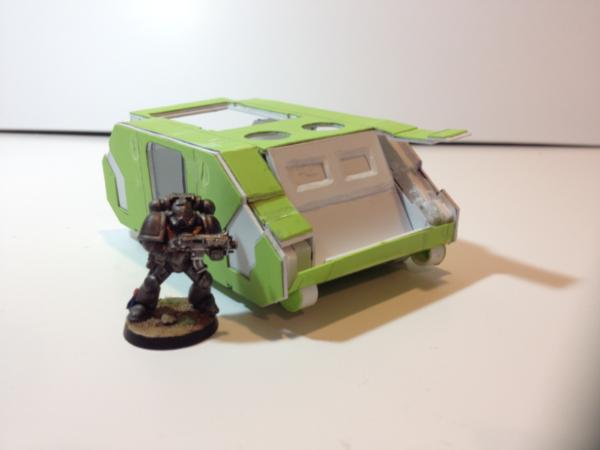
This is the Rhino assembled (but not glued) with all the parts I have built to date.


This has certainly been an entertaining endeavor. I am planing on casting several other parts, primarily the track, and some of the gun bits for the top.
I also plan to build a full compliment of weapon upgrades for the base rhino so I can use it as a Predator/whirlwind/vindicator/Stalker/Hunter
I am toying with adding some internal lighting, and possibly headlights that will actually light up, but that remains to be seen.

Next update is likely to be Friday or Saturday, as things are about to get busy for the next couple days.
   
Made in gb
Longtime Dakkanaut


Halandri

This is looking much better than the scratchbuilt rhino I made, and I'm rather proud of my own work which really says something for yours!

Is the design your own or have you used some prefab templates off the net?
   
Made in gb
Stalwart Veteran Guard Sergeant


Salisbury

That's looking really good, have you not been tempted to just get track bits off eBay?

CLACKAVOID (n.) Technical BBC term for a page of dialogue from Blake's Seven.
 
   
Made in us
Skink Salamander Handler


Lustria

The design is my own, I am pulling the measurements off of an existing Rhino, but otherwise not using any templates.

I thought about getting track bits, but it seems funner to build my own.


I have started to build the floor and inner walls, hopefully I will have more pics up tonight.
   
Made in us
Skink Salamander Handler


Lustria

Got some more work done this weekend.

Here is the left side with the floor of the Rhino


Here we have the right side, showing the door to the cockpit, as well as a Bolter rack, and weapons/storage locker.


Here is the front of the vehicle, assembled but not glued,


Here is the rear of the vehicle, again, assembled but not glued.


And finally, the track that will go on the Rhino


I am gluing it together now, and waiting for the mold of some of the other bits to cure, then I can finish it up and paint. I will likely paint the interior prior to doing too much more on it, so that I can actually reach things inside.

Edit: I just saw an actual build of a Rhino, and realized I put the bulkhead for the cockpit WAAAAAAAAAY too far forward. Hehehe oops

This message was edited 1 time. Last update was at 2013/12/16 19:49:53


Forum Index » Painting & Modeling
Go to: