Hello again! Apologies for the ridiculous length of radio silence - last year got very busy and we dropped out of
40k for a while - the only hobby progress we made was on our Necromunda campaign (
http://www.dakkadakka.com/dakkaforum/posts/list/526621.page). Anyway, with the new year comes new projects, and we decided to get going once again.
I’ve torn a ligament in my leg, so Panic had to come over mine this time, which gave me a good excuse to try out my fancy new terrain! But it also explains why the photos are a bit dark - I don’t have as many massive up lighters as Panic.
Panic’s Plague Marines - 1500pts -
http://www.dakkadakka.com/wiki/en/Panic%27s_Nurgle_CSM 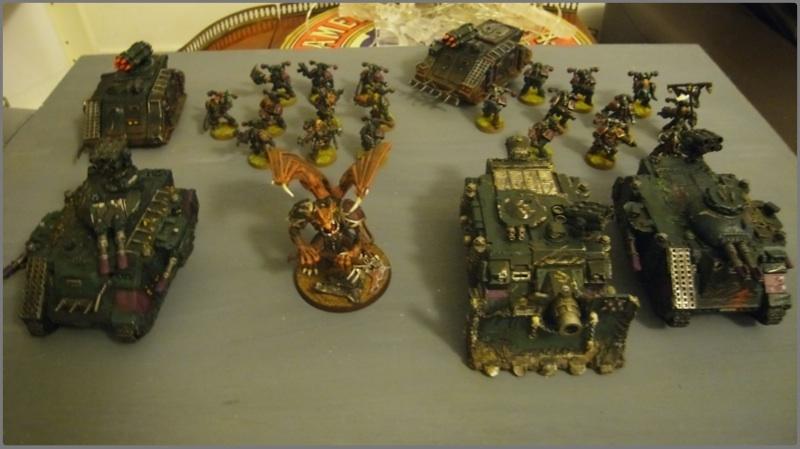
Chaos Lord (Power Weapon, Boon of Chaos,
MoN)
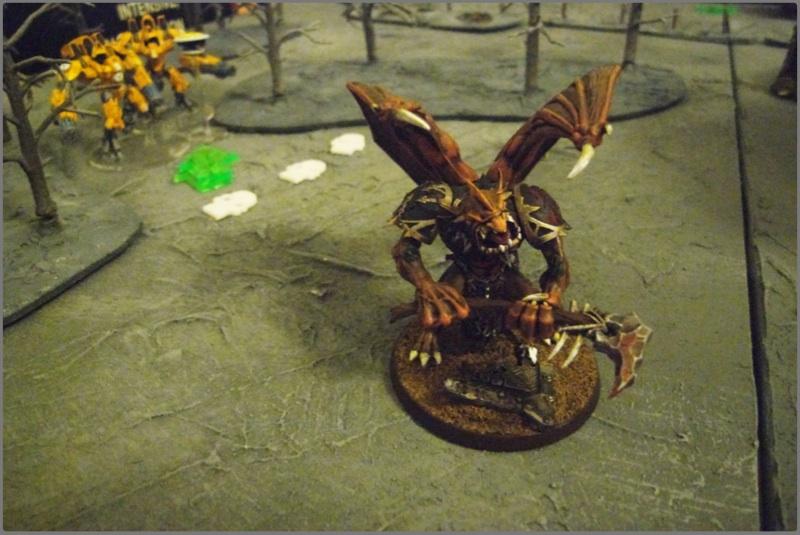
Daemon Prince (Black Mace, Boon of Chaos, Armour, Wings,
MoN)
9 Plague Marines (2 Meltaguns, Plague Champion with Powerfist, Boon of Chaos) in a Rhino (Havoc Launcher)
10 Plague Marines (2 Meltaguns, Plague Champion with Powerfist, Boon of Chaos) in a Rhino (Havoc Launcher)
Vindicator (Havoc Launcher)
Predator (
TL Lascannon, Lascannon Sponsons, Havoc Launcher)
Predator (
TL Lascannon, Lascannon Sponsons, Havoc Launcher)
ArbitorIan’s Tau Ye’lo Sept - 1500pts -
http://www.dakkadakka.com/dakkaforum/posts/list/291790.page 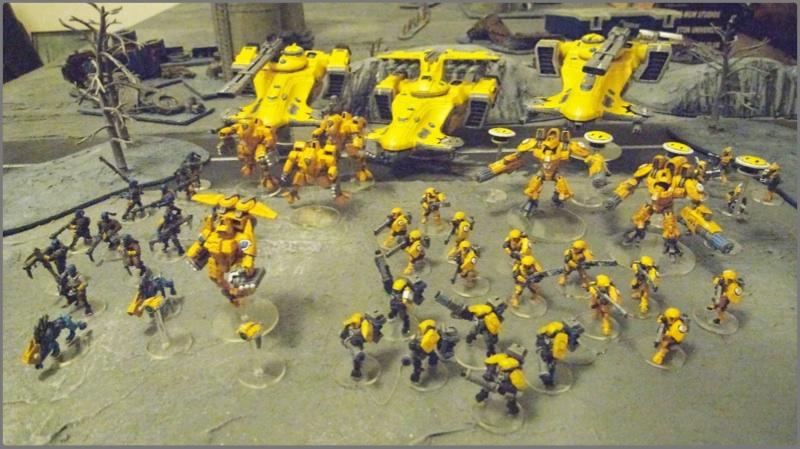
Commander (2 Missile Pods, PEN, Drone Controller) with 2 Marker Drones
3 Crisis Suits (2 Missile Pods each, Shas’vre with
MSSS, Flamer)
2 Hazard Suits (2 Fusion Cascades each, 1 Target Lock) with 4 Shield Drones
6 Stealth Suits (1 Fusion Blaster, Shas’vre with Markerlight)
12 Fire Warriors
12 Tau Rangers (Kroot) with 2 Hounds
4 Pathfinders
Hammerhead (Railgun, Disruption Pod, Burst Cannons)
Hammerhead (Railgun, Disruption Pod, Burst Cannons)
Sky Ray (
SMS, Disruption Pod)
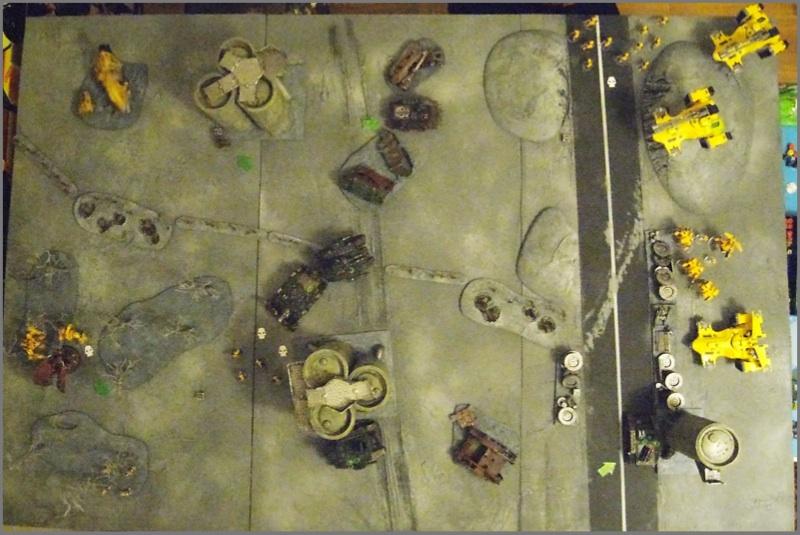
Pre-game We rolled for missions and ended up playing Counter Attack from the Tau Altar of War supplement. This is an objective based mission with deployment in opposite quarters and an objective in the centre of each quarter. The Tau can only deploy Heavy Support and Troops on the table, and must deploy first, but his reserves can some in from either of the empty quarters.
The Tau warlord rolled Skilled Hunter (no Look Out Sir rolls against his shooting) while the Chaos Lord rolled Black Crusader (he hates them pesky Space Marines).
The Chaos Lord gained the boon of Warp Frenzy (+1A) and the Daemon Prince got Unholy Crusader (Crusader). both of the Plague Champions were unworthy of a boon.
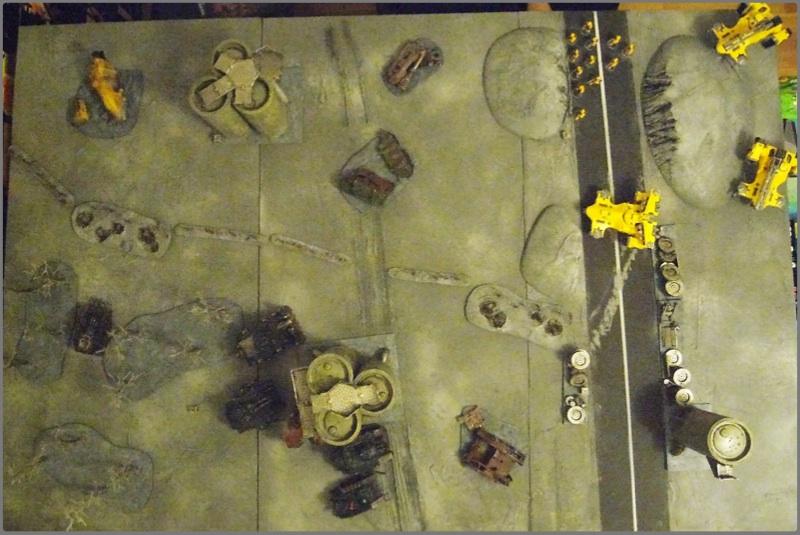
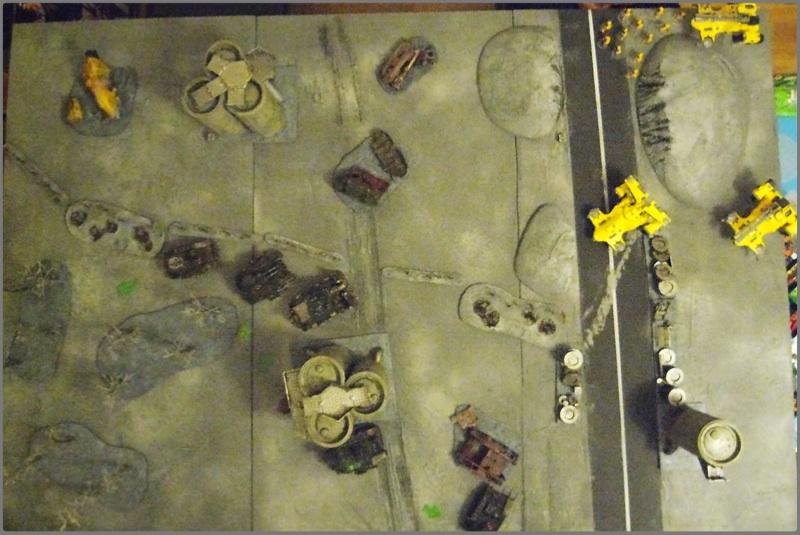
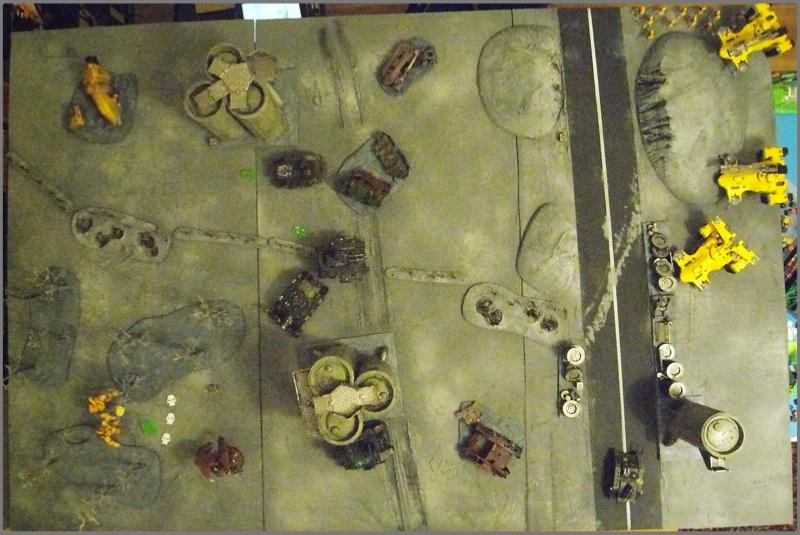
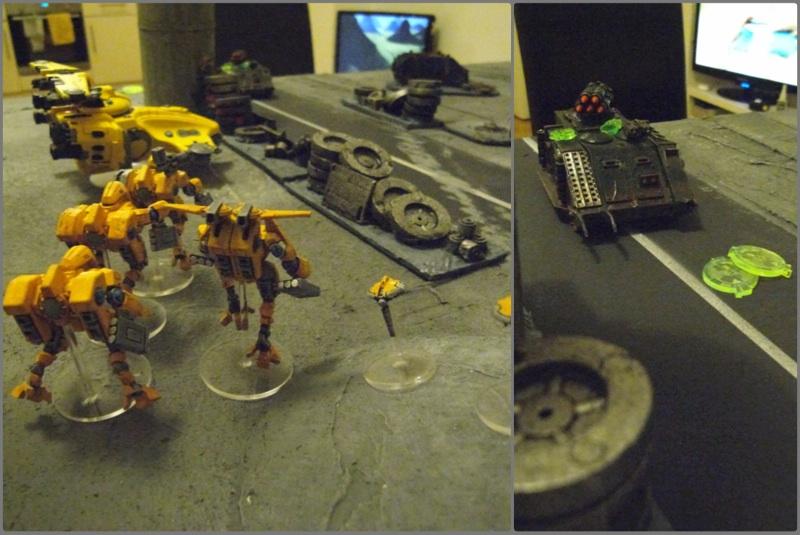
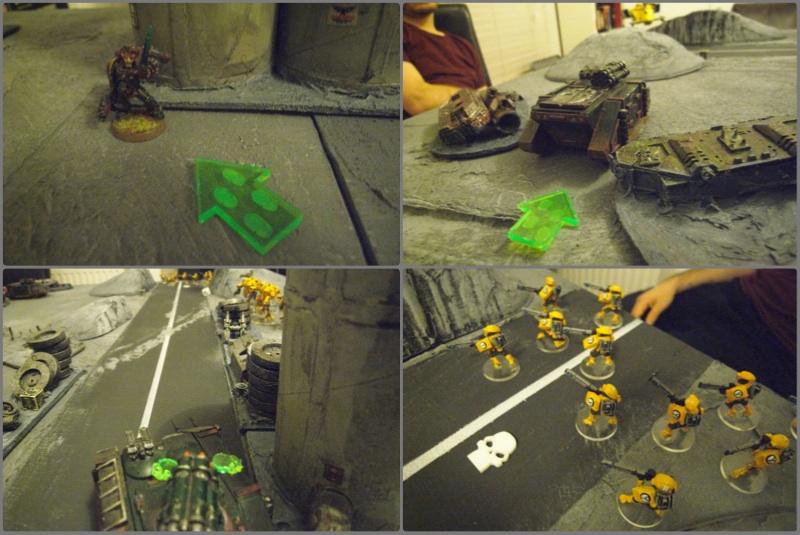
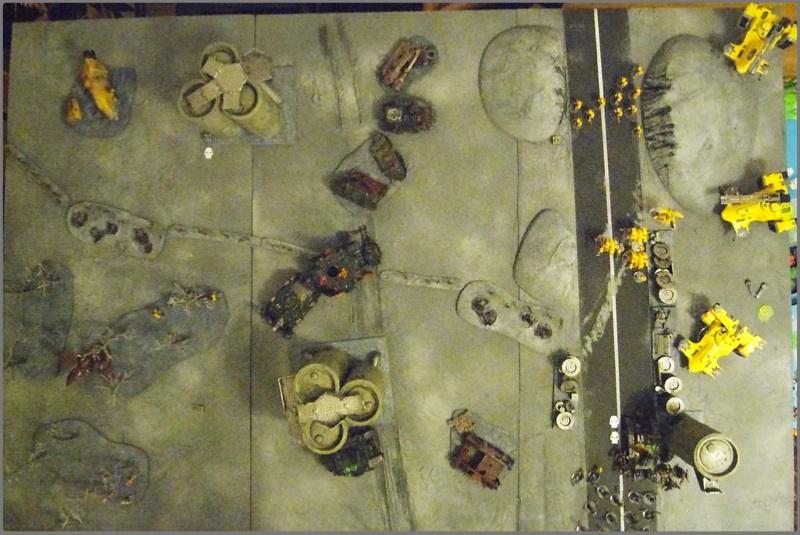
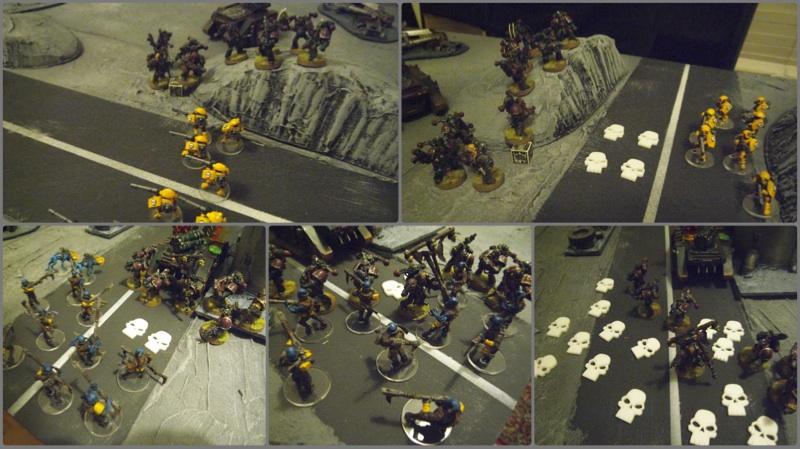
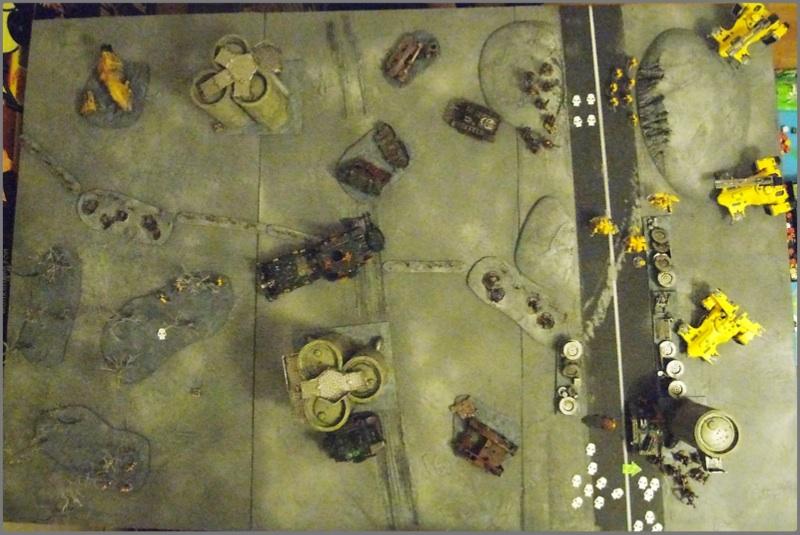
Deployment The Tau deployed back in their corner, the three tanks lurking around the crags and a Fire Warrior squad ready to reveal their objective.
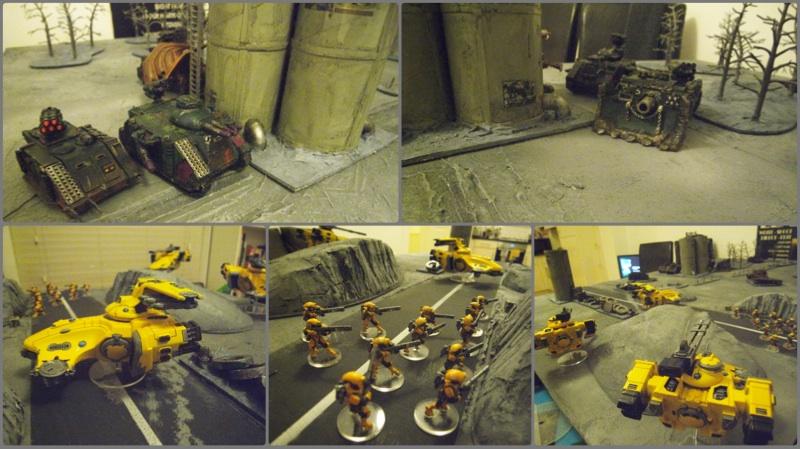
Chaos then skulked around the biggest chemical tower, their Daemon Prince hiding behind it and the Chaos Lord in the Rhino with the 9-man unit. In this scenario, Tau get first turn.
 Tau Turn 1
 The Fire Warriors immediately reveal a Sabotaged objective, so move away, as the Sky Ray moves up and marker lights the nearest Predator.
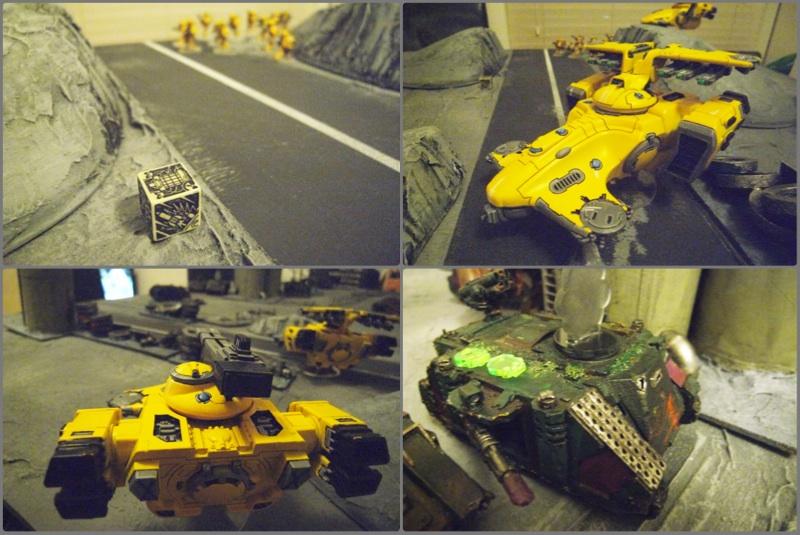
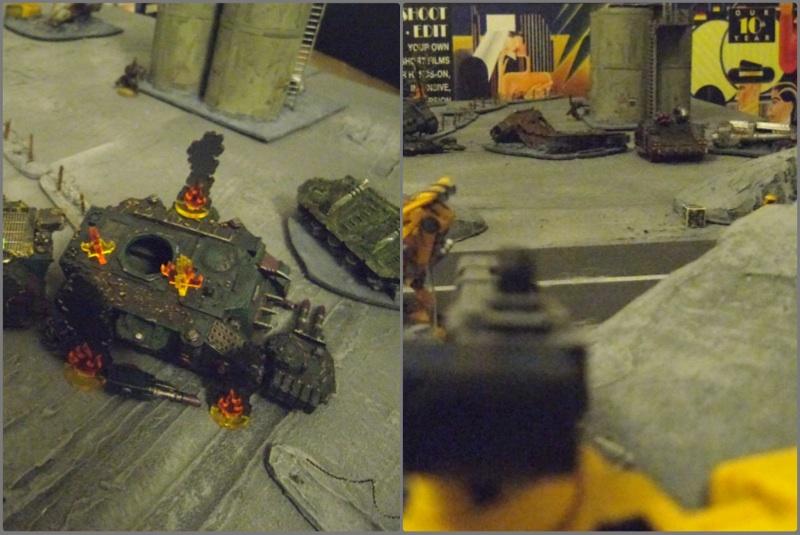
Both Hammerheads take advantage of the marker lights but only manage to blow off the turret and cause some hull point damage.
 Chaos Turn 1
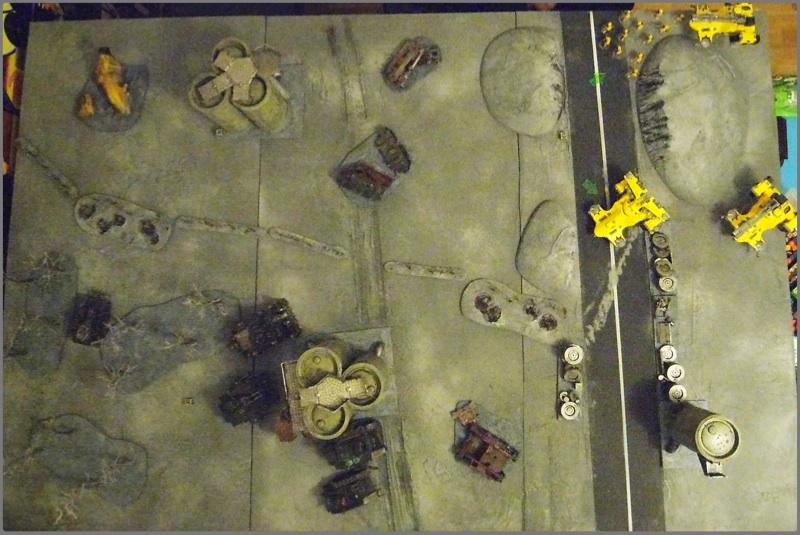
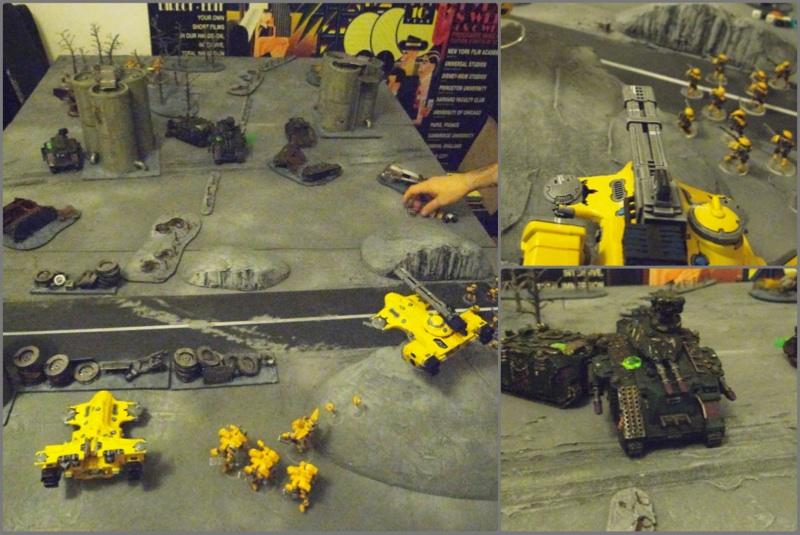
 The entire Nurgle line move forward, the Vindicator getting into range and the Predator and Rhino moving around it. The other Rhino lurks behind a lovely piece of wrecked vehicle terrain.
The shooting doesn’t work, though, Disruption Pods helping the Skyray stay alive through a Vindicator barrage.
 Tau Turn 2
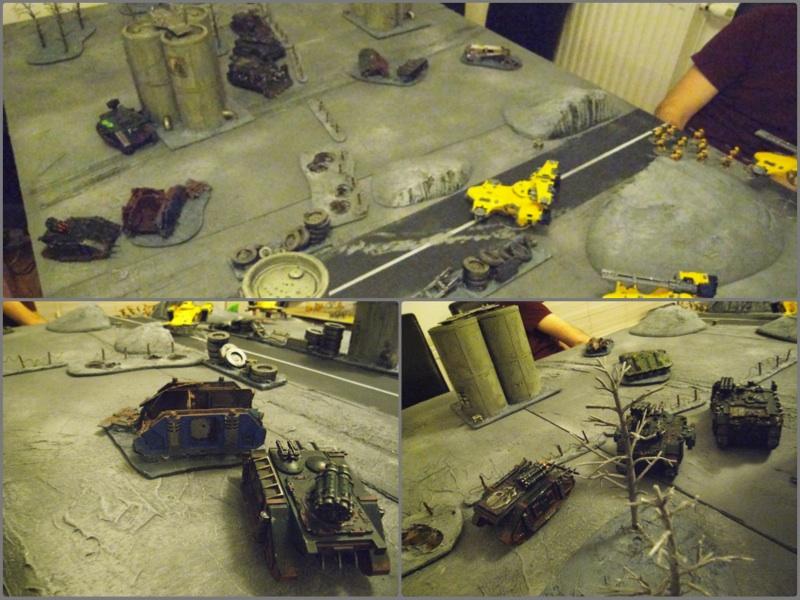
 Only the Hazard team arrive this turn, bouncing in behind the Daemon Prince. Meanwhile, the Skyray tries to target the advancing Rhino with two missiles, but only knocks a hull point off.
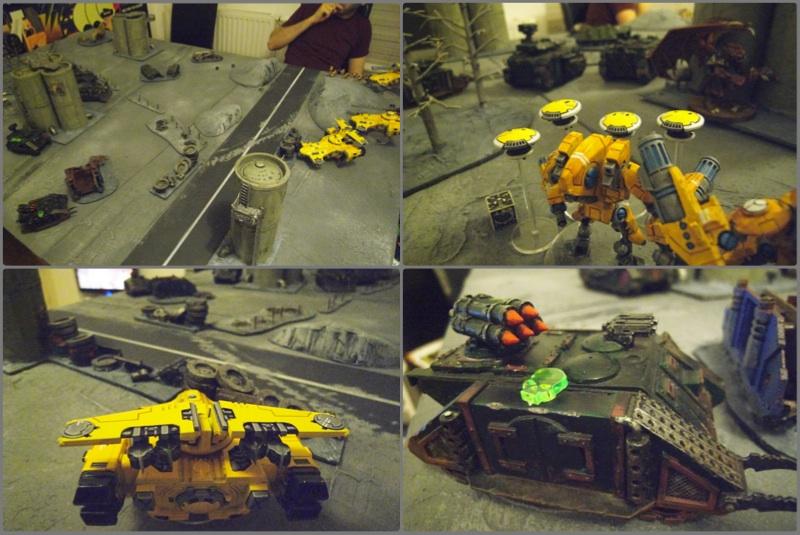
The Hazards realise that a Shrouded Nurgle Daemon Prince in area terrain will get a ridiculous cover save against their Fusion Cascades! Damn. They split fire against the backs of the wounded Pred and the Vindicator, but only manage to cause one hull point on the Vindicator. They bounce as far away as they can!
However, the Hammerheads don’t do very well, and the Fire Warriors continue to retreat into cover.
 Chaos Turn 2
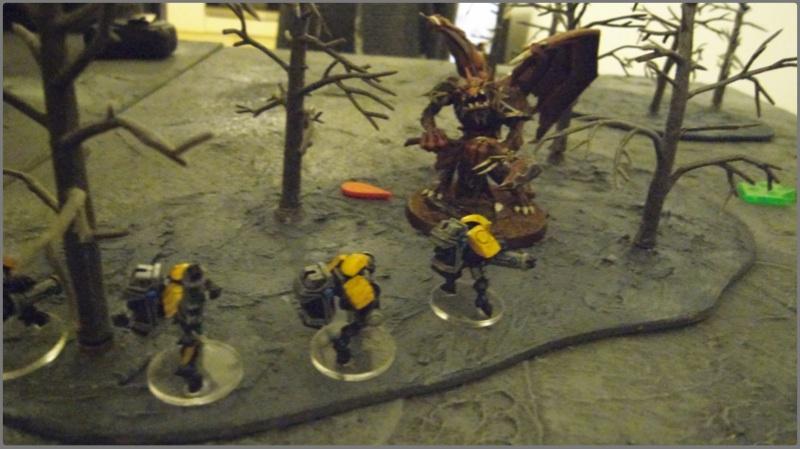
 The Vindicator turns and fires to soften up the Hazards, but only kills one drone. The Daemon Prince then charges the Hazards, killing all their remaining drones and forcing them to flee, but can’t sweep them because of his rotten Nurgle feet.
The rest of the tanks continue the advance, but the Disruption Pods still keep the lascannons at bay.
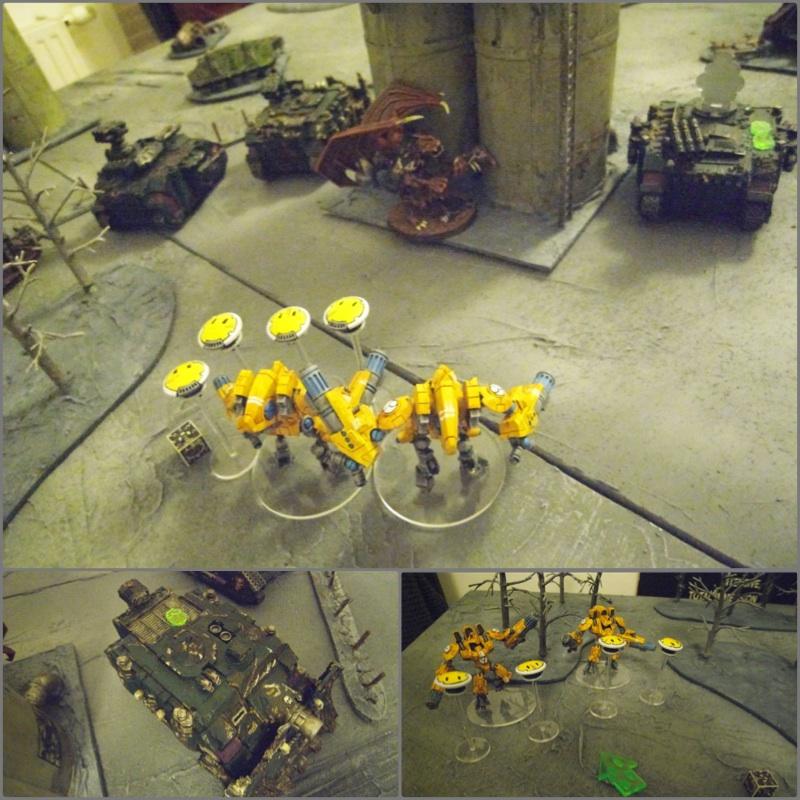
 Tau Turn 3
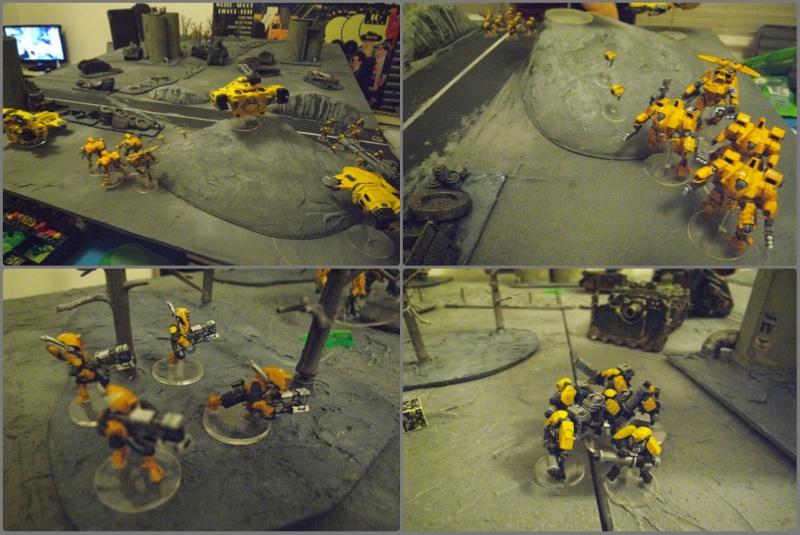
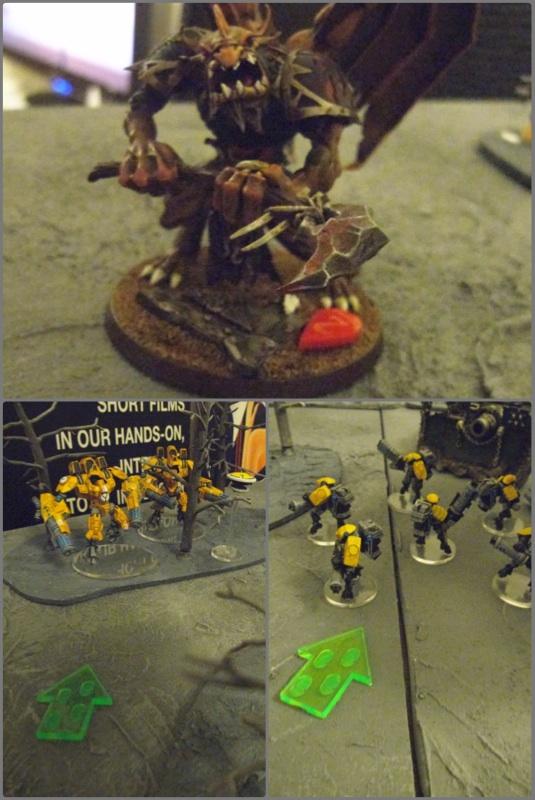
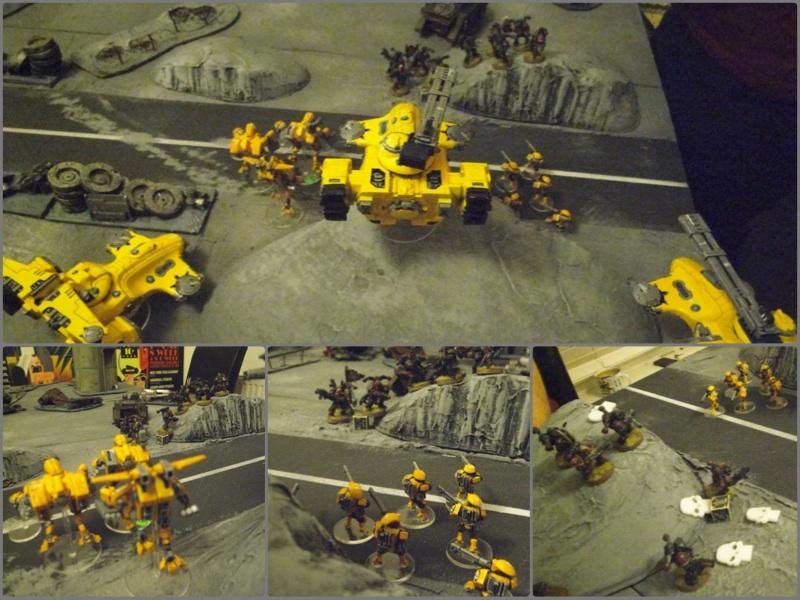
 The majority of the Tau reserves now arrive, the Commander and Crisis Team bouncing on to support the main Tau force, while the Stealth Team land behind the chemical towers and the Pathfinders walk on at the back of the board (actually, in the wrong place - they should have been in a different quarter!)
The Hazards regain their nerve and consolidate towards the Daemon Prince
And the missile suits try to take out the leading Rhino but STILL only manage to take another Hull Point off!
Hammerhead fire takes a hull point off the Predator.
And massed fire inflicts two wounds on the Daemon Prince, after which the Stealth and Hazard teams bounce away!
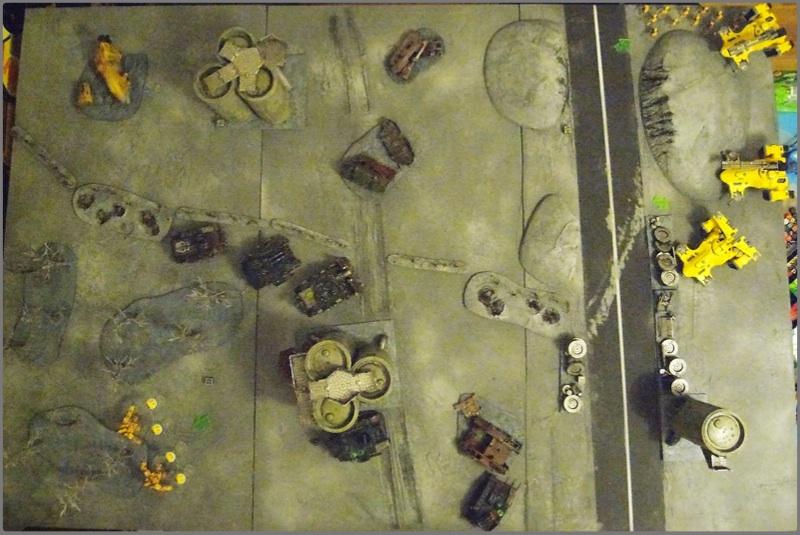
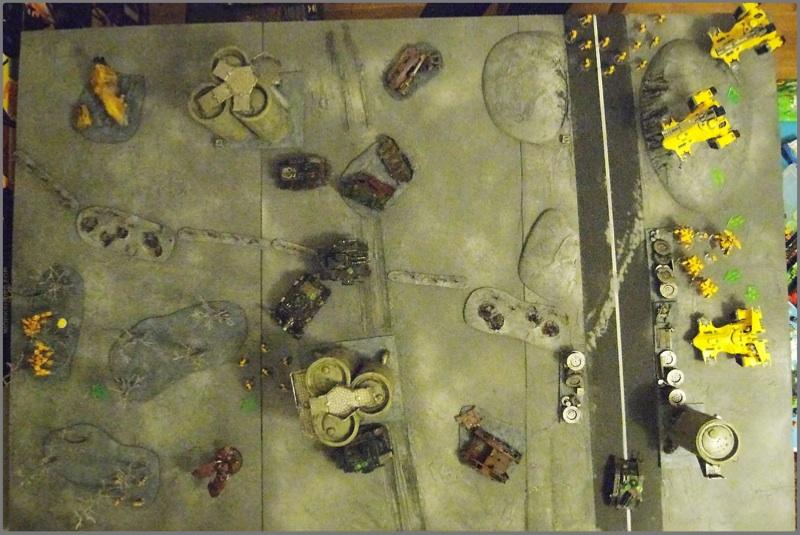
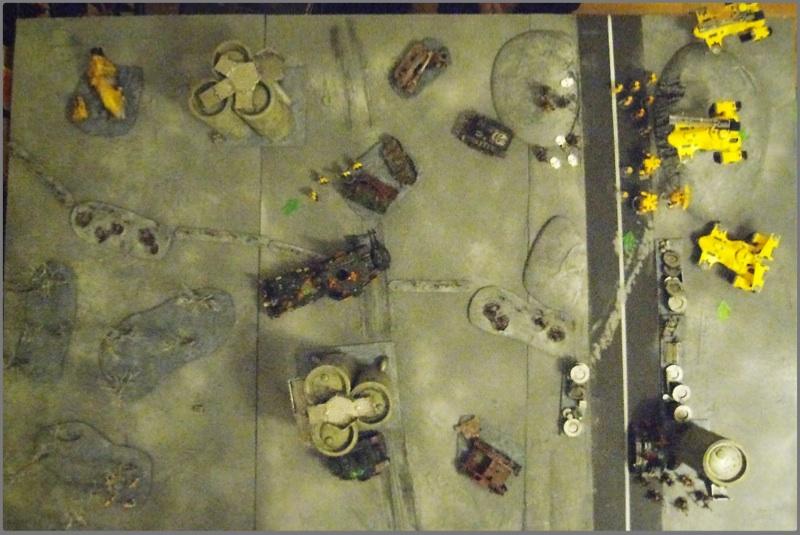
End of the Tau third - the Chaos Rhinos are getting close!
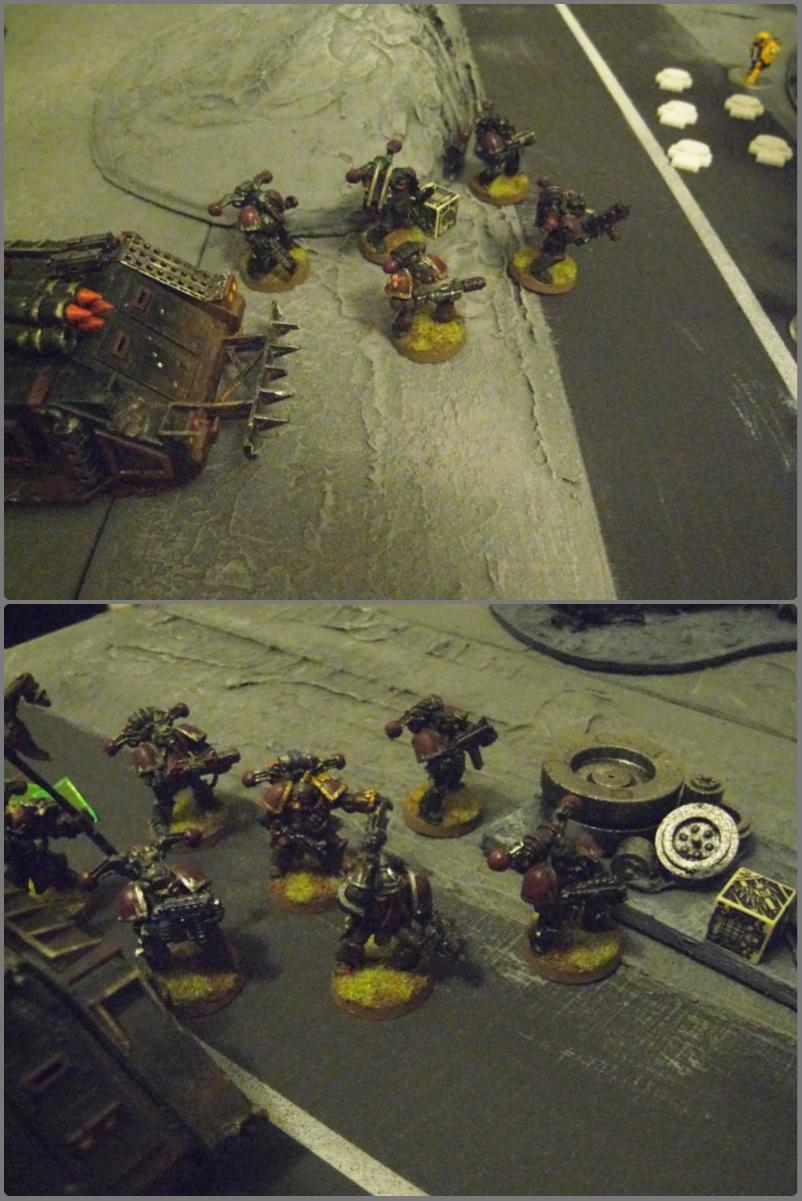
 Chaos Turn 3
 The Lord disembarks the Rhino as it moves onwards. He takes position by an objective to potentially deny it to the unarrived Tau Rangers. The Rhino’s havoc launcher takes out the first of the Fire Warriors.
The Daemon Prince charges the Hazards, but his mace bites him and he loses another wound.
And the Vindicator fires point blank at the Stealth team, but their fancy armour means the explosion can’t see them (!) and only two die.
The other Rhino takes cover behind a lone chemical tower.
 Tau Turn 4
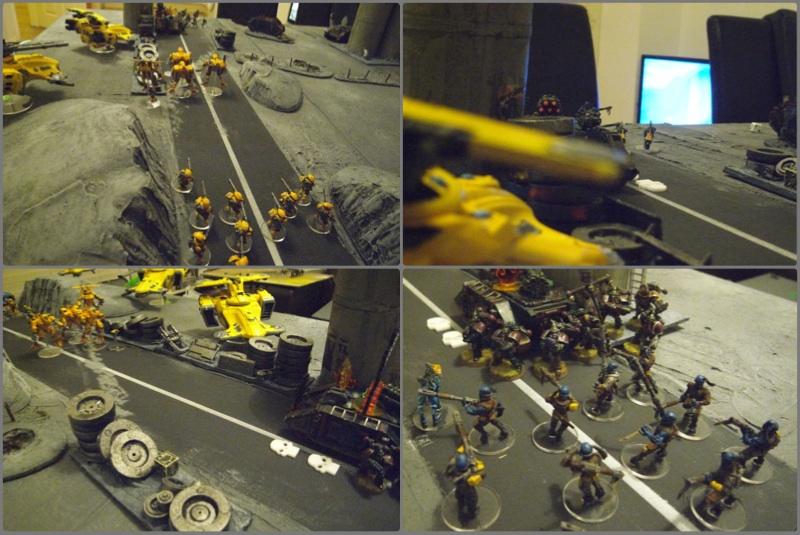
 The Hammerheads up their game, one wrecking the Predator and one sniping the Chaos Lord on the other side of the table! FINALLY First Blood is won, as well as Slay The Warlord.
The Kroot arrive behind the advance Rhino, and massed fire blows it up and kills four of the Plague Marines.
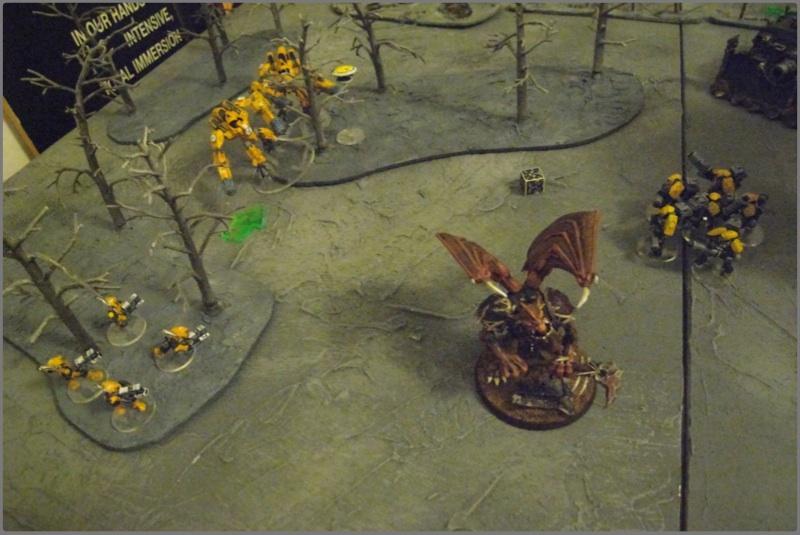
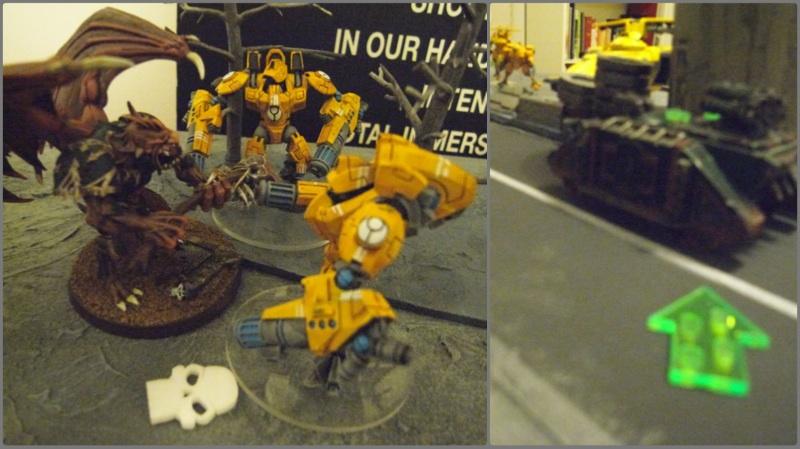
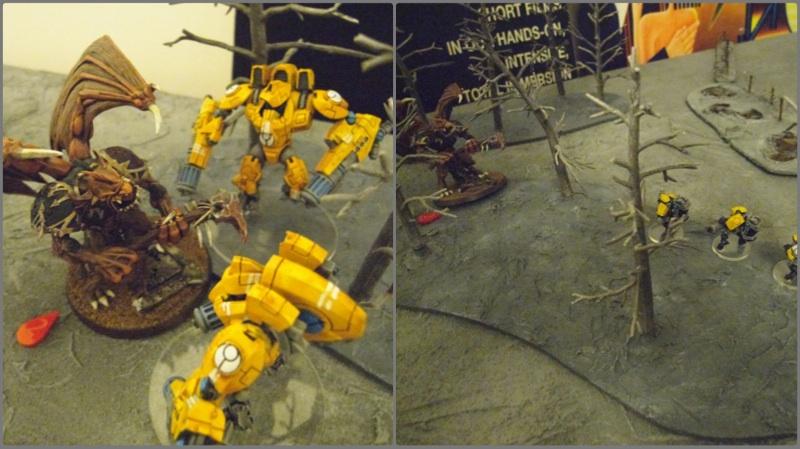
And the Daemon Prince wipes out the Hazards in a fantastic round of combat and consolidates towards the Stealth team.
That’s still a dangerous amount of Chaos Marines alive down there.
 Chaos Turn 4
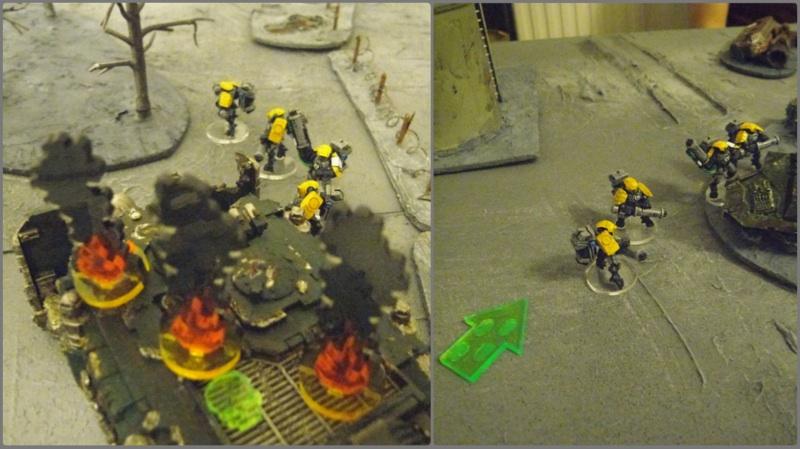
 The second squad of Plague Mairines disembark from their Rhino and all the chaos line opens fire on the Tau Troops. The five Plague Marines charge the Kroot, sweeping the whole squad from the table!
The Daemon Prince attempts to charge the Stealth team but his last wound is taken by Overwatch fire.
Leaving the game precarious at the end of 4.
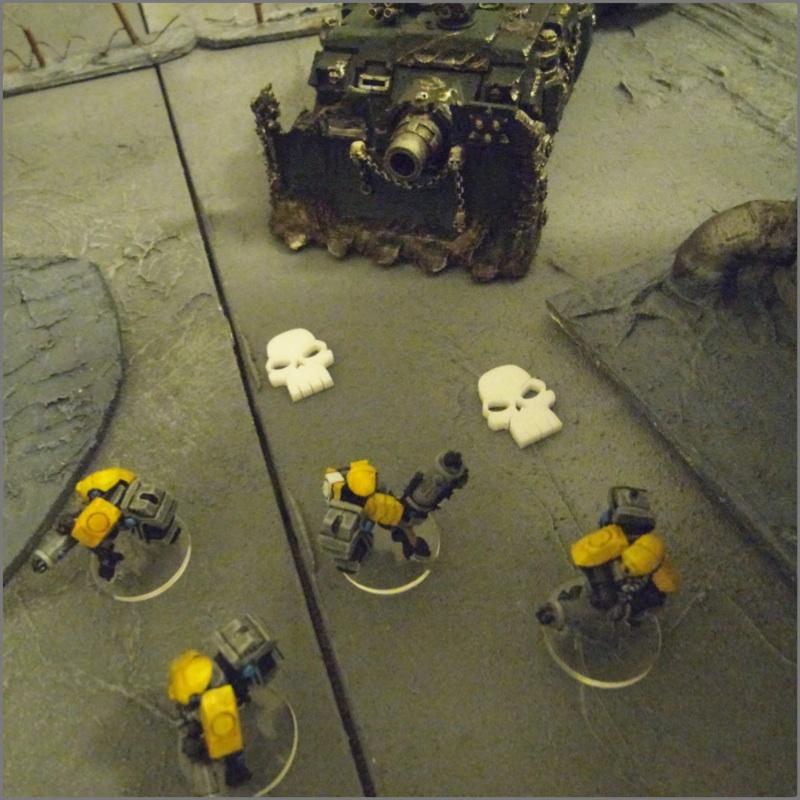
 Tau Turn 5
 The entire Tau line fires at the big Plague Marine squad but only managed to kill four of them!
The Stealth team fire on the Vindicator. Two are in the side arc and two are in the front arc. The front arc guys can’t hurt the tank, so fire at the side arc, using two marker light tokens scored by the Pathfinders to ignore the massive cover save the Vindicator would usually get from this. Hull points are removes and the vehicle is wrecked.
The Stealth team bounce over, hoping to help the rest of the army next turn.
 Chaos Turn 5
 The two Plague Marines consolidate onto the objectives, and do a little damage, but then the game ends! Victory to the Plague Marines!
Chaos 7 (2 Objectives, Linebreaker)
Tau 3 (Linebreaker, Slay the Warlord, First Blood)