You've got the right idea.
If you want to put a decal over a strong colour, you need to use a white decal paper and print an appropriate background around the design. (Or use a white-backed decal, or 2 stage process, but white paper is easier).
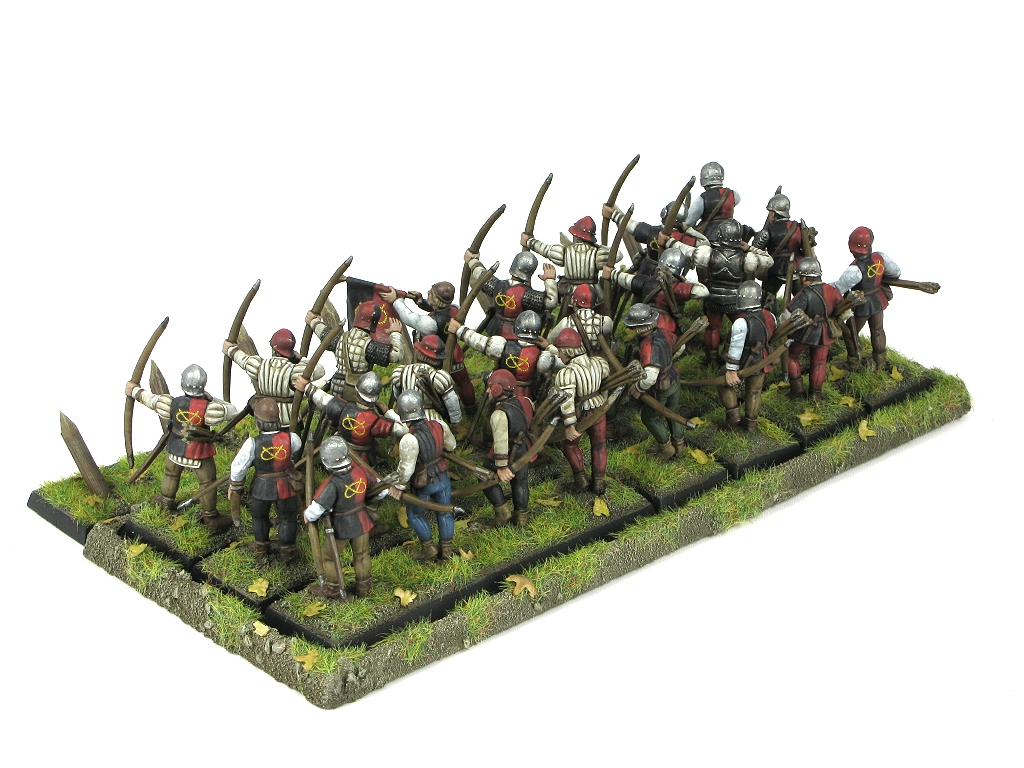
That's what I did for these - the yellow stafford knot is printed in a rough oval of the appropriate background colour (red or red/black):

Things to bear in mind:
1) Your printer resolution is the limiting factor on how sharp you can make a decal. Ensure your image is rasterised (made of pixels, not vector) at the same native resolution as your printer. Your art package should allow you to set the physical size / resolution of your image.
2) Decal paper varies. I have nice stuff from craftycomputerpaper.co.
uk. I've heard horror stories in particular about very thick white decal paper. Thinner is better.
3) You need to be GOOD at putting on decals. Follow this guide (
http://www.winterdyne.co.uk/maz/winterdyne_tutorial3.pdf) and you won't go far wrong. You shouldn't need to seal laser-printed decals. I've not bothered in some time, and I've not really suffered for it. Inkjet printed, then you absolutely MUST seal them.
4) Your printer may not be set to print at full resolution - ensure you've set it to 'best quality' or whatever. Draft prints on expensive decal paper are not fun. TEST BY PRINTING ON NORMAL PLAIN PAPER FIRST. Then put the decal film in (and make sure it's the right way round).


 .
.
 I'm not giving a tutorial, I'm asking for one... so if a moderator or similar could more this to a more appropriate forum I'd appreciate it.

