I've been into Space Marines since WD99 and over the years I have collected and converted a large number of vehicles. I created my own Chapter based on the Legion of the Damned (flames and skulls) but at normal points values. I stopped painting and concentrated on converting things when my boys were born. It was easier to make and convert things in the hour in the evening I had after the kids had gone to bed. As they've got older, I'm getting more time to get back into painting. I've seen a lot on YouTube and started reading articles from Mig Jiminez and
FW Masterclass and decided to go the whole hog, buying an airbrush and compressor and to start the weathering of my vehicles.
I thought I'd start this topic to keep a record of all my completed variants. Without further ado:
Assault Land Raider
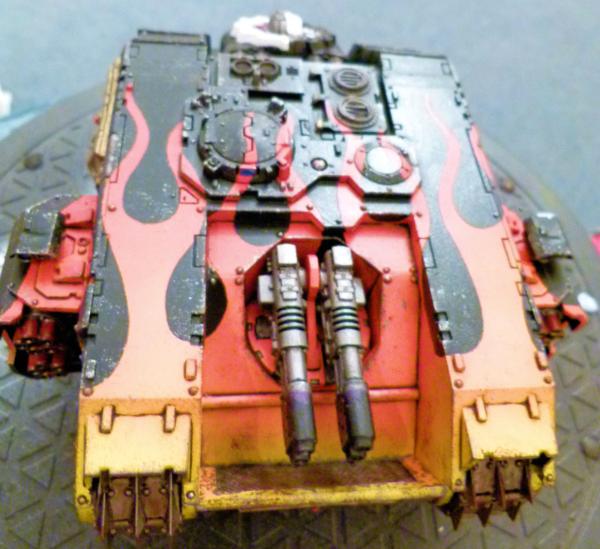
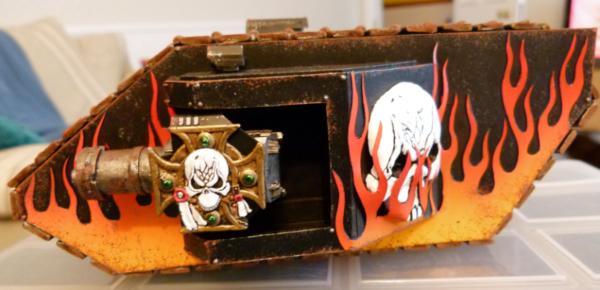
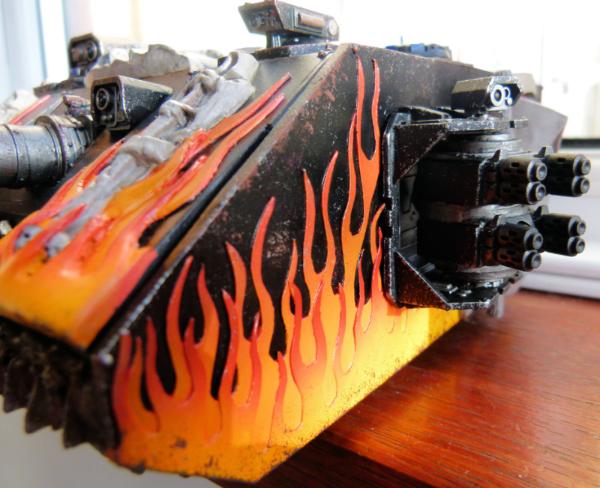
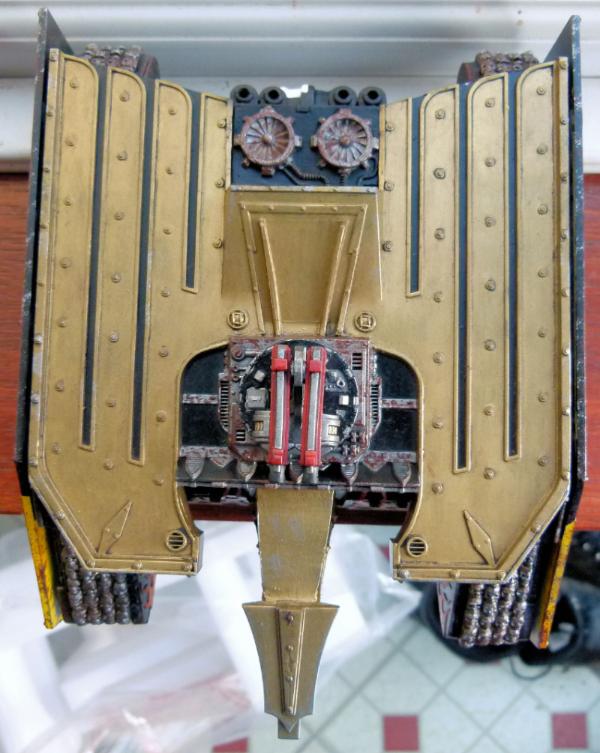
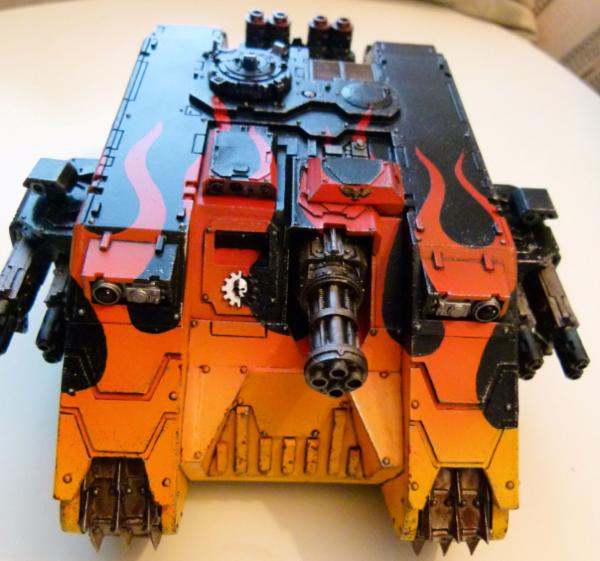
I wanted to convert a Land Raider to look like something from WW1. So I reversed the tracks, making the front the rear and vice versa. I gave the variant a twin redeemer flame cannon turret and twin assault cannon (actually Vulcan mega bolters) sponsons as I thought these would be good weapons to clear a path to allow the Terminators to disembark from ........
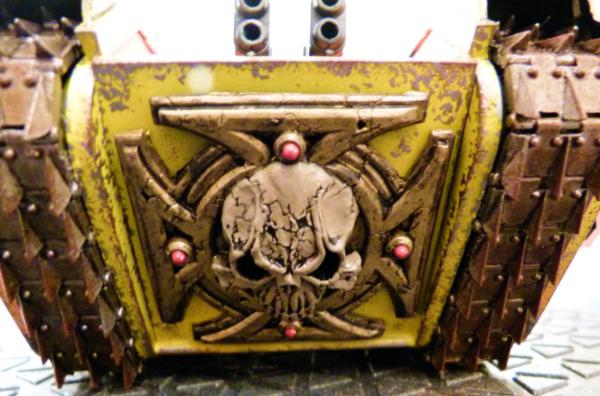
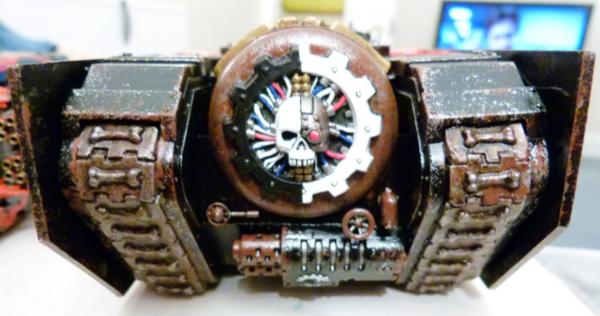
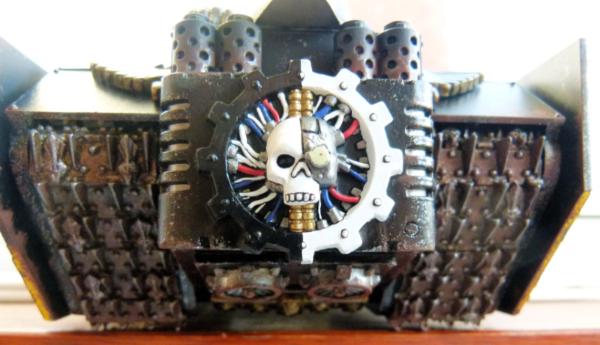
..... A Crux Terminatus badge (from
FW) on the Front Assault ramp.
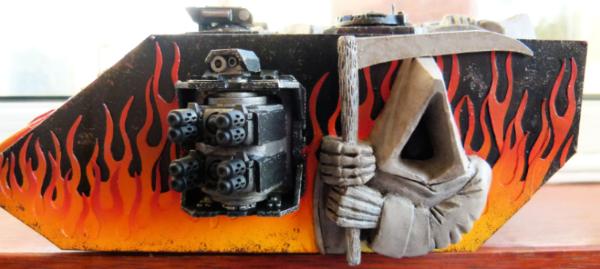
I tried to match the flames over the sponsons. In this view, the front is to the right and the rear is to the left.
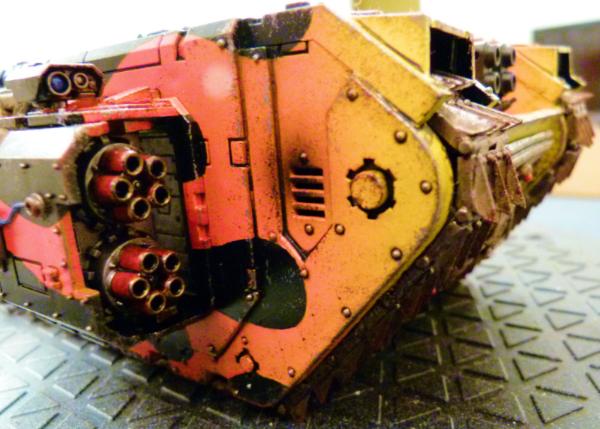
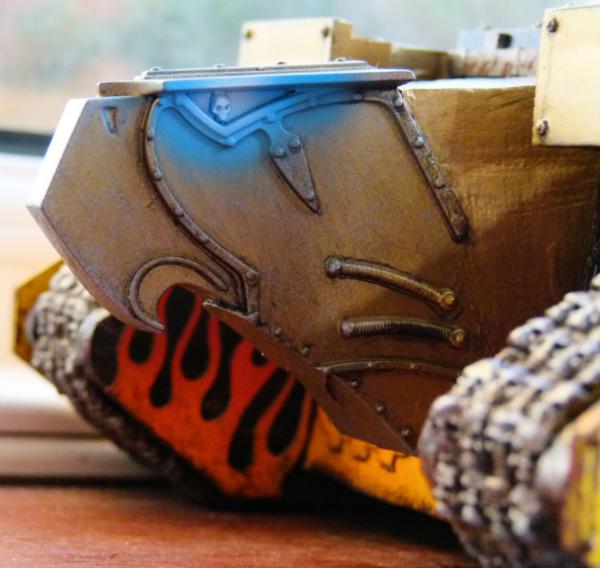
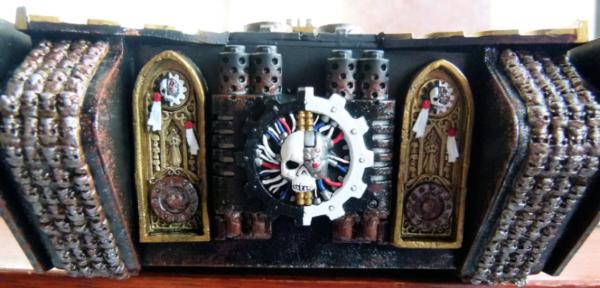
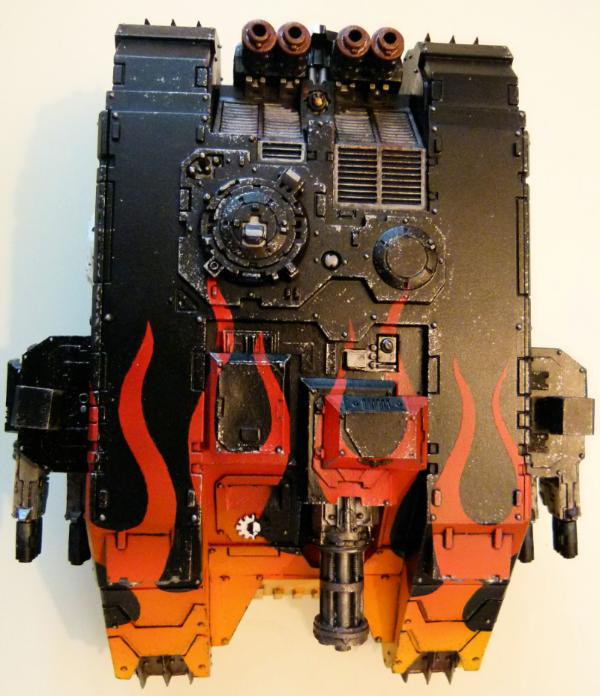
This shows some of the weathering that I added to the front.
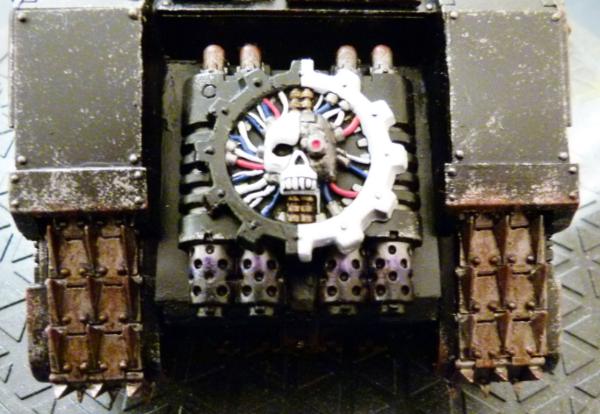
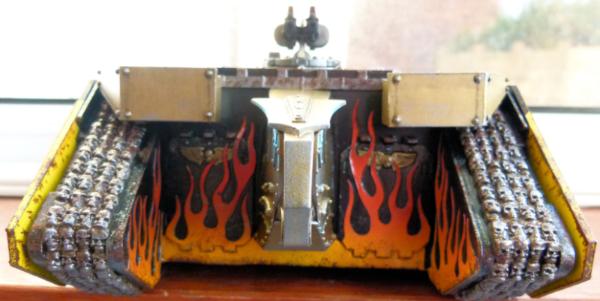
This is what I did at the rear. I use the Adeptus Mechanicus logo from the Manufactorum from the cities of death on all of my variants to show my Chapters close allegiance to Mars and the Adeptus Mechanicus (and to explain why they have so many variants that other chapters don't have).
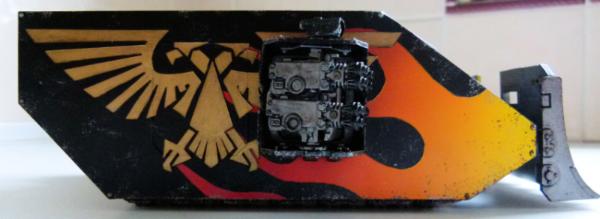
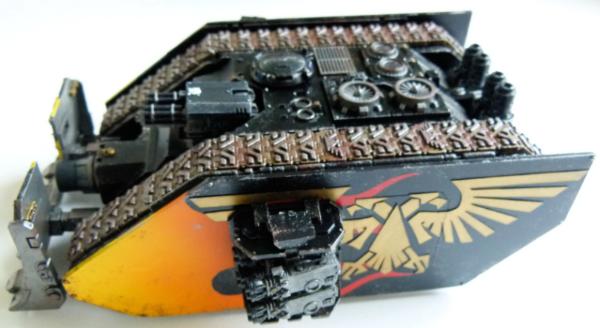
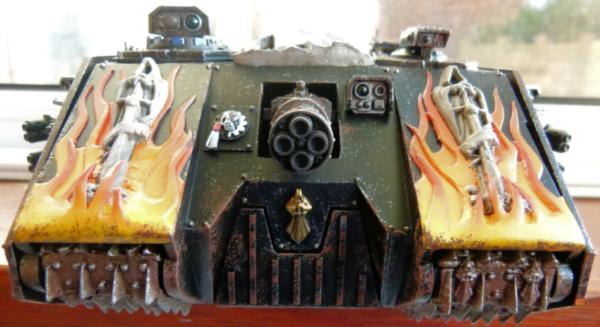
Hellhound Land Raider
Taking the good parts from the
IG Hellhound, the Adeptus Mechanicus created a
LR variant (removing the troop carrying capacity and replacing with a large fuel tank) and allowed the Legion of the Dead to trial it before releasing to other chapters:
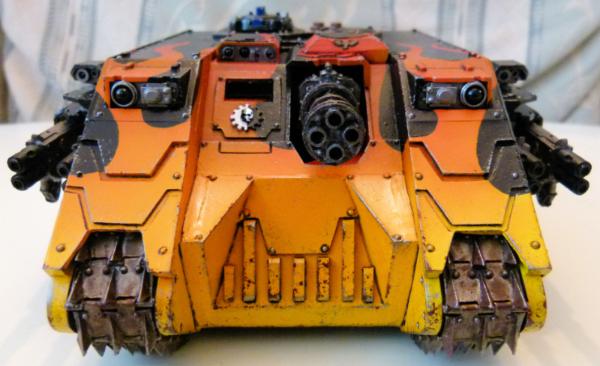
I used flames cut out from plasticard and some milliput over the front, top and sides of this variant and then used an airbrush to paint them.
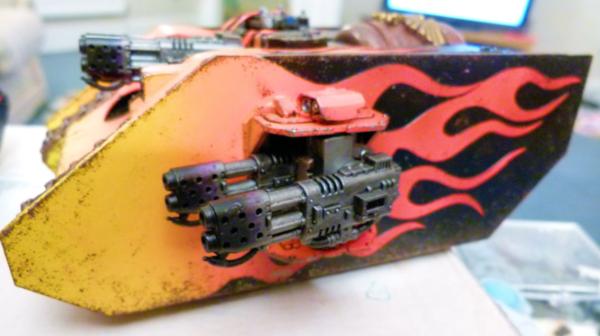
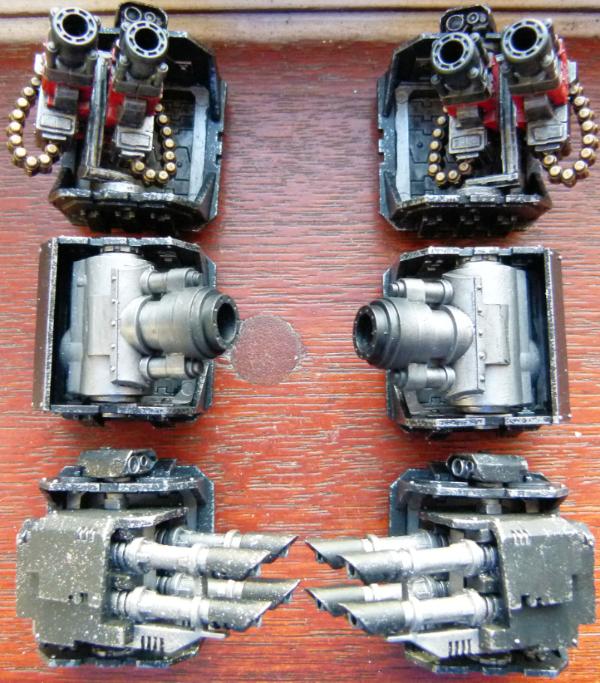
I armed this with a Twin Redeemer Flame Cannon turret and Twin Redeemer Flame Cannon sponsons.
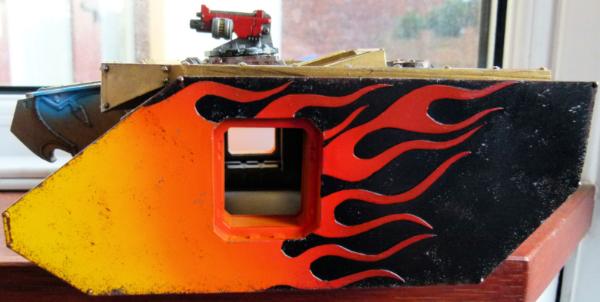
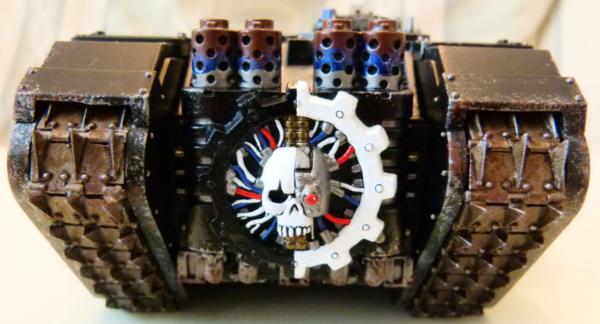
This shows the flame tank used to store all the promethium....
.... and finally, the rear.
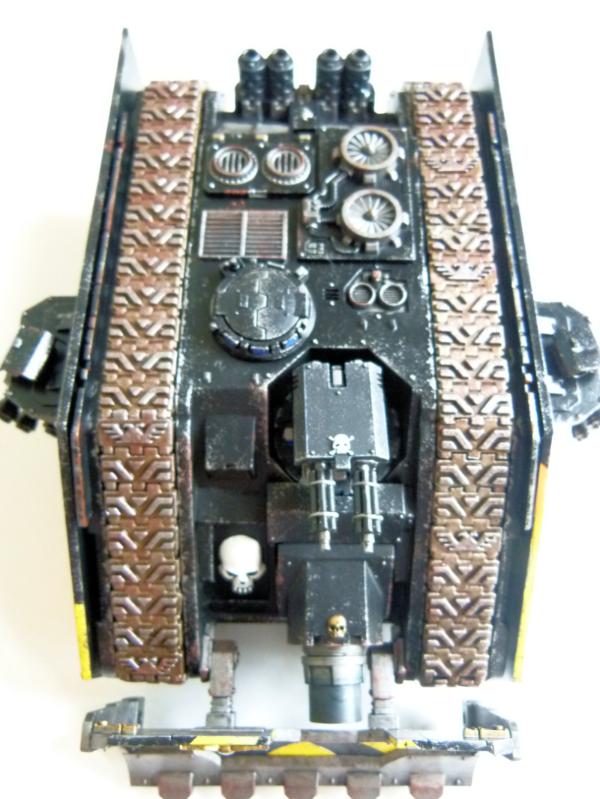
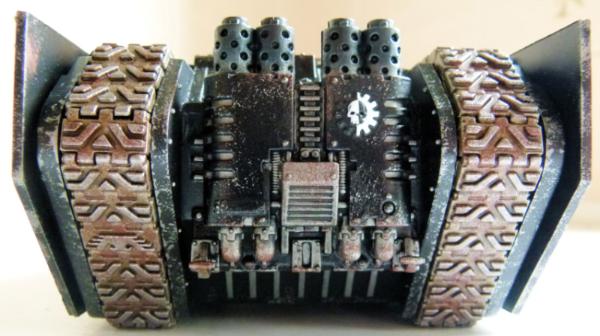
Thunderfire Land Raider
To give the Imperium's finest some mobile heavy weaponry, the Adeptus Mechanicus have created this variant:
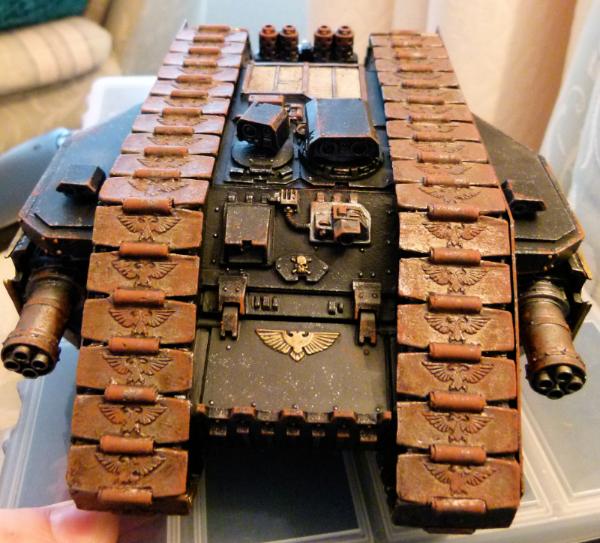
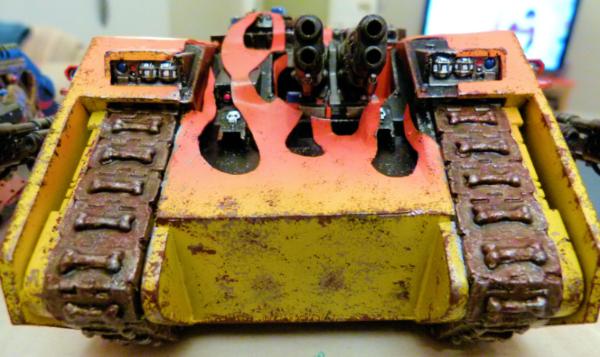
The turret has been removed to fit in extra sensors to ensure accuracy. I also wanted to try wrap around tracks (again, something akin to WW1 tanks).
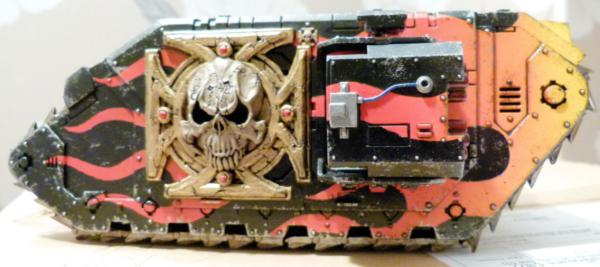
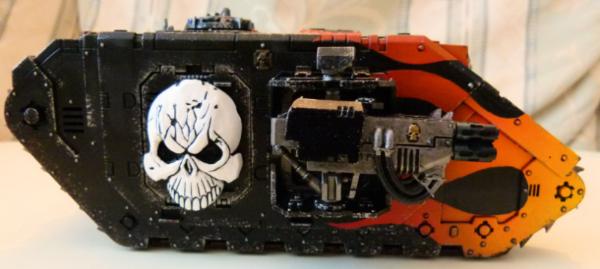
This shows the left hand side. Flames and skulls as per usual!
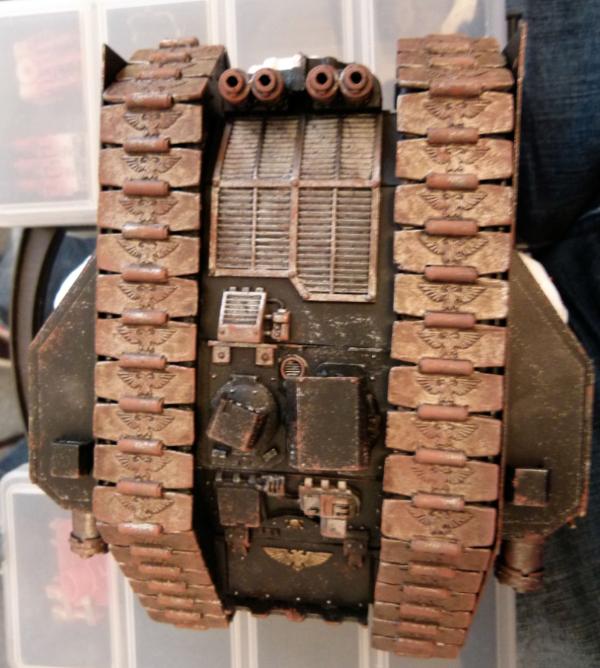
This shows the top......

...and rear.
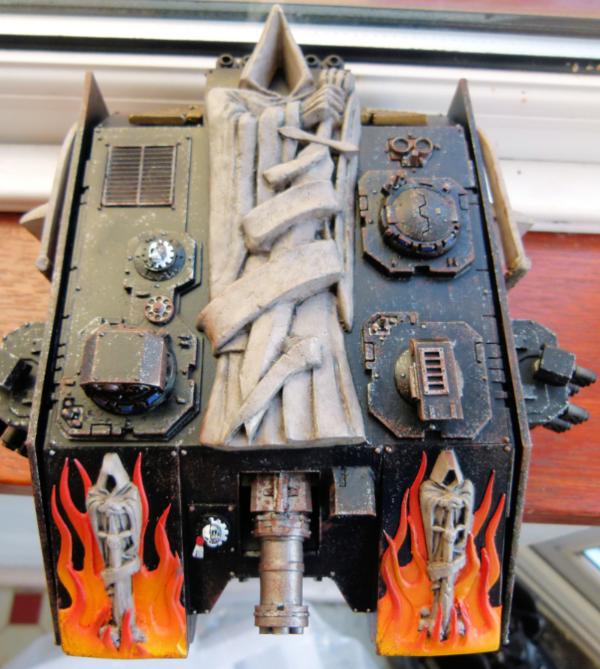
Honoured Imperium
To have an Honoured Relic on a battlefield gives the legionnaires added desire to complete their mission:
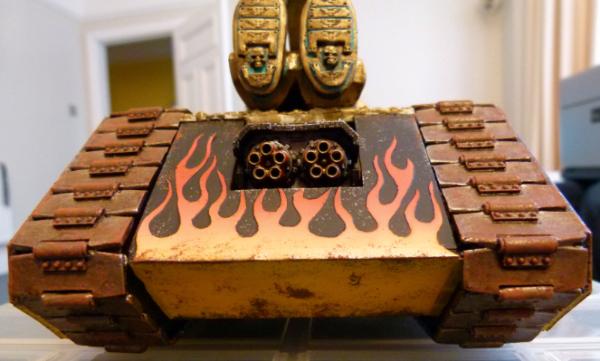
I armed this with a Vulcan Mega Bolters (which can be played as a Twin Assault Cannon). I liked the wrap around tracks on the Thunderfire variant so did it again on this one.
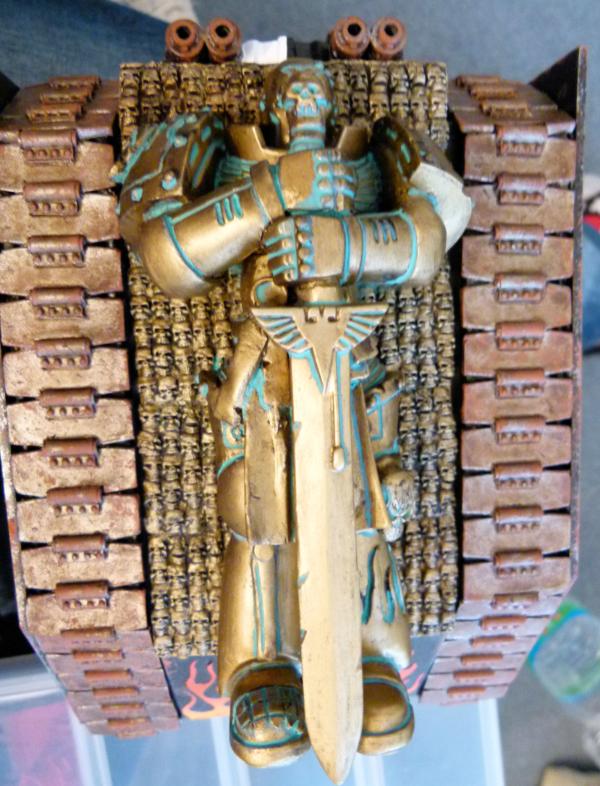
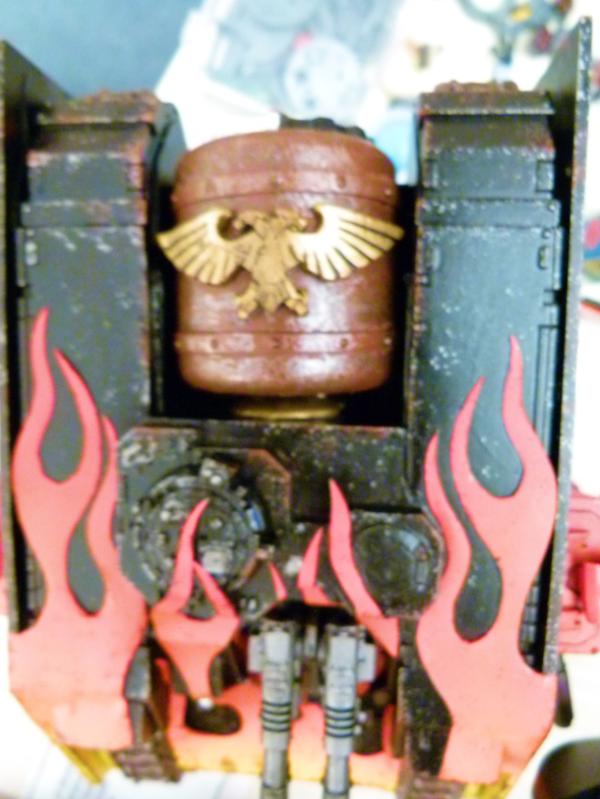
I heavily converted an Honoured Imperium statue to make this Hero holding his sword in both hands. I wanted to add some verdigree to show how old this relic is.
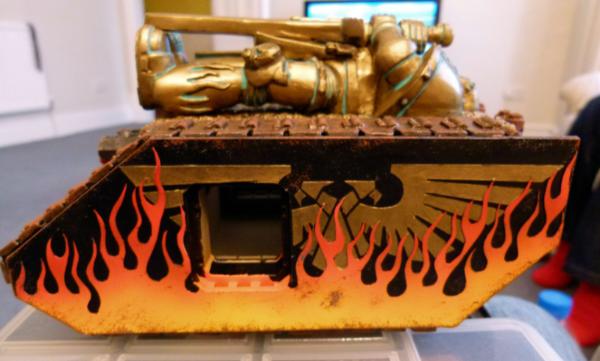
I made an Imperial Eagle and flames out of plasticard. An airbrush, paint and some time later, it looked like this. I haven't glued in a sponson yet as I plan on using magnets to allow a large amount of different weapons.
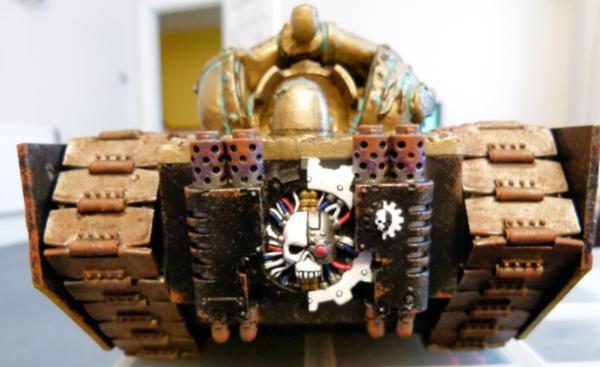
And finally, the rear.
I have plenty more variants to come. I have 2 more almost completed and once so, I'll add these to this thread.
Comments and critiques welcome.
Regards, Phil.


 A Heretic may see the truth and seek redemption. He may be forgiven his past and will be absolved in death. A Traitor can never be forgiven. A Traitor will never find peace in this world or the next. There is nothing as wretched or as hated in all the world as a Traitor. - Cardinal Khrysdam, Instructum Absolutio