Introduction
After years of being in question over whether or not to buy a realm of battle gaming board, me and my hobby partner finally decided to take it upon ourselves to create our own table since it's less expensive and we've been modelling for enough years to feel as though we can do a pretty good job. I don't use these forums often but decided to document our progress here to get feedback on the build as well as help others who are attempting a similar project themselves. I am doing almost 100% of the work myself, my partner will probably do some detailed terrain painting near to the end of finishing the board, whilst I am responsible for design, assembly and base painting. We are also both university students and only have occasional short weeks off to work on the board, meaning that this article may have long periods without updates between lots of updates in short periods. That's the introduction sorted, on to the build progress:
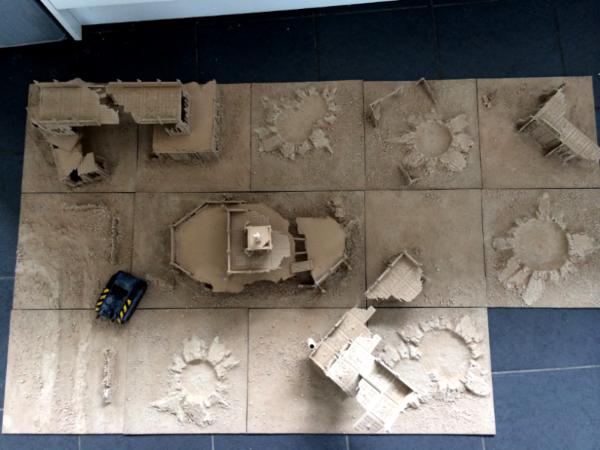
The Plan
The board will be desert themed with terrain to emulate a destroyed city. A mixture of barren, open sections and tight industrial spaces will be created so that the board can be built to suit different game styles. The table is separated into several 12"x12" hardboard tiles so that a variety of combinations can be assembled when completed.
Scenery assets:
5-6 destroyed buildings including large centrepiece building.
Modular road system.
Blast craters/ruined terrain scenery tiles.
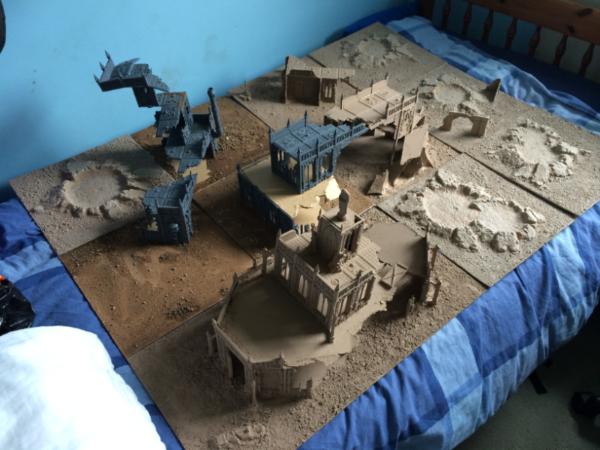
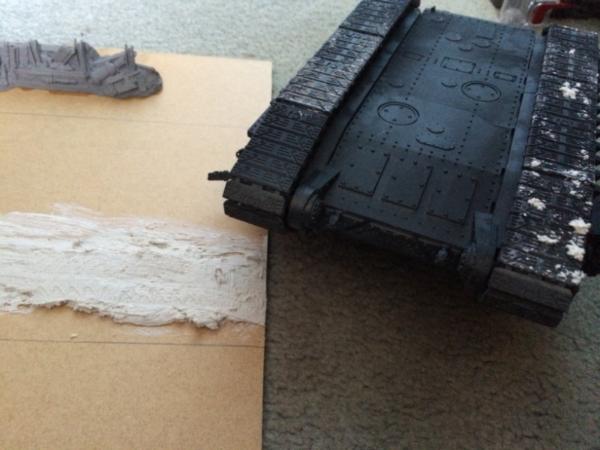
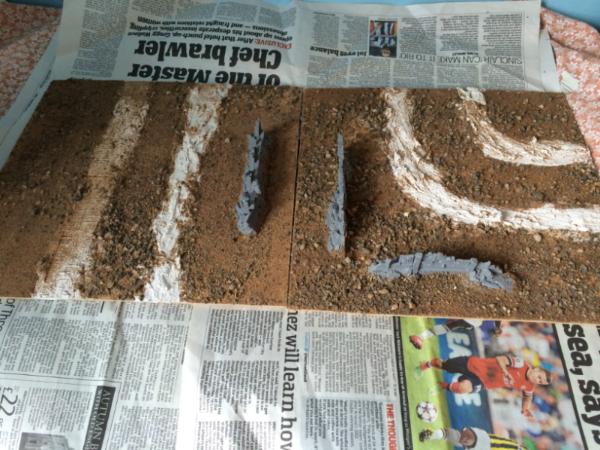
Trench system.
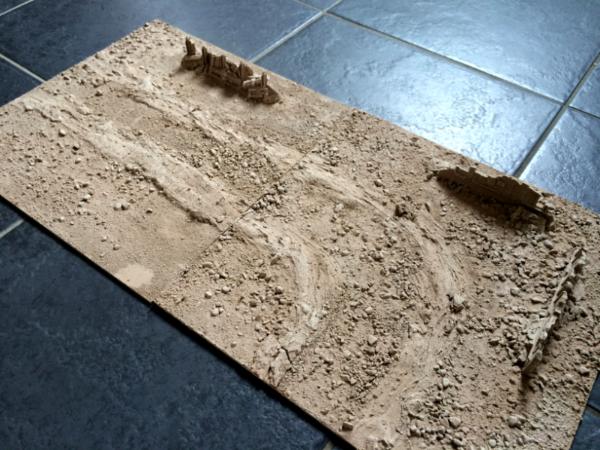
Getting Started
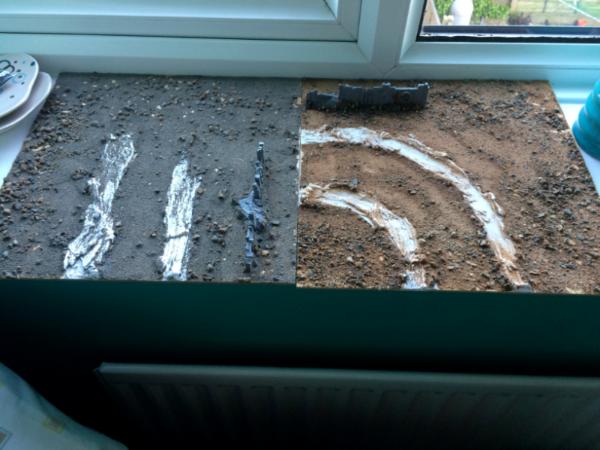
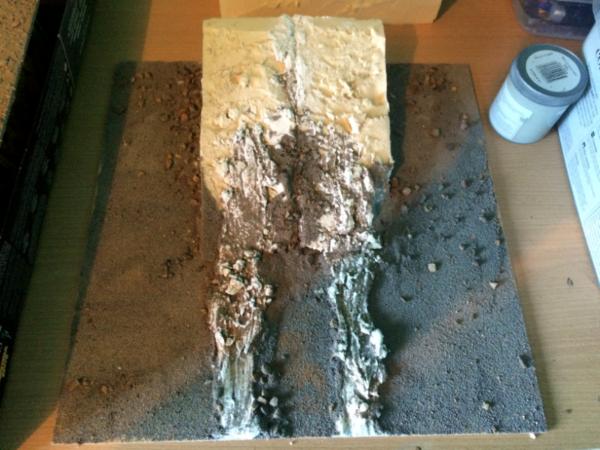
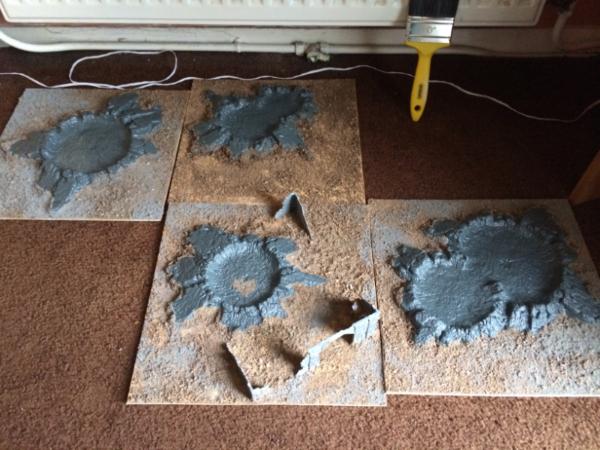
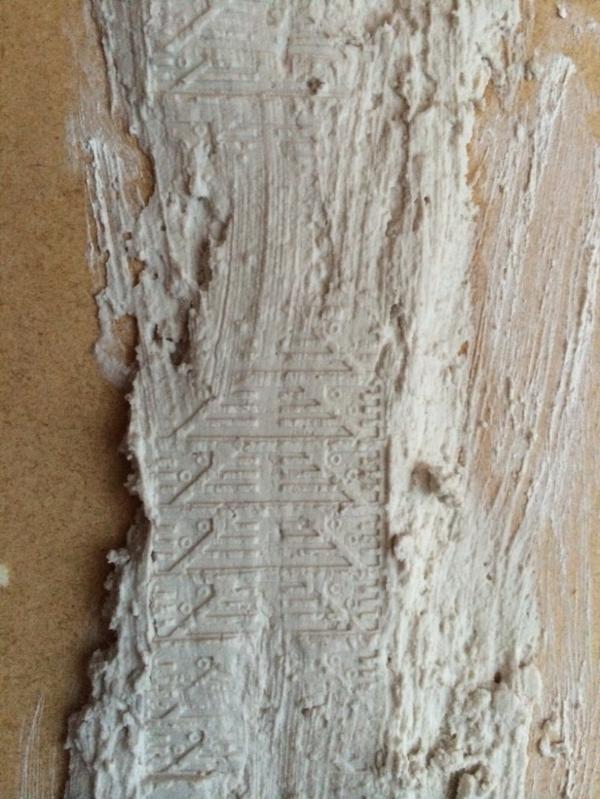
I wanted to start with something simple. I decided to create the blast crater tiles using the plastic moon craters from
GW with coarse sand to add varying rock sizes to the ground texture.
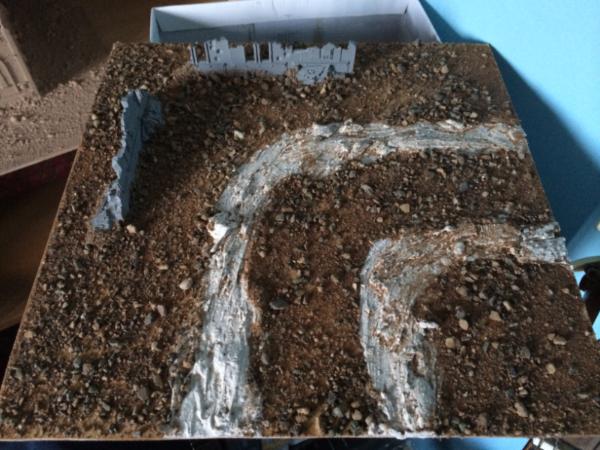
Next, a layer of brown emulsion.
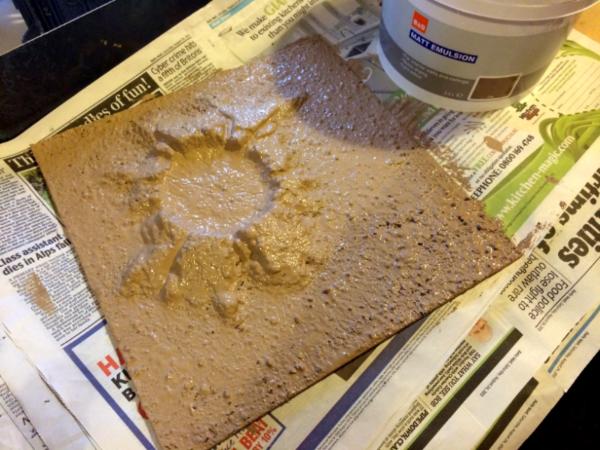
Finally a light brown/bleach colour heavy drybrush to complete the sandstone look.
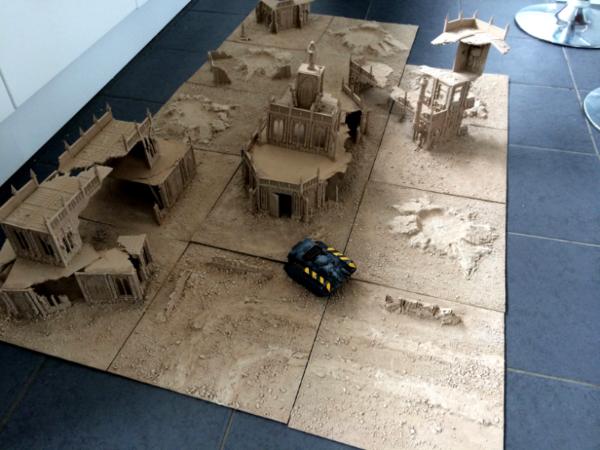
 City structures
I wanted to create buildings in such a way that their tiles could be either arranged closely together to make a tight industrial city, or spread out between empty desert tiles to imitate hostile wasteland ruins. We decided to purchase the
GW Imperial Sector kit, despite it being fairly expensive, as it provides a ton of building parts and is really versatile. I started by creating a standard, small ruined structure.
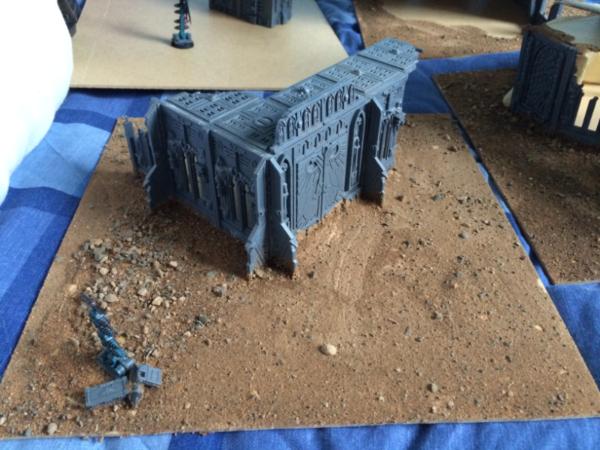
Basecoated with brown paint.
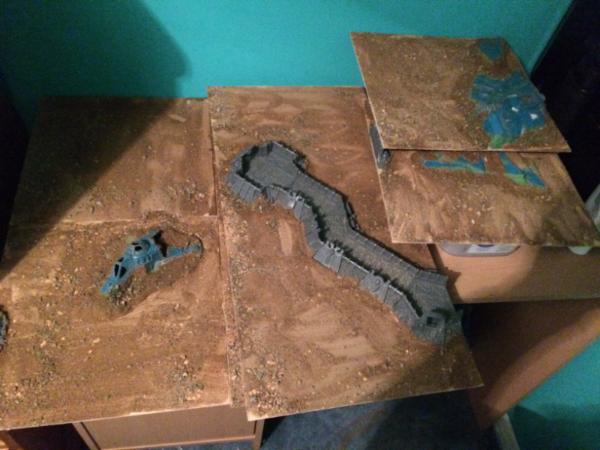
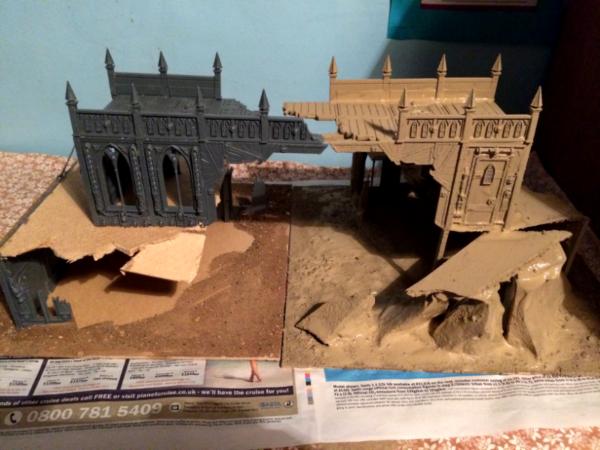
The next goal was something taller, a bridge or archway. I created both sides of the bridge on separate tiles so that they can be arranged together as an arch or individually as ruins.
Bridge half 1:
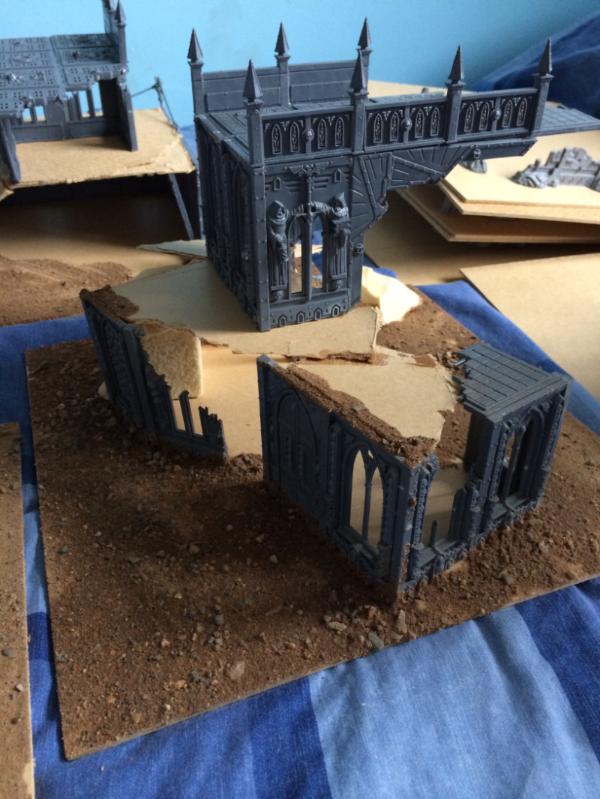
Bridge half 2:
Bridge halves together (one half basecoated).
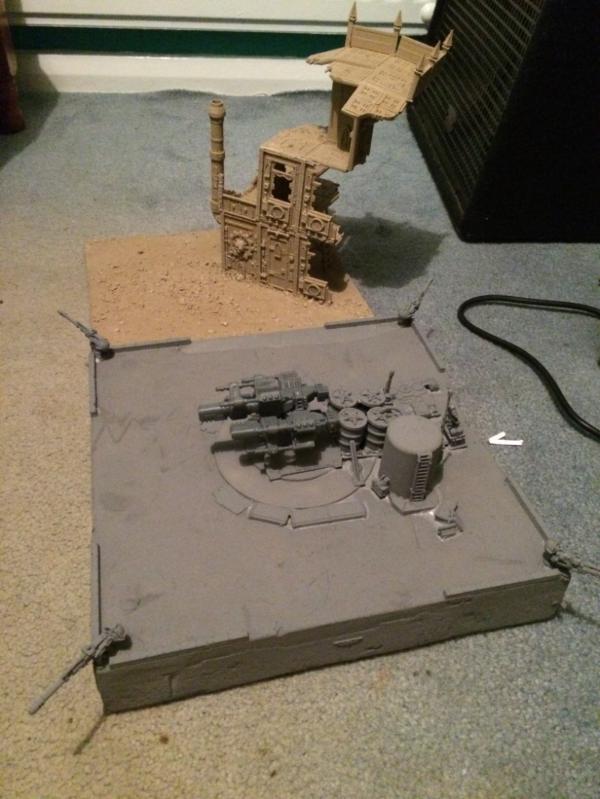
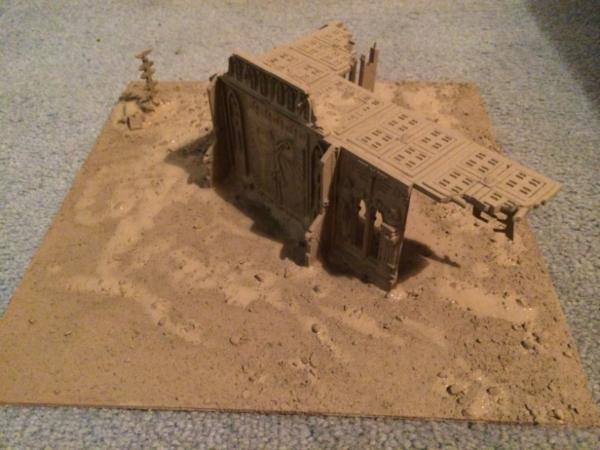
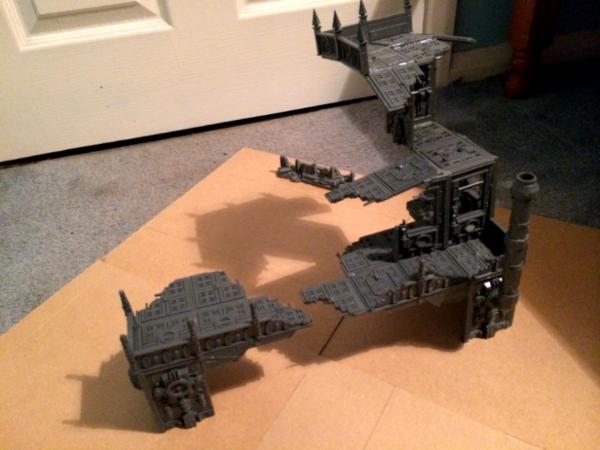
The next building I planned to be a factory with multiple floors and platforms to add further verticality to the board. Rather than building the entire structure on a single tile, I once again opted to spread it over 2 tile sections to add versatility to the final board.
The factory arranged as a closed structure.
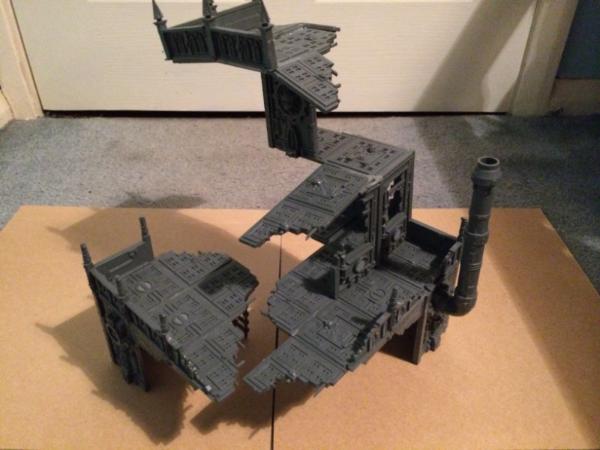
The factory arranged as a wide entryway.
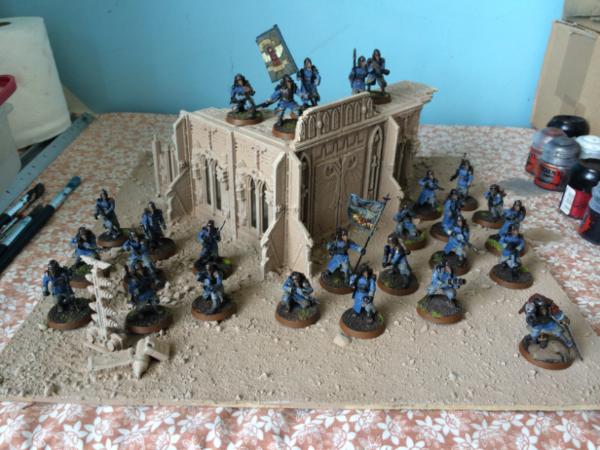
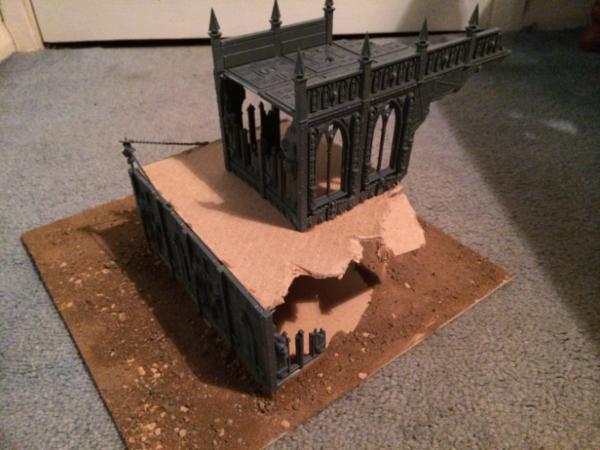
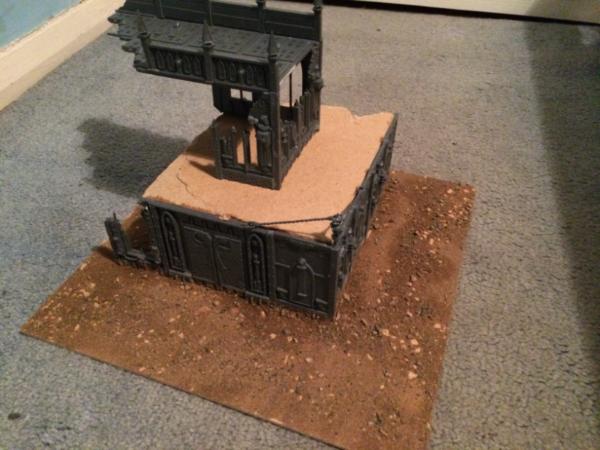
The final building needed to be a centrepiece for the board. I wanted a cathedral/headquarters inspired structure that units could stand on top and inside of. Instead of another modular, disjointed building I simply used two tile pieces glued together to occupy the large structure. The building has three levels and models can stand inside it. The first floor is modelled to look as though it is crumbling apart with support beams showing through the floor.
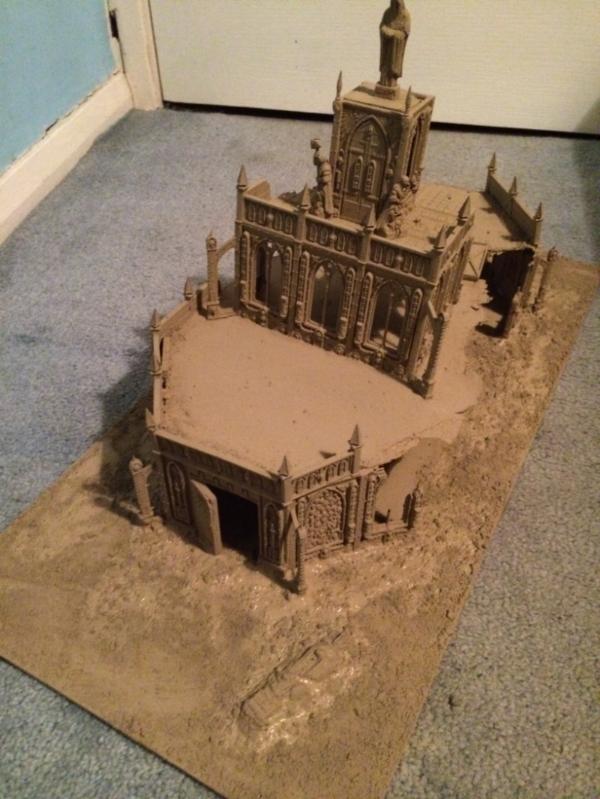

That's all for now. Updates to follow soon!


 4000
4000  3500
3500  6500
6500  4500
4500  2000
2000  4000
4000  2000
2000 

 Humility must always be the portion of any man who receives acclaim earned in the blood of his followers and the sacrifices of his friends.
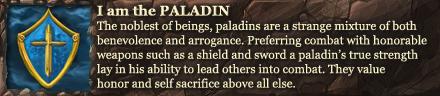


 DIY 3450pts