Part 1:
http://www.dakkadakka.com/dakkaforum/posts/list/592511.page The Tallarn 22nd had been dropped at the wrong location, separated from their reserves and a long way from the front lines. Not only that they had been ambushed by some unknown legion of space marines and forced to take a round about way to the rendezvous with their reinforcements.
Part 2:
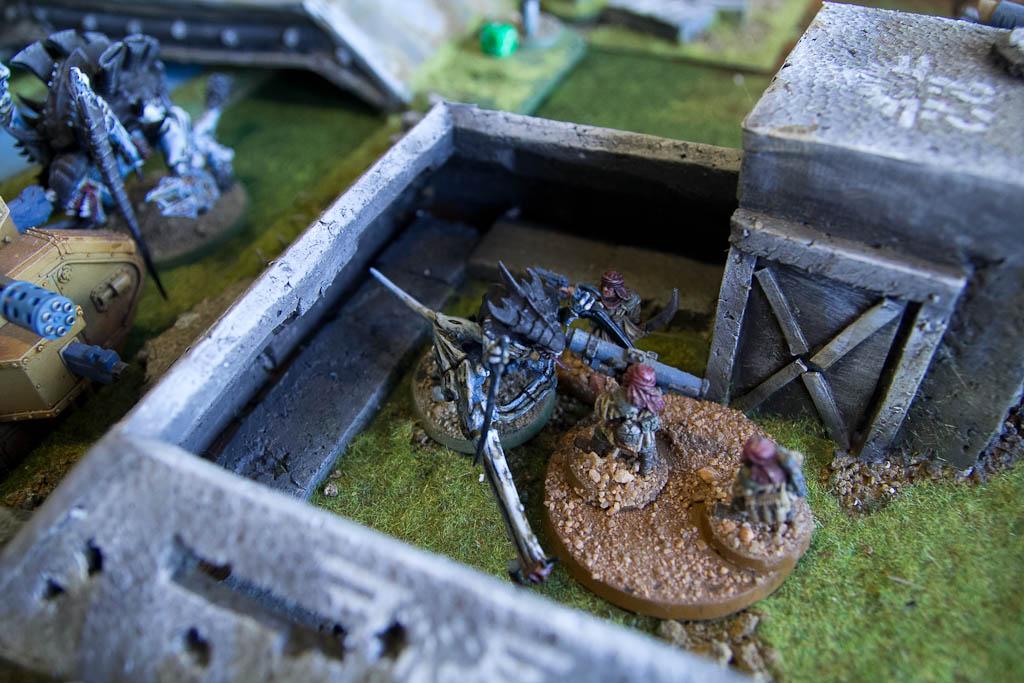
http://www.dakkadakka.com/dakkaforum/posts/list/593171.page The 22nd had encountered a swarm of Tyranids as it reached the rendezvous point to try collect their battle orders and maps shipment that had been dropped for them. After the aliens were repulsed and the critical package retrieved, the 22nd dug in and waited for their reserves to arrive.
----------------------------------------------------------------------------------------------------------------------------------------------------------------------------------------------
Part 3:
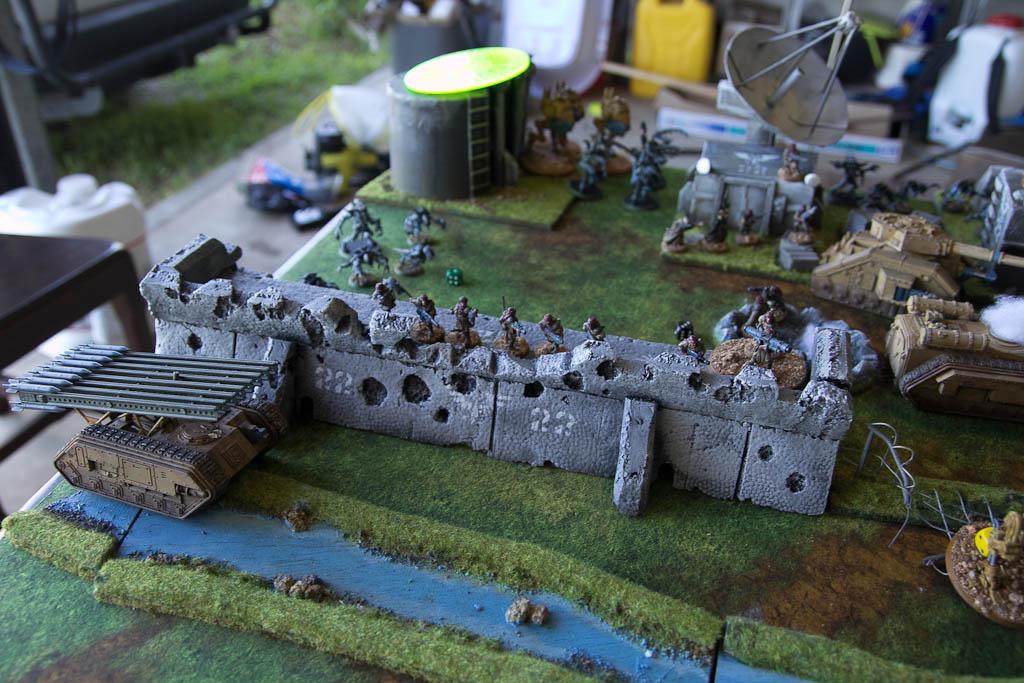
Hastily made fortifications were erected around the river bend that was seen as the most defensible point in the valley. The uneasy feeling that had gripped the majority of the Tallarn 22nds troops was only getting worse after the encounter with the nightmare creatures so near this very location. But they had to wait here for their critical reserves, that is if they had survived and been able to make there way here at all.
The battle plans and maps retrieved at the drop point had revealed a little of what was going on, but left so many questions unanswered.
Apparently the planet they were on was called "Corrin's World", just a agricultural world on the fringes of imperial controlled space. The planet had come under a slow stealthy attack from a Tyranid fleet a number of years ago. It hadn't take long for the imperial command to decide this world wasn't really worth campaigning for and called for a fighting withdrawal, salvaging as much equipment and goods as possible while the imperial fleet still held space routes to the planet open.
But something had changed. Suddenly there were Eldar, Chaos Marine and Necron battle forces appearing around the planet and sending forces to the surface. Along with this there appeared a large contingent of Dark Angels Space Marines, who would not acknowledge the imperial communication whatsoever and had dropped significant forces on the planet as well. This caused the imperial commanders to take notice. What was happening here, why were all these forces appearing and what were they looking for? It was becoming apparent that Corrin's World was much more important than first though, though at the moment the imperial command had no idea why.
It was then decided they had to act to try hold this planet for as long as possible and to work out what was going on. If Corrins World had become so important to the enemy it had to be considered important to the Imperium as well. Forces were requested and the nearest imperial commanders were contacted. The closest forces available were the Tallarn 22nd Imperial Guard, The Sisters of Eternal Sorrow Adepta Sororitas and the Flesh Tearers Space Marines. These forces were all immediately mobilised and made planet fall at around the same time. But this was done in a rush, and mistakes had been made, and now the imperial warships had been pushed back from the planet leaving these forces both unsupported, but also scattered and lacking a solid battle plan.
The most important item that was retrieved was a map showing the planet, along with the approximate drop points of the 22nds allies. There was only one clear course of action. This was to link up with these other forces, find out what was happening on Corrins World and then thwart the evil plans that were obviously brewing on this plant, whilst delivering the Emperors justice to the enemy. Simple. First the 22nd needed to wait for its reserves. So that is what they would do.
The Defenders
The Reserves
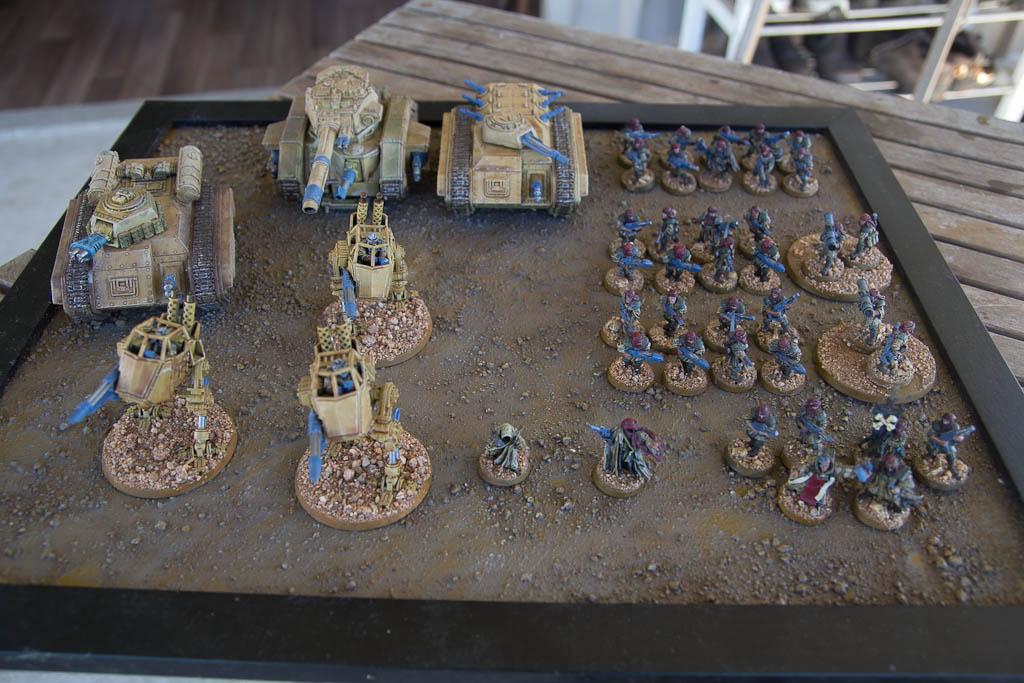
Imperial Guard - 1850pts
PRIMARY – Astra Militarum
HQ Company Command – Master of Ordnance, Regimental Standard, Veteran Camo Gear (Relentless)
Primaris Psyker – Force Axe
Primaris Psyker – Force Axe
TROOPS
Veteran Squad – Forward Sentries, 3 x Plasmagun, Missile Launcher - Flakk
Veteran Squad – Forward Sentries, 3 x Plasmagun, Missile Launcher - Flakk
Veteran Squad – Bolter, 2 x Meltagun, Heavy Flamer, Chimera – Hull Heavy Flamer
FAST ATTACK
Scout Sentinel x 3
Armoured Sentinel x 3 – Plasma Cannons
Hellhound – Hull Multimelta, Searchlight
HEAVY SUPPORT
Leman Russ Punisher - Hull Heavy Bolter, Sponson Heavy Bolters
Leman Russ Vanquisher - Hull Lascannon, Sponson Multimeltas
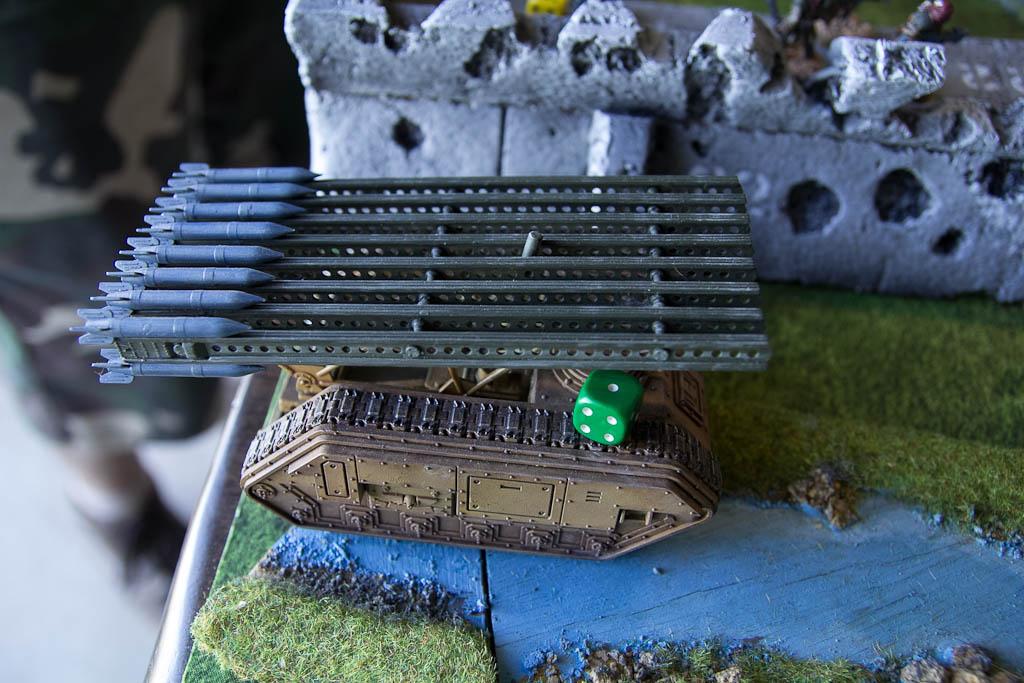
Manticore
ALLIES – Militarum Tempestus
HQ Tempestus Command Squad – Bolt Pistol, 4 x Plasmagun
TROOPS
Tempestus Scion Squad x 5 – Bolt Pistol, 2 x Meltagun
Tempestus Scion Squad x 5 – Bolt Pistol, 2 x Meltagun
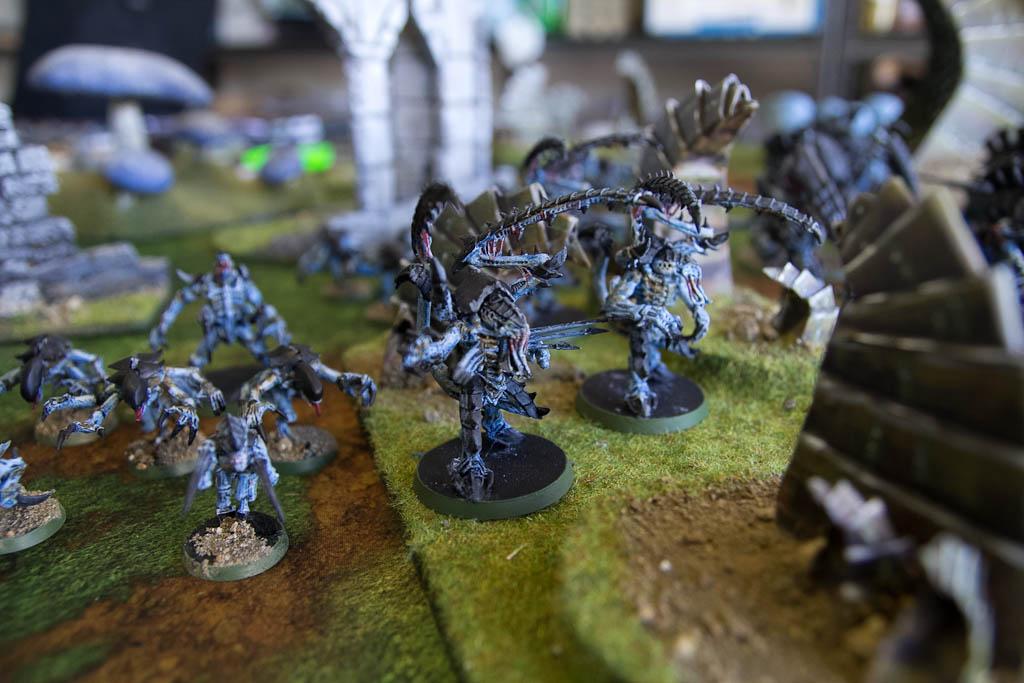
Tyranids - 1850pts
HQ Hive Tyrant - Heavy Venom Cannon, Adrenal Glands (Paroxysm, Catalyst)(+6" Synapse)
Tyrant Guard x 3 - Adrenal Glands
Deathleaper
TROOPS
Tyranid Warriors x 3 - 2 x Deathspitter, Venom Cannon, Adrenal Glands
Tyranid Warriors x 5 - 4 x Deathspitter, Barbed Strangler, Adrenal Glands
Genestealers x 5 - Broodlord
Genestealers x 5 - Broodlord
ELITES
Zoanthrope (Paroxysm, Warp Blast)
Lictors x 2
HEAVY SUPPORT
Carnifex x 3 - 6 x Twinlinked Devourers
Carnifex
Biovore
The Game: Battle Missions - Infestation (Modified) which is essentially Kill Points.
Set-up: This game was more of a narrative game than a straight book mission game. I wanted to find a mission that gave the Tyranids a little advantage after there last huge loss. So we ended up playing infestation from the Battle Missions book, but without the unit and terrain special rules (as this infestation was a newer one). Essentially the Guard got to deploy in a quarter of the board and the Tyranids got the rest of the board but had to stay 12" away from the Guard quarter. Additionally any guard unit that hadn't been used in the 2 previous games had to go into reserve to represent the reinforcements arriving.
Initiative: Tyranids
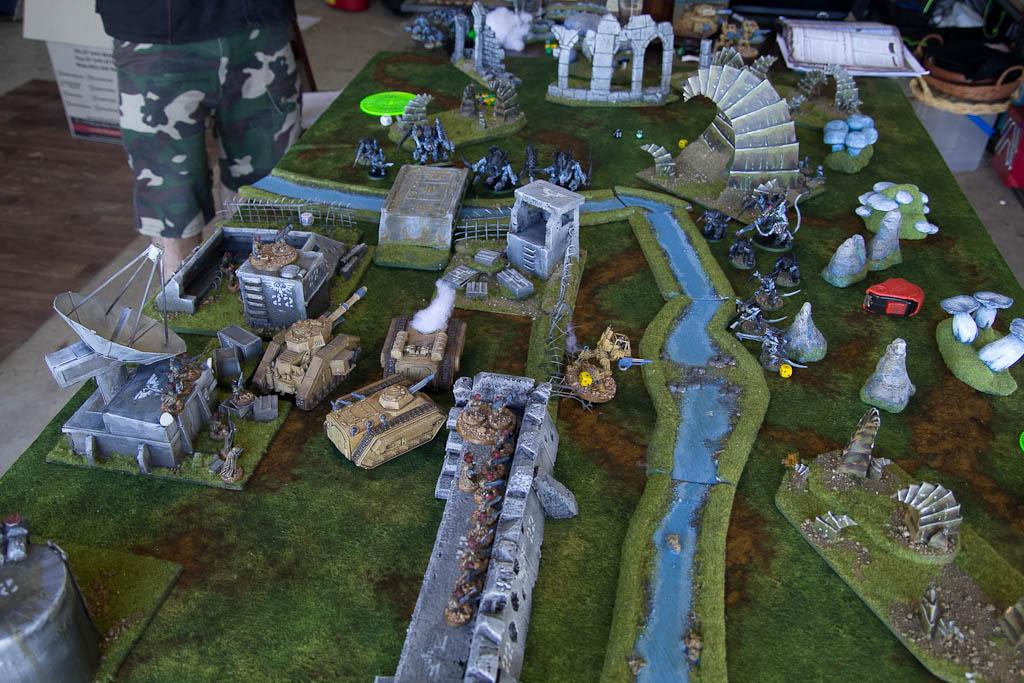
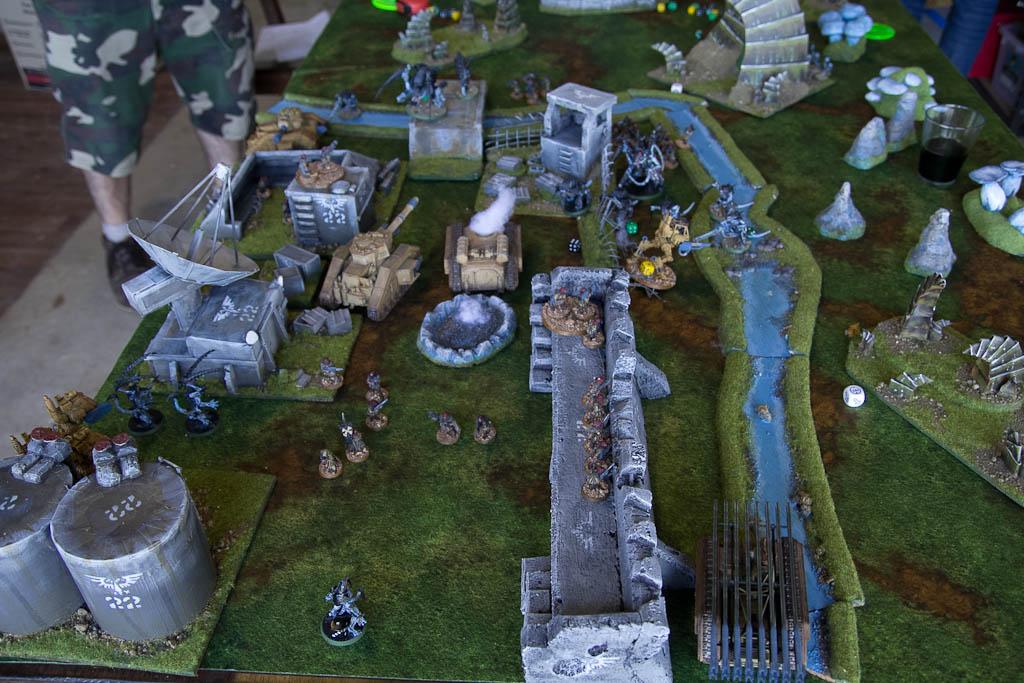
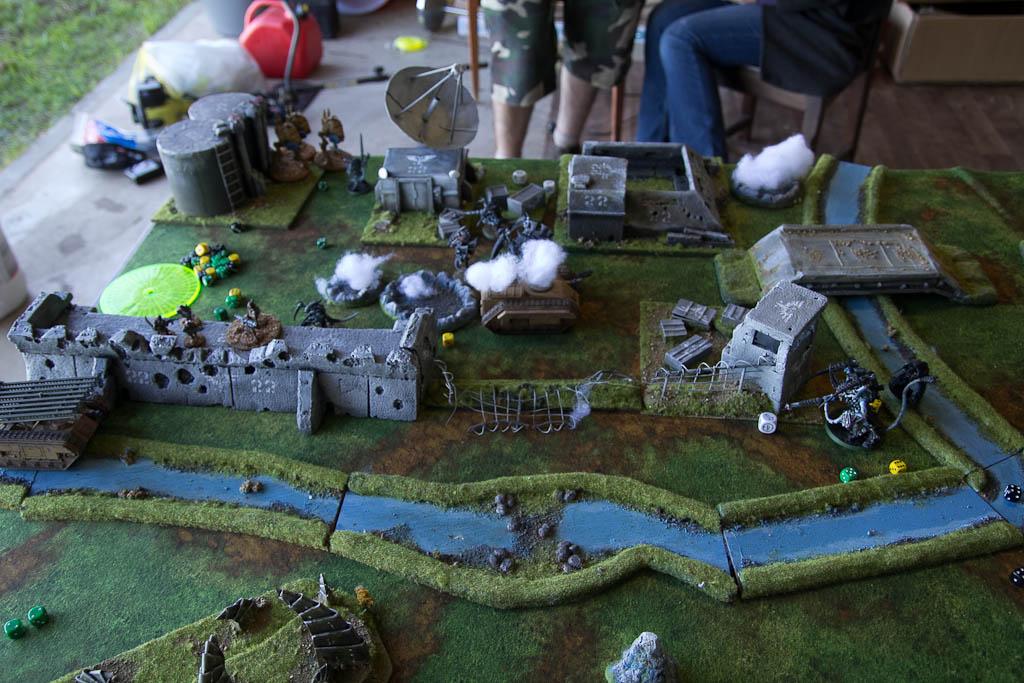
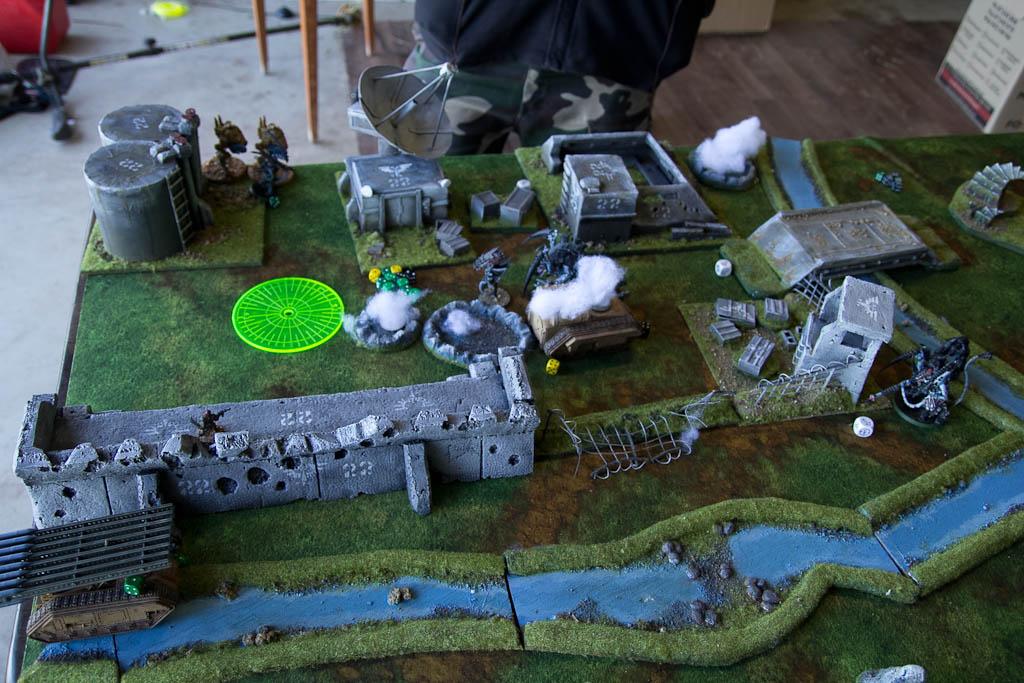
Battlefield:
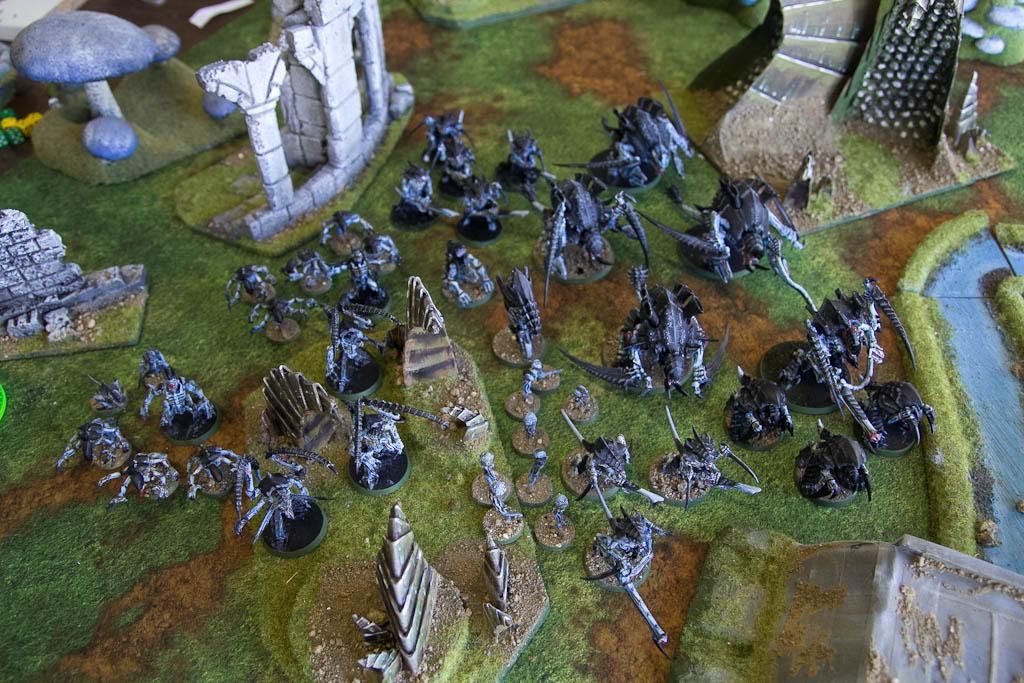
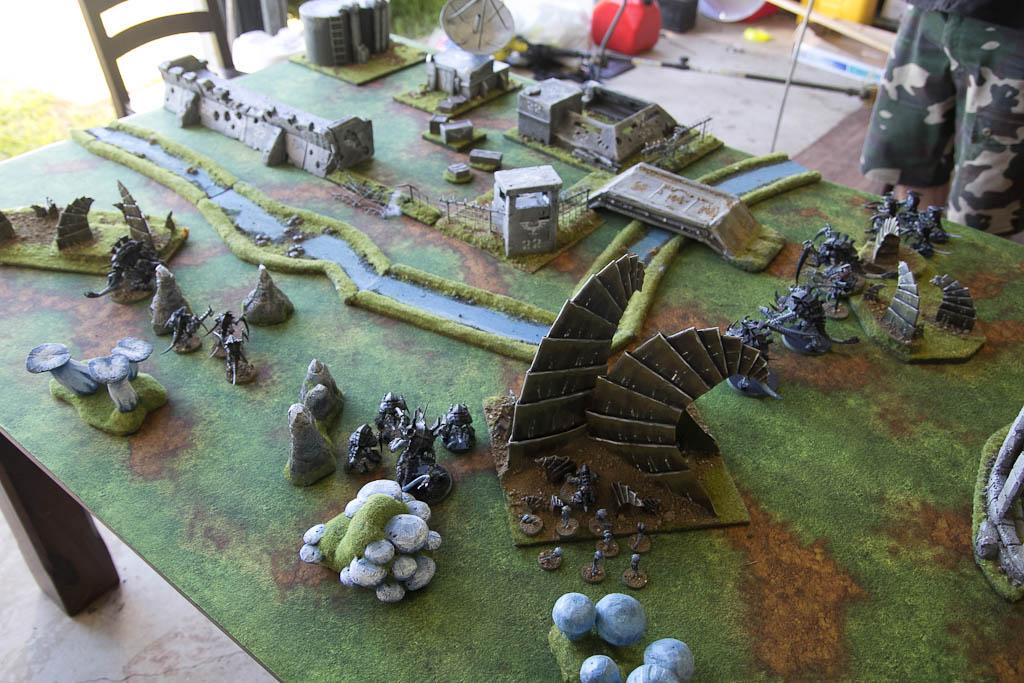
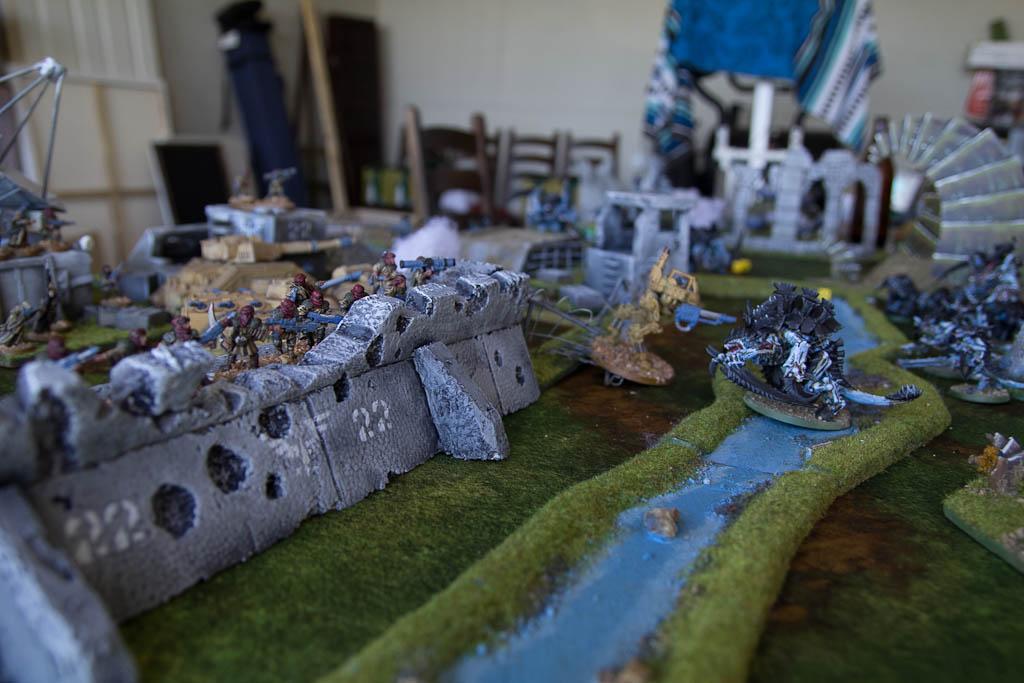
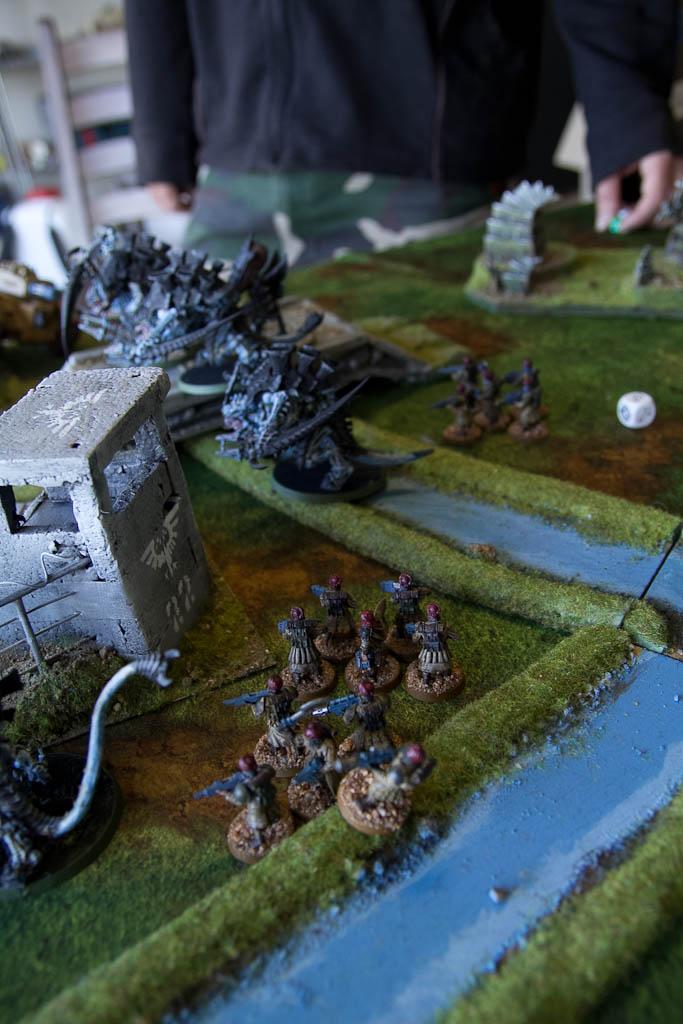
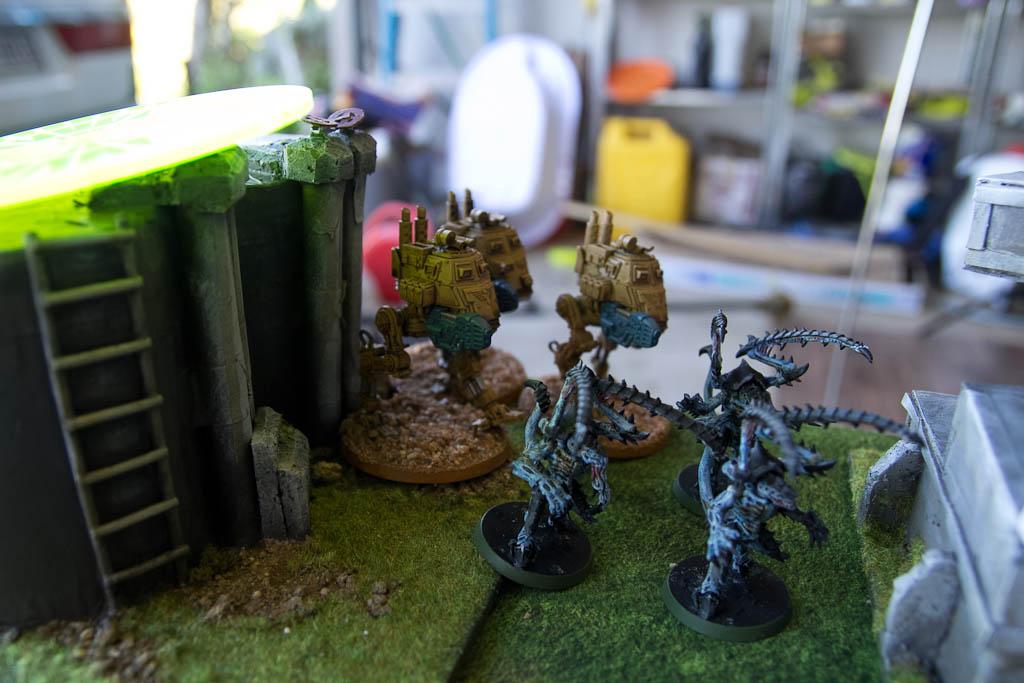
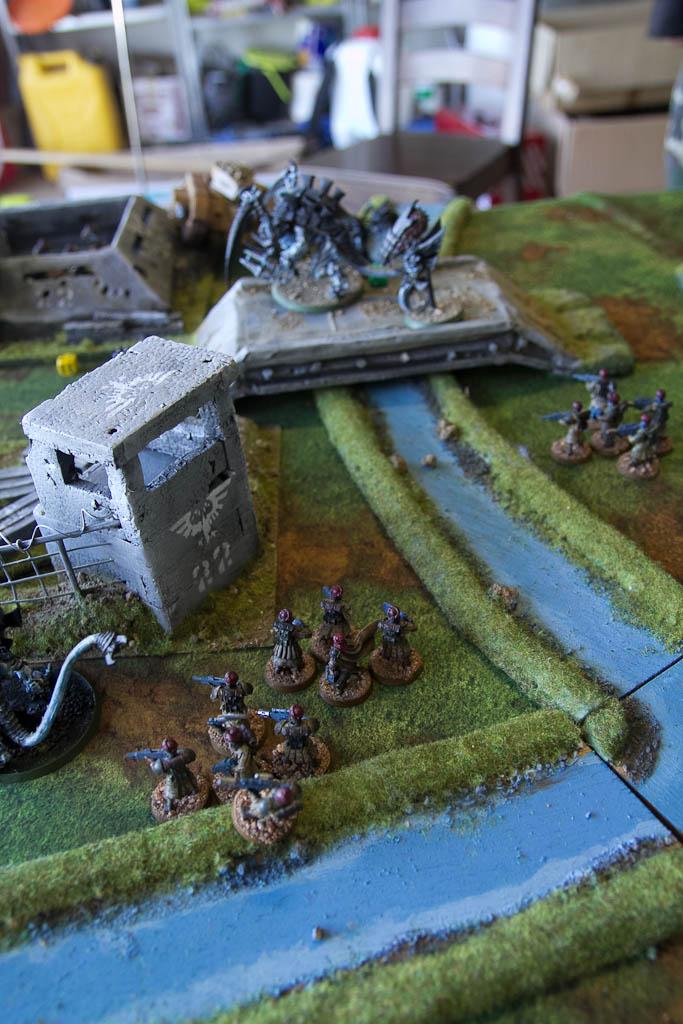
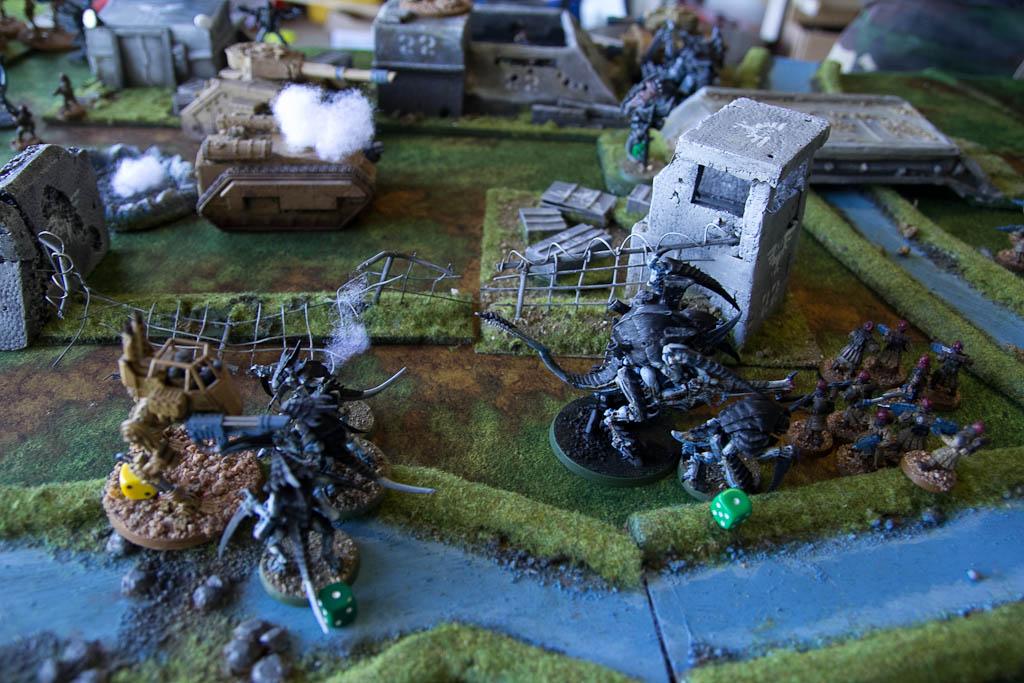
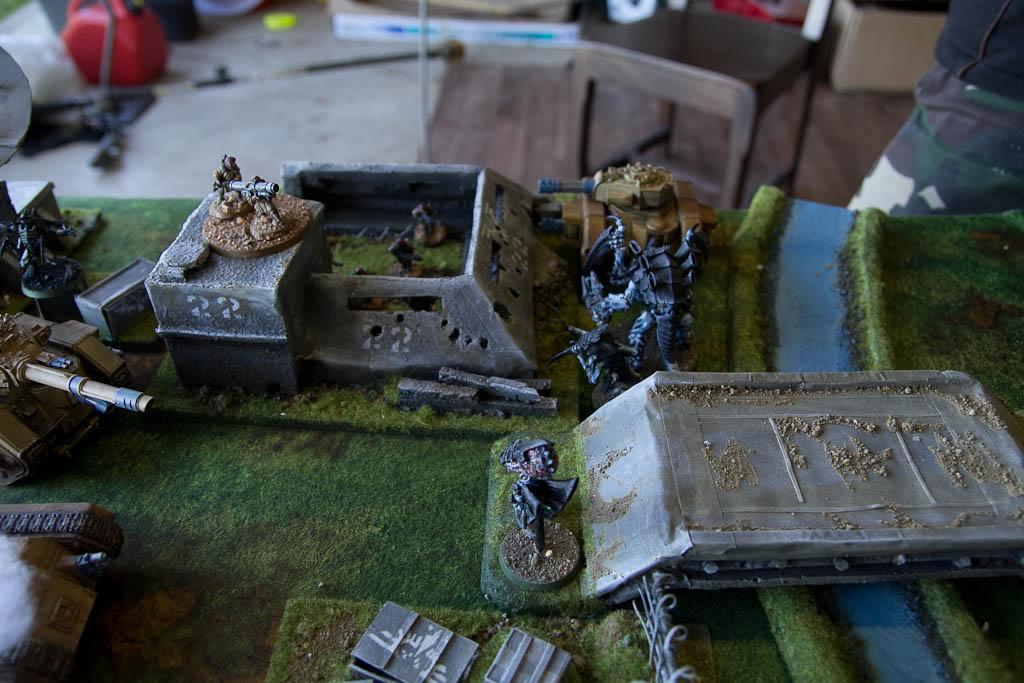
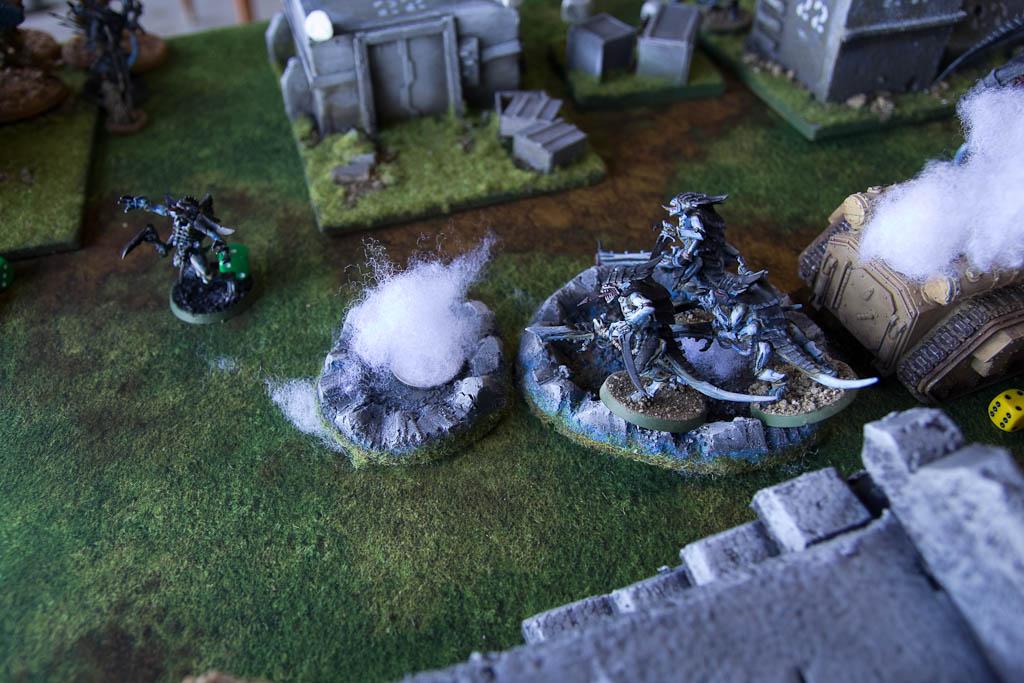
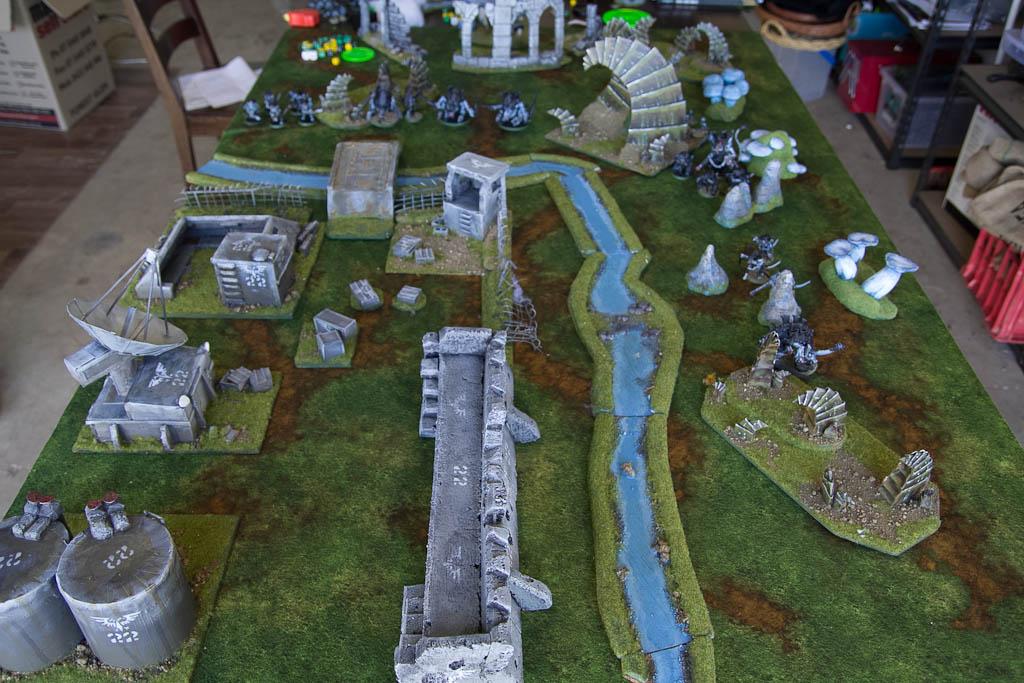 Tyranid Deployment
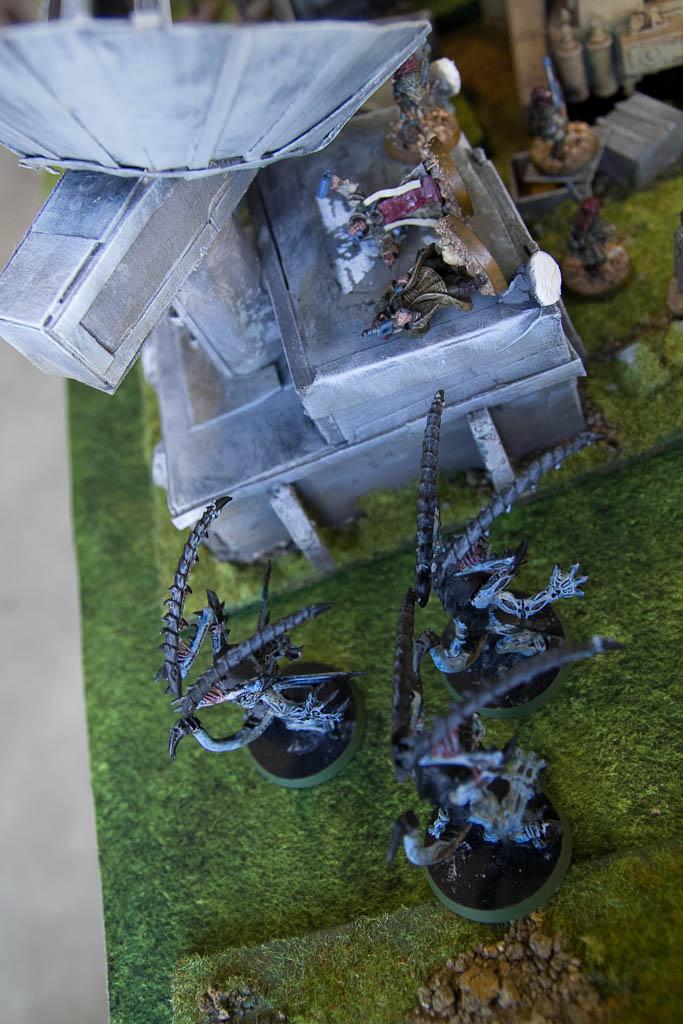
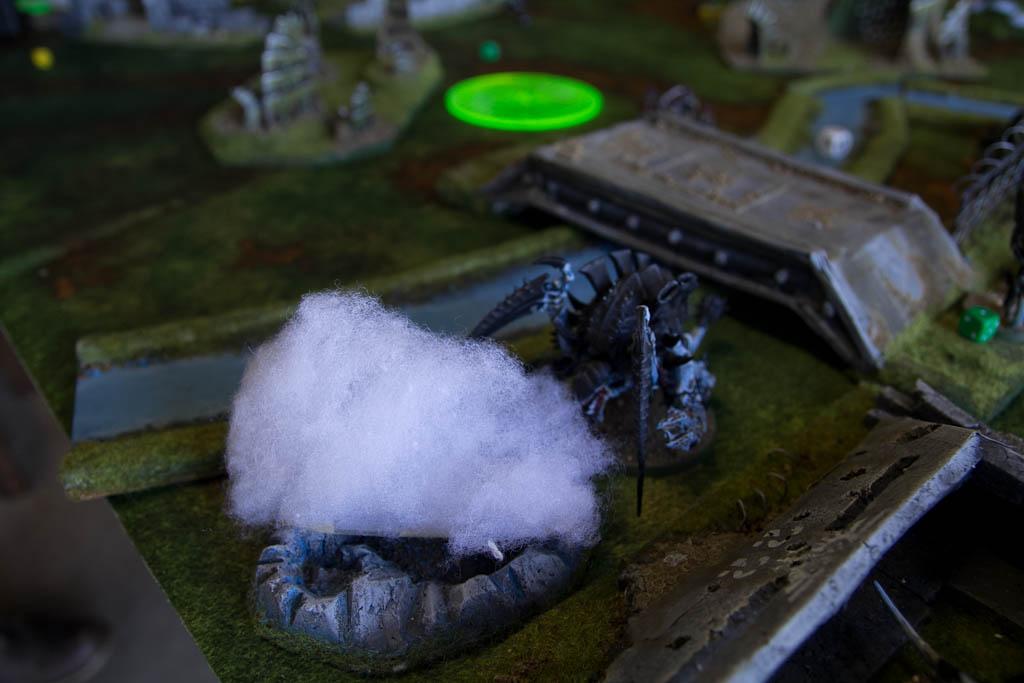
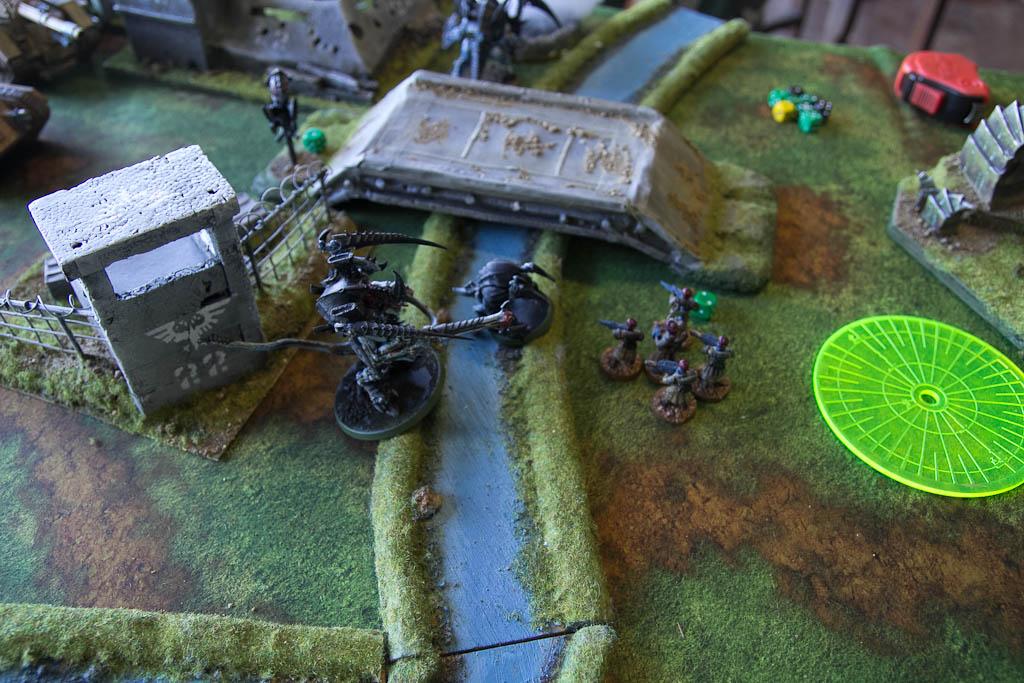
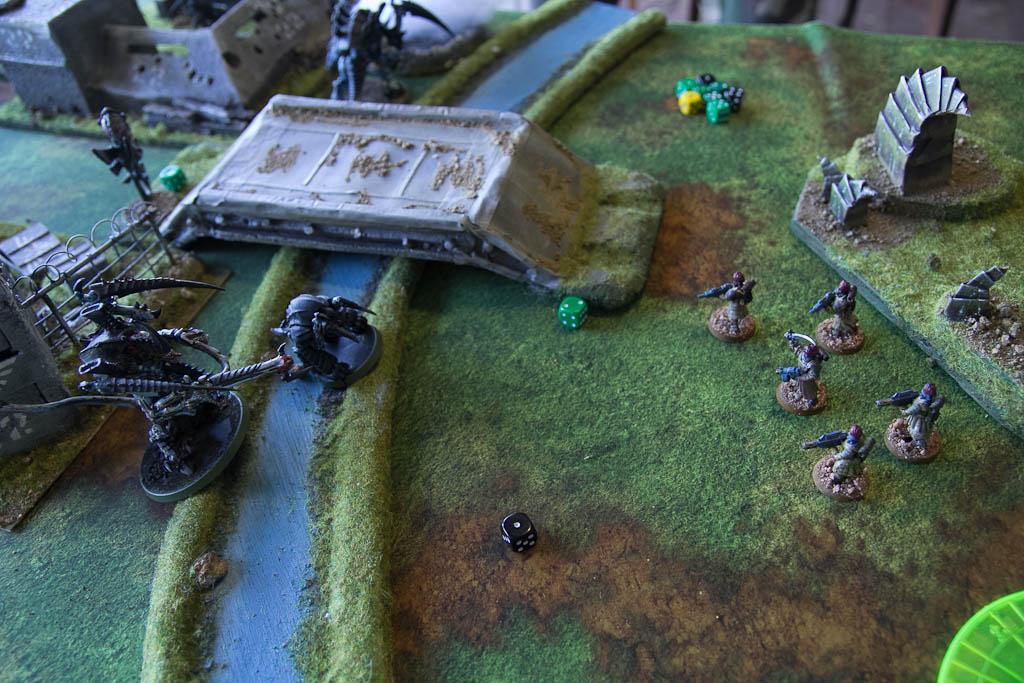
 The Tyranids deployed spread along the river, with the large Carnifex brood lined up to cross the bridge, supported by the large Warrior Brood and the Zoanthrope.
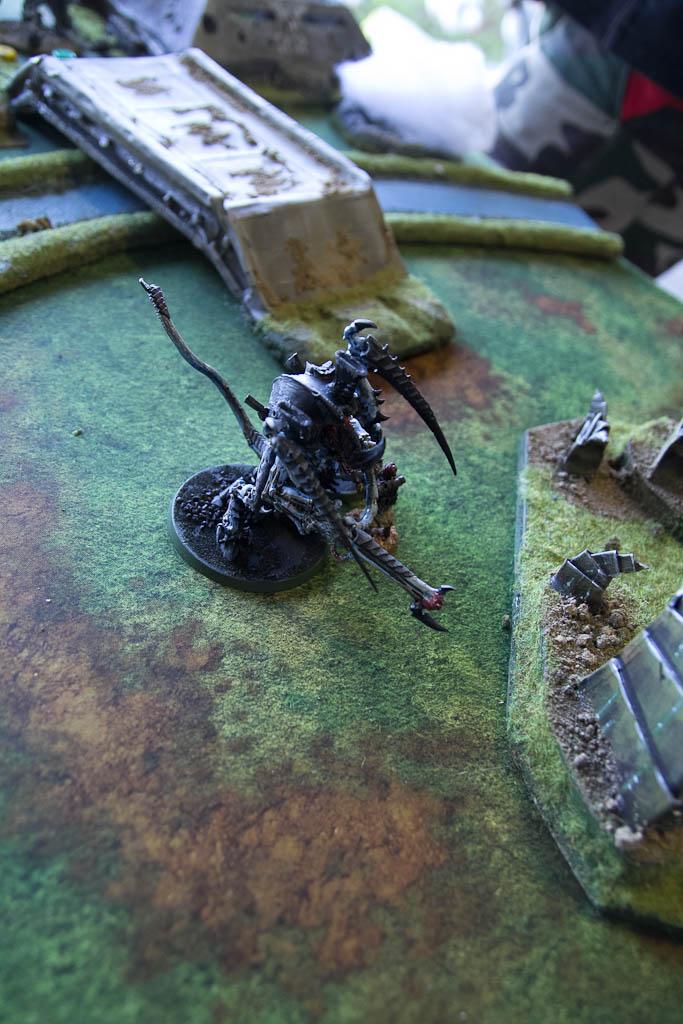
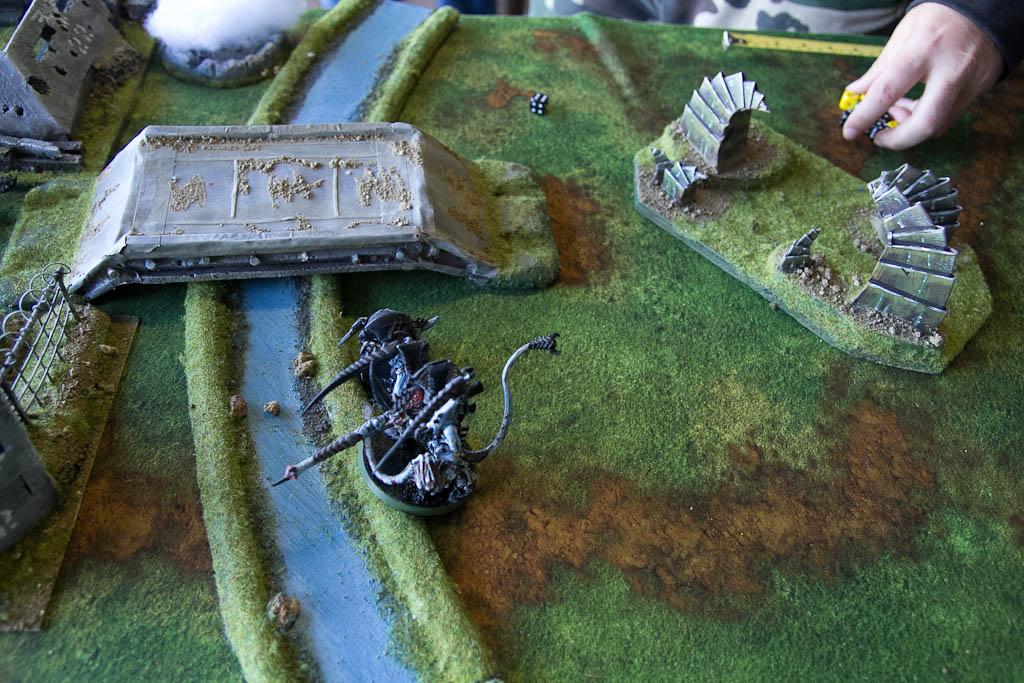
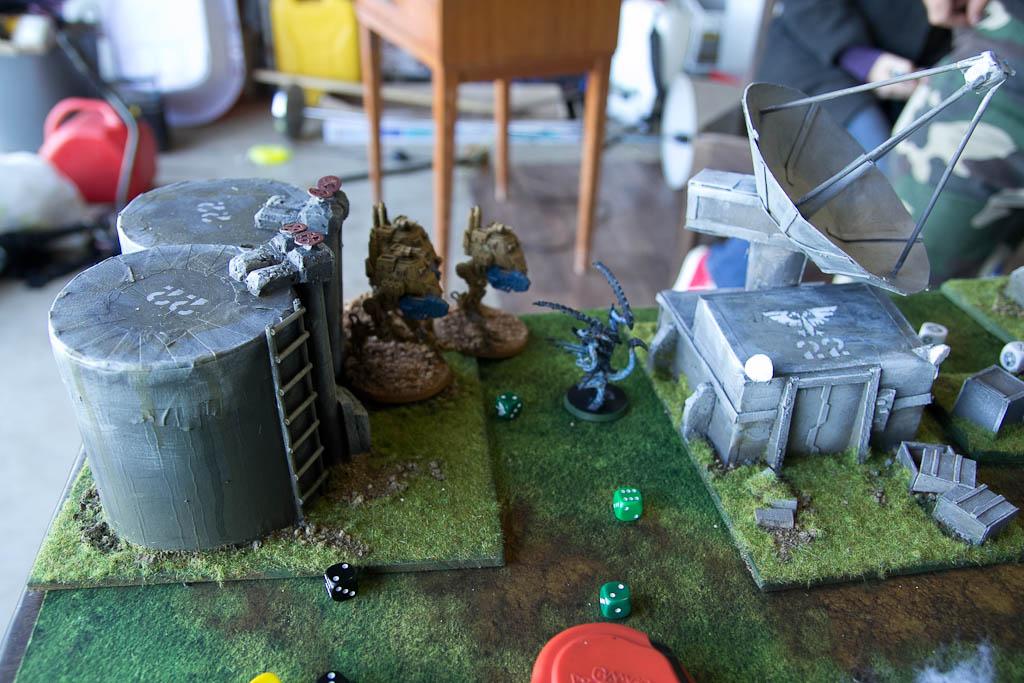
The lone Carnifex and small Warrior brood deployed on the other flank, supported by the Tyrant in the center.
The Biovore deployed behind the large spire, out of line of sight.
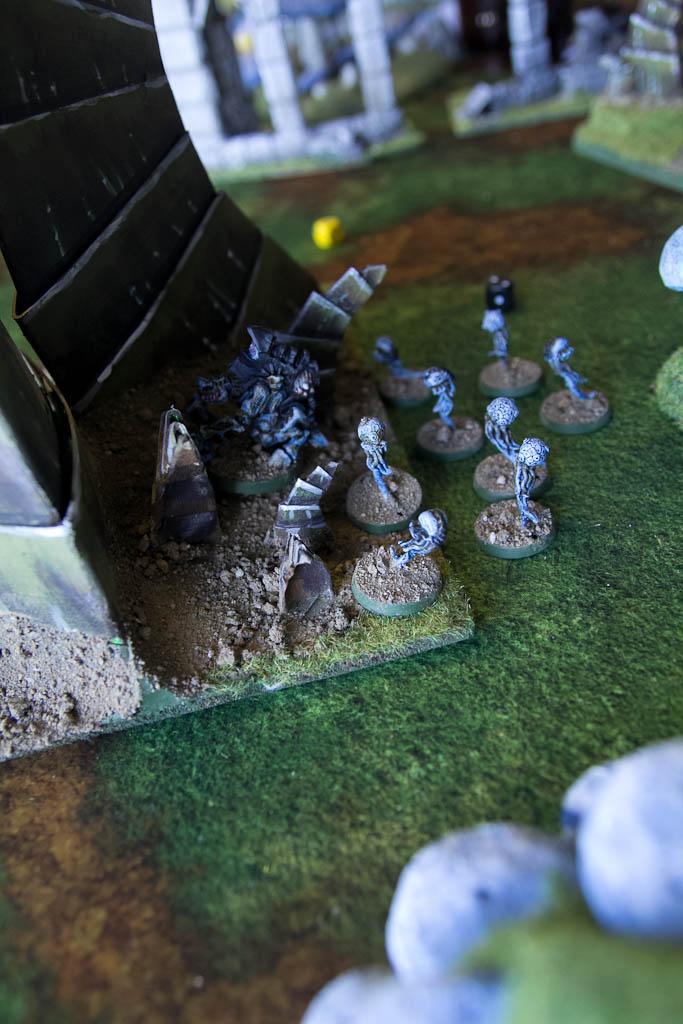
The Genestealers outflank and the Lictors deepstrike. We decided the outflanking could be done on the two non-Tyranid board sides, which would allow them to pop up in the imperial base.
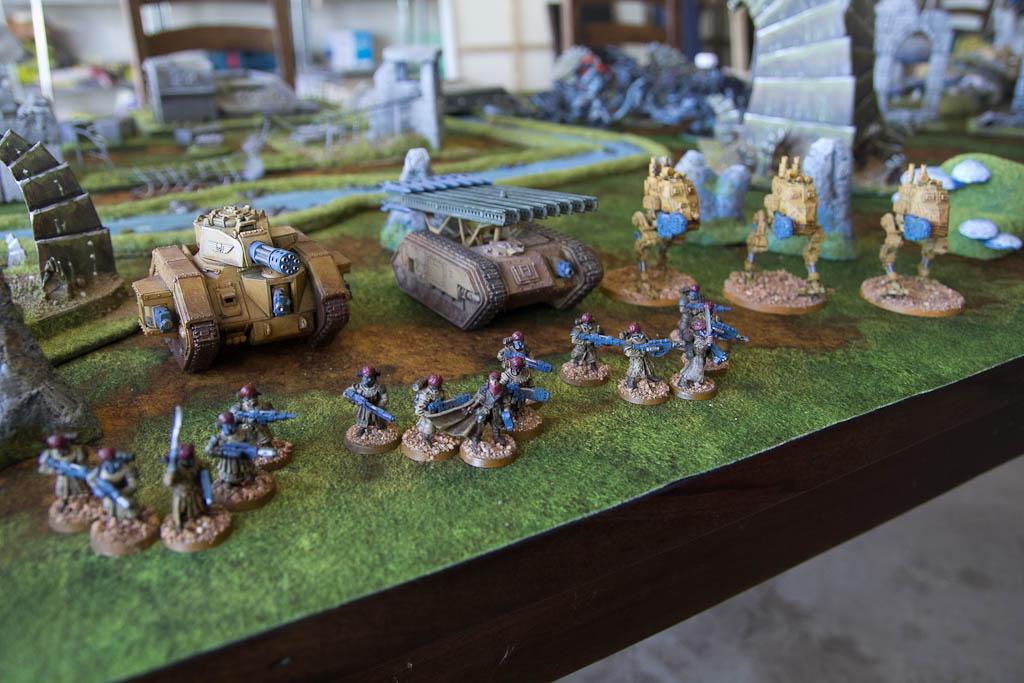
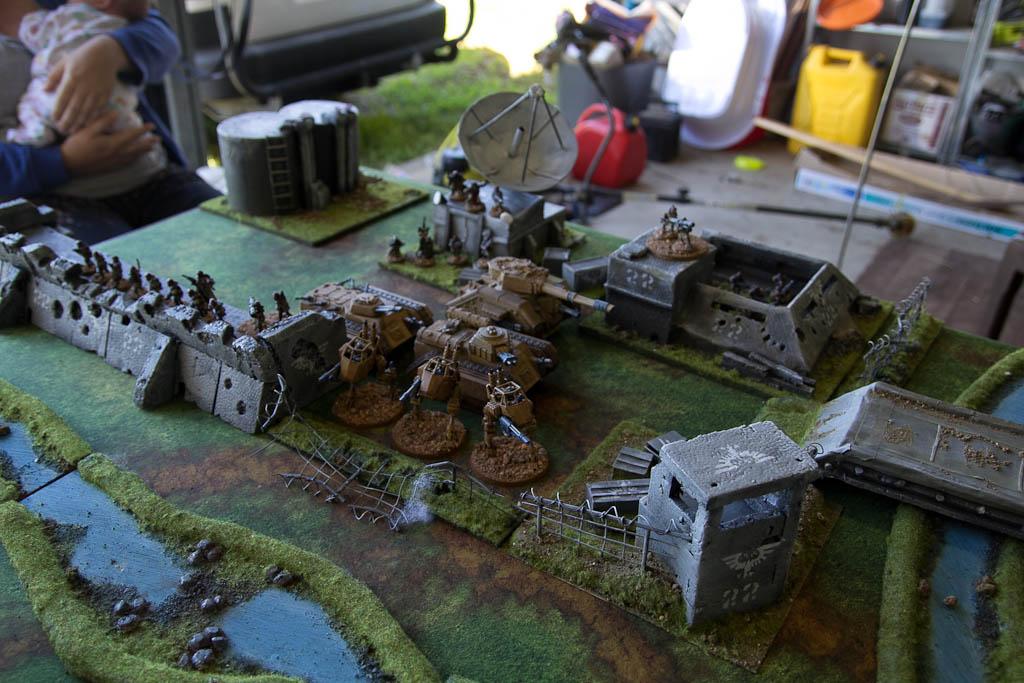
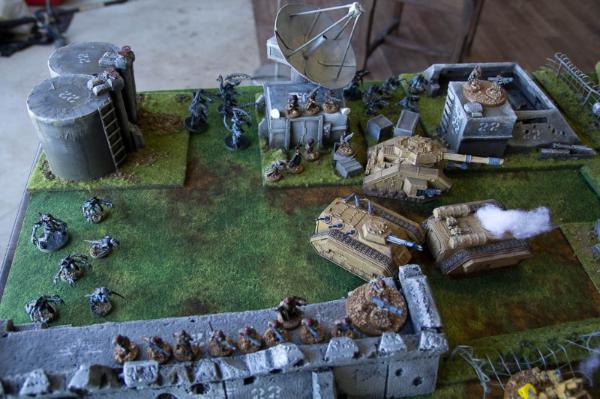
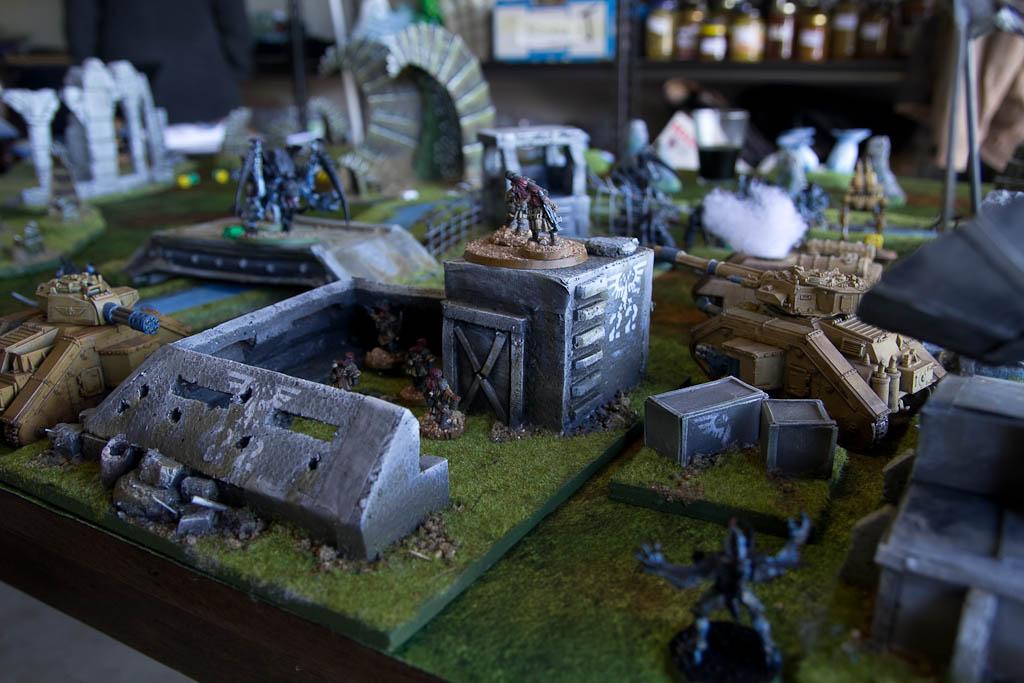
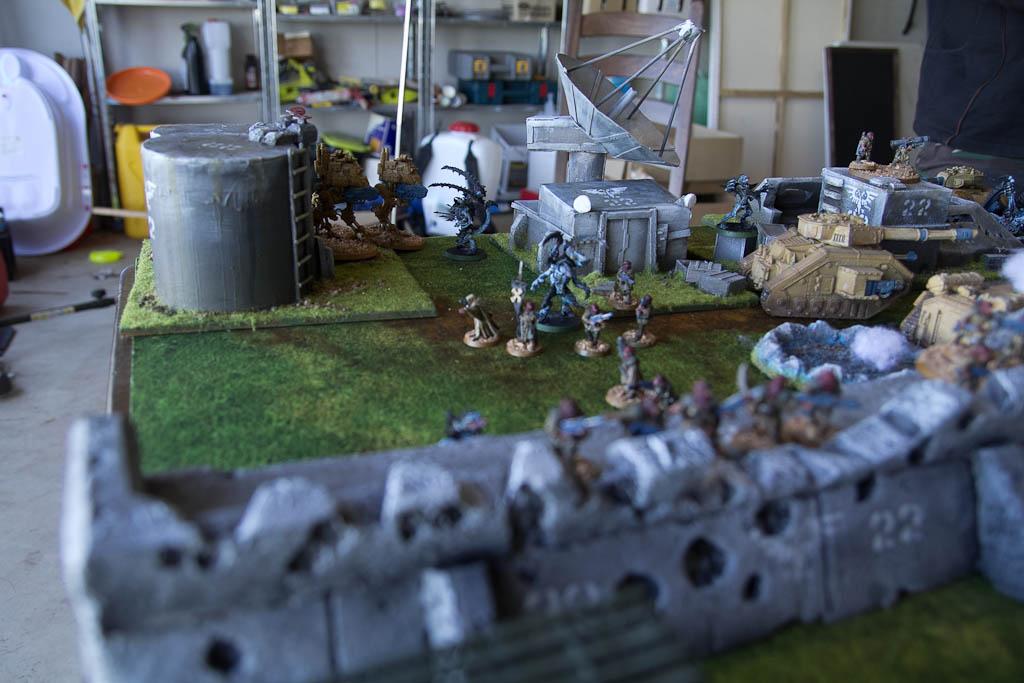
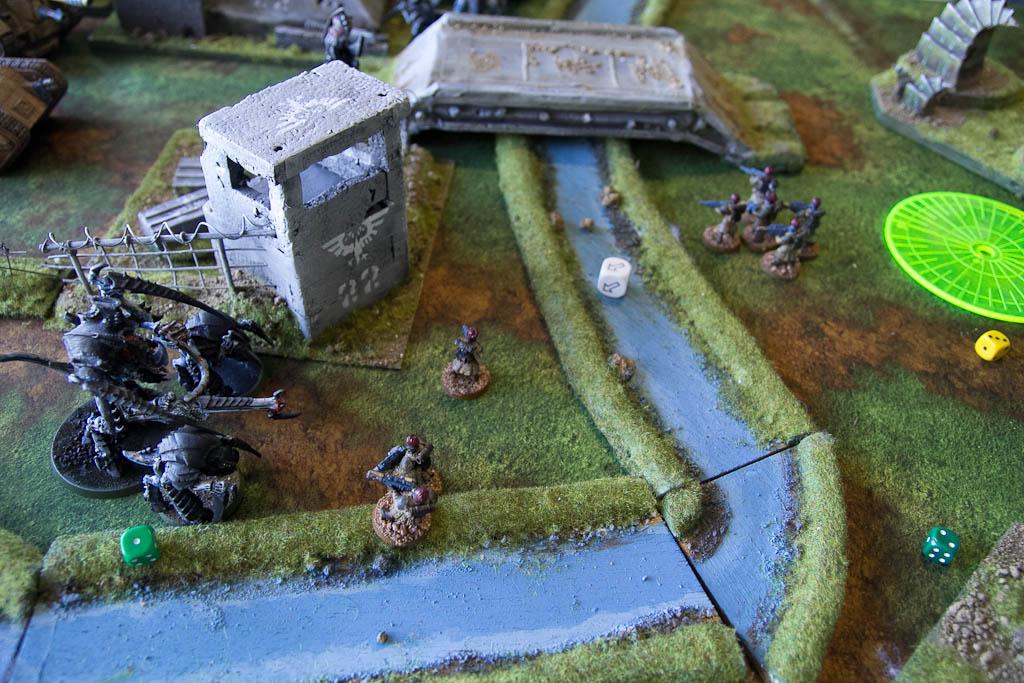
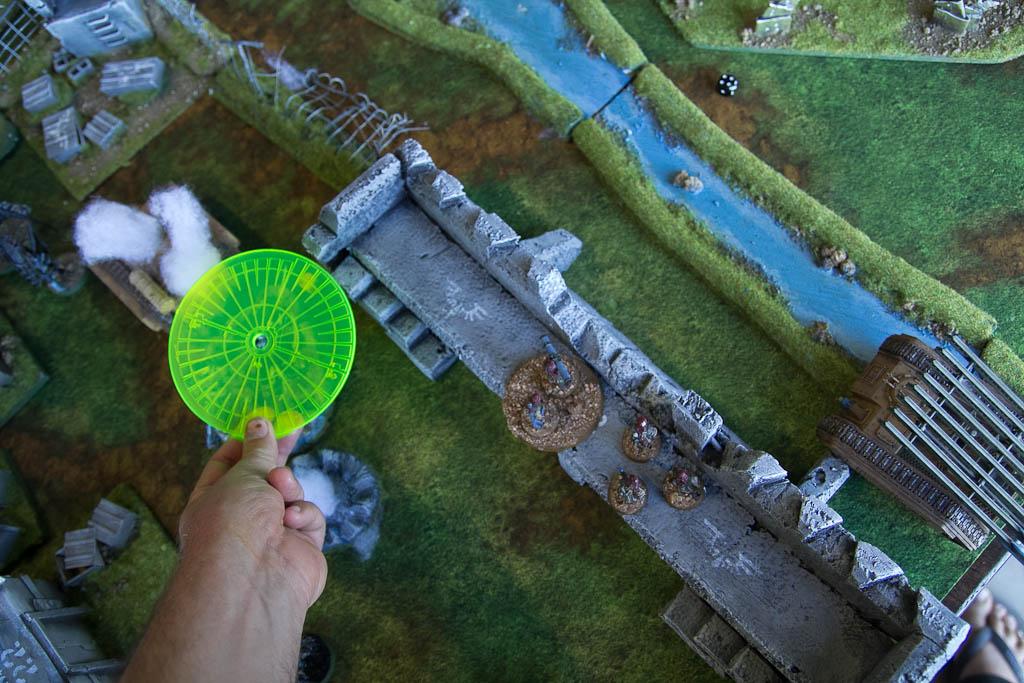
 Imperial Guard Deployment
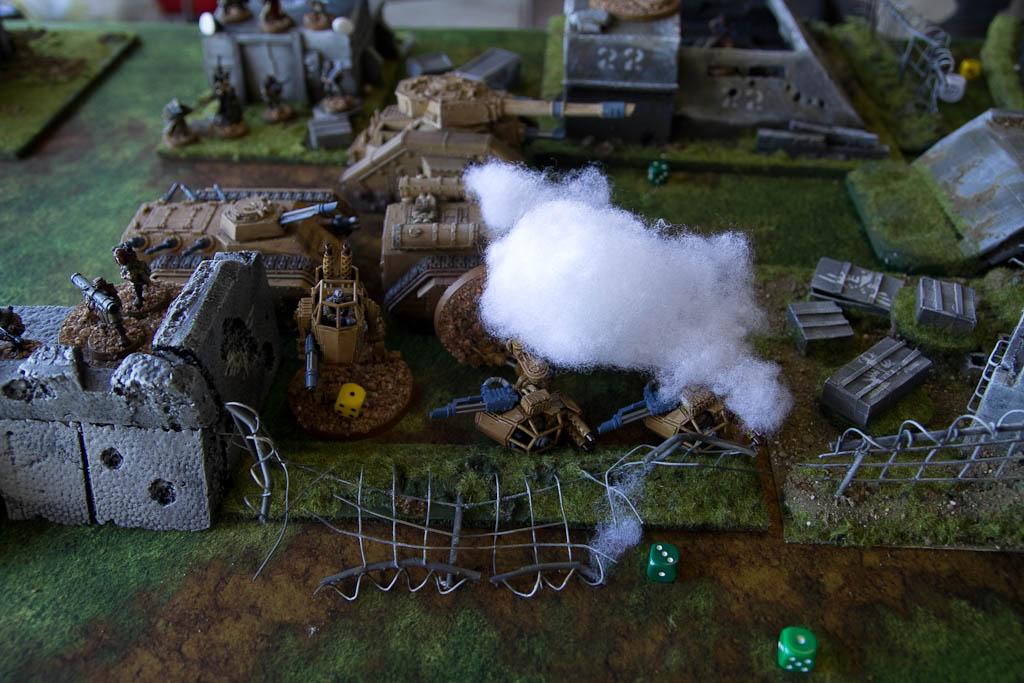
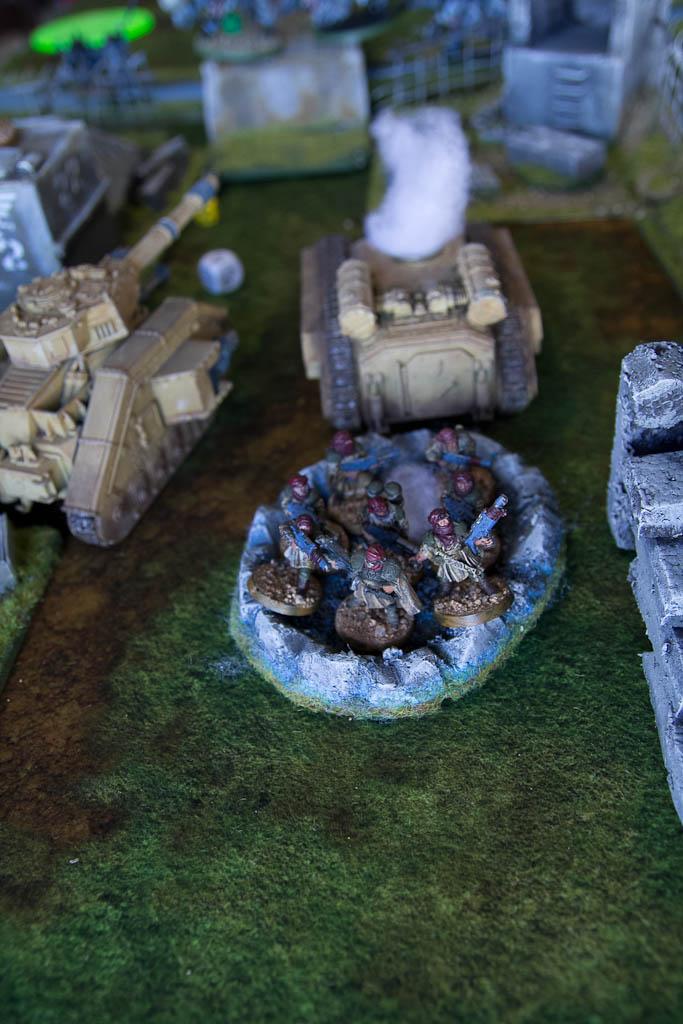
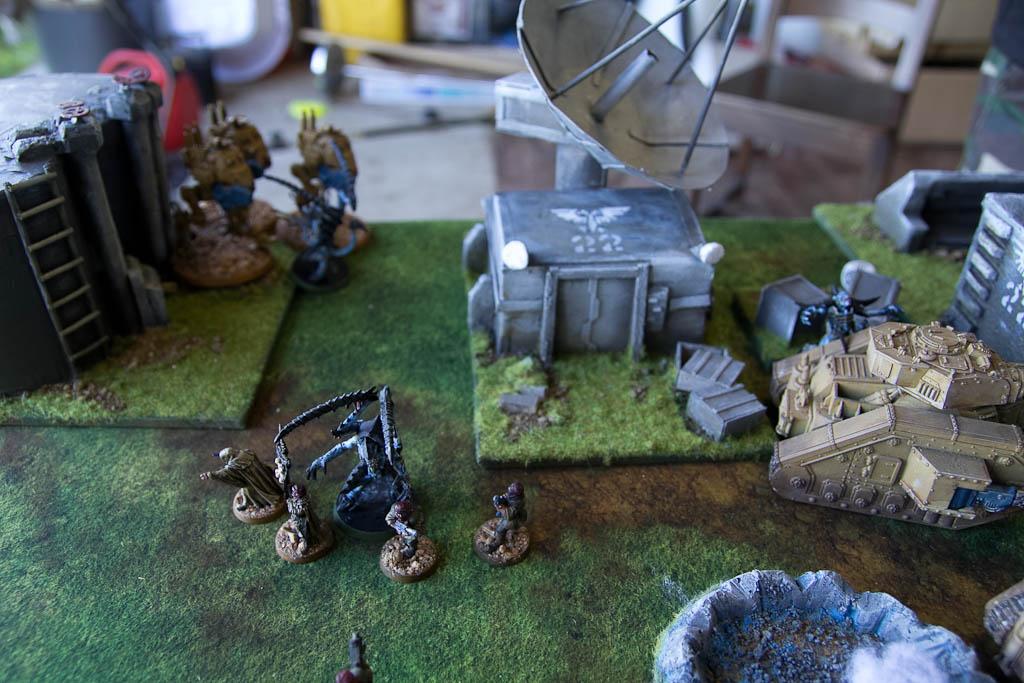
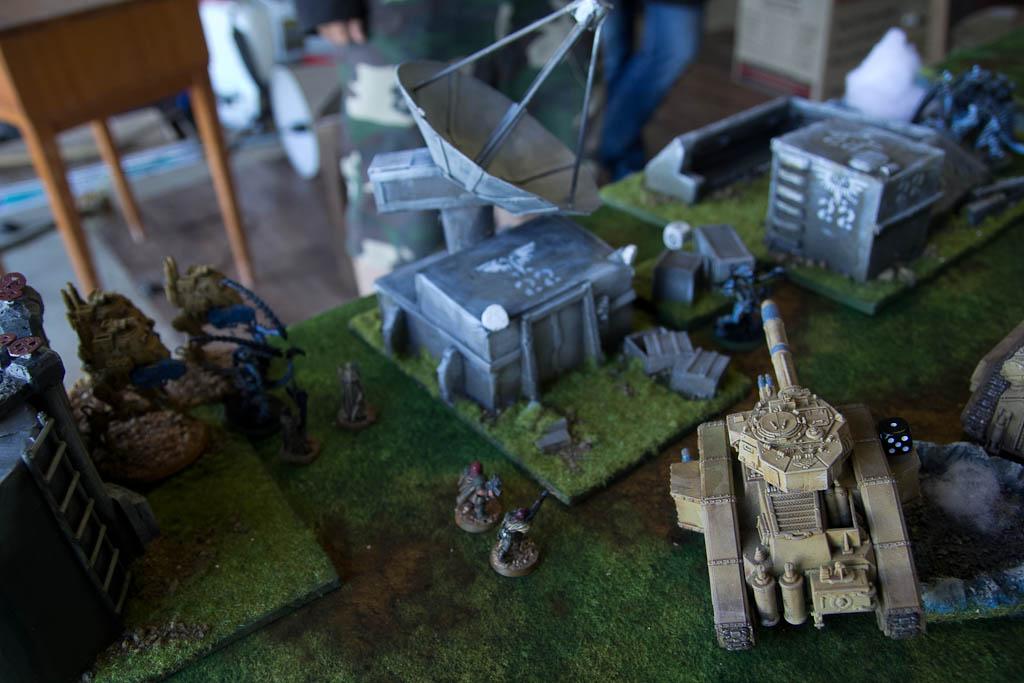
 The Guard deploy with a Veteran squad on each flank and the Company Command at the back near the communications building.
The tanks and walkers deploy in the center.
The Stormtroopers will deepstrike. The Armored Seninels, Punisher and Manticore will enter on the imperial quarter board edges.
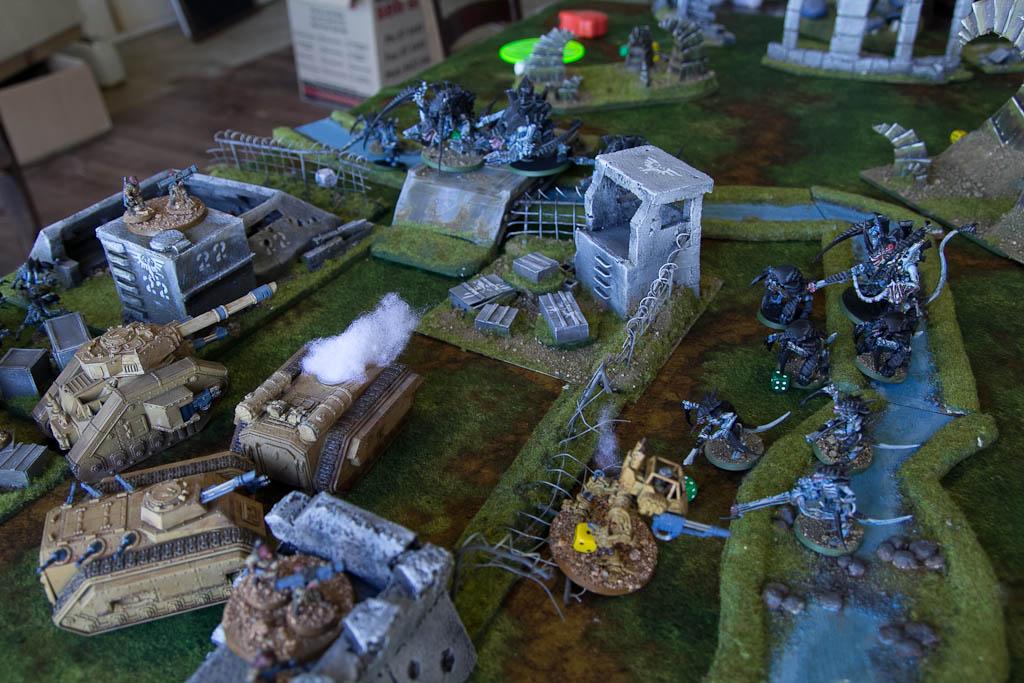
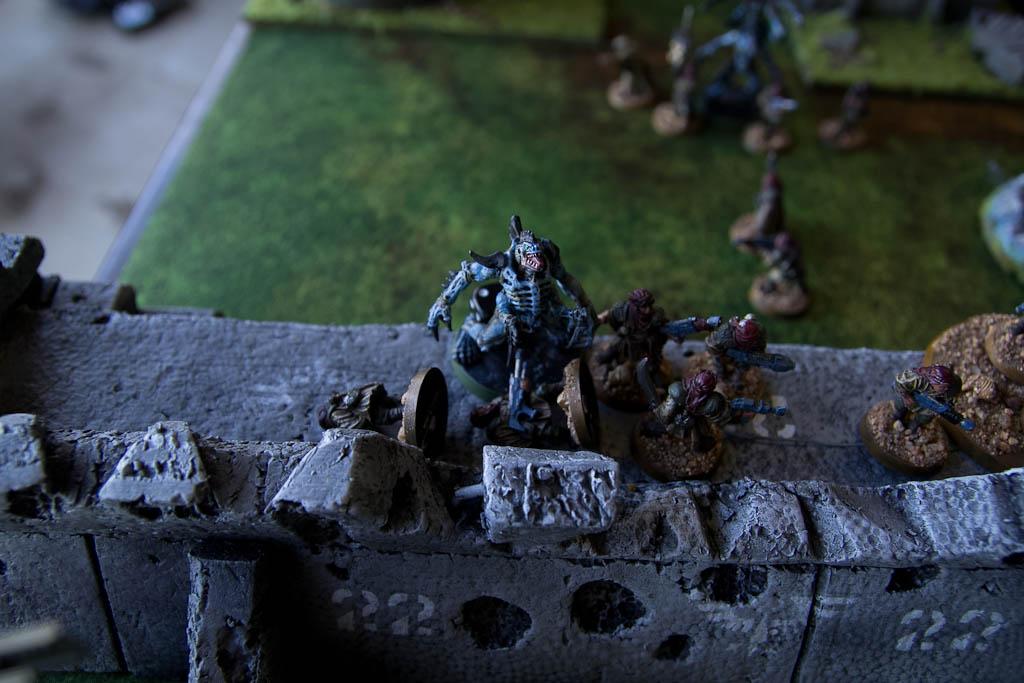
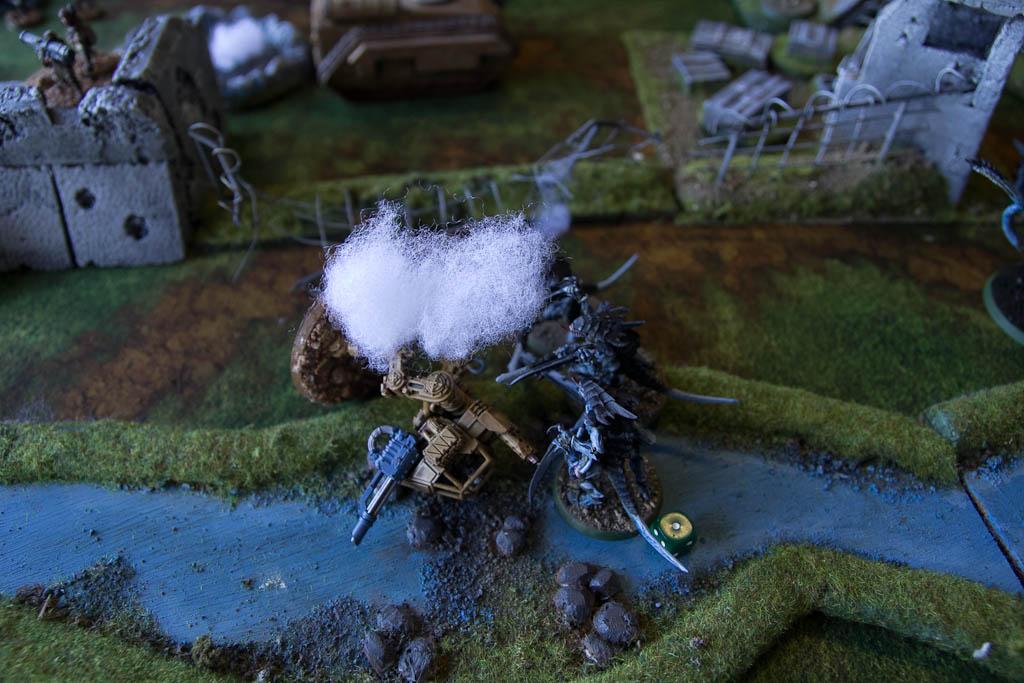
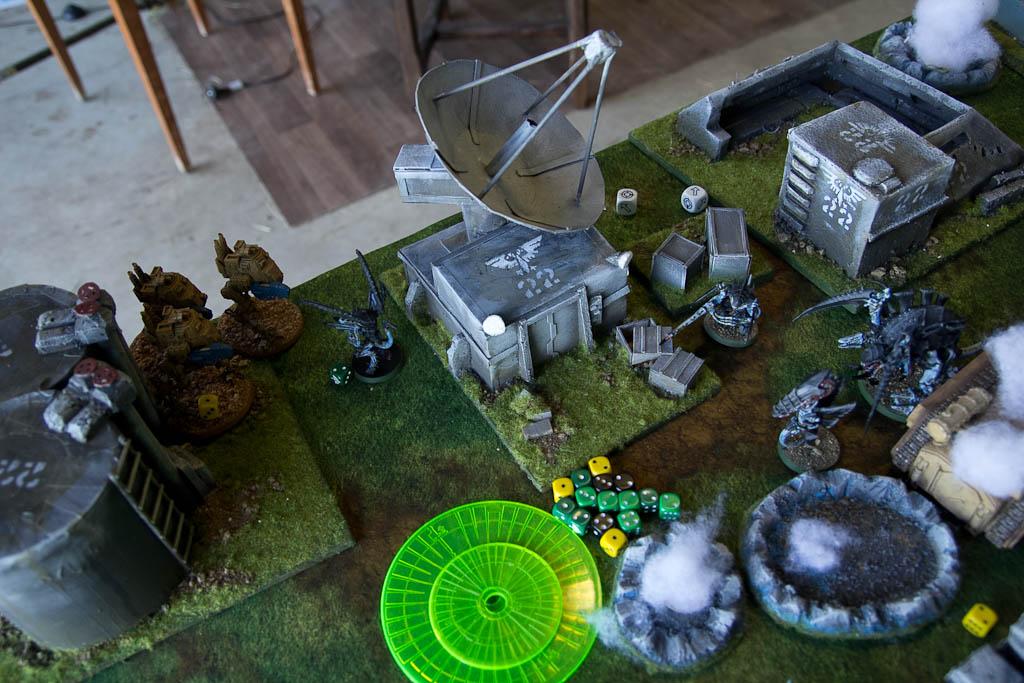
 Tyranids - Turn 1
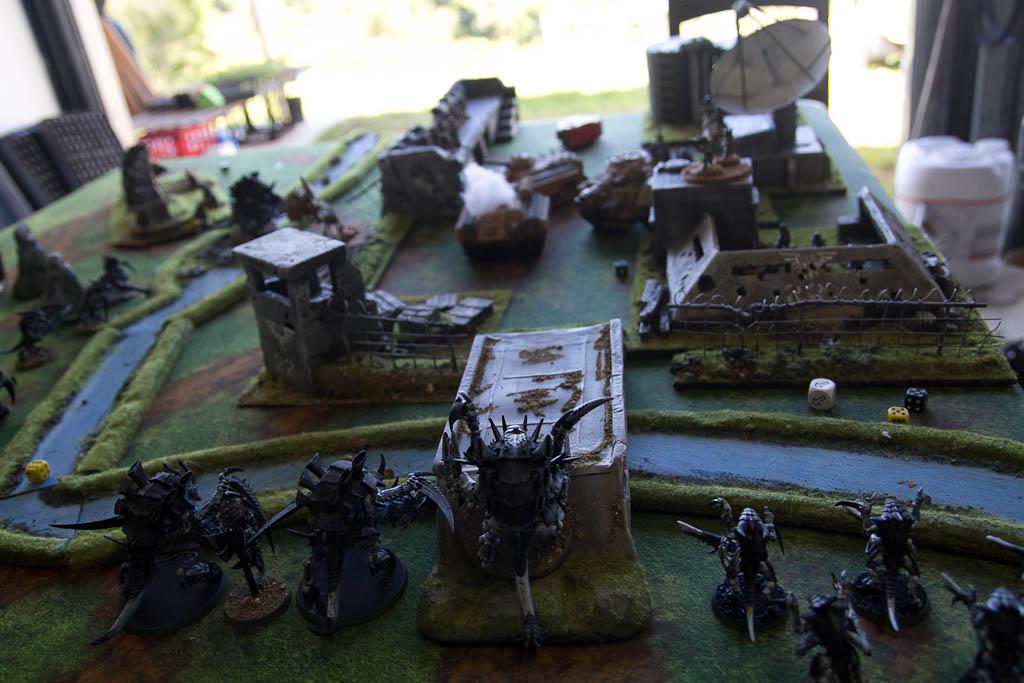
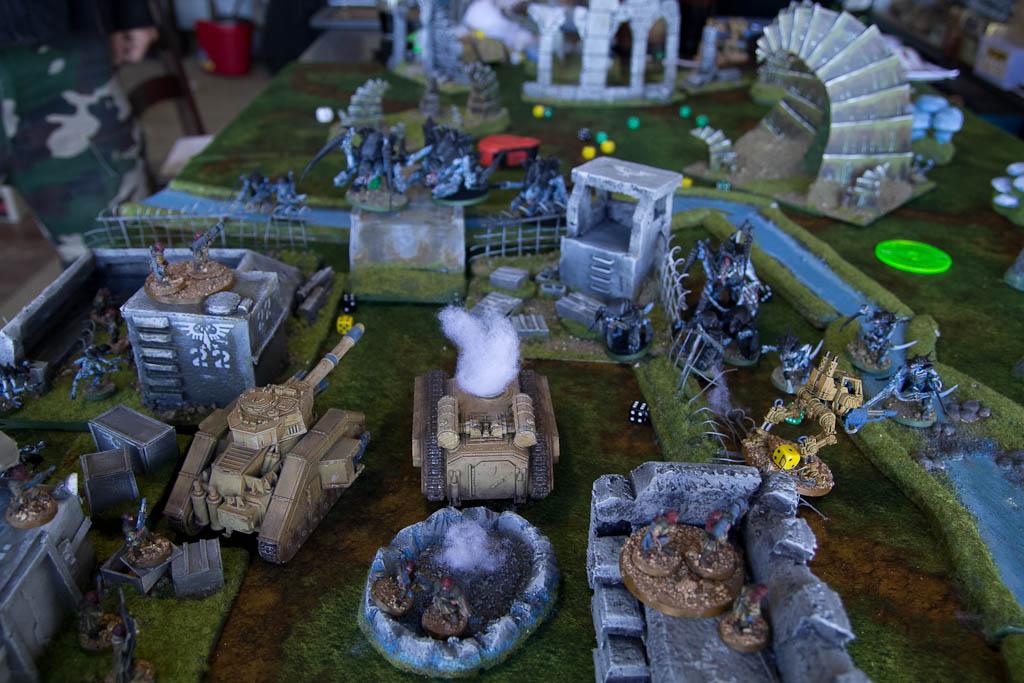
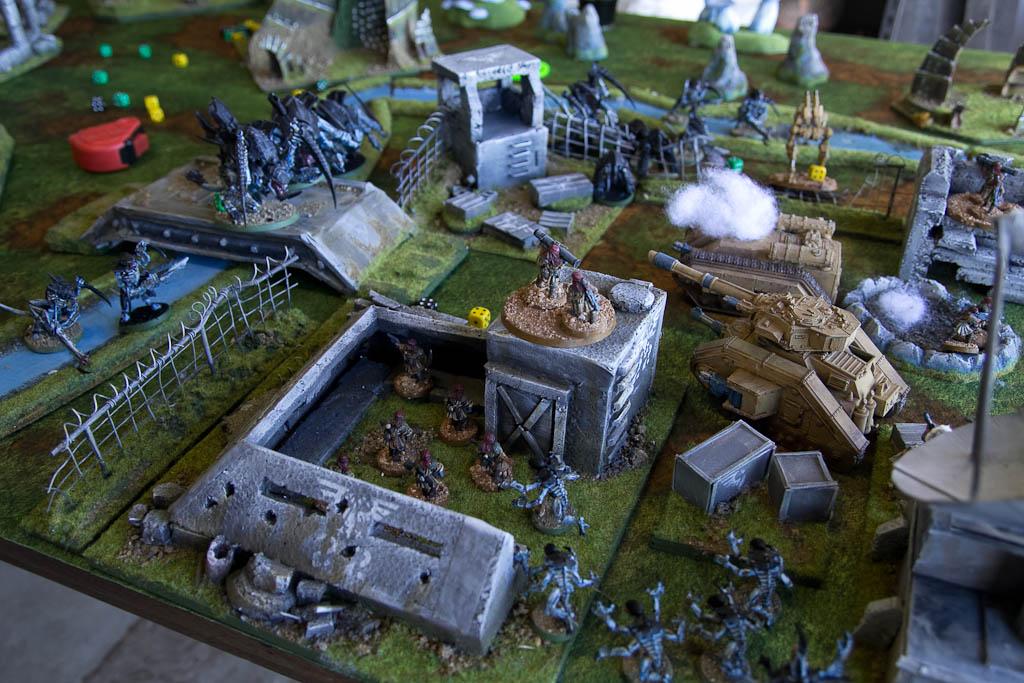
 The Tyranids advance all around.
The Tyrant put catalyst on himself and the Warriors.

The Devourer Carnifexs opens up on the Hellhound that was just in range and destroy it.
The Tyrant and small Warrior Brood fire at the Sentinels, and leave one with a single hullpoint.
The Barbed Strangler and Biovore scatter badley.
The other Carnifex runs.
 Imperial Guard - Turn 1
 The Primaris with the Veterans (Who had leadership 7 due to deathleaper) twinlinks them successfully.
The Primaris with the Command twinlinks them.
The Sentinels moves out to try tie up the advancing Warriors.
The Master of Ordnance targets the large Warrior Brood and the Vanquisher targets the Carnifex Brood.
The Master of Ordnance hits three Warriors and kills them.
The Vanquisher puts a wound on a Carnifex. As does the Veteran Squad
The other Carnifex is killed by the Veterans.
The Chimera puts a wound onto a Warrior and the Sentinel fails its charge.
 Tyranids - Turn 2
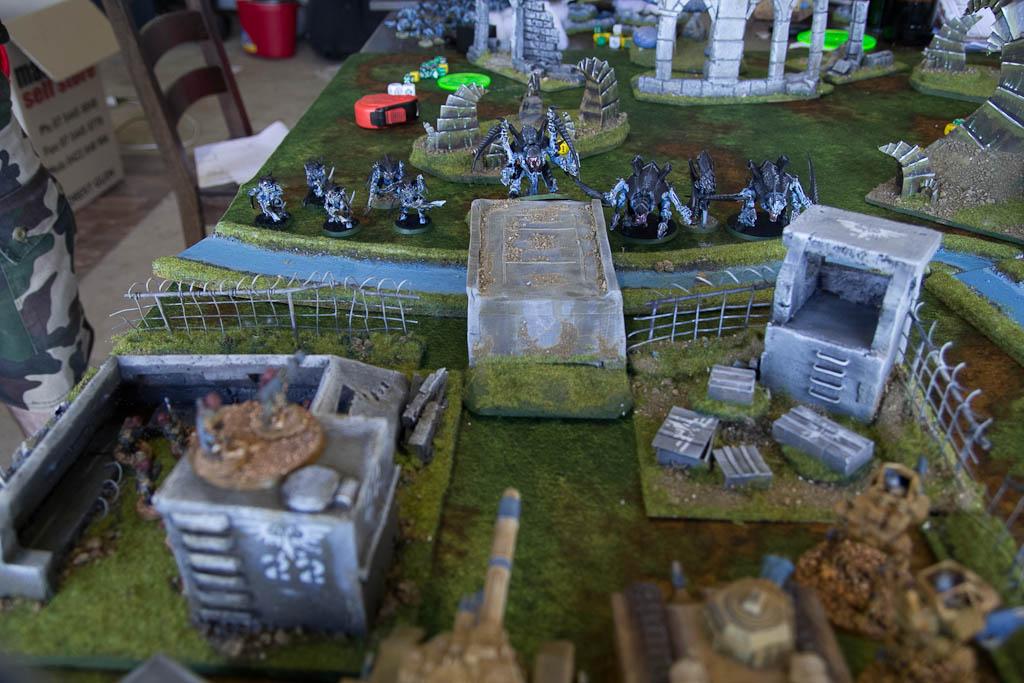
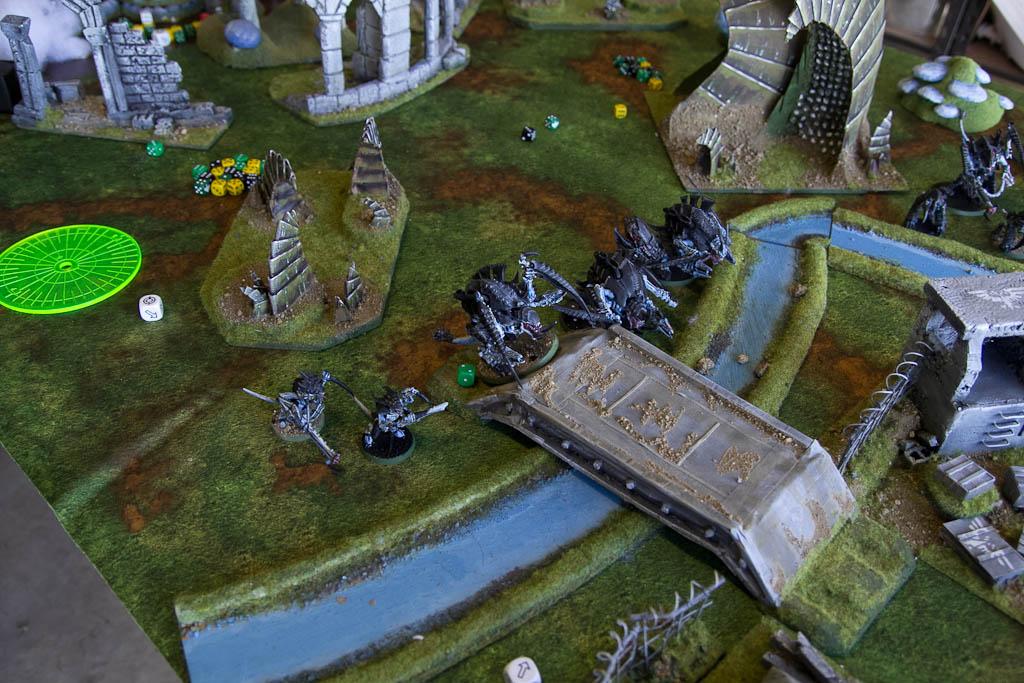
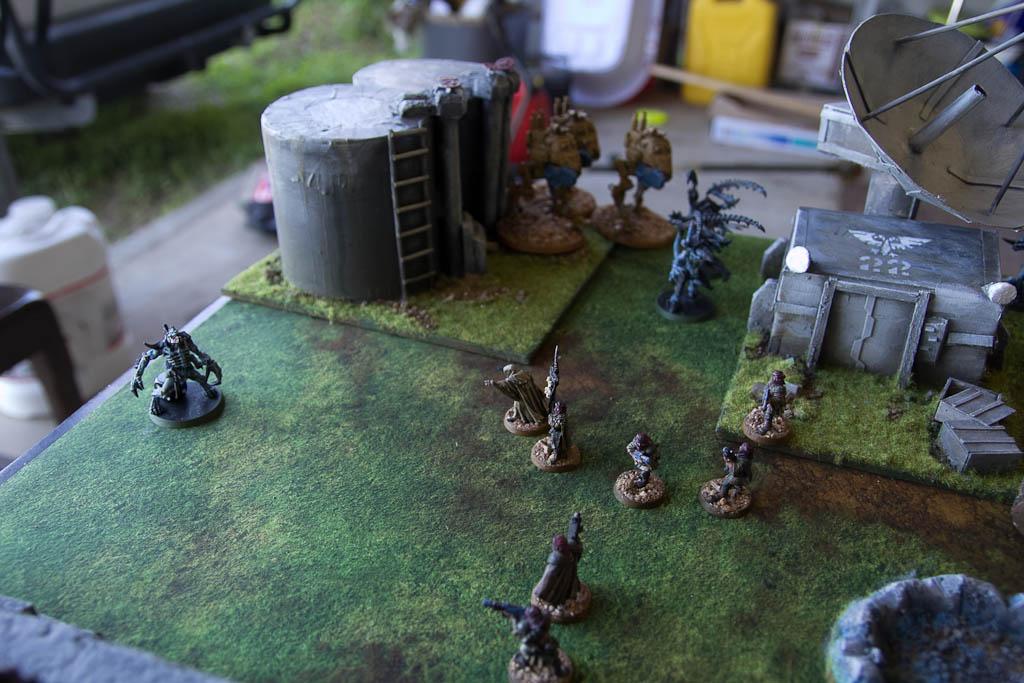
 Tyranids start by bringing all their reserves on in the imperial fort. Looks like he is trying to limit where my reserves can come on.
The rest of his army advances towards the Guard postions.
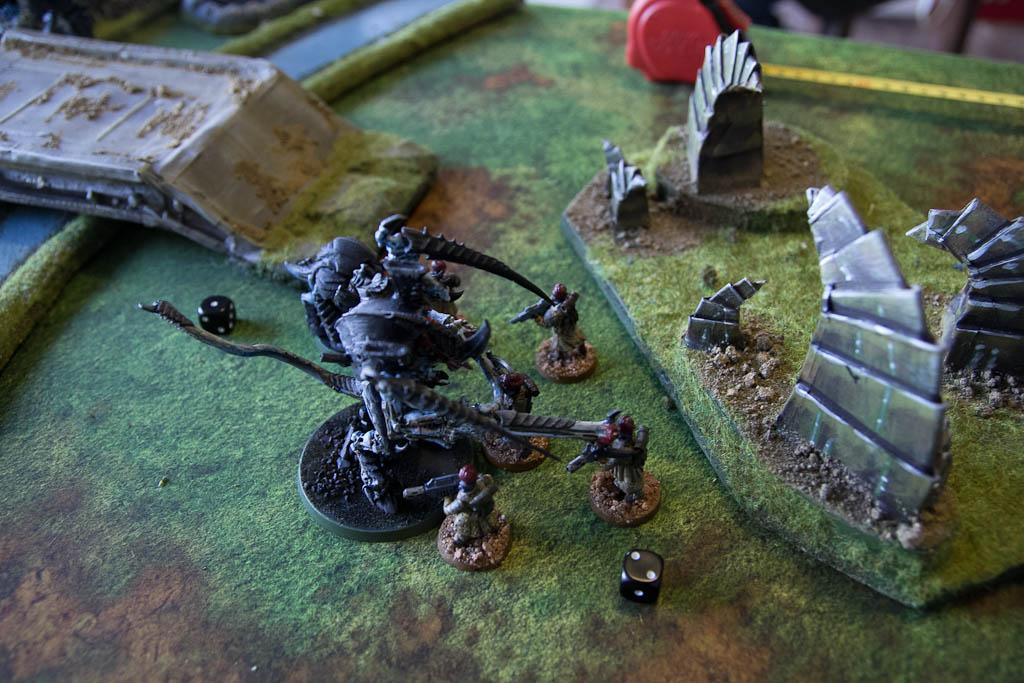
He has placed the Lictors to try snipe out my Commander and Master of Ordnance
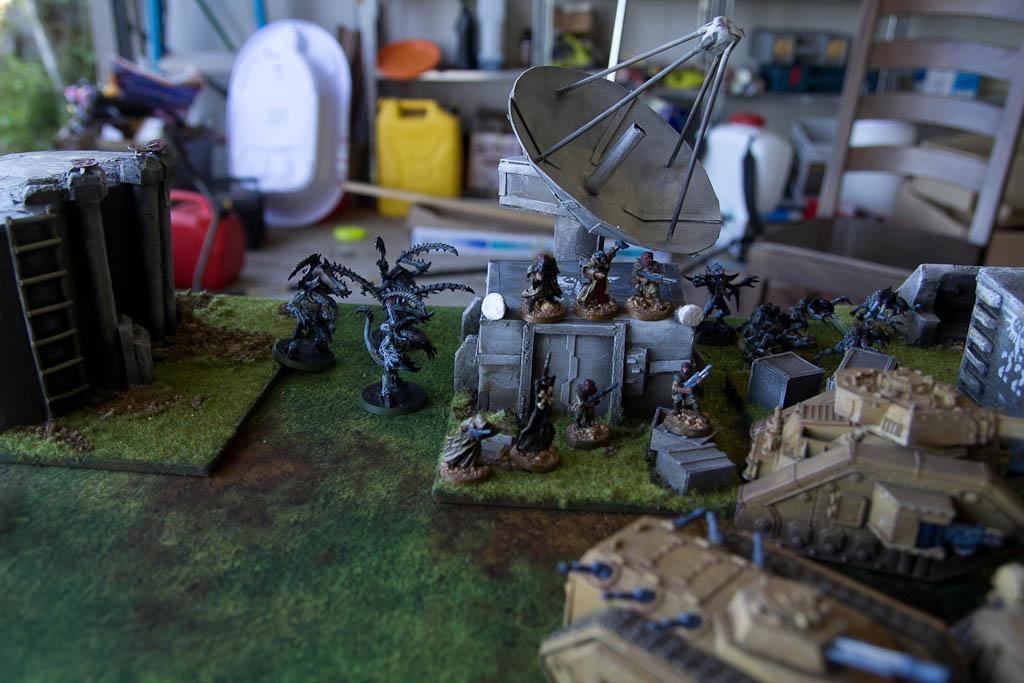
Which he does due to non independent characters only getting a 4+ look-out-sir.
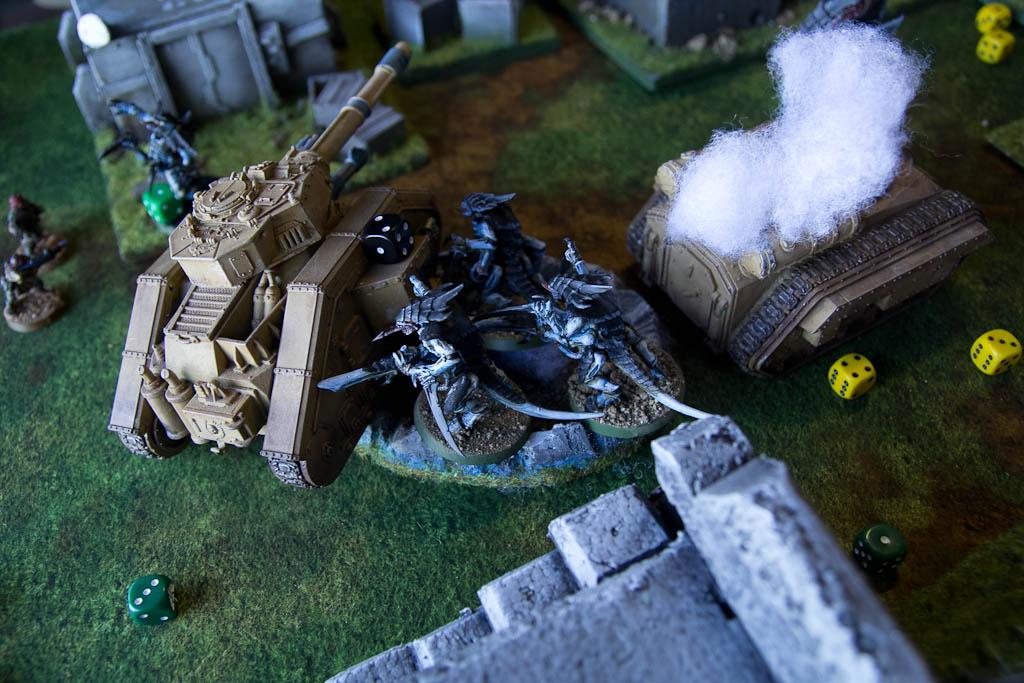
The Carnifex Brood opens up on the Veteran Chimera trying to hide behind the Hellhound wreck, and explode it. (Bad positioning from the guard to show its side)
The small Warrior Brood then opens fire on the Veterans that just had their ride destroyed, leaving only the sergeant and another guardsmen alive.
The depleted Warriors kill a Veteran or two, and the Tyrant runs.
 Imperial Guard - Turn 2
 The Imperial turn starts with all the Guard reserves coming on.
The manticore on the short edge.
The stormtroopers drop mainly between the Tyrant and Canifex Brood.
The Punisher comes on near the bridge.

With no space anywhere else the plasma cannon Sentinels had to come on behind the Lictors.
The Primaris fails to manifest any powers.
The Command Sqaud and Chimera Veterans move to get into rapid fire range of the Genestealers.
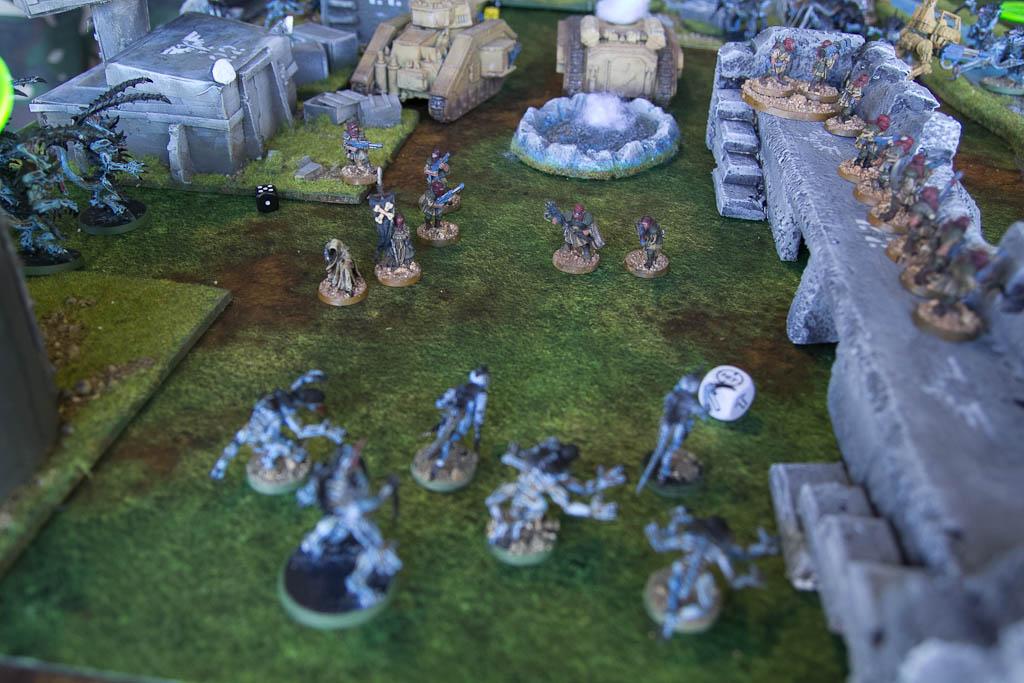
The stormtroopers open fire one the Carnifex Brood and Tyrant.

WIth help from the Vanquisher they leave the Carnifex Brood with a single wound. And also take a couple more wounds from the Tyrant Guard.
The Veterans fire on the 2 remaining Warriors near the bridge but only manage to kill one.
The Manticore fires on the closest Warriors and scatters to nowhere.
The Veterans and Command Squad fire on the Genestealers and reduce them to just the Broodlord on two wounds.
The Plasma Cannon Sentinels fire at the Lictors and kill one. They couldn't target Deathleaper due to only being able to fire snapshots at him.
The Punisher has a hard decision of whish unit to target, and decides to shoot at the other Genestealers, wiping out all except the Broodlord.

The Sentinel Attempts to assault and tie up the Warriors.
And succeeds.
Not a bad turn for the guard, but have they left to many threats alive to respond?
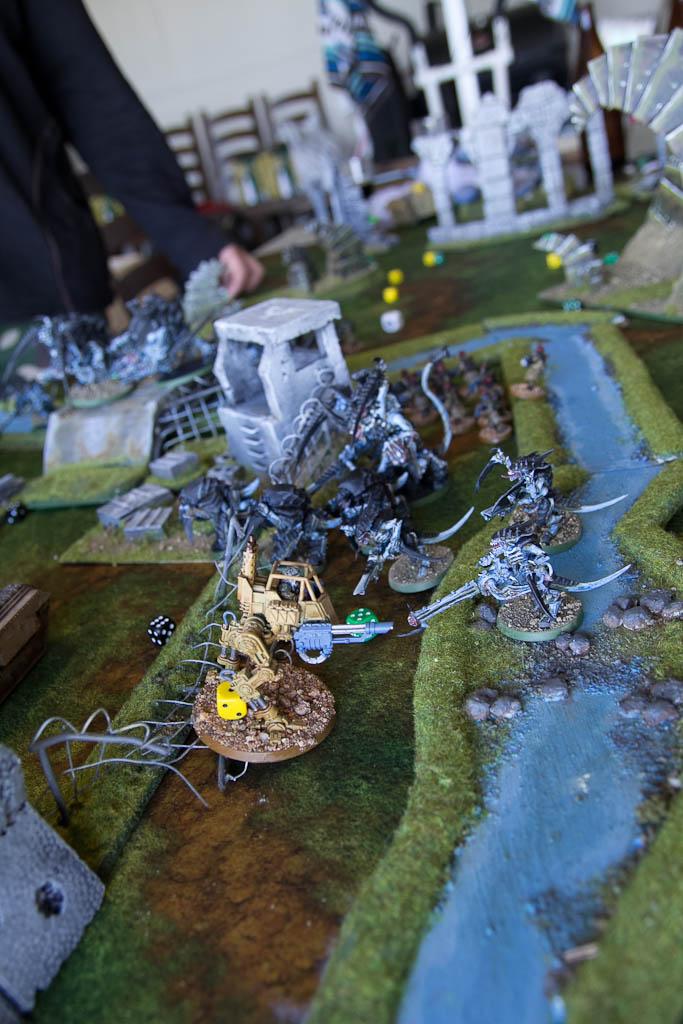
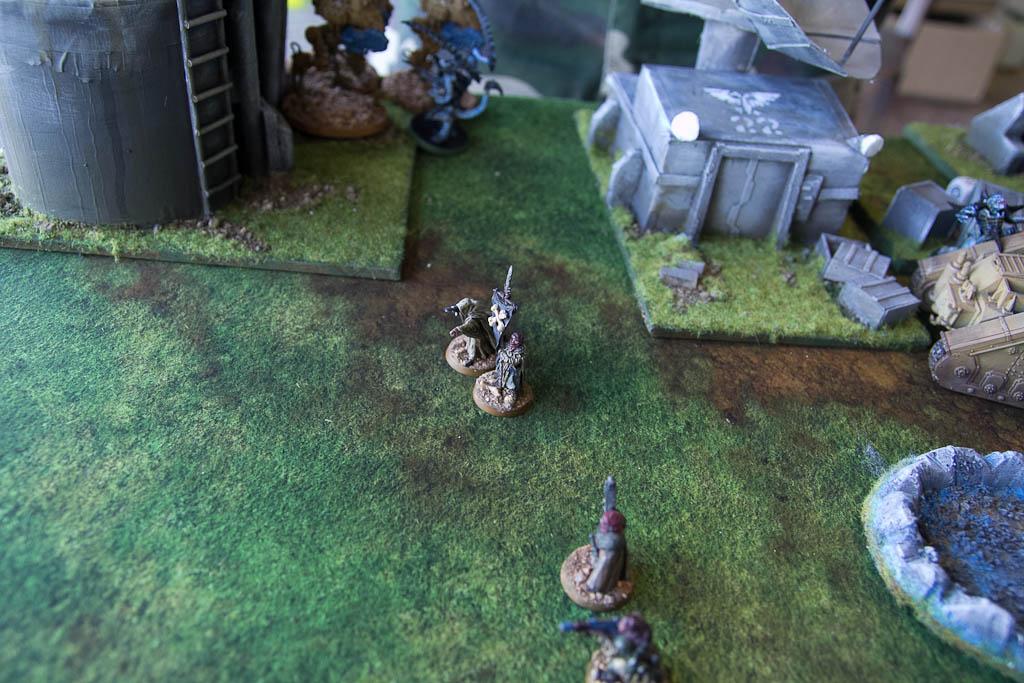
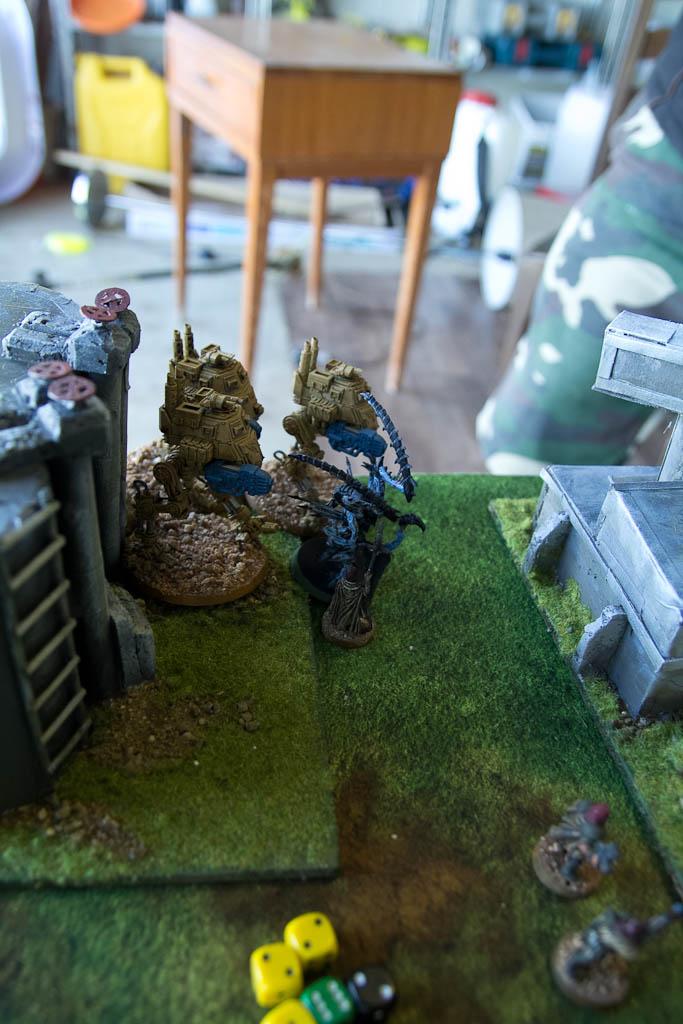
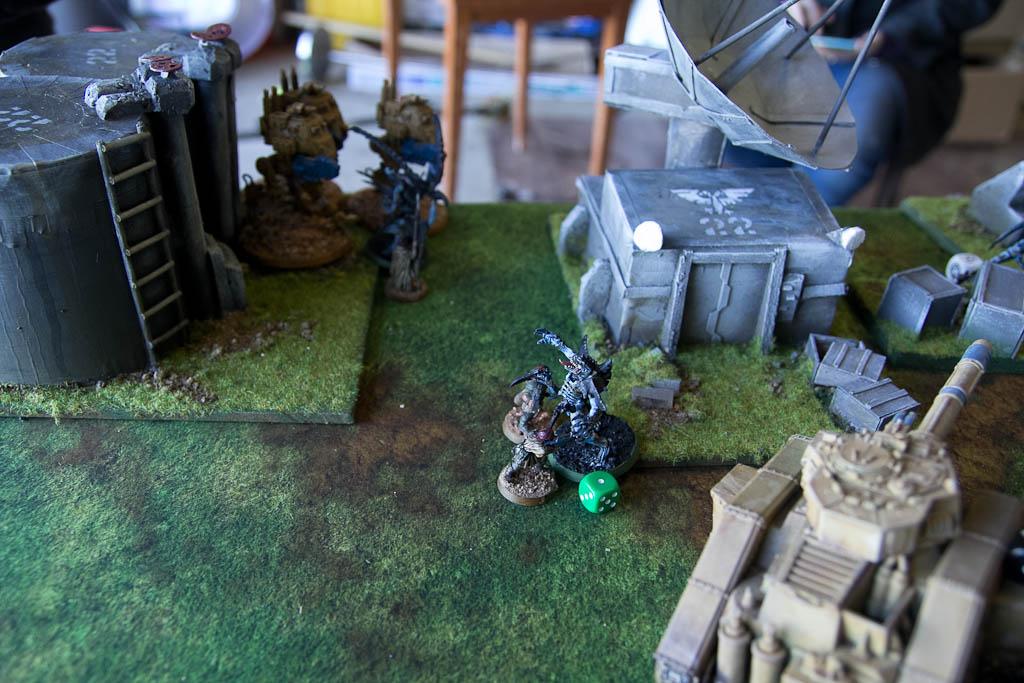
Tyranids - Turn 3 Deathleaper turns his attention to the Armored Sentinels.
The other Lictor heads towards the Command Squad
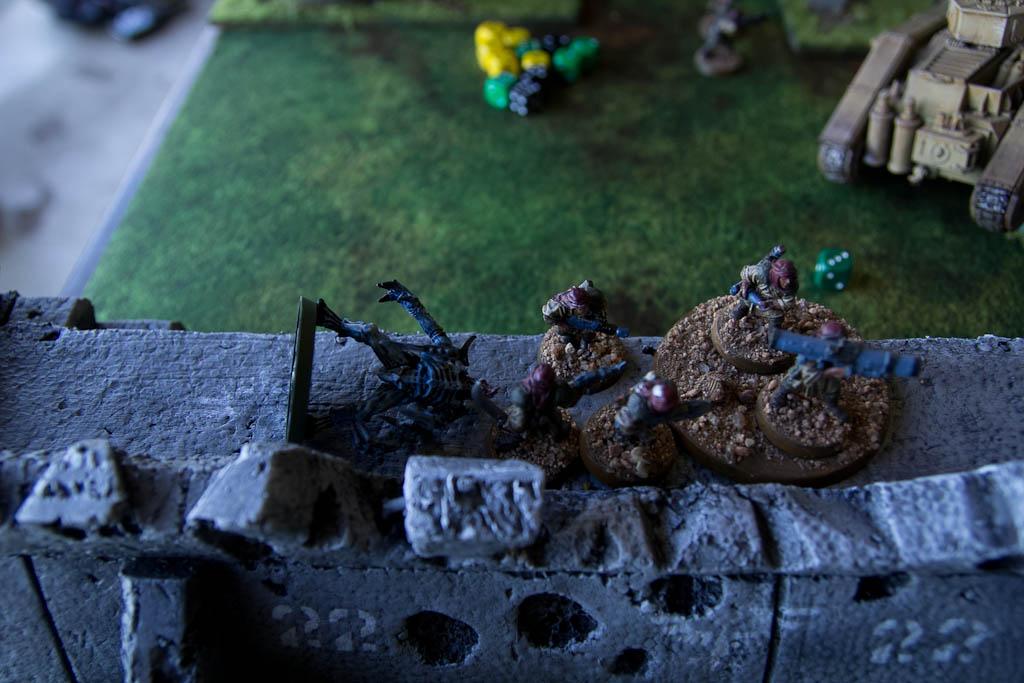
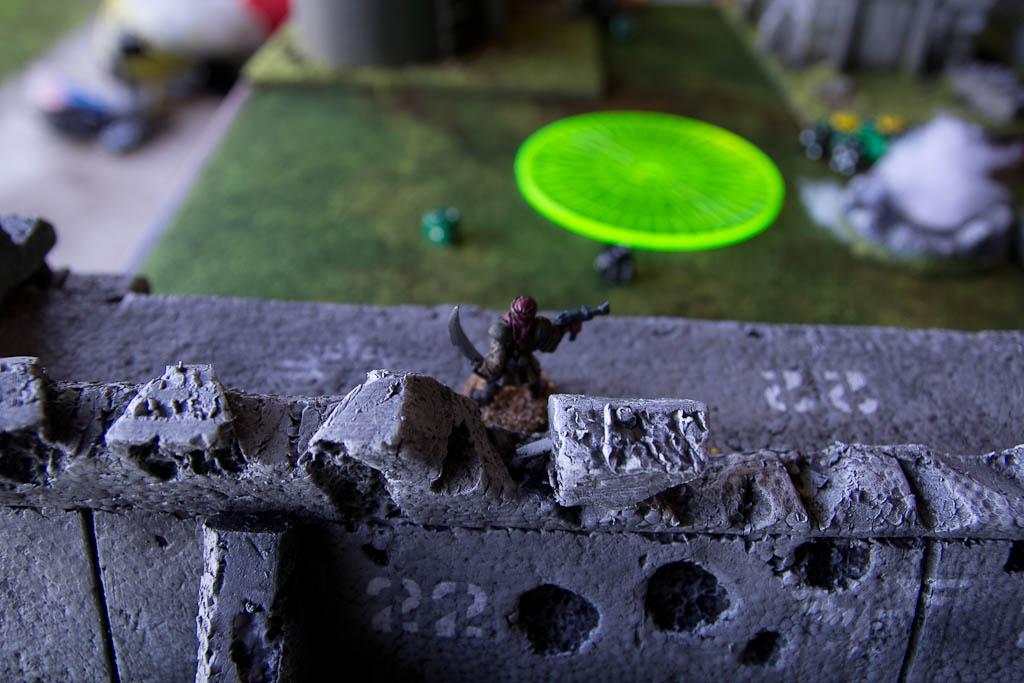
The Broodlord heads towards the Veterans on the wall.
The other Broodlord heads towards the Vanquisher.
The Tyrant turns towards the Stormtroopers
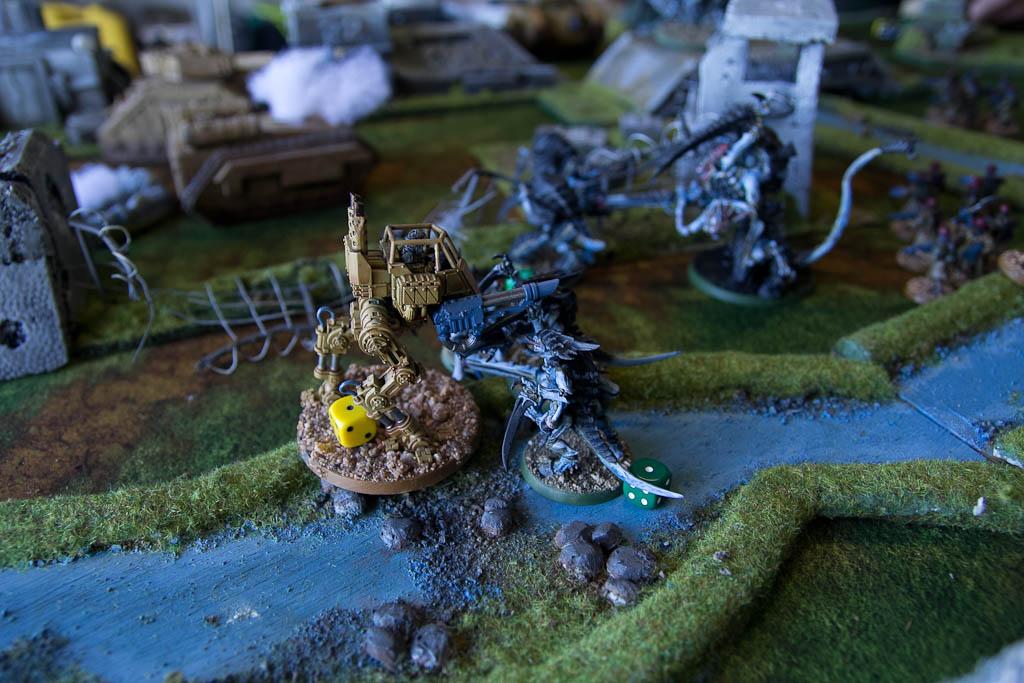
The Carnifex moves to assult the Punisher.
The Zoanthrope moves to warp lance the Vanquisher.
The Remaining Warrior moves toward the Veterans in the bunker.
The Heavy Venom Cannon and Biovore does plenty of damage to the Stormtroopers
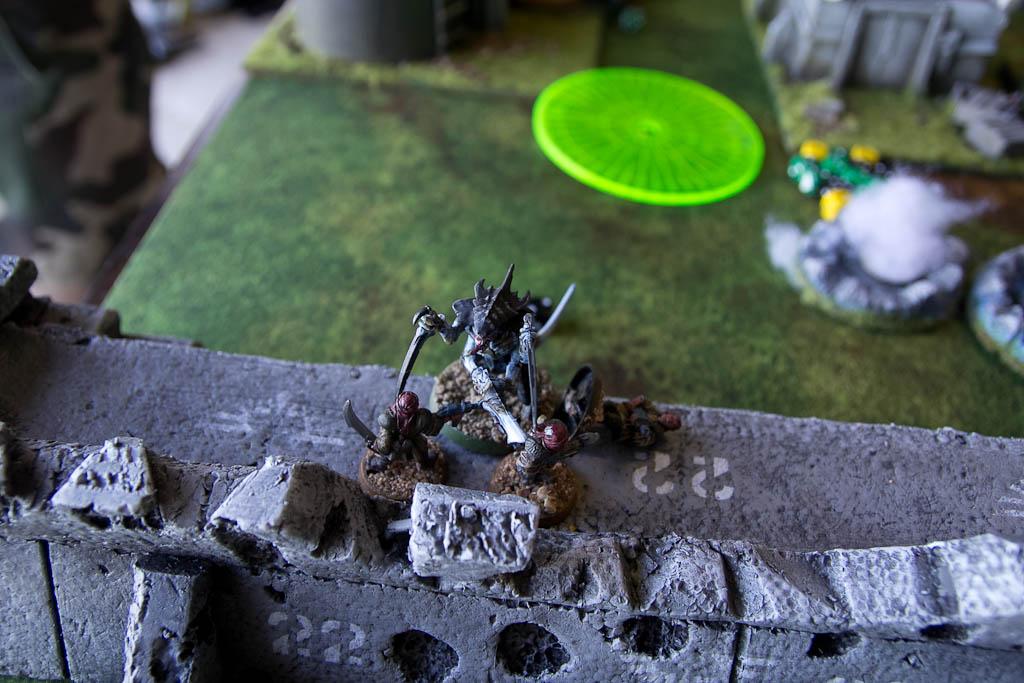
The first Broodlord assault the wall Veterans and kills a couple, but takes a wound in return.
The Warriors finish off the Sentinel.
The other Warrior assaults the bunker Veterans and kills a couple, causing them to break and run off the board.
The Carnifex assaults and explodes the Punisher.
The Tyrant squad multi-assaults the Stormtrooper squads and wipes them out. Then they consolidate towards the remaining Stormtrooper squad.
Deathleaper assaults the walkers and the Lictor assaults the Command Squad.
Bam! The Primaris force weapons the Lictor. And Deathleaper gets stuck with no damage on either side.
The Broodlord glances the Vanquisher once.
 Imperial Guard - Turn 3
 The Stormtrooper back off.
The Primaris thinks he can take Deathleaper.
The Chimera Veterans line-up a couple of shots on the Broodlord.
The Vanquisher backs off to do the same.
They only manage to do a single wound to the Broodlord.
The Manticore fails to do any damage to the Warriors that destroyed the Sentinel. Again.
The Veterans kill the Broodlord in assault!
Deathleaper challenges and the Primaris accepts, but dies before he gets to strike. Somebody learns a lesson.
 Tyranids - Turn 4
 With no real shooting to speak of the Tyrant assaults the Stormtroopers.
The Warriors assault the Russ.
The Broodlord assaults the Veterans
The Tyrant squad kills four, but the last man holds.
The Warriors explode the Vanquisher.
The Broodlord wipes the Veterans Squad.
The Sentinels put a wound on Deathleaper.
 Imperial Guard - Turn 4
 The Manticore immobilses itself. But hits the Warriors and kills two. The Veterans fail to kill the remaining one.
The Tyrant finishes the last Stormtrooper and consolidates back towards the action.
Deathleaper takes another wound then hit-and-runs away.
 Tyranids - Turn 5
 The Tyranids move forward.
One of the warriors moves towards the wall Veterans.
The Biovore misses the wall Veterans.
Shooting puts a hullpoint on the Sentinels.
The Tyrant glances the Manticore.
The Warrior assaults the Veterans.
And is cut-down by the sergeant. I think someone is gunning for a promotion.
Deathleaper assaults and destroys one of the Sentinels finally.
Imperial Guard - Turn 5 The Manticore shoots and kills the last Warrior and Broodlord.
And with that the game ends on a 2.
Tyranids Win Imperial Guard - 6 Kill Points = 6
Tyranids - 13 Kill Points + Warlord, First Blood & Linebreaker = 16
Post Game Thoughts:
First things first, that was a really really fun game.
I may have made the challenge a little greater than required by reserving so much firepower. But my opponent played smart by forcing where my reserves would come on.
The stormtrooper command with 4 plasmaguns and the preferred enemy order is just brutal. Also having defensive grenade really helps the Veterans hold against a modest assault, as you just saw. I am looking forward to trying out this list in a more normal game.
My opponents list was also a lot better than last time, that Carnifex Brood with Devourers is amazing. And Deathleaper is really cool.
Thanks for Reading, feel free to leave any thoughts, questions or other comments below.


 2500 points
 1500 points
 1250 points
 1000 points
 3000+
3000+
 2500+
2500+
 2500+
2500+
 1000+
1000+
 1500+
1500+
 1000+
1000+ 


 so no.

