Tuesday night I got another chance to go play Warhammer
40K. I used my Tau Rapid Response Cadre design that I posted here a while ago. After reading a lot of threads about how good Devilfish are in 7th, I decided to put it to the test. My plan was a battle forged force with only mechanized units. My army list can be seen here:
http://www.dakkadakka.com/dakkaforum/posts/list/604552.page#7011542
(I just noticed that I can’t take drones on the Fire Warrior teams without the Shas’ui! Oops. Oh well, my two Marker Drones did NOTHING the entire game except absorb a wound each.)
With this store you never know what you will play against. So I went and found a guy looking for a game. He had recently gotten a lot of new basic Chaos units and wanted to test some things and see what worked before he bought some big models. So he used proxies (trynids) for all his not basic
CSM stuff. He also made his list on the spot, but at least he did not know exactly what I was bringing. (I think I learned that lesson last time.)
Here is what he came up with:
10 Chaos Space Marines. 2 armed with plasma guns, all with a Mark of Sleenesh. One carried an Icon of Excess. I believe his aspiring champion (sergeant) also had a plasma pistol. The squad also had a dedicated Rhino for transport with a havoc launcher and combi-bolter.
3 Chaos Spawn with Mark of Nurgle
1 Maulerfiend
(I am not familiar with Chaos, but Army Builder stated this out at 520 points. Not that I can say anything with my error on the drones.)
Once his army was ready, we rolled for Warlord traits. I don’t even remember what he got, but I don’t think it affected much. I had never used these traits before (this was my 3rd game ever.) So it looked like the Command table was cool. I rolled a 6, which is reroll 1’s in assaults. Not great for Tau. Since I was battle-forged I got to reroll. Another 6. Sigh.
Rolling for the battle we wound up with Purge the Alien and with Vanguard Strike deployment. We roll for deployment and I win the roll. I choose him to deploy first. We roll again for first player and I win that roll too. I choose to go second and play reactionary. (Not sure if this is right under 7th or not. Seems like a lot of pre-game rolls.)
In retrospect, I realize that doing Eternal War missions rather than Maelstrom of War was not idea for my mobile Objective Secured force. We had no objectives except kill the other guy.
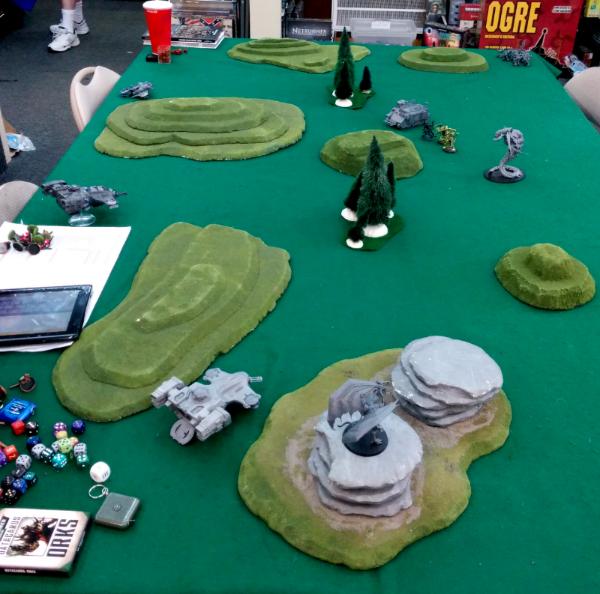
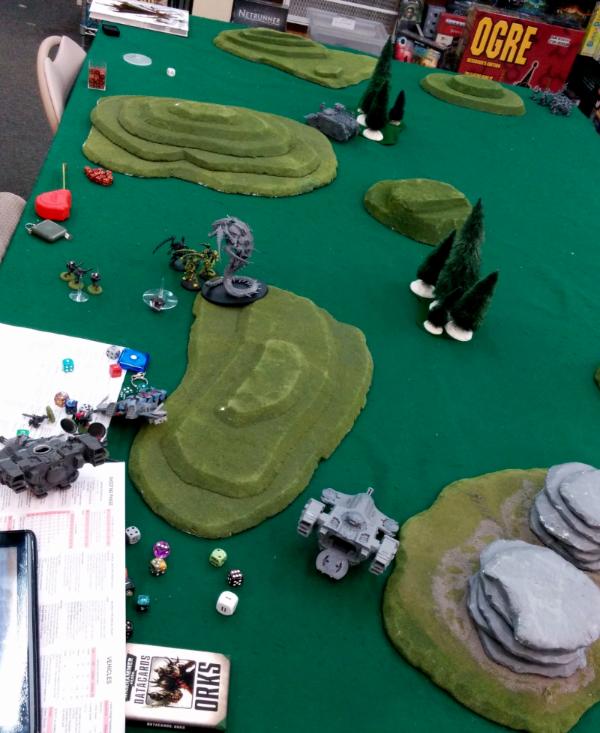
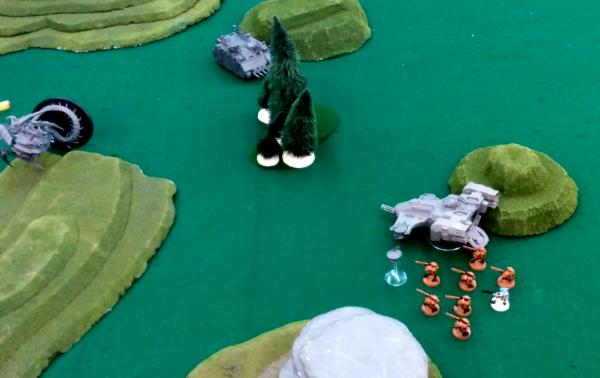
Deployment Phase.
I choose my table side such that there was a lot of open ground on his side. I figured that might help me since most of his guys ignore cover and difficult terrain anyhow. Again, I had decided to be reactive in my movements and had hoped to use my superior mobility to my advantage. To that end I spread out my forces while he is a bit more centered.
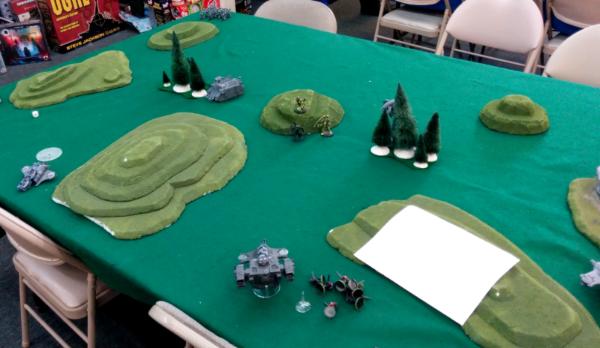
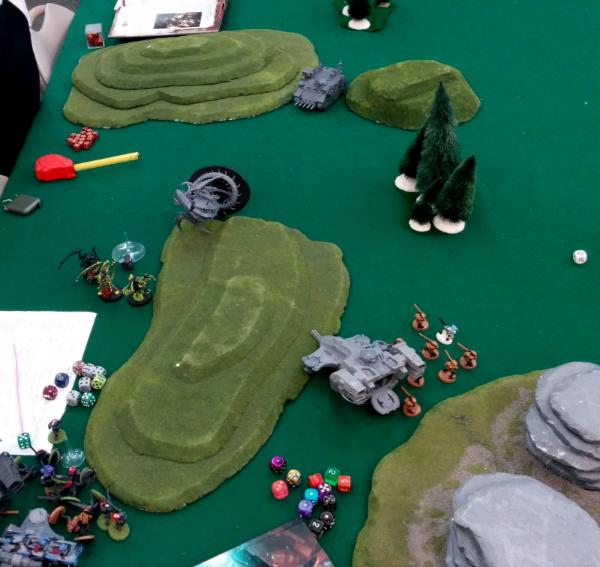
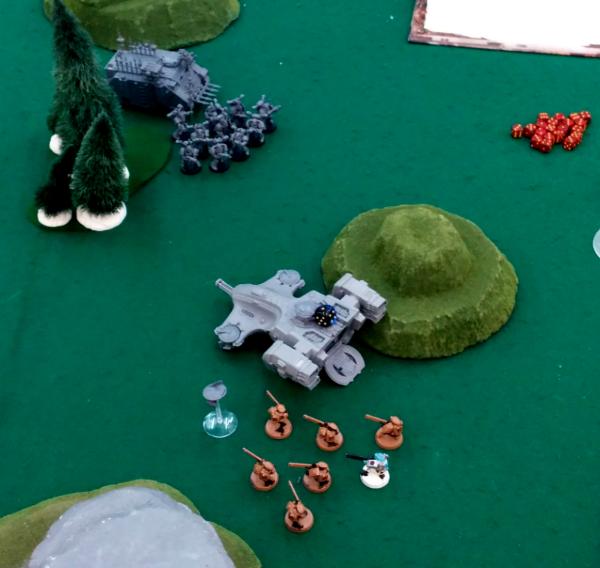
Chaos Turn 1
On turn one, his basic movement is to advance. The Maulerfiend and Chaos Spawn move 12 and then can run with a reroll. They got a lot closer than I had hoped for one turn. The Rhino advanced and fires off the Havoc launcher at the Piranha. He missed, but the scatter is short enough to still catch me in the blast. Luckily, it does not damage me and I did not even jinx.
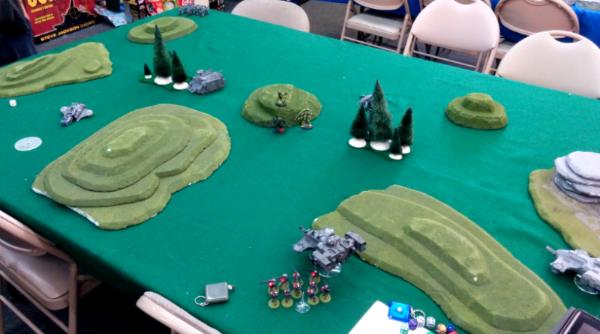
Tau Turn 1
Here is what it all starts to go wrong. I think I made a lot of mistakes because I did not follow my plan to use my mobility. My Piranha only moved 6” and took a front armor shot on the Rhino with the fusion blaster and I was not even close enough for the
AP boost from the Melta. I should have flat out moved and gotten behind him as a future threat. Not only that, I missed with the shot too. (And I just realized I forgot about the gun drones. I should have dropped them off or at least had them fire.)
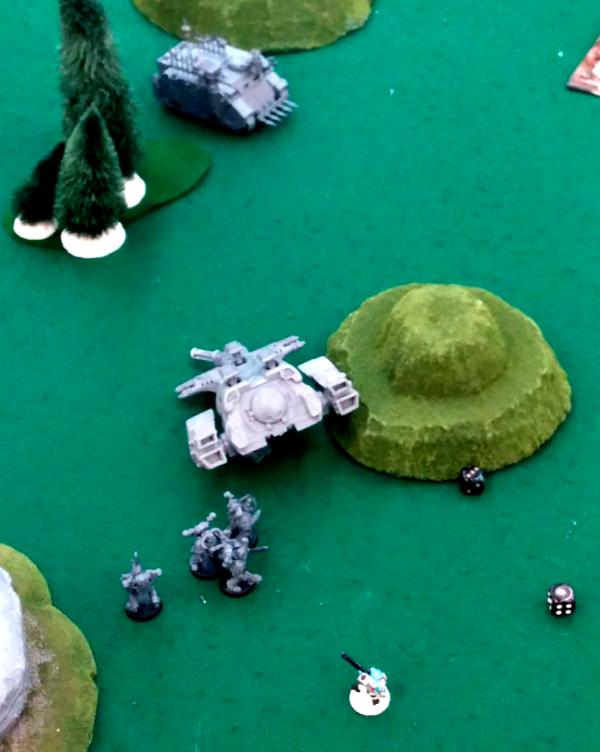
In the center where the Spawn and Maulerfiend were approaching, I dropped the Devilfish back a bit disgorged the troops. Here I made two more mistakes. I placed the troops out of charge range (good) but I clustered them up really tight (bad). Second I still had the Devilfish in charge range (very bad). The Fire Warriors took 10 shots and also had a marker drone fire its marker light on the Spawn. I think I hit with 4 of them, but only 1 could would the high toughness of Nurgle Spawns (T6). I did cause a single wound at least. The Devilfish burst cannon and Gun Drones were useless in shooting.
My other Devilfish tried to be fire support with the
TL-
SMS. He fired on the Maulerfiend before I realized that its armor was so tough that the
SMS could not even glance it. (AV12 side shot with S5 weapons.)
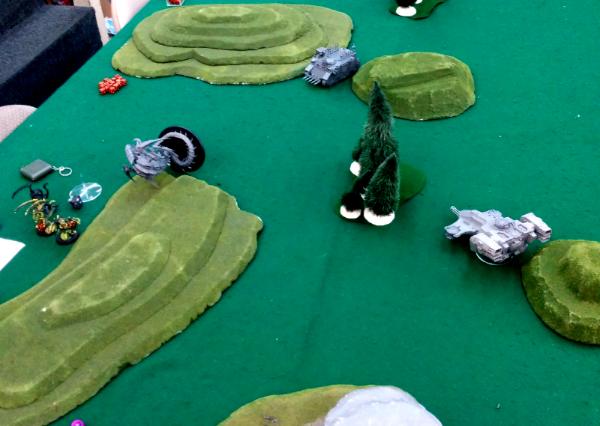
Chaos Turn 2
This turn was almost the end of the game for me. I came close to giving up, but I just wanted to play.
First the Rhino moved 6” to close with the Piranha. Then the two plasma gun marines fired from out the top hatch at it. The range was close enough he got 4 shots or which 3 hit. I manage to jinx 2 of the hits, but the third is a solid
AP 2 pen. He of course rolls a 6 for the vehicle damage table. Boom. Then he fires the Havoc over on my tightly clustered Fire Warriors. Dead on hit and managed to get 7 under the template. (I could not have tried to give him a better shot.) Those 7 hits turn into 4 wounds which I of course save only 1 of.
In the center of the table, the Spawn and Maulerfiend close to charge range on the Devilfish. They charge and easily make it. The Maulerfiend charges first and when the Spawn charges I use Supporting Fire to have my Fire Warriors fire Overwatch. Unfortunately they fail to do anything to the Spawn. In the assault combat, the Maulerfiend and Spawn rip the Devilfish to shreds causing it to explode. Since my Fire Warriors had just disembarked, a bunch of them were close enough to get caught in the blast. This kills an additional 4 Fire Warriors (I could not make an armor save to save my life, literally.) The explosion also hit his units, but they took no wounds due to their high toughness.
The game does not look good at all now.
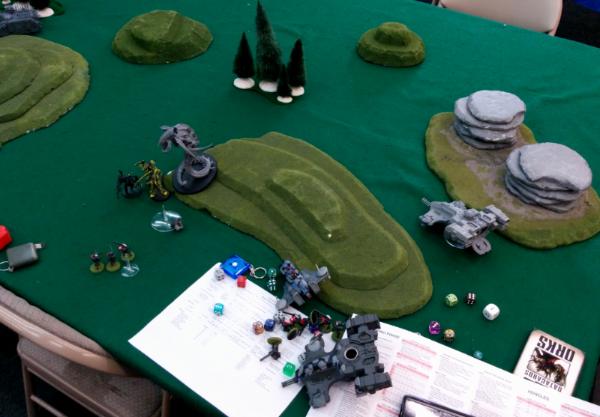
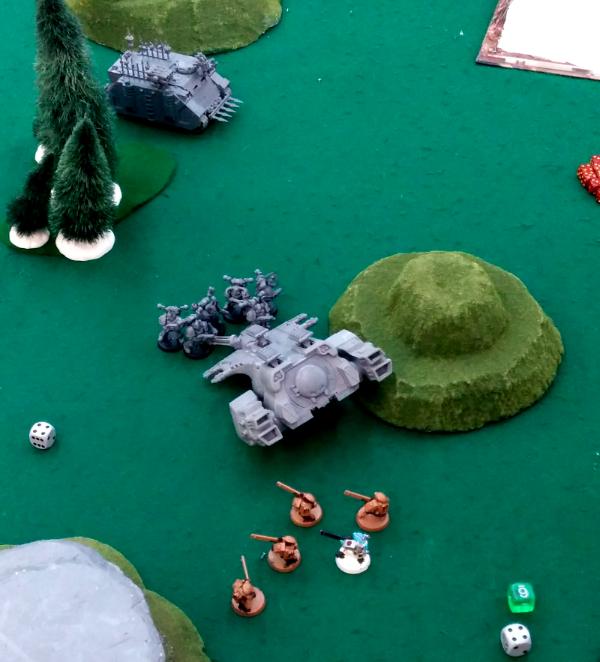
Tau Turn 2
In the center table the 4 survivors of the Devilfish’s destruction pull back and space out to prevent getting blasted again. I have 3 Fire Warriors and 1 Marker Drone. They shoot at the Chaos Spawn and cause a single wound. The marker drone continues to be useless, but at least all my seeker missiles were already destroyed.
The other Devilfish moves forward to get behind the Maulerfiend and unloads the Fire Warrior squadron and the Cadre Fireblade. From behind the Maulerfiend the squad opens up with quite a few shots and manages to penetrate and glace his rear armor enough to kill the daemon engine. This clears the Devilfish to use the burst cannon and
TL-
SMS on the chaos Spawn and that gets another wound. However, since I have attacked them from several different directions, the wounds are spread out and none of them have died.
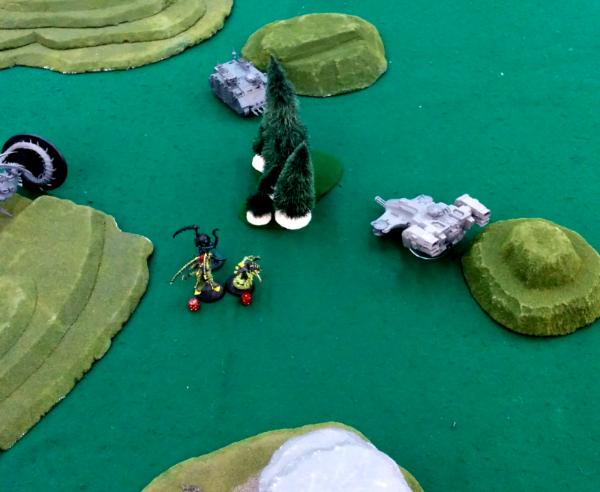
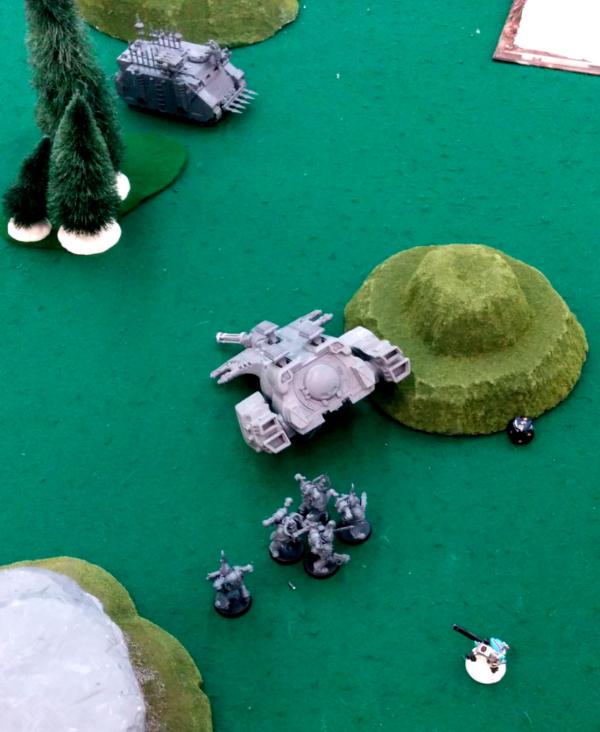
Chaos Turn 3
Chaos brings the Rhino around closing with the Fireblade and his troops. The Spawn closes in for the kill on the survivors.
The havoc launcher hits again and rains death on the fire warriors. Luckily I learned from the last group and spaced them out much better, so only a few are hit and 2 are killed.
The Spawn charges the last 4 survivors from the first Devilfish and takes a wound to Overwatch. The charge does 10 hits, 9 wounds, and 3 kills. The last survivor breaks and runs, but is swept by the chaos beasts.
Tau Turn 3
With the last of the survivors killed, the Fireblade knows he is in a bad position. The fire warriors load back into their Devilfish and the pilot punches it. The transport moves flat out for a better position. (Rule concern. I know that you can only move 6” with a transport and unload. It seemed from our reading that you could load and then move as much as you want. Did we do that right?)
Chaos Turn 4
The Spawn and the Rhino try to close on my position in the Devilfish. The Rhino fires the havoc launcher and plasma gun marines to no effect.
Tau Turn 4
The Devilfish takes up a defensive position between two hills and drops off the Fire Warriors again. With short range to the Spawn the Fire Warriors shoot quickly and score 10 hits but only 3 wounds. Still the first Spawn falls. The Devilfish’s burst cannon and the
TL-
SMS then follow up destroying the remaining Spawn. The monsters are dead.
Chaos Turn 5
The Rhino closes more of the distance and unloads its cargo of
CSM. The plasma guns fire and immobilize the last Devilfish but don’t kill it. The havoc launcher rains fire on the troops, but once again better dispersion of the models limits the effectiveness to 1 kill.
Tau Turn 5
With the troops deployed, they stand their ground as the Fireblade leads them in Volley fire. 3 wounds are causes, but the strong power armor of the
CSM resists it all. Same for the burst cannon. The
TL-
SMS gets 3 hits, 2 wounds, and finally a kill.
The die is rolled for the end of the game and the game continues.
Chaos Turn 6
The Rhino sits and provides support fire as the
CSM close. The havoc launcher is again on target and kills 3 Fire Warriors (due to rolling ZERO 4+ armor saves.) The Rhino’s combi-bolter also fires but is resisted by our armor (finally). The
CSM then charge the Devilfish and lose one marine from Supporting Overwatch fire. However, they are able to easily destroy the vehicle with Krak grenades (without an explosion of course.)
Tau Turn 6
The Tau valiantly stand their ground and pump out the pulse rifle shots. 15 shots are taken, 8 hits, and 4 wounds. The
CSM lose 2 total models.
The game ending die is rolled and the game continues.
Chaos Turn 7
The
CSMs close on my remaining few Fire Warriors and Fireblade. The havoc hits again, but this time does nothing. (Note: the havoc launcher missed ONE shot the whole game and that one still hit.) The combi-bolter misses. Bolt pistol fire from the
CSM kill 2 warriors before they charge. Overwatch fire drops 1
CSM in his tracks as the others smash into the few remaining Tau. The Chaos aspiring champion calls out the Fireblade for single combat. The Fireblade fights and takes a wound but cannot score any in return. The two remaining fire warriors are also killed. The Fireblade breaks and runs. The
CSM fail to sweep.
Tau Turn 7
The lone Fireblade Cadre stands and fires 3 shots which kill one last Marine as the game ends.
(Note, I forgot to roll for rallying on the Fireblade. I would like to think I would have made the 9- roll required.)
Results
The final result was that I had only my Tau Fireblade Cadre left with 2 wounds remaining. My opponent had the Rhino and 4 of the
CSM still on the table, including his Warlord.
I lost 440 points of units with 60 points surviving.
He only had 152 points left.
We totally forgot about checking the victory points. Looking back on it, I think it was thus:
Tau units destroyed:
2 Squads Fire Warriors
2 Transports
1 Piranha
5
VP
Chaos units destroyed:
1 Squad Chaos Spawn
1 Maulerfiend
2
VP
Neither Warlord died, so no one gets Kill the Warlord.
Chaos got First Blood with the death of my Piranha.
The Tau got Linebreaker given my position at the end of the game.
So final
VP score is 6 to 3 Chaos wins.
We both made some mistakes but we had a good time. I was thrilled to be able to fight back from what I was sure was going to be a total loss and at least make it respectable. I feel that my use of the Devilfish was much better in the second half of the game. I need to try and formulate a plan earlier in the game and then stick to it until it falls apart.
A couple of things I think I learned. Seeker missiles are cool, but you really should have good markerlight support for them. Markerlight drones in small numbers are NOT good markerlight support. Cadre Fireblade is not the best for a mobile force. I need an ethereal.
Comments are welcome. I hope you all enjoy my battle report.
Thanks,
Duncan


 "Sons of the Last Breath"
 "Host of Shattered Purity"
 "Kabal of the Dying Sun, Cult of Marrow Excised, Coven of Lambent Hunger"