Tau vs Chaos Space Marines - 1000 points
Game: Maelstrom of War - Cloak and Shadows
Tau Army
HQ:
Commander,
MSSS, C&C Node, Puretide Chip, Drone Controller
Warlord Trait: Forward Planning
Troops:
9x Fire warriors
9x Fire warriors
12x kroot + kroot hound
Elite:
Crisis suit, 2x fusion blasters
Riptide Battlesuit, Ion Accelerator,
EWO, VT,
TL Fusion Blaster
Fast Attack:
5x Pathfinders
5x Pathfinders
Heavy Support
3x Broadside Battlesuits,
HYMP,
SMS,
EWO, 4x Missile Drone
 Chaos Army
HQ
Chaos Army
HQ:
Huron
Troops:
10x Cultists
10x Marines, 2x plasma guns, Rhino
10x Marines, 2x melta guns, Rhino
10x Marines, 2x melta guns, Rhino
9x Marines, 1x flamer, Rhino, Mark of Nurgle
Warlord Trait (sarge was warlord): Well Prepared

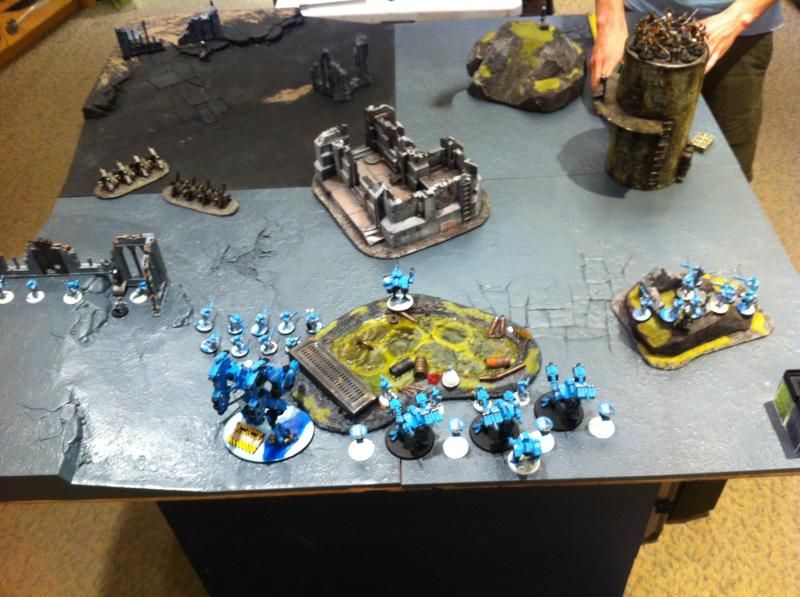
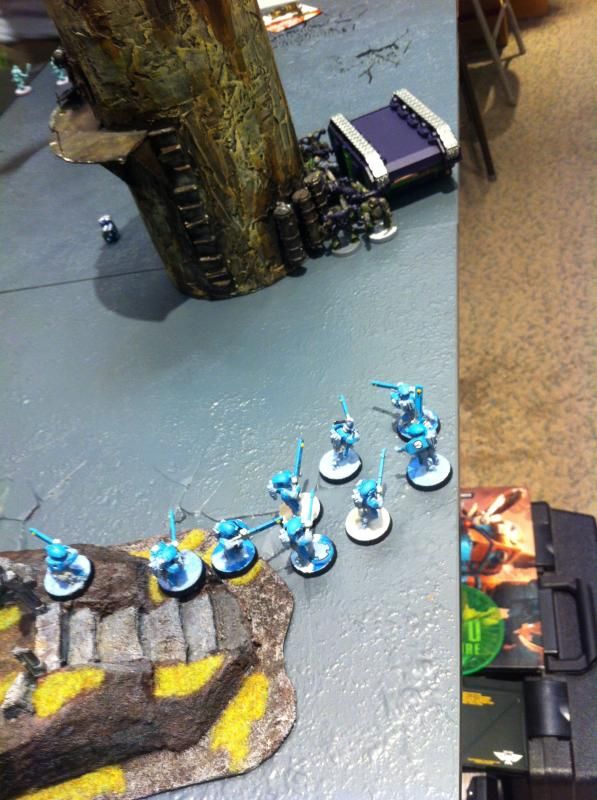
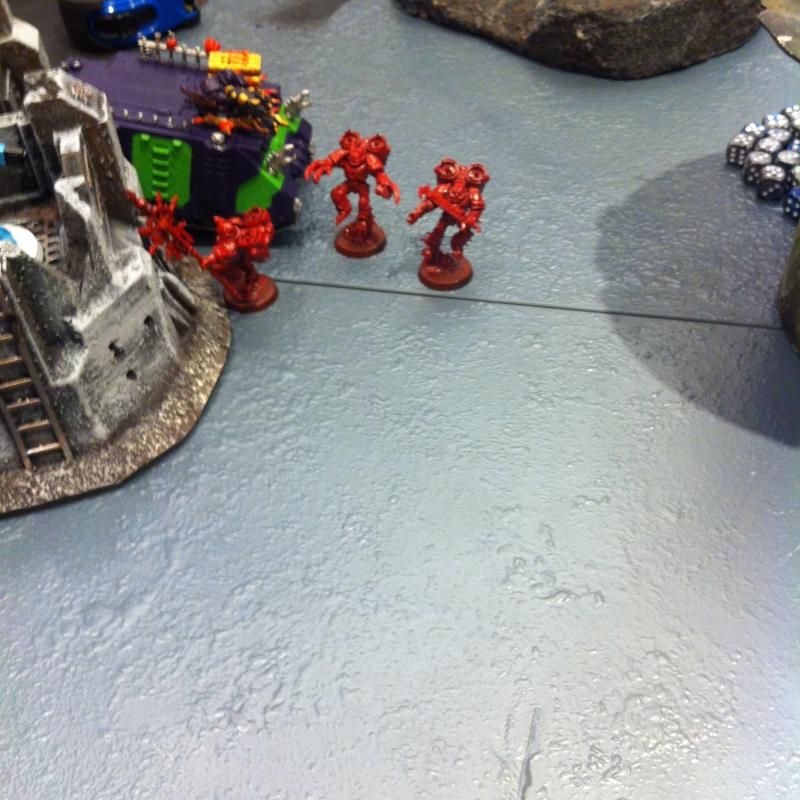
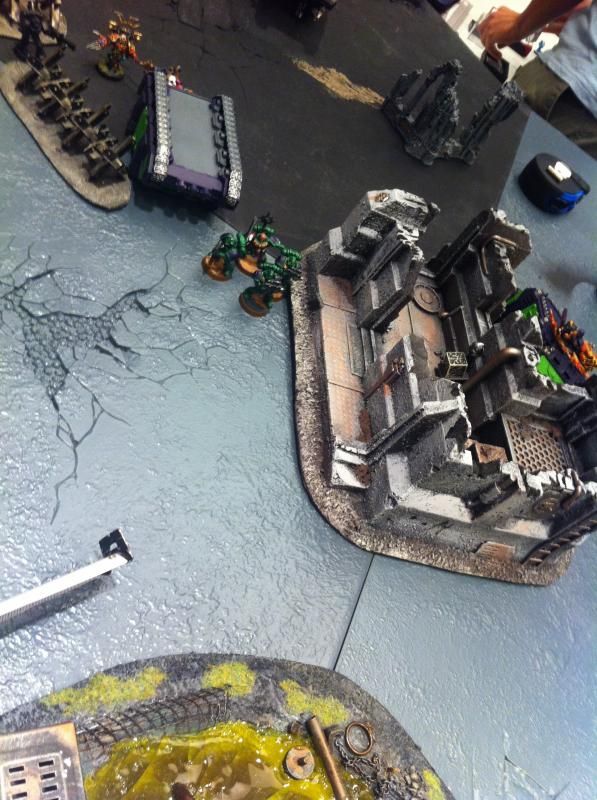
Tau Deployment
Kroot are in reserves
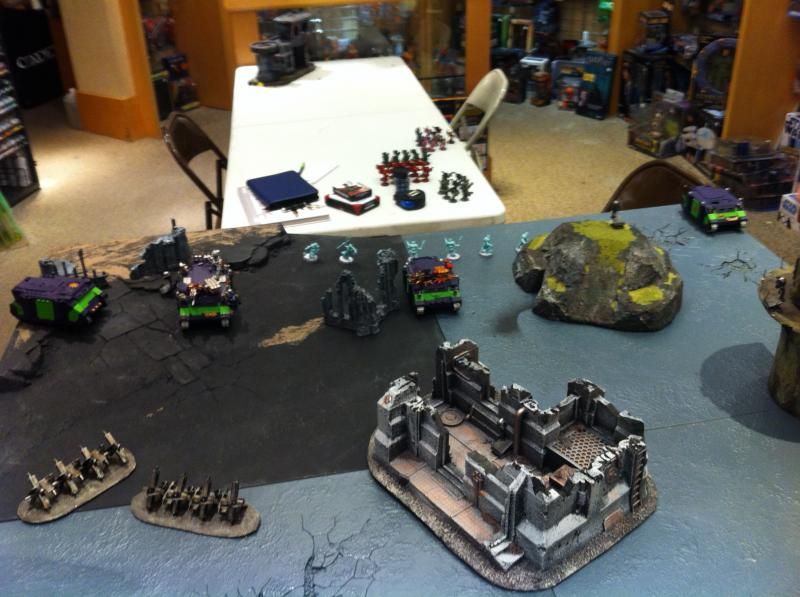
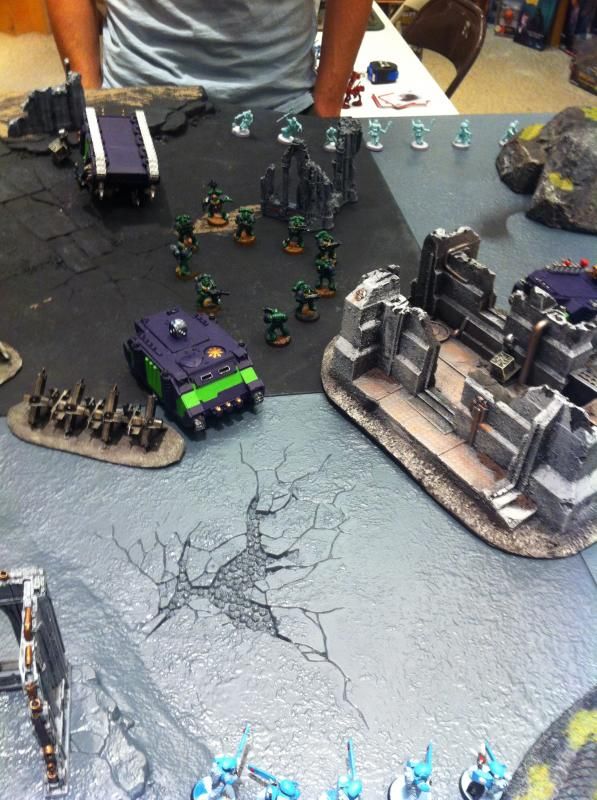
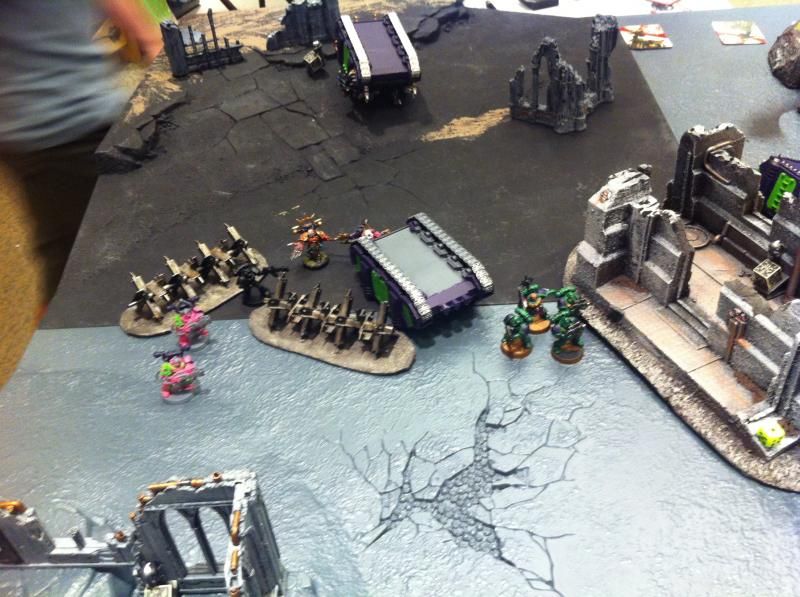
Chaos Deployment
Rhinos from image left to right are Huron+flamer – Melta – Melta - Plasma
 Tau Turn 1
First hand of cards is discarded by warlord trait, new hand drawn
Movement Phase
Fire warriors advance to get a line on the rightmost rhino, fusion crisis suit scoots up behind terrain

Shooting Phase
One Rhino is destroyed by tank-hunting High-Yield Missile Pod fire
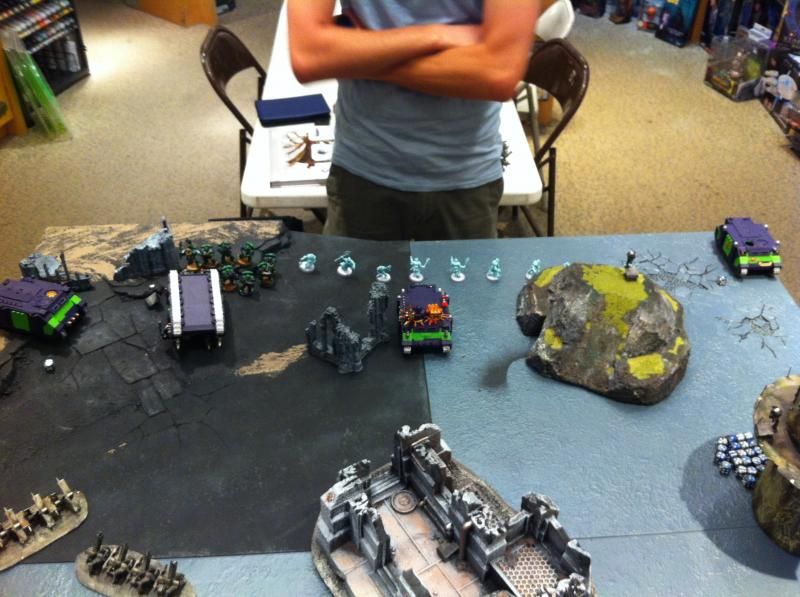 Chaos Turn 1
Movement Phase
The three remaining rhinos advance, and all but the plasma squad jump out and move up

Shooting Phase
Huron's Haemorrhage and his marines' bolters kill most of a pathfinder unit, the last pathfinder then flees
The rhino with plasma marines drives flat out towards the fire warriors
 END OF TURN 1
Tau: 1 - First Blood
Chaos: 1 – Harness the Warp
Tau Turn 2
Movement Phase
The Tau army holds their ground
Shooting phase
Fire warriors wreck the rhino bearing down on them, but now there are 10 angry marines in their face
The Tau gunline kills half of Huron's marines, and a few from the red melta-toting squad.

Assault Phase
The crisis suit “does the hoot, scoot and boogie, and jumpasaurus” into cover behind the central ruin
 Chaos Turn 2
Movement Phase
Huron and friends jump back in their rhino, and drive up some more, as do the red melta-marines. green marines footslog up the middle. The plasma marines close in on the fire warriors
Shooting Phase
Plasma marines nearly wipe the fire warriors in front of them, the rhinos pop smoke
 END OF TURN 2
Score
Tau: 1
Chaos: 2 – Objective 1 (in the central ruin, rhino holding it)
Tau Turn 3
Movement Phase
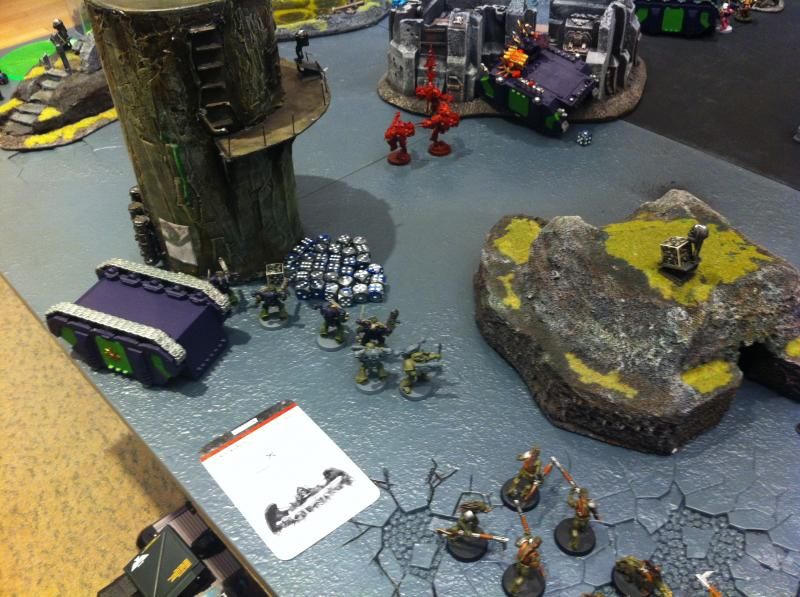
Fusion suit moves up to try destroy the rhino on the central objective.

Shooting Phase
The last fire warrior on the right flank holds his ground and kills one marine
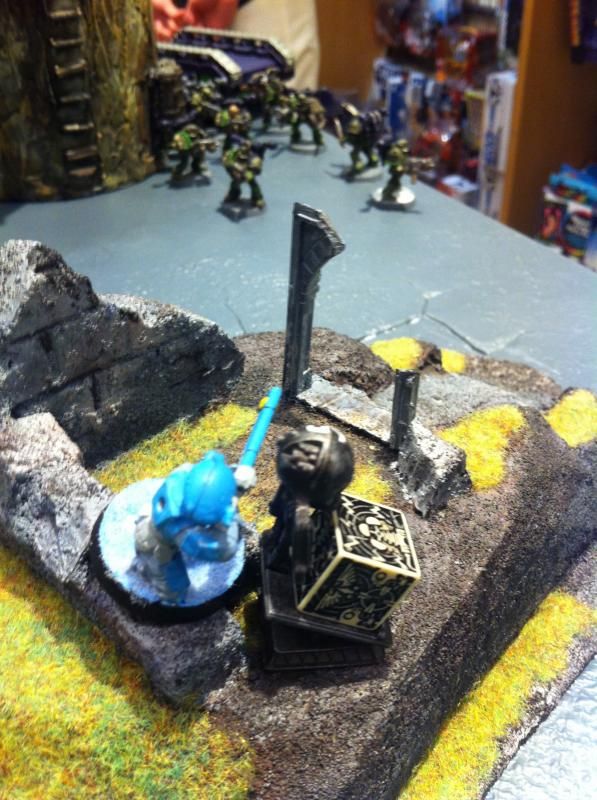
Left side fire warriors shoot at the approaching chaos marines, the broadsides having destroyed huron's rhino.

Due to additional damage from the riptide, the plasma marines fall back
 Chaos Turn 3
Movement Phase
Plasma marines regroup and advance again

All marines are on foot again, advancing towards the tau

Shooting Phase
Several squads of marines unleash their bolter rounds into the fire warriors, causing many casualties, and routing the survivors. Plasma marines finish off the last fire warrior on the right.
 END OF TURN 3
Score
Tau: 1
Chaos 3: - No Prisoners
Tau Turn 4
Movement Phase
Kroot auxiliaries arrive in the far end of the battlefield, near cultists

Shooting Phase
The Broadsides open up on the red marines
The kroot kill several cultists, and the remaining ones flee off the board
 Chaos Turn 4
Movement Phase
The remaining marines continue their advance, lining up shots on the crisis suit
Plasma marines turn back to deal with the kroot
Shooting Phase
The crisis suit is killed by fire from the two left marines units. The kroot suffer many casualties but to not break.
 END OF TURN 4
Score
Tau: 1
Chaos: 5 – Overwhelming firepower, objective 1
Tau Turn 5
Movement Phase
The kroot move towards a much-needed objective

Shooting Phase
Two marines from Huron's squad go down to Tau fire

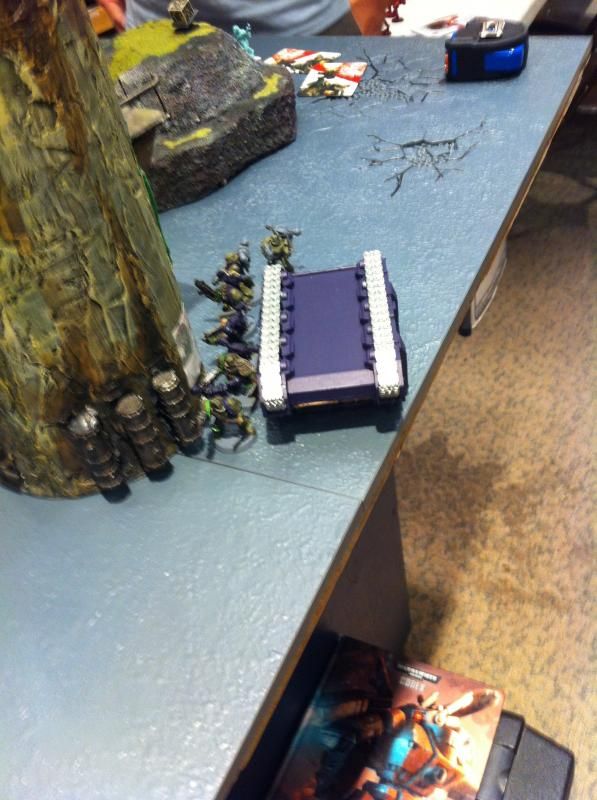
The kroot run up to the objective, the last rhino is destroyed by broadsides
 Chaos Turn 5
Movement Phase
Huron leaves the warlord-sarge to take cover behind the rhino and advances with the two nearest marines squads

The plasma marines chase the kroot around the hill

Shooting Phase
The plasma marines kill all but one kroot, who does not break.
The rest of the marines run for the tau deployment zone, but come up short.
END OF TURN 5
Score
Tau: 4 – objectives 2, 2, Big Game Hunters
Chaos 5
Tau Turn 6
Red squad marines are killed, but huron and Green Squad survive

The last kroot desperately tries to kill the chaos warlord behind the rhino, but misses
 Chaos turn 6
The last kroot is killed, Huron and Friends make it into the Tau deployment zone
END OF TURN 6
Score
Tau: 6 – objective 5, Hold the Line
Chaos: 7 – Behind Enemy Lines, Linebreaker
CHAOS WINS 7-6


 Dark Angels 1st, 2nd, 5th, 10th Companies,
 ~ 4500 points of Tau
 ~6500 points of Tyranids: Hive Fleet Niadra

 I am changed . . . an outcast now.
 "Sons of the Last Breath"
 "Host of Shattered Purity"
 "Kabal of the Dying Sun, Cult of Marrow Excised, Coven of Lambent Hunger"