Once our first game was in the books, and since the game was only a 500 pt battle, we decided to play straight into the 750 pt game. If you notice that the terrain looks similar, it’s because we rolled straight into the second game. I offered to switch up terrain but my opponent agreed to leave it as-is. What can I say? We’re lazy.
As before, army lists are approximate.
750 Points Angels of Ecstasy
Lord Eligos (Chaos Lord on Bike)
• Mark of Slaanesh
• Sigil of Corruption
• Relentless Blade
Noise Marine Squad
• 6 Noise Marines
• 4x Sonic Blasters
• 1x Blastmaster
• Aspiring Champion w/Doom Siren
Noise Marine Squad
• 6 Noise Marines
• 4x Sonic Blasters
• 1x Blastmaster
• Aspiring Champion w/Doom Siren
Chaos Spawn w/Mark of Slaanesh
Havoc Squad
• 5 Havocs
• 4x Autocannons
750 Points Hive Fleet Hibernis
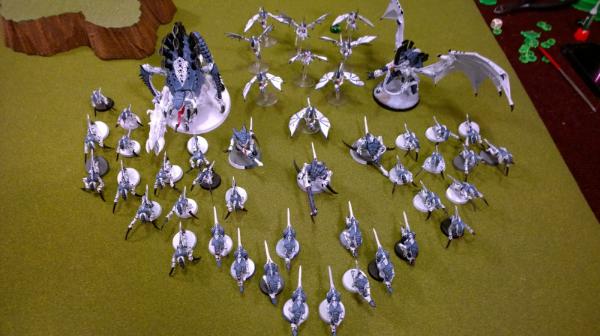
Hive Tyrant w/Heavy Venom Cannon
Tervigon
10x Termigaunts
3x Warriors
• 1x Venom Cannon
13 Hormagaunts
10 Hormagaunts w/Adrenal Glands
10 Gargoyles
MISSION AND PREGAME
Once again, the battle would be Dawn of War, but the Mission would be Big Guns never tire. Because of the small size of the game we played on a 4’ by 4’ table with only 3 objectives. One went in the center of the table while the others were placed in our respective deployment zones.
Hive Fleet Hibernis Warlord Traits/Psychic Powers: Hive Tyrant rolled on the Tyranid Warlord list and got Synaptic Lynchpin. This actually made a difference several times during the game. For psychic powers the Tyrant got The Horror and Warp Blast, while the Tervigon got Paroxysm again.
Chaos: Chaos Lord rolled on the Crimson Slaughter Warlord list and got Maelstrom of Torment, which would be useless against the Fearless Tyranids.
PRE GAME THOUGHTS
I’m coming off a pretty bad loss and looking at a LOT of bugs. I’m not too worried about the gribblies, but those
MCs are tough. This time he only got Paroxysm once, so that’ll help. Warp Blast is ugly though.
Str 5,
AP 3 Blast could put some hurt on my forces, and then the Tyrant can blast away again with its Heavy Venom Cannon.
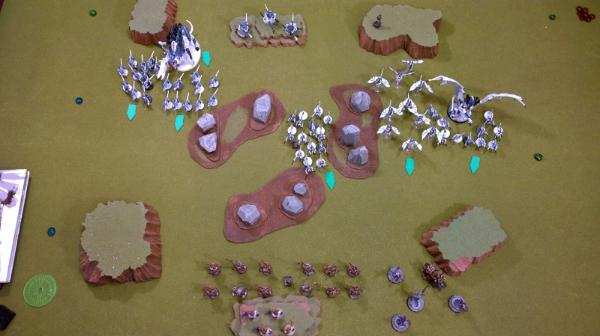
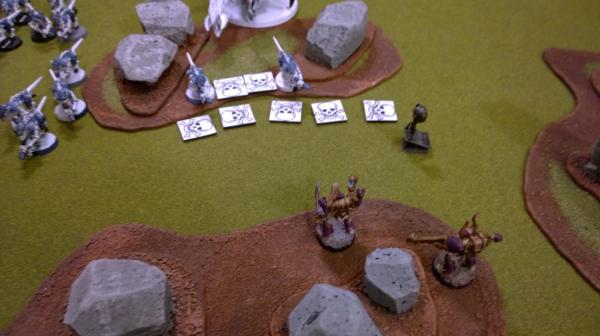
DEPLOYMENT

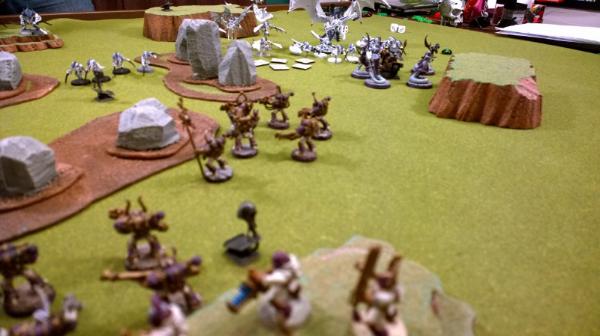
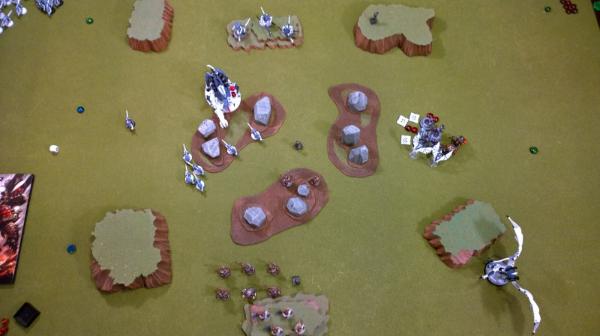
Chaos wins the roll-off but this time I defer to my opponent. Even though I have better range than last game, I need my forces to have lots of targets to shoot at to be effective. The Tyranid Swarm spread out across the field, with both Hormagaunt broods on my right flank. I set up more or less the same, in the center of my DZ with the Lord and Spawn waiting in the back. I spread out the best I could to minimize the impact of Warp Blast. Chaos does not seize the initiative and the game begins.
TURN 1 – Hive Fleet Hibernis
Turn 1 involves a lot of movement as expected, as the Tyranids moved up. The Tervigon spawns 11 termigaunts and the Tyrant Swoops forward.
In the Psychic phase the Hive Tyrant Perils while casting Warp Blast, but rolls a

and to go into Super Beast-Mode. His Warp Blast deviates a little and only manages to kill a single Havoc.
In the shooting phase, the gribblies all run forward, while the Venom Cannons targets my Havocs. In the end, they cause 4 wounds, which all save.
 TURN 1 – Angels of Ecstasy
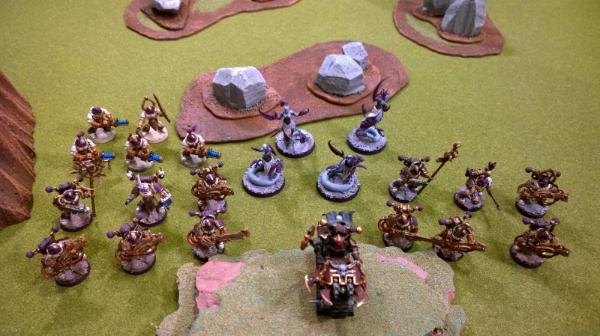
In the Chaos turn, the Noise Marines and Havocs stay put while the Lord and his Spawn bodyguards push forwards.
In the shooting phase, one Noise Marine squad target a nearby termigaunt brood and place the Blastmaster in such a way to hit the Tervigon as well. In the end, they manage to cause 12 hits on the termigaunts and one
Str 8,
AP 3 hit on the Tervigon. I then proceed to roll a

to wound the Tervigon, then roll six more
s to wound the gaunts! Still, dead gaunts are dead gaunts I guess.
On the other side of the field my shooting fares much better. The other squad of Noise Marines kills a bunch of gaunts, and the Havocs pour autocannon fire into the gargoyles.
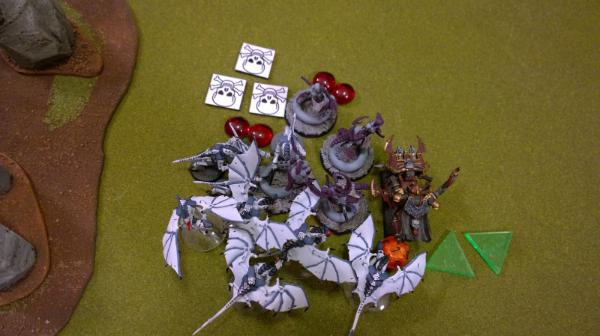
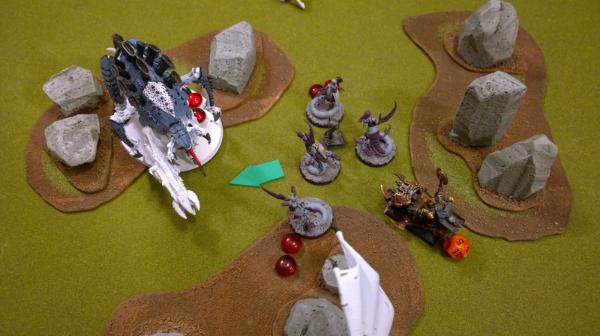
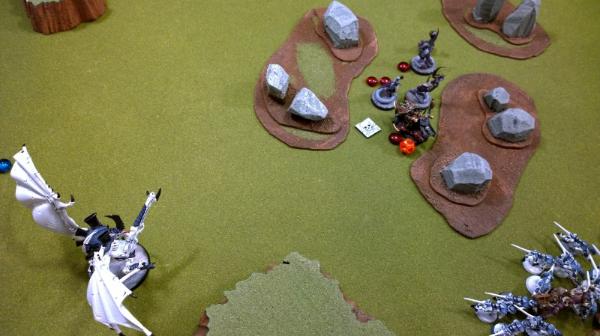
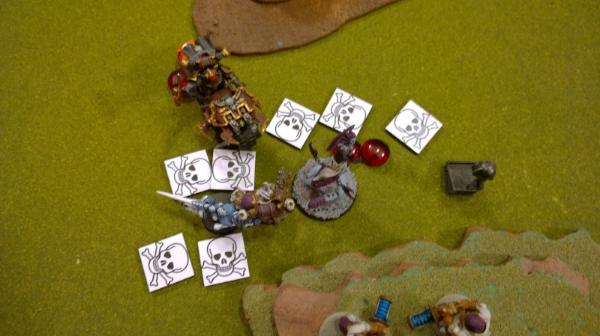
In the assault phase, my Chaos Lord BARELY makes it into combat. I needed to roll a 3 or better to make it in, and I squeaked by with…a 3” charge. The Lord only manages to kill one hormagaunt, but the spawn make up for lost time by taking out 6 while only suffering 2 wounds back.
Relentless Blade Charges: 1 (+1
Str)
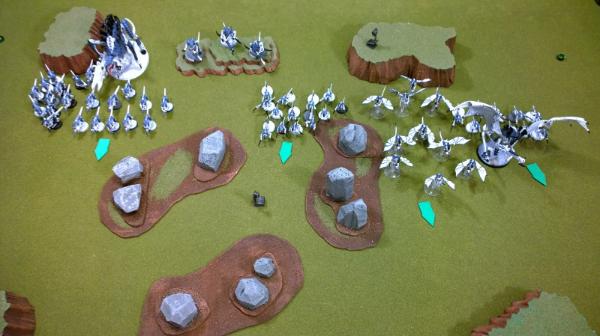
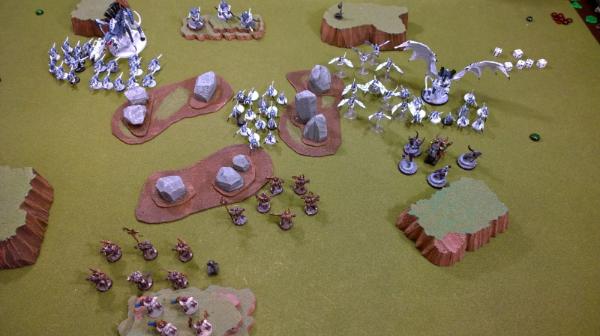
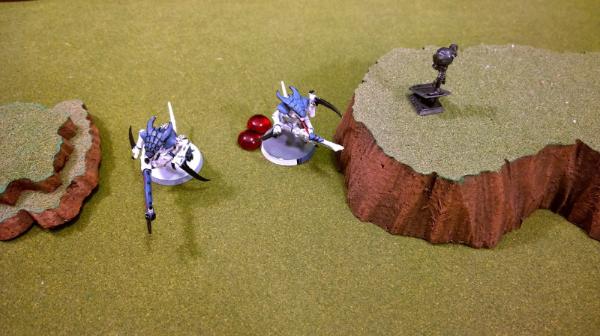
Overview after Turn 1.
 TURN 2 – Hive Fleet Hibernis
Tyranids move closer to my forces. Some termigaunts go after my lord, and the gargoyles move to threaten my Noise Marines. The Tervigon spawns 8 and does not plug.
Warp Blast from the Tyrant hits one Noise Marine after deviating off the Havocs, but does not wound. Paroxysm goes up on the Spawn. We assumed that the power affected the Lord as well, since he was part of the “unit”. Was this correct?
Shooting takes its toll as three Noise Marines die to combined Venom Cannon fire and termigaunts. The other two termigaunt broods run.
In the assault phase, the gargoyles pull a surprise move and assault my Lord! He enjoys some safety as my Lord botches his attacks for zero damage. Spawn take a couple more wounds, and kill 3 more hormagaunts.
 TURN 2 – Angels of Ecstasy
The depleted Noise Marine squad moves up to try and get into flamer range. I could have gone around terrain and hit 3, or through terrain and possibly hit 5 or 6. I get lucky on my Difficult Terrain test and roll a 6!
Thanks to that, they manage to fry 7 termigaunts from that brood, while the other Noise Marines kill 9 from the other. Havocs get a break as they cause two wounds to the Tervigon.
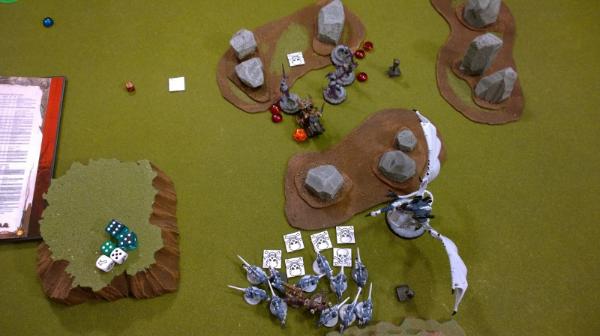
In combat, the Lord kills 3 gargoyles and the spawn kill 3 gaunts without taking any wounds in return.
Relentless Blade Charges: 4 (+1
Str,
AP 2)
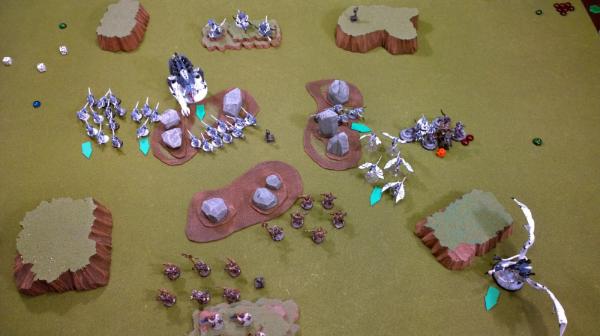
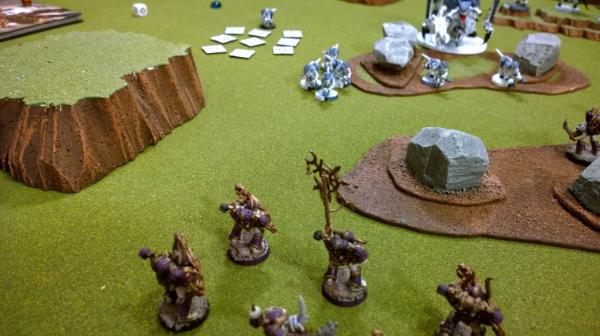
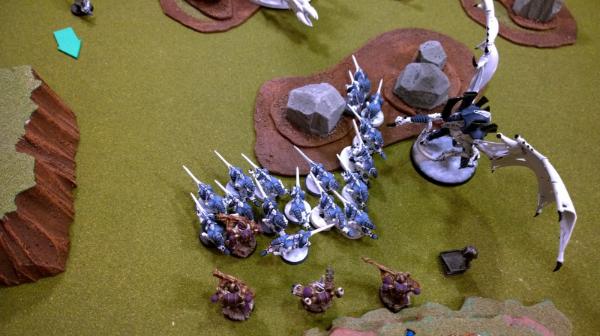
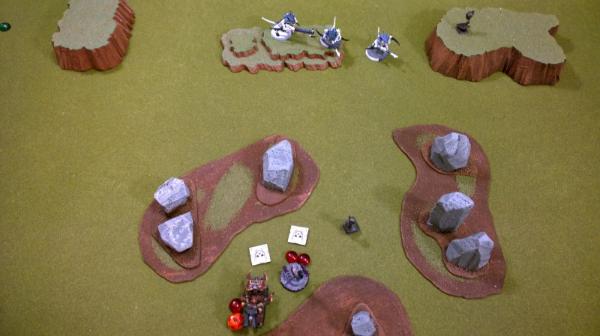
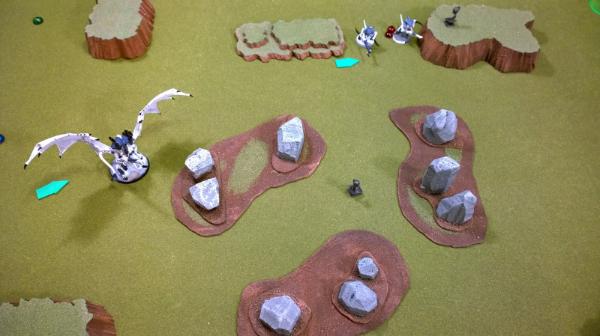
Overview After Turn 2
 TURN 3 – Hive Fleet Hibernis
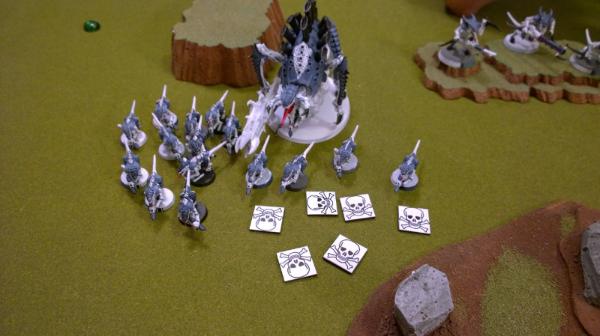
Tyranids move up and the Tervigon spawns 12. Still no plug!

I catch an unbelievable break as both Paroxysm AND Warp Blast fail!
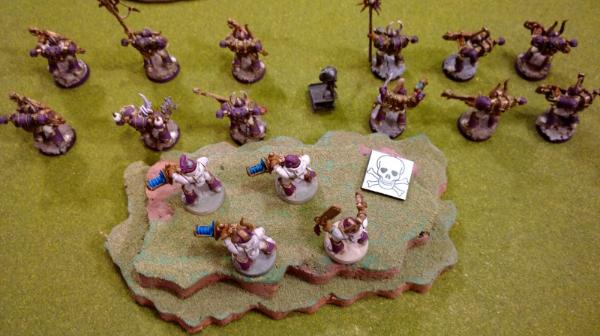
Assault is largely a push. Gaunts finish off the Lone Gunman in one squad of Noise Marines, and the kill off two Marines from the other. The Noise Marines manage to cause only 1 hit and 0 wounds. However, the Lord and his Spawn clear themselves out of combat and consolidate towards the Tervigon.
(There are two squads of termigaunts here. Can't for the life of me tell you which is which. I THINK the black bases were one squad.
 TURN 3 – Angels of Ecstasy
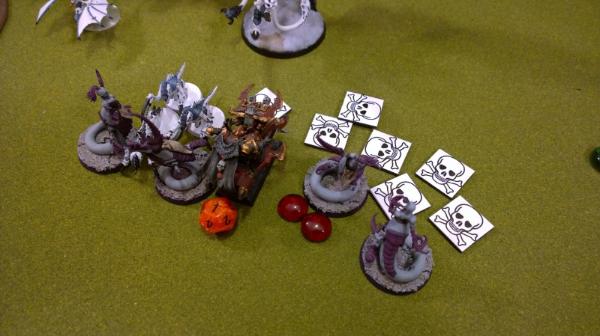
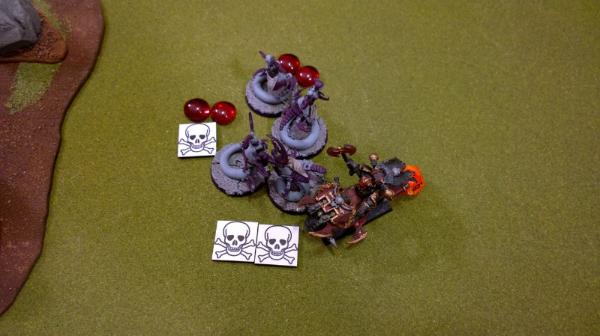
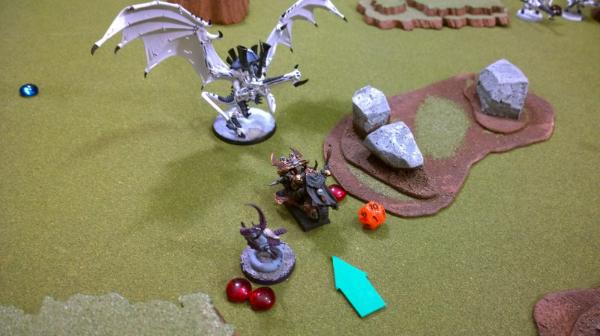
The Lord and his retinue move to assault the Tervigon. The Lord moves around terrain to avoid the Dangerous Terrain check, but the Spawn are beasts so just cut through the short way.
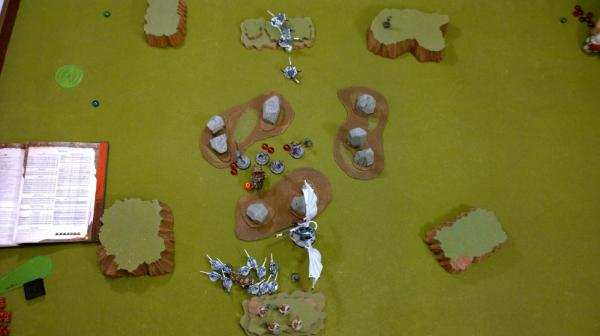
The Havocs put two more wounds on the Tervigon, and then the Lord charges in to finish him off! Backlash hits every gaunt unit left on the table, but somehow only manages to kill seven. I got all excited about rolling on the Chaos Rewards chart, but my opponent reminded me that the Tervigon is not a character!
Relentless Blade Charges: 6 (+2
Str,
AP 2)
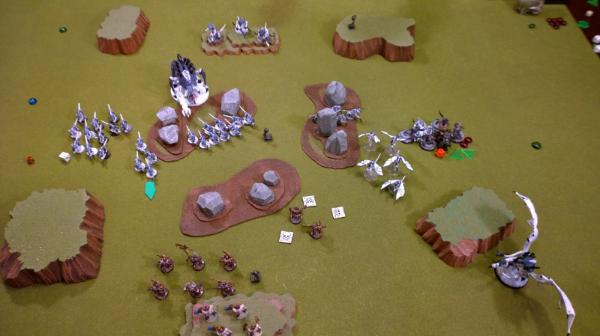
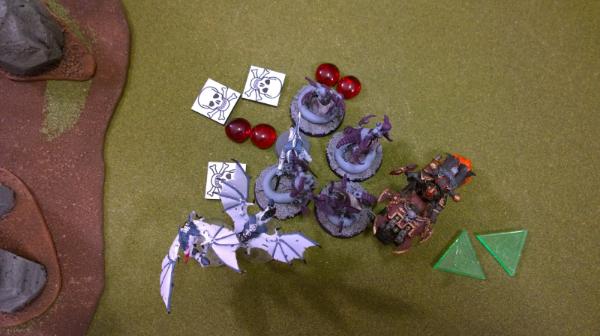
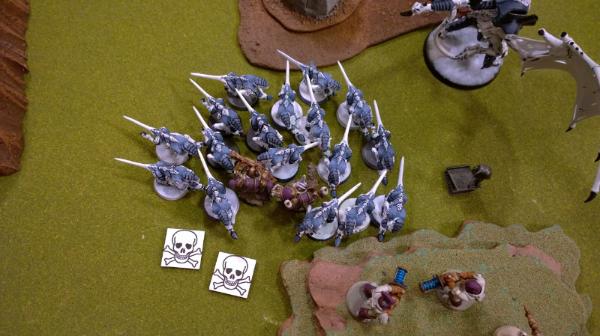
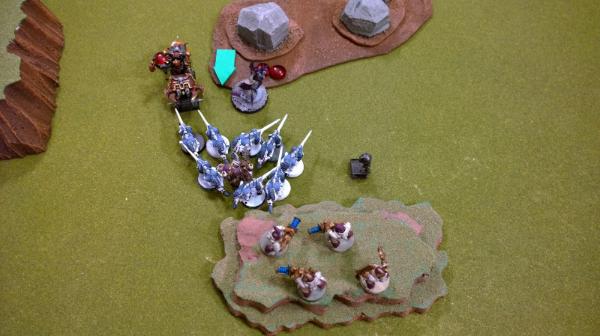
Overview After Turn 3
 TURN 4 – Hive Fleet Hibernis
Tyranid movement is limited to shuffling around for position. Tyrant keeps swooping.
The Hive Tyrant hit the Lord and his retinue and managed to kill one spawn and put a wound on the Lord himself. Otherwise, it failed to cast Dominion, but was still within 18” of the last brood of gaunts (Synaptic Lynchpin worked out well!)
The Tyrant and Warriors focus on the spawn again, and two more die. In assault, the Noise Marines kill 3 gaunts at the cost of one marine.
 TURN 4 – Angels of Ecstasy
The Lord prepares to charge the gaunts tying up the Noise Marines.
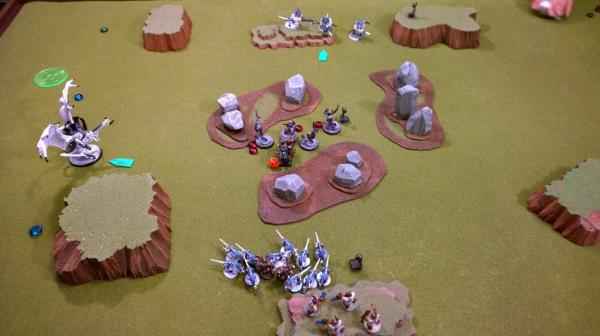
Havocs target the Warriors, causing a total of 5 wounds. I really wish I had missiles here, I could have doubled them all out! Oh well.
Between the Lord, spawn and Noise Marines, the gaunts take a total of seven wounds.
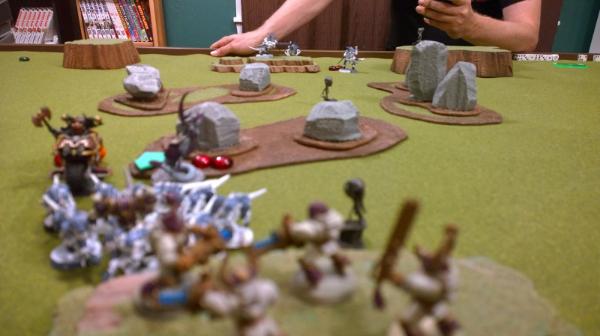
 Overview After Turn 4
 TURN 5 – Hive Fleet Hibernis
During movement, the Tyrant elects to glide, and the Warriors move to cohesion and to put themselves in possession of the Tyranid Objective.
Warp Blast deviates off target, and the Tyrant’s Heavy Venom cannon deviates into assault. All sides take hits but surprisingly, nothing is wounded.
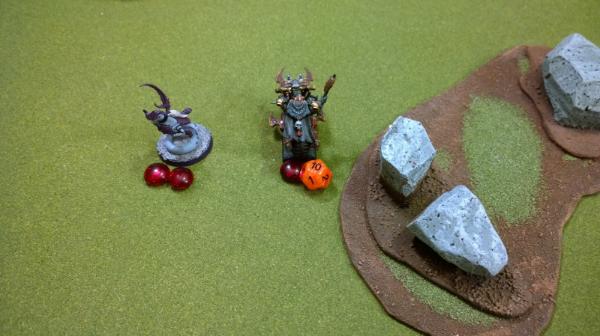
The Lord finishes off combat, charging his blade to max (
Str +2,
AP 2, Instant Death!) and consolidating towards the Tyrant.
TURN 5 – Angels of Ecstasy
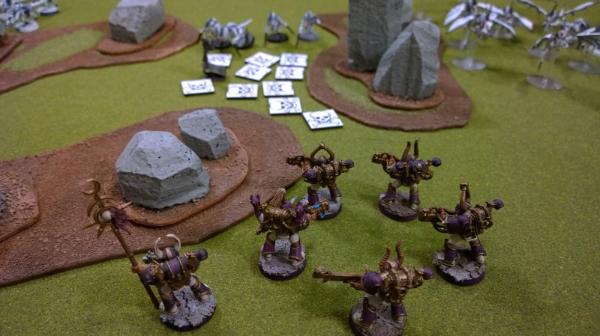
Predictably, the Lord prepares to assault the Tyrant.
The Havocs shoot at the Warriors again to hopefully clear them off the objective, but manage to roll 5 ones and twos! The lone hit fails to cause any damage.
In combat, the Lord strikes first and causes three wounds, all of which cause Instant Death. Slaanesh smiles upon his/her Champion and grants the Lord…+1 Initiative.
At this point we call the game, since I still have a Lord, one spawn, Noise Marines AND Havocs, vs. his two Warriors.
FINAL SCORE
At the end of the game, I've got one objective:

And he's got another.
I've got First Blood and Warlord for a 5-3 Victory!
Victory for the Angels of Ecstasy!


