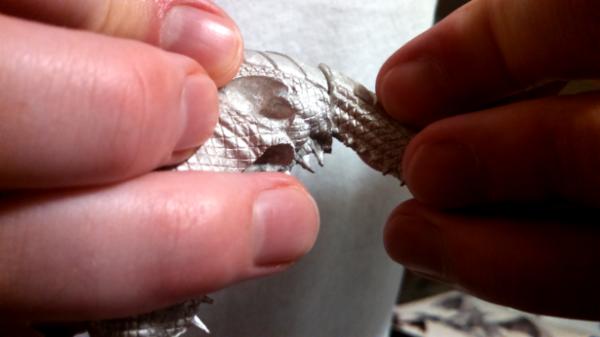
This won't help much, but I think it's appropriate, 'cos the dragon bits don't really fit together in Elmore's original paintings.

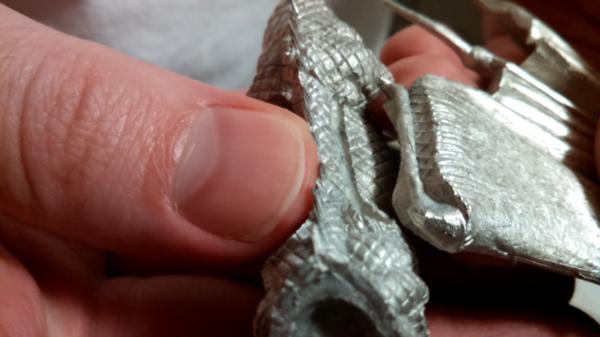
Looking closer at the mismatching joins, I'd guess that it's a case of individual green stuff parts being squashed in different directions during mould vulcanisation. But man, that's still a lot of squashing.
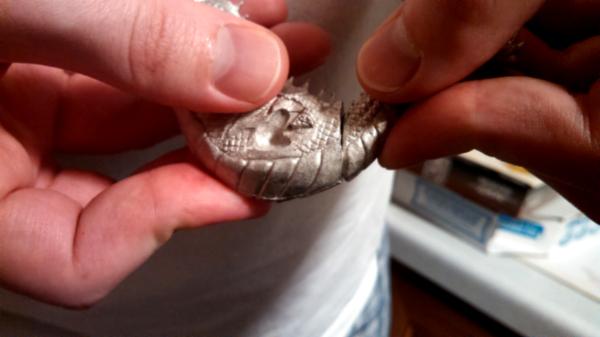
I appreciate that you don't have a lot of experience in modelling, but to be honest I'd second Talys' suggestions. The close look also shows that the surfaces and textures are pretty simple. (In a way you're lucky that Elmore doesn't know what
real scales look like) I say go ahead and remove that significant material, and try to file the interrupted contours back into (partial, at least) alignment.
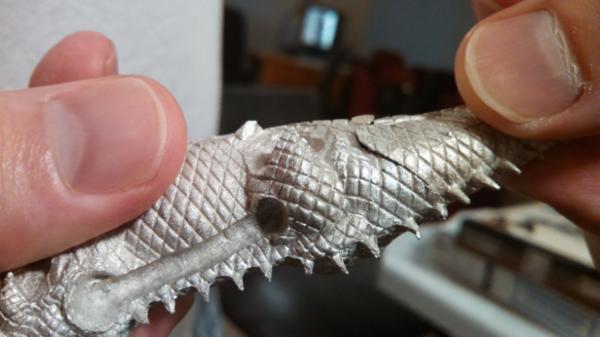
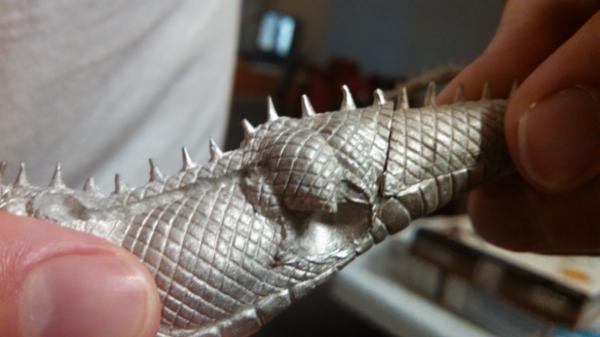
To be specific, file the protruding sides of the tail right down. For the top and bottom of the neck and tail joints, I suggest trying to align the top contour as much as possible, 'cos I think the back spines would be tougher to resculpt or replace (not impossible, but tougher). Then file down those conveniently flat belly scales on the torso piece. Not all the way, perhaps. At least enough to get a good angle for smoothing over the gap with putty, without leaving any too-obvious 'step' between the pieces.
I don't think I explained that last line too well. I'll try to upload a wee sketch or something later, that might help.
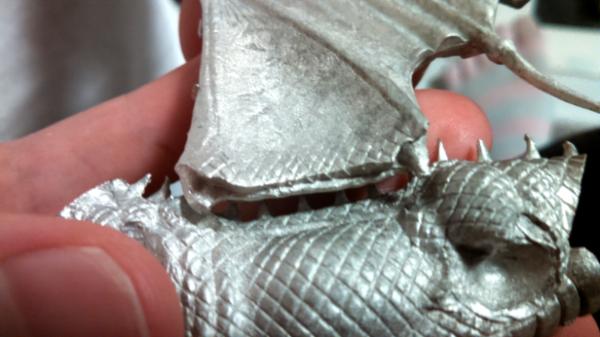
I can't see the problems with the wing joint too well, aside from the obvious excess in the wing piece. I'd say remove as much of that as you think appropriate, and pin it.
Gap filling. I don't know what putty you might have to hand, or what's convenient to get, but I'll assume green stuff for this. The manufacturers recommend mixing 1.5 parts yellow to 1 part blue (or 3:2) for general sculpting, and I'd agree. The extra yellow makes the mix softer, and so easier to push, spread, and blend. It also extends the working window a bit. All good stuff if you don't have much experience!
Push putty into any gaps between the pieces. Then place putty over the gaps and smooth it over, trying to smoothly blend the contours of the pieces together, as mentioned above. Be patient and take care, especially when feathering the thin edges of the putty against the metal parts. When the putty is freshly mixed and soft, it's easy to quickly push into the general shapes you want. When it starts to cure and firm up a bit, it's actually easier to smooth and blend, because it's less susceptible to random, tiny nicks, dents and tears. By the same token it's then easier to mark in detail and keep it tidy. Particularly the simple, even lines and criss-crosses on this dragon model.
Tools? I don't know what you have, if any. Clay shapers are great for smoothing, and one would be a great investment for this and any similar projects in future. (I like a size 0 'round cup' for smoothing, meself) Though for general pushing, blending edges and mark-making, I couldn't do without a metal tool. Clay shapers have a bit too much 'give' for flattening and blending the edges of green stuff patches, for one thing. Sets of sculpting tools from hobby or diy shops might be cheap and alright, but dental-quality tools can be got on ebay fairly cheaply too. Search for lecron, zahle or vehe wax carvers.