| Author |
Message |
 |
|
|
|
|
Advert
|
Forum adverts like this one are shown to any user who is not logged in. Join us by filling out a tiny 3 field form and you will get your own, free, dakka user account which gives a good range of benefits to you:
- No adverts like this in the forums anymore.
- Times and dates in your local timezone.
- Full tracking of what you have read so you can skip to your first unread post, easily see what has changed since you last logged in, and easily see what is new at a glance.
- Email notifications for threads you want to watch closely.
- Being a part of the oldest wargaming community on the net.
If you are already a member then feel free to login now. |
|
 |
2015/01/07 21:39:17
Subject: Lotr Terrain
|
|

Boom! Leman Russ Commander
|
Hey guys !
Just got my own gaming table in and I need to start making terrain and such for it to be ready to game on !
So I thought I would call to the lotr community for help on what you guys use for terrain, what you used to make them, even where you buy your terrain from.
Anything would be a great help.
Thanks very much,
Wolf
|
|
|
|
 |
|
2015/01/07 21:49:08
Subject: Lotr Terrain
|
|

Stubborn Dark Angels Veteran Sergeant
|
The gw terrain for lotr was decent but now all they have left is gobblin town and its way overpriced. Their are plenty of ways for the diy terrain in the lotr source books. For me i have a bit of store bought stuff but mostly home made. Pink foam is your friend, mdf/hardboard/masonite is your friend, liquid nails and a caulk gun, random crap from the trash, paper mache
Things like this too that are not always thought of
http://shop.hobbylobby.com/products/grecian-pillars-698530/
|
|
This message was edited 1 time. Last update was at 2015/01/07 21:51:13
RoperPG wrote:Blimey, it's very salty in here...
Any more vegans want to put forth their opinions on bacon?
|
|
|
|
|
2015/01/07 22:26:22
Subject: Lotr Terrain
|
|
Tinkering Tech-Priest
|
Sound advice above. For pre made stuff you could check out railway scenery or miscelaneous medieval pieces. I have plenty of old ruined structures that are the right scale that i picked up from a local Marquee Models which covers almost anything.
Another simple and effective thing to do is make terrain from old CDs, adding whatever details you want on it and covering it with PVA/sand. Makes simple mobile terrain which can double up as objectives.
Of course eBay is your friend as ever if you want some original GW terrain, there are some nice bargains to be had!
|
|
|
|
|
|
2015/01/07 22:32:39
Subject: Lotr Terrain
|
|
Boom! Leman Russ Commander
|
These are all great tips guys thanks very much, I was thinking of buying a few tree kits from a railway modelling shop near by and use cd's like you suggested.
I think that's a good place as any to start, I have never made terrain before 
|
|
|
|
|
|
2015/01/08 10:33:24
Subject: Lotr Terrain
|
|
Tinkering Tech-Priest
|
Just remember i did this tutorial on cd scenery on another forum, though i never actually finished it! The next steps are just painting and flocking though.
http://www.thelastalliance.com/viewtopic.php?f=16&t=7183
|
|
|
|
|
|
2015/01/08 11:39:59
Subject: Lotr Terrain
|
|
Is 'Eavy Metal Calling?
|
Simple, easy ruins:
Take a sheet of corrugated or thick card, about A4 size (can be varied depending on how big you want the ruin)
Cut jagged lines from the centre of the top edge down to about an inch from the bottom on each side. This will leave you with one large piece and two offcuts with 90degree corners.
Fold the large piece along the centre line, until the two halves are at 90degrees. Then, take one of your offcuts and affix it to the bottom edges to make a base and hold the sides in place.
You now have the basic structure, and can cut some windows/doors ect into the walls.
Take your other offcut, and trim it down until it can fit between the two sides at a higher level. Glue this in place about 2-3 inches up to create the remnants of a second floor.
Add detailing, give it a lick of paint, and Bob's your uncle! Hope that isn't too confusing, it's really simple in practice (last time I did this, I got about 6 buildings to the fully built stage in about an hour).
|
|
|
|
|
|
2015/01/08 13:07:32
Subject: Lotr Terrain
|
|
Tinkering Tech-Priest
|
Nice idea, might have to try that myself!
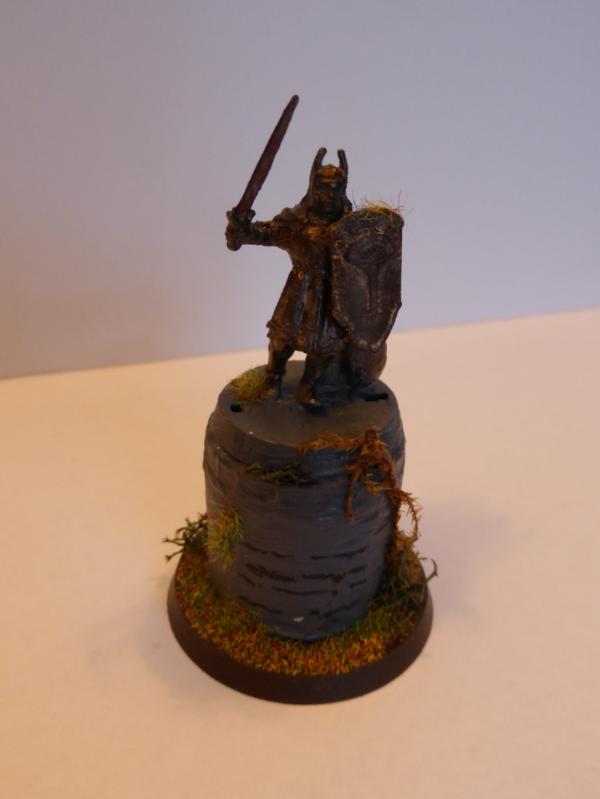
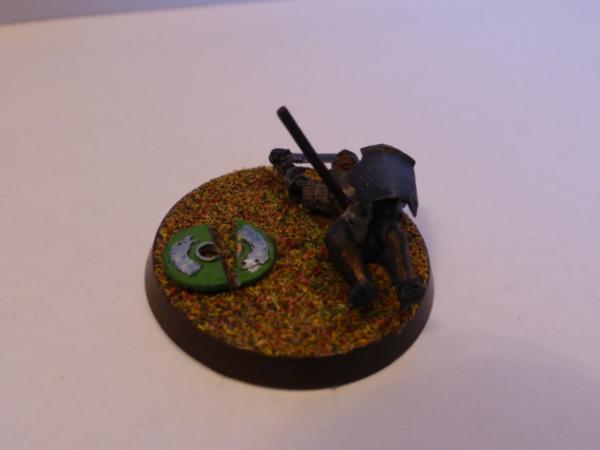
Just a few other ideas for smaller pieces/more objective marker based:
|
|
|
|
|
|
2015/01/08 14:55:35
Subject: Lotr Terrain
|
|
Boom! Leman Russ Commander
|
Hey thanks para, would you happen to have some pictures of the terrain you're taalkomg about as it would help me see the final result and from there work out how it was done with your guidelines too
|
|
|
|
|
|
2015/01/08 15:16:35
Subject: Lotr Terrain
|
|
Is 'Eavy Metal Calling?
|
I'll snap a pic next time I get my camera out, so within the next couple of days. But if it helps, you should end up with one corner of a building, with a base and a small second floor.
|
|
|
|
|
|
|
|
 Sand Stained Red, a 28mm Gladiators commission build