I had a chance to play several small pick-up games at Adepticon this year and managed to take enough photos to cobble together a few battle reports. As with all my reports, I don't guarantee that I get things absolutely correct... I try my best but I rely a lot on the photos to help me sort out what happened, so take it with a grain of salt.
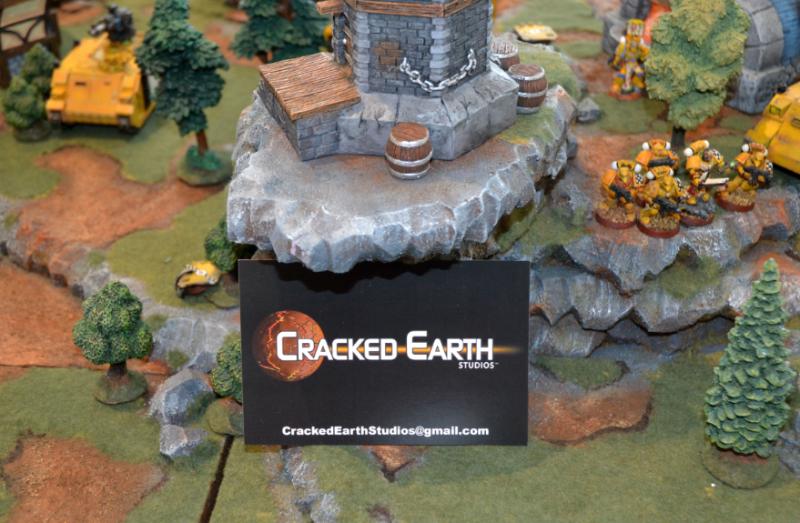
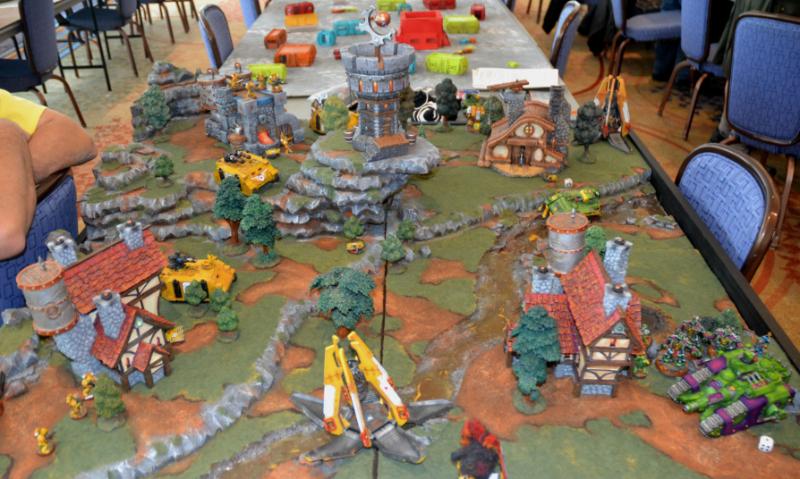
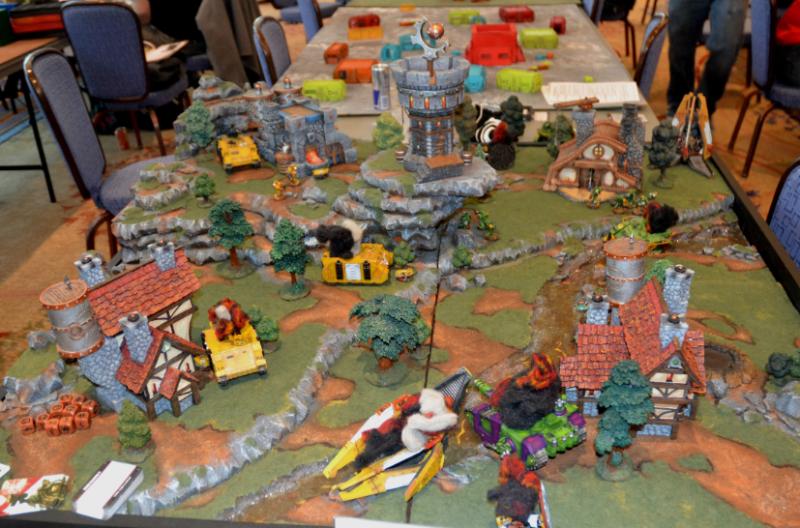
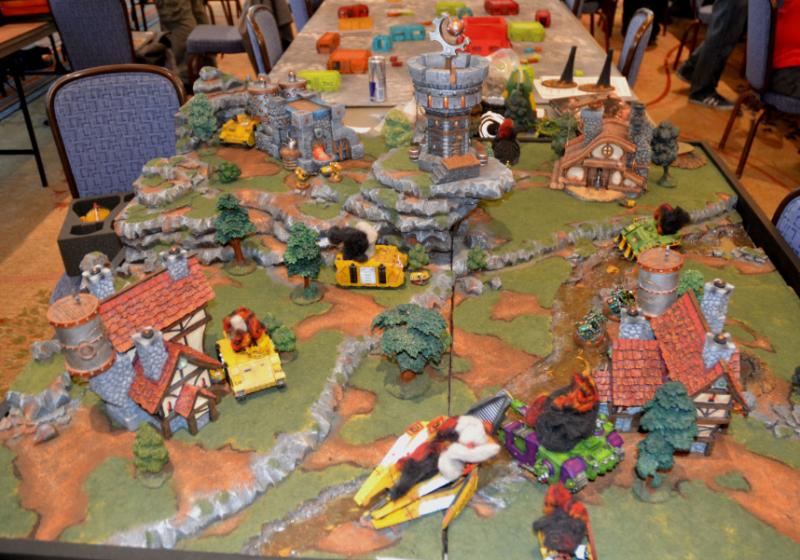
We were lucky enough to get a chance to play several games on these AMAZING 4x4 tables that were built and painted by Cracked Earth Studios, who were promoting their terrain prior to doing a kickstarter some time in the future. They had two amazing tables set up in the open play area. They were really nice folks so it's a real pleasure to give them a little free pub here. I'll be looking forward to their kickstarter.
Now, on to the game. 1000 points, common sense Maelstrom mission (that means you throw out anything that's impossible to achieve & can discard one card every turn.
My Mantis Warriors:
HQ: Chief Librarian Azhara Redth
TP: 5 man
tac squad in las/
plas razorback
TP: 5 man
tac squad in las/
plas razorback
HV: 2 grav cents, sgt w/
TL LC &
ML
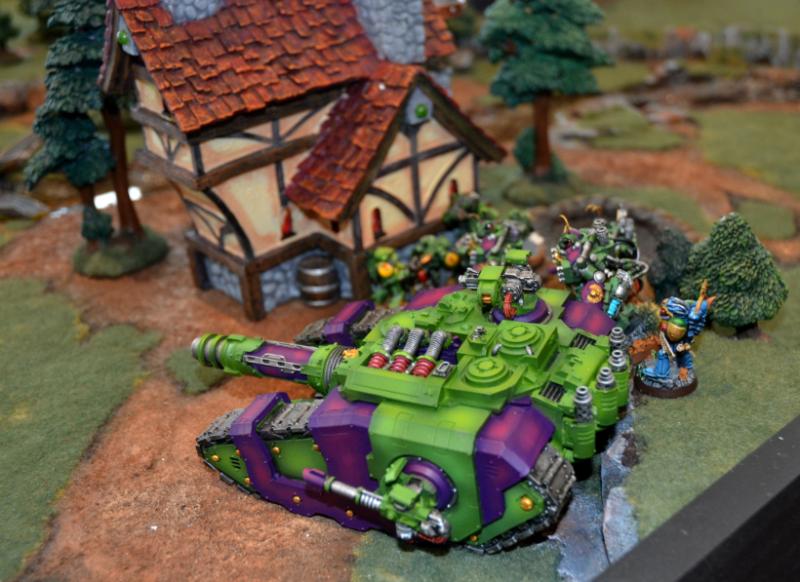
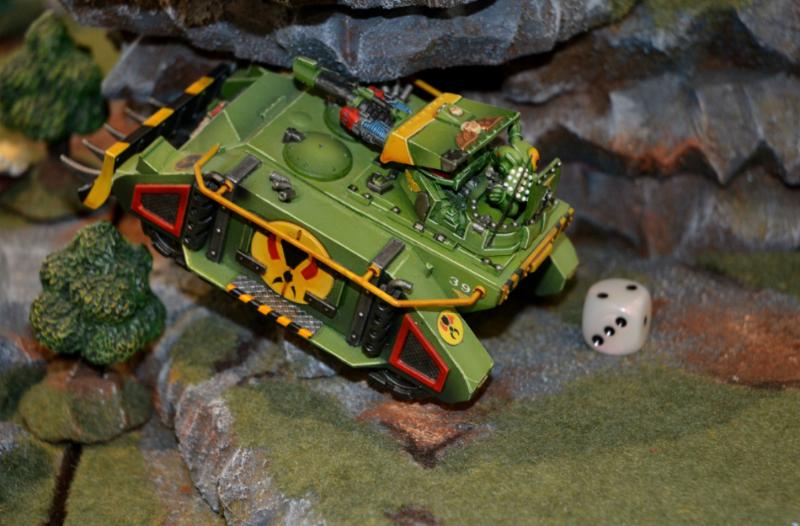
HV: sicaran venator
Solar_lion's Lamenters:
HQ: Librarian
HQ: Tech Marine
EL: dread in pod
EL: dread in pod
TP: 10 man
tac w/ las cannon in las/
plas razorback
TP: 10 man
tac w/ las cannon in las/
plas razorback
TP: 10 man
tac w/ las cannon in
TL assault cannon razorback
I think....
Deployment:
Standard deployment with the objectives scattered throughout. There's a HUGE cliff on
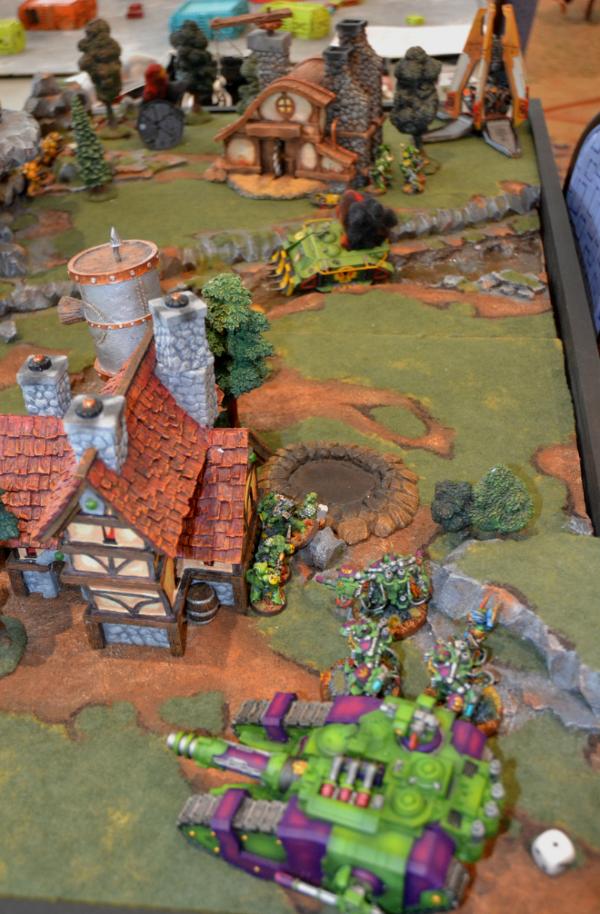
SL's side with an outcrop that has a central tower. He deploys across the board, claiming the two objectives in his deployment zone (neither is visible below, but they're behind the near and far buildings on his side. I deployed on the right, concentrating my most valuable units behind the farm house, being mindful of the dropping pods and the amazing amount of fire power
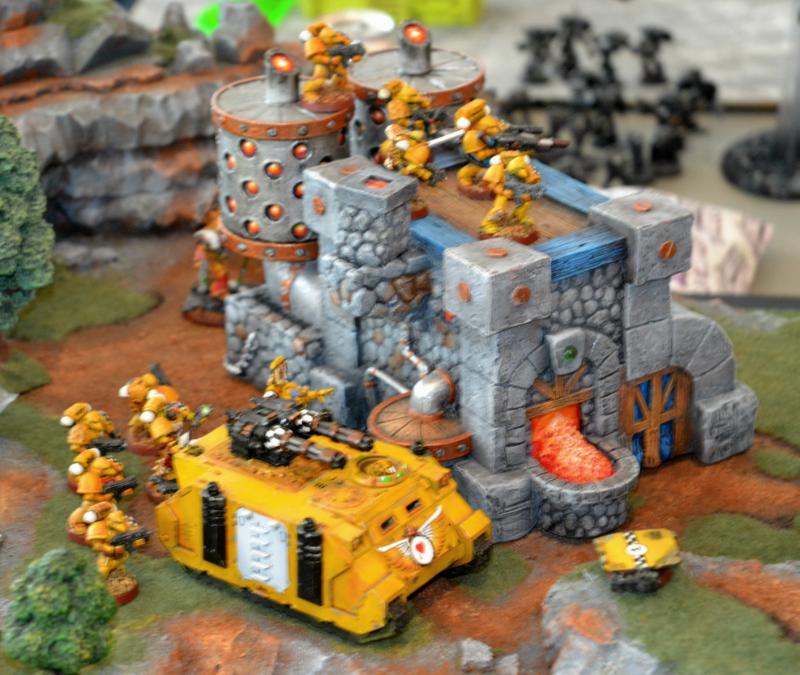
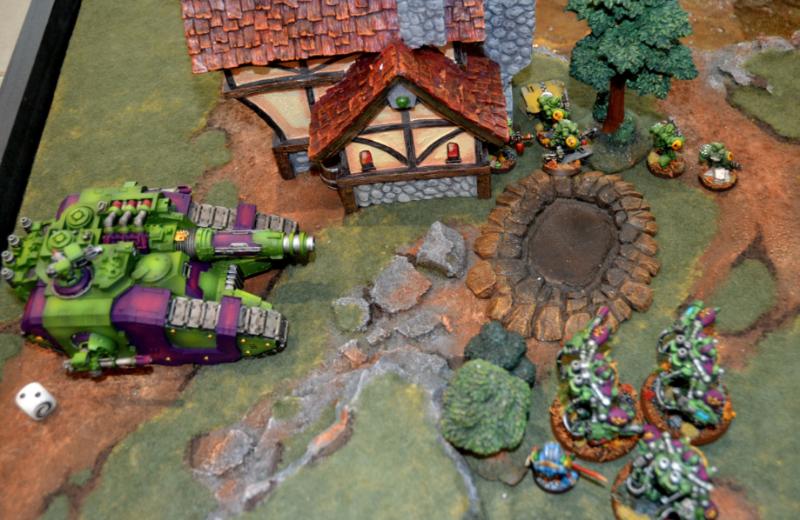
SL has at his disposal. Of course I do have to worry about objectives, so one razorback finds a home behind the forge on my right flank.

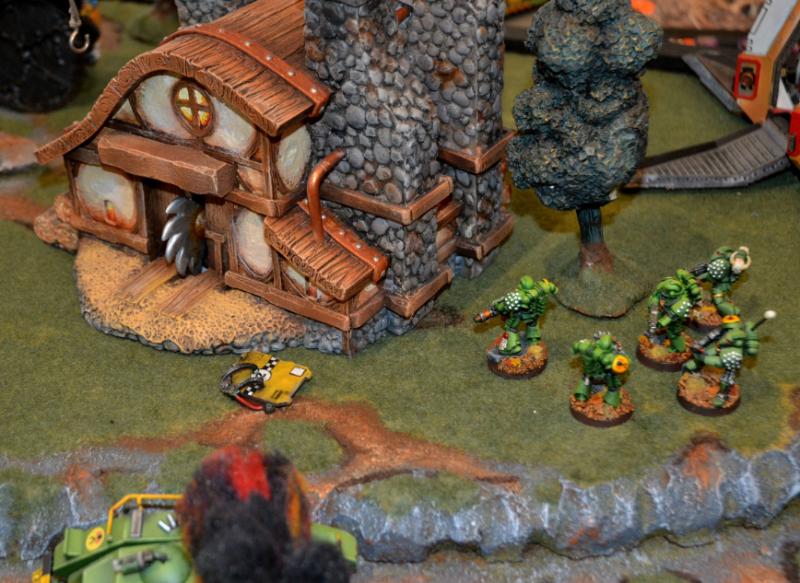
The Lamenter left flank centers around a smelter with cover on top of the building and an objective behind.
Lamenter infantry help to secure their right flank.
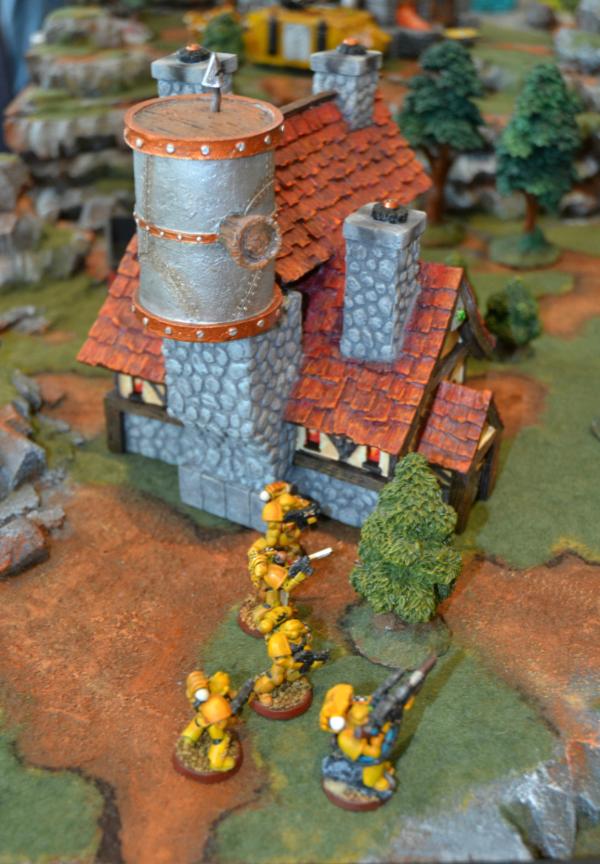
The strength of my deployment behind a farm house on my left flank.
Turn 1:
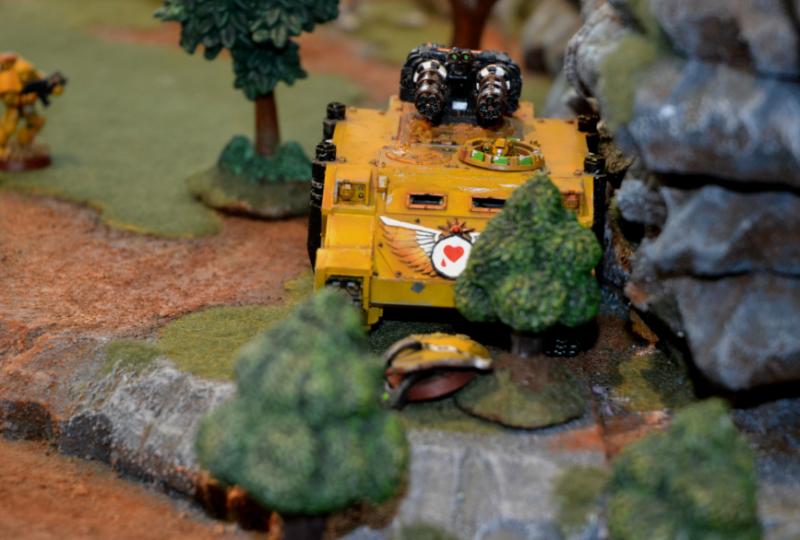
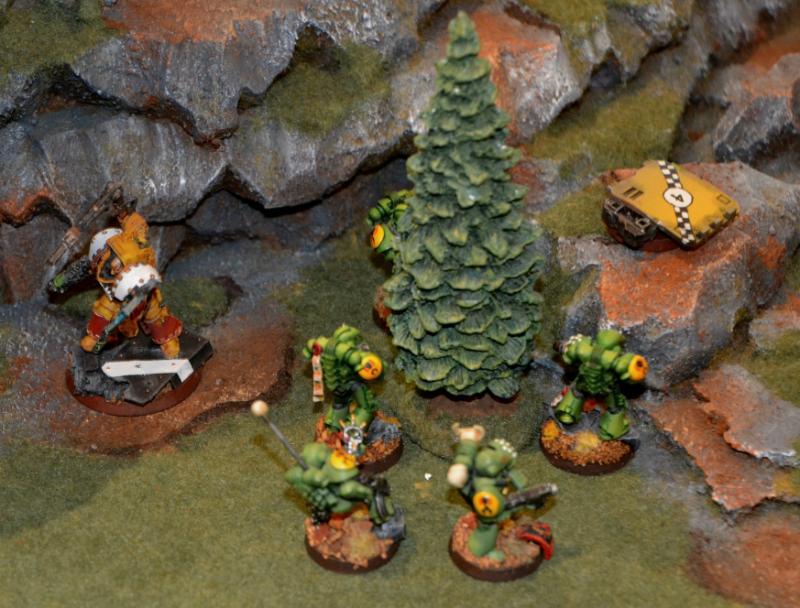
The Lamenters move forward cautiously and open up with their las cannons. Every single shot hits and pens, leaving me with one less razorback and hull points shy on the sicaran. The only reason it's not worse is my deployment allows me some cover saves. One of the two drop pods comes down and the dreadnought disembarks, putting a hull point on my surviving razorback.
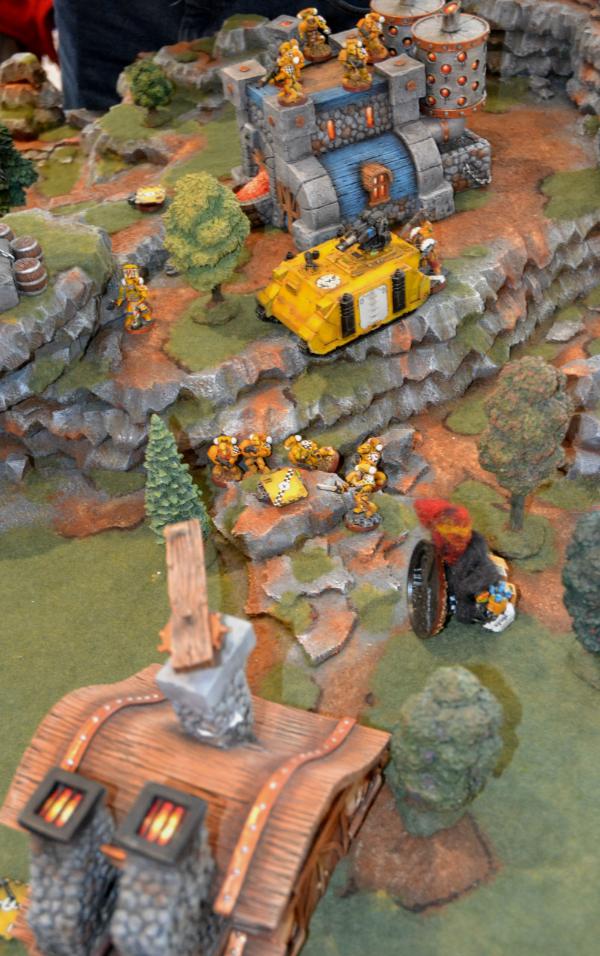
During my turn, my big guns swivel to meet the new threat in my deployment zone.
While my shooting fails to destroy the dread, it does give it a 1-hull point scare. Better than nothing I guess.
The Lamenters move forward as they, like me need to claim both of the center objectives. Their troops unload in preparation for scaling down the steep cliff to the objective marker.
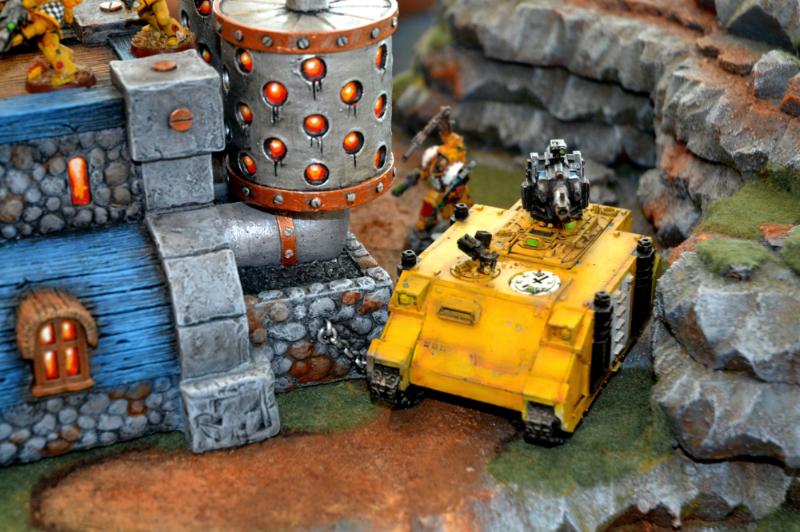
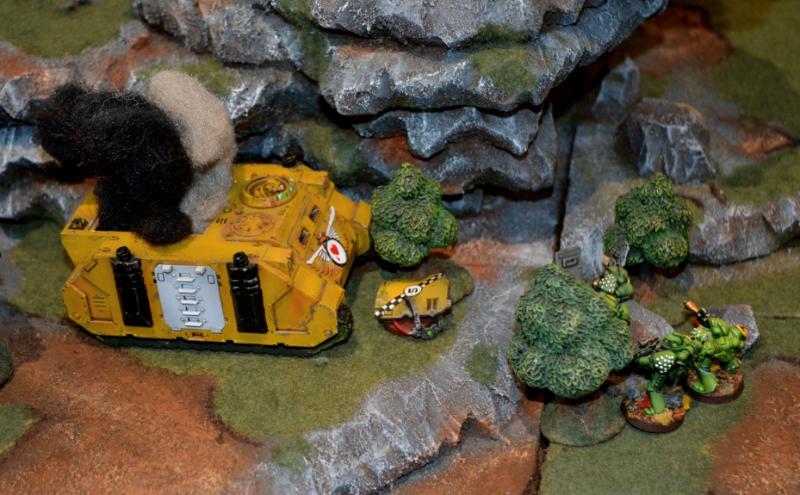
The second pod comes down in front of my left flank. Luckily for me it whiffs it multi-melta shot at the venator. Return fire then turns it into a smoking ruin. My razorback seeks the shelter of the river bed... close enough to score that objective but protected enough to get a cover save. I manage to NOT immobilize myself.
The Lamenters start pushing hard as they're drawing objectives in the center or on my right rear. Shooting knocks another hull point off of the
MW razorback on my right flank that's controlling an objective.

A very scary (empty) Lamenter razorback moves forward to claim the mid-table objective.
Meanwhile the razorback beats feet to the cliff in the center of the table, hoping to get out of
LOS of the Lamenter's heavy weapons. I also need to score the objective in the center of the table.
During the next turn, the Lamenters score a couple of more objectives, the tacs climb down the hill and thumb their noses at me. More shooting occurs. The Lamenters inflict some casualties on a small
tac squad that's been sitting on an objective in my deployment zone. Since I don't have that objective any more, they will fall back behind the house and out of sight. My razorback disgorges it's contents to deal with the Lamenter razorback in the middle of the table and then races back to the river valley in order to score the objective in the far right again (I drew it 3 times). A lucky shot from something immobilizes the
TL assault cannon razorback while shots from the centurion sgt finishes off the first dread to come down (right flank).
 Tac
Tac squad from the wrecked razorback moves into cover (an thinks about assaulting the drop pod).
At this point, the casualties I've been causing are starting to pile up while the Lamenters ability to hurt my armor is weakened. Truth be told I was rolling pretty darn well at this point and
SL was having poor dice. The Lamenters shooting in the next turn is largely ineffectual. Unfortunately for
SL, mine is good. The venator and centurions have a banner turn and with the help of a
tac squad's crak grenade take out two razorbacks and a drop pod. I score my center objective and my attention turns to the right middle where his tactical squad and
HQ's are idolated.

The Lamenters have just enough firepower left to take down the Sicaran venator. They reinforce the objectives they hold and the group of marines at the base off the cliff prepare for the oncoming
MW assault. I take the remnants of my two
tac squads and go afer the infantry on the objective at the base of the cliff (which I need) with support from the grav cents. The centurion sgt pens and blows up the last remaining drop pod.
In spite of all the carnage... it's still a pretty close game cards-wise. We don't count our cards before the end so we play the game as straight as possible. Turn 6 sees a rolling melee between
SL's squad an
HQ & my two
tac squads. Luckily for me, the combat went my way and most of one
tac squad survived to score the final objective.
Once all the cards and points had been counted... a minor victory for the Mantis Warriors was recorded on the chapter records.
Thanks for reading!


 The colors on that Venator are awesome. I've been thinking about color schemes for my next army a lot lately, and green/purple is a leading contender. Nice job on the pics and report, Gits.


