Forum adverts like this one are shown to any user who is not logged in. Join us by filling out a tiny 3 field form and you will get your own, free, dakka user account which gives a good range of benefits to you:
No adverts like this in the forums anymore.
Times and dates in your local timezone.
Full tracking of what you have read so you can skip to your first unread post, easily see what has changed since you last logged in, and easily see what is new at a glance.
Email notifications for threads you want to watch closely.
Being a part of the oldest wargaming community on the net.
If you are already a member then feel free to login now.
2015/06/05 14:37:46
Subject: 1250pt: Ancient Plague Marines vs Warlord O'Shaserra
The forces of Contagion have revived from dusty boxes after nearly two decades of storage!
We are still learning 7E rules, so please point out errors if you notice them.
Mission: The Relic
Setup: Vanguard
The Lists
Spoiler:
Tau: Warlord O'Shaserra with 3 member Stealth Suit Crew and command-drone/Shield-drones
An Ethereal tucked in with two large mobs of Fire Warriors
Large mob of Pathfinders with a Drone
3 member Crisis Suit team with flamers and Dakka
3 member Crisis Suit team with Fusion Blasters
Both also had Stimulants
Hammerhead Gunship with Rail Gun and Smart Missles
Chaos Plague Marines: Chaos Lord of Nurgle with Jump Pack, Blight Grenades, and pair of Lightning Claws
Chaos Sorcerer of Nurgle (psy1) on a Bike with Burning Brand of Scalathrax
Nurgles Rot and Gift of Contagion
7 man Plague Marines + 2 flamers and power weapon on the Champion
Dedicated Rhino with extra Combi-bolter and Destroyer Blades
7 man Plague Marines + 1 plasma gun and power fist+plasma pistol on the Champion
Dedicated Rhino with extra Combi-bolter and Destroyer Blades
5 man Nurgle Bikers with 1x Flamer and 1x Melta and Power Weapon on Champion
2 Obliterators
2 Obliterators
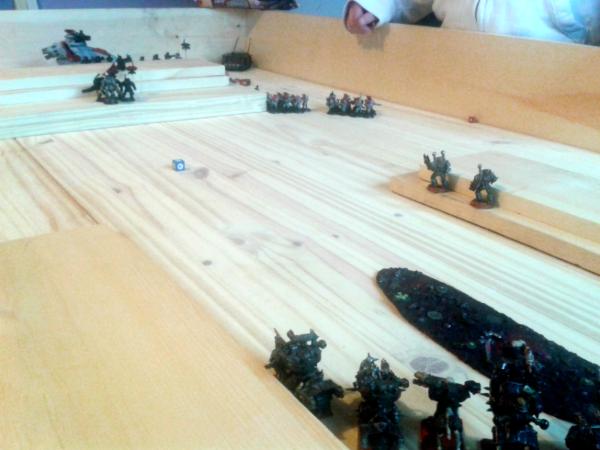
Terrain and Deployment
Spoiler:
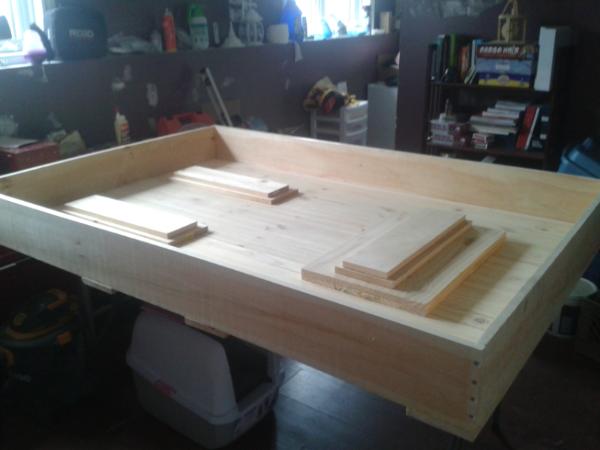
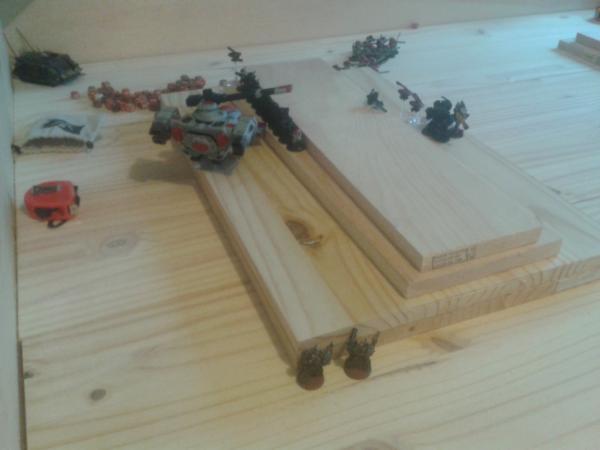
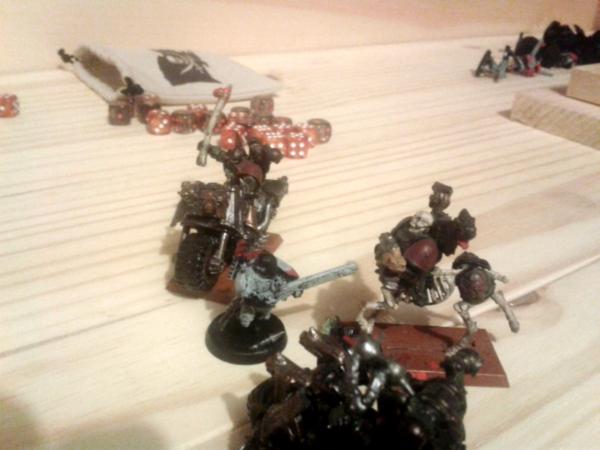
Terrain: Three large multi-layer ruins with Aztec stylings made out of leftover wood planks as the table is otherwise bare wood - we are currently finishing my custom table.
Deployment: Pathfinders setup on top of the largest ruin and nestle into the cover until they die were they cower.
Fire Warriors and Ethereal take the east flank with half in cover of the ruins
Hammerhead takes the west flank behind the pathfinders in cover of the ruins.
The Nurgle Sorcerer and the CSM bikers take the center field in the open to the east
The Plasma squad of Plague Marines takes the western flank in their Rhino
Warlord O'Shaserra with her Stealth Suits Infiltrate near the center of the board to try and take the Relic early.
All Crisis suits choose to Deepstrike in later (only real 'mistake' of the game)
The Nurgle Lord with the Flamer Plague Marines Infiltrate in behind the Tau gunline
Obliterators Influltrate on the extreme western and eastern flanks to surround the Tau completely.
Warlord O'Shaserra wins the Initiative and places her Crisis teams on Deepstrike Reserve as she Infiltrates in with her Stealth Suit Crew.
The delay in Crisis Teams hitting the table likely decided this battle early on.
The forces of Contagion gain a critical tactical advantage as the Lord manages to achieve Master of Deception with maximum effectiveness, letting Chaos completely surround the Tau gun line.
Turn 1:
Spoiler:
Turn 1 Tau: The Nurgle Lord and crew behind their lines serves as a massive Distraction Carnifex…Most importantly causing Warlord O'Shaserra and her team to become confused as to where to go. Instead of taking the Relic and trying to clear off the Bikers before retreating...she flies around midfield trying to assist the back field.
The Pathfinders paint the Lord's Rhino with a mass of Markerlights.
The Hammerhead fails to blow up the rear Rhino but blasts off a combi-bolter
The Ethereal and Warlord O'Shaserra's Command-Drone help the Fire Warriors (with Markerlights) to easily pop the Rhino with a stream of Str5 weapons, netting the Tau first Blood. The Lord and crew stumble out of the wreck even closer to the Tau.
The second Fire Warrior squad uses the Ethereal's bonus to wipe out the eastern Obliterators in a hail of plasma
Turn 1 CSM: Everything advances in to close the net around the Tau. The plasma marines exit their Rhino and end only 10" away from Warlord O'Shaserra and the Bikers get pretty close to her as well.
In the Psychic Phase the Sorcerer offers the Gift of Contagion to Warlord O'Shaserra…limiting her ability to Run and weakening the Tau
The western Obliterators open with Twin-Linked Melta into the Hammerhead but only manage to Shake the skimmer.
The rear Flamer Squad help the Fire Warriors earn their name and kill all but 2 of the squad in a searing wave of flame and Rapid Shot Blasters, also killing the Ethereal.
The Bikers takes shots into Warlord O'Shaserra's squad and the Burning Brand of Skalathrax covers them in suffering along with The Plasma Marines rapid shot to pour bullets and Plasma into Warlord O'Shaserra…who relied too heavily on her 3++ save.
Warlord O'Shaserra dies a quick death.
Turn 1 Debrief: Tau capture first blood, but at the cost of their Warlord. Tau 1 CSM 1
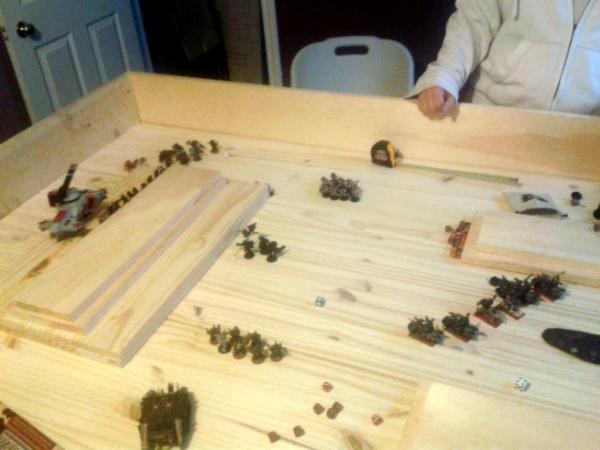
Turn 2:
Spoiler:
Turn 2 Tau: One of the Crisis teams prepares to land just behind the Bikers…only to have a bad scatter followed by Mishap that puts them back in Reserve.
The Hammerhead, Pathfinders, and two surviving Fire Warriors of the burnt squad open up on the Lord and Flamer Squad….but between Snap Shots from Shaken Hammerhead, some cover, poor rolls, FnP, and armour they only take down a single Plague Marine
The other Fire Warriors attempt to avenge Warlord O'Shaserra and Rapin Fire into the Bikers and kill two and the Champion.
Turn 2 CSM: The Lord jumps aross the ruins and looms over the two remaining Fire Warriors. His old crew lines up on the Pathfinders as the Obliterators close on the Hammerhead.
The two remaining bikers and the Sorcerer get right into the face of the uninjured eastern Fire Warriors.
The Plasma Marines capture the Relic
The Flamers wipe all but a single Pathfinder from the field (who breaks and flees), the Sorcerer fails to Rot the Fire Warriors, but the Burning Brand takes out over half of the squad.
The Assault Phase sees all but a single Fire Warrior slaughtered.
The Obliterators Multi-Melta the Hammerhead, which Jinks, but could not avoid their Charge and they tear it apart.
Turn 2 Debrief: A highly mobile, infiltrating, CSM force makes it into Assault phase with Tau... Tau 1 CSM 4 (if Relic kept)
Turn 3:
Spoiler:
Turn 3 Tau: The Crisis team with Flamers arrive near the Plasma Marines, but then fail to kill even a single of the bloated Plague Marines holding the Relic.
The Crisis team Jets back to try and capture Linebreaker before conceding.
The last of the Fire Warriors fall in combat.
Turn 3 Debrief: With only 3 models on the board and no Relic control, the Tau resign and recover Warlord O'Shaserra's broken body
Final Score: Tau 2, CSM5
Final Thoughts: This game was likely destined before turn 1 began. Rolling Master of Deception (max) was the best possible option against Tau for the forces of Contagion and that fact meant the Crisis Suits were dearly missed early game. Warlord O'Shaserra overestimated her 3++ invulnerable saves plus Look Out, Sir! and should have fled to cover for the 2+ Shrouded saves with her 3d6 Thrusters.