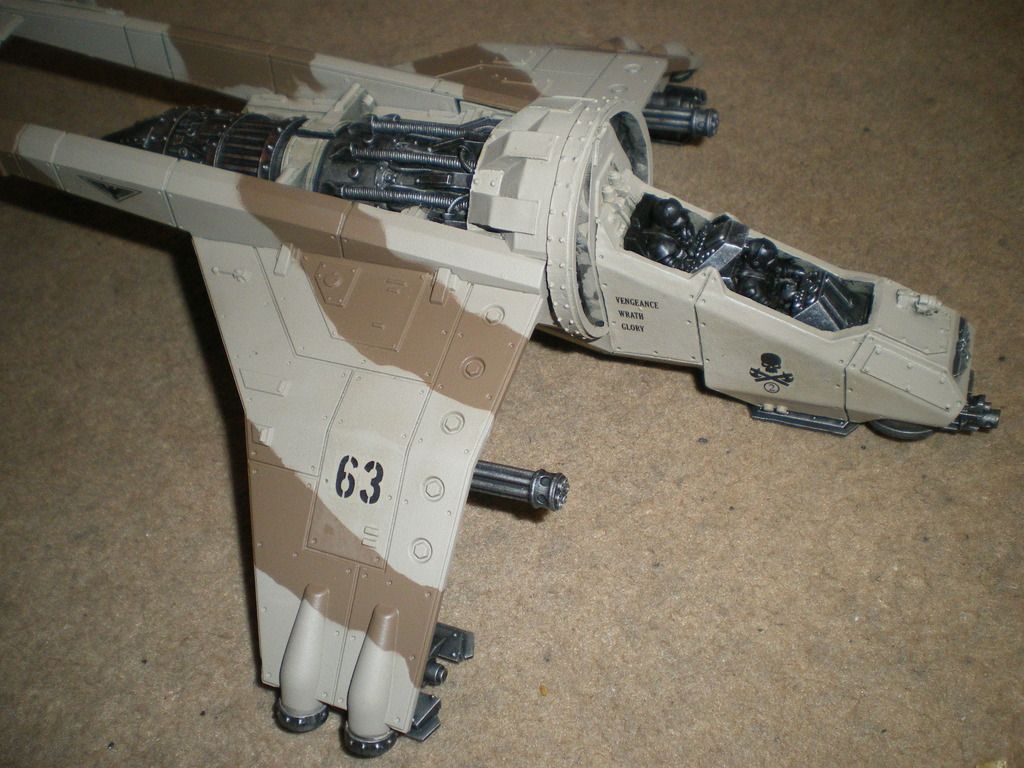
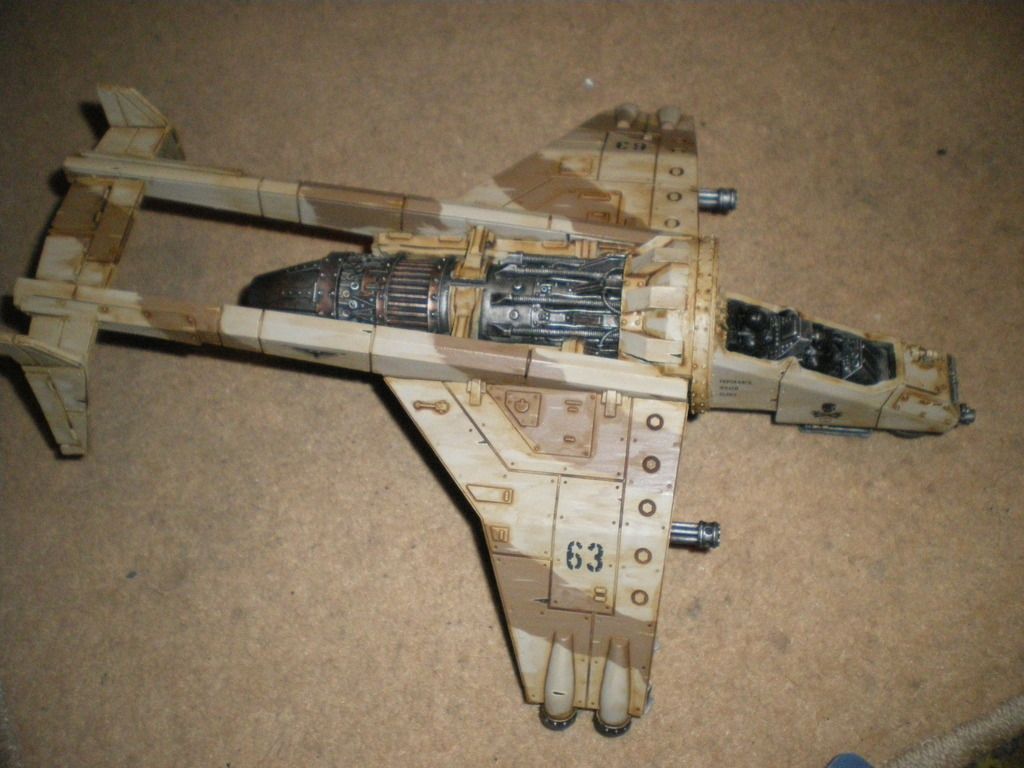
I've been asked by a few people how I paint my Guard vehicles so I thought I'd put up a tutorial on one of my Vulture Gunships. Hopefully you'll find it helpful and I'll try to answer any questions.
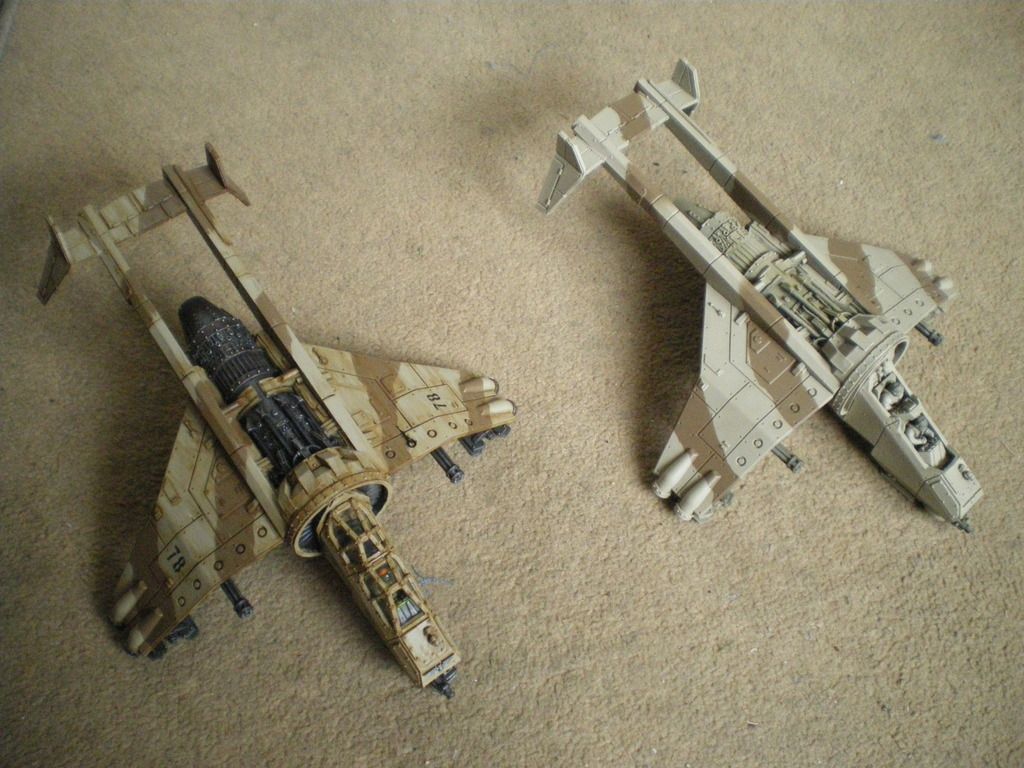
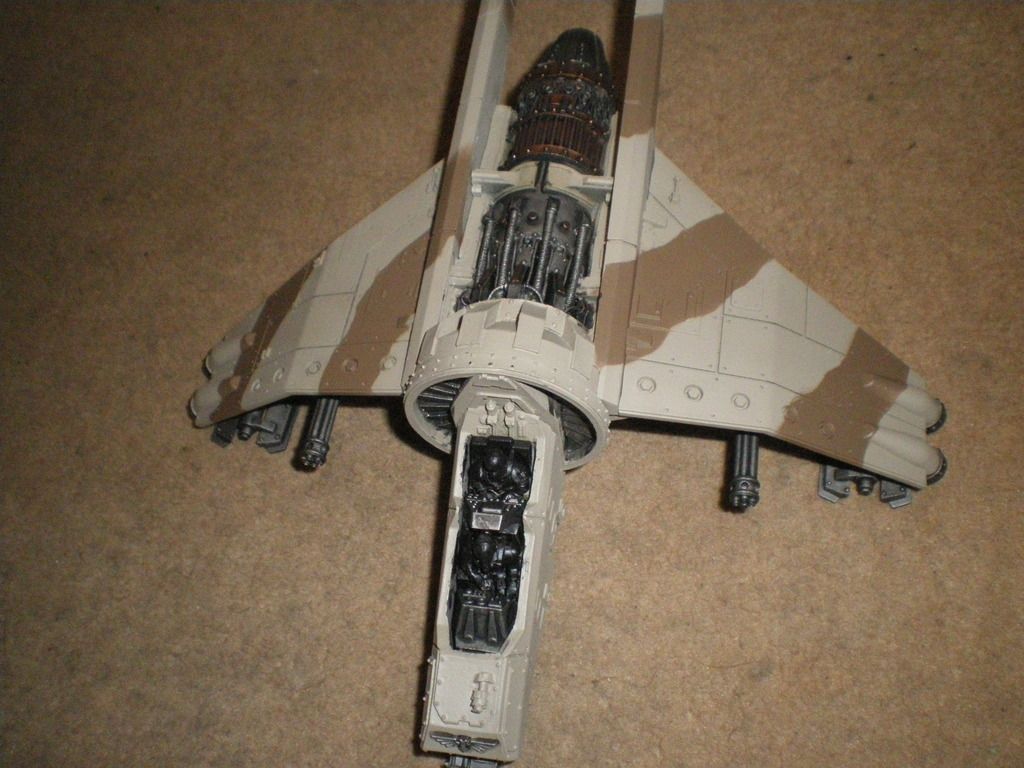
So this is what we're going to achieve:
 Base Layers
 So, first up is the base layer (sadly lost the photos of the very first stages). First I spray black to undercoat.
Next up I spray again with Tallarn Sand. This is so that if the next layer is not entirely even some of the desert yellow will show though, smoothing the overall appearance.
Now I spray the whole thing again with Karak Stone, this is the main colour of all of my vehicles.
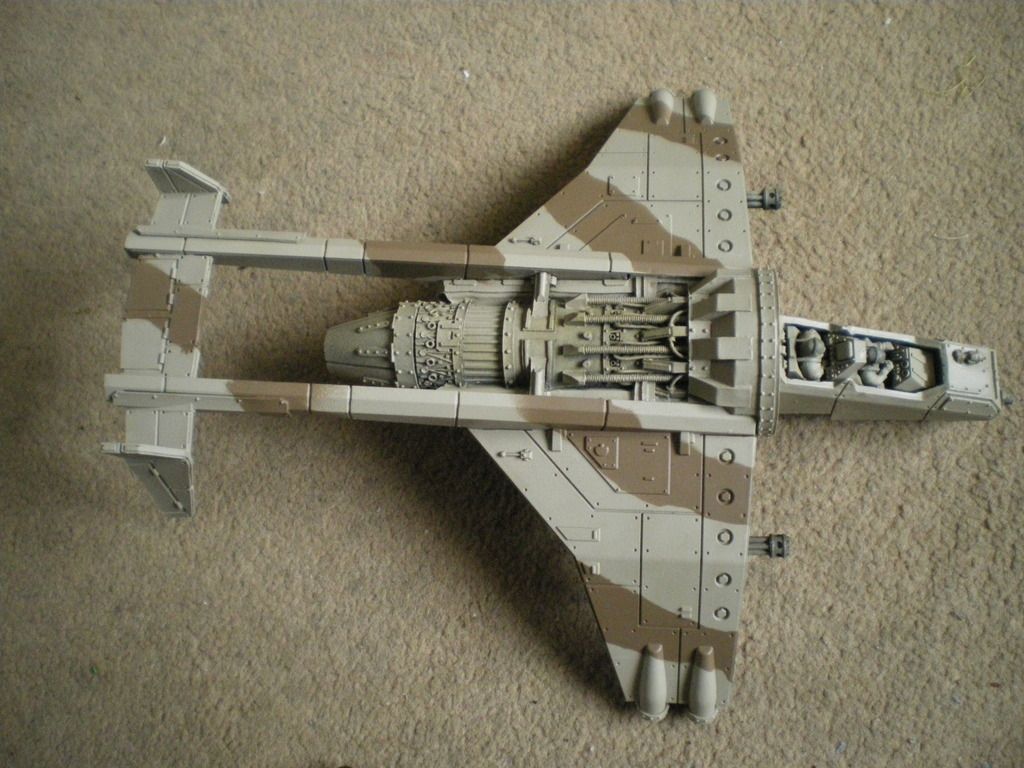
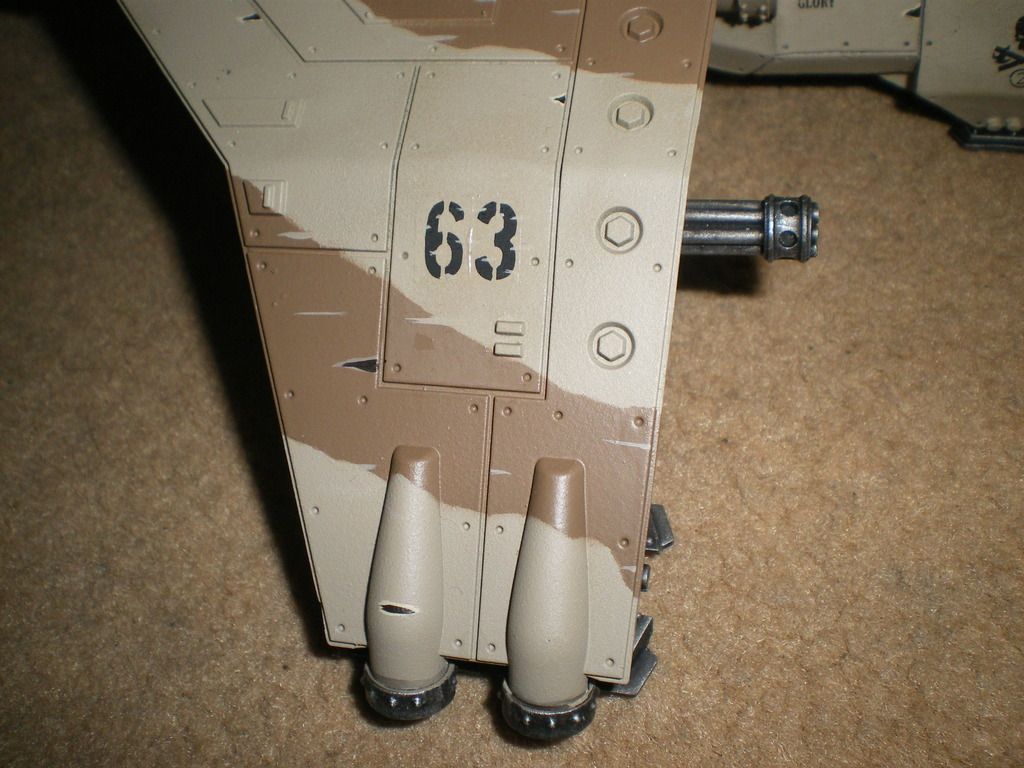
With the base done, I use Blue-
Tac and newspaper to mask up camo stripes, which I then spray with Steel Legion Drab. (Warning: this is very time consuming). Its important to make sure that the Blue-
Tac has a really good seal, as it will pull off the model on its own leading to unwanted overspill. Afterwards it should look something like this:
 Metal Work
 Next up is the metal. I like to get this done straight away so that I don't end up with metallic overspill on weathered armour, as its hard to correct. So Next I painted all the metal with leadbelcher and add balthazar gold to break up big blocks. Also for any decorative metal, use Ironbreaker rather than leadbelcher, as I did for the aquila on the front of the Vulture. I also re-undercoated the cockpit by hand, as the pilots will have black flight suits and its easier to get the base done before the metal. Incidently, if anyone watches the
GW painting videos, this is how Duncan says to paint working metal (and its brilliant) This is the result:
Next up is the first wash, cover every bit of metal in a layer of Nuln Oil, this stuff is great and is basically liquid talent
Once this has dried (which will take an age but its worth it), do exactly the same again and add another layer of Nuln Oil, except on decorative metal, leave that at one coat.
Then finally drybrush with Necron Compound
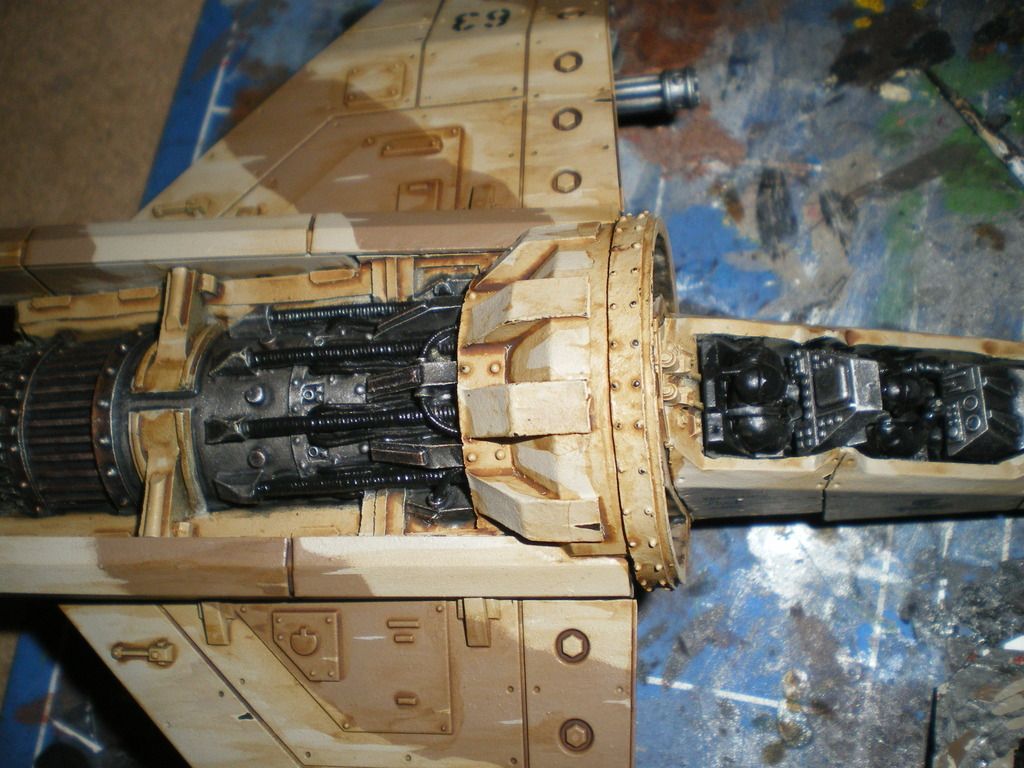
 Heat Damage
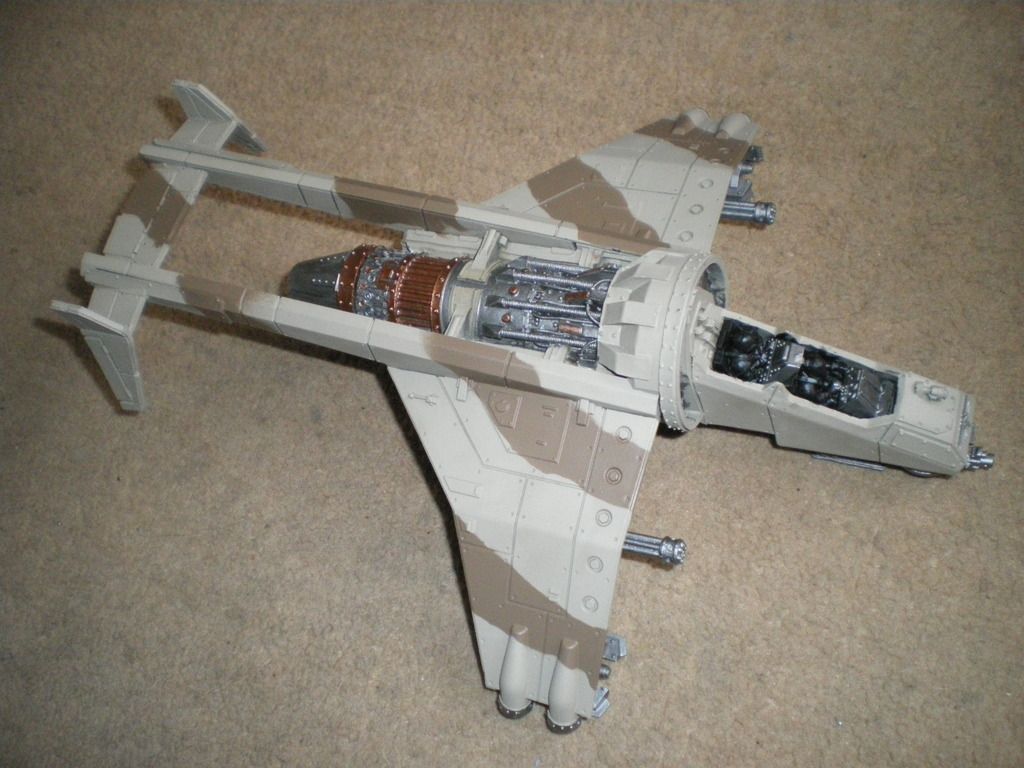
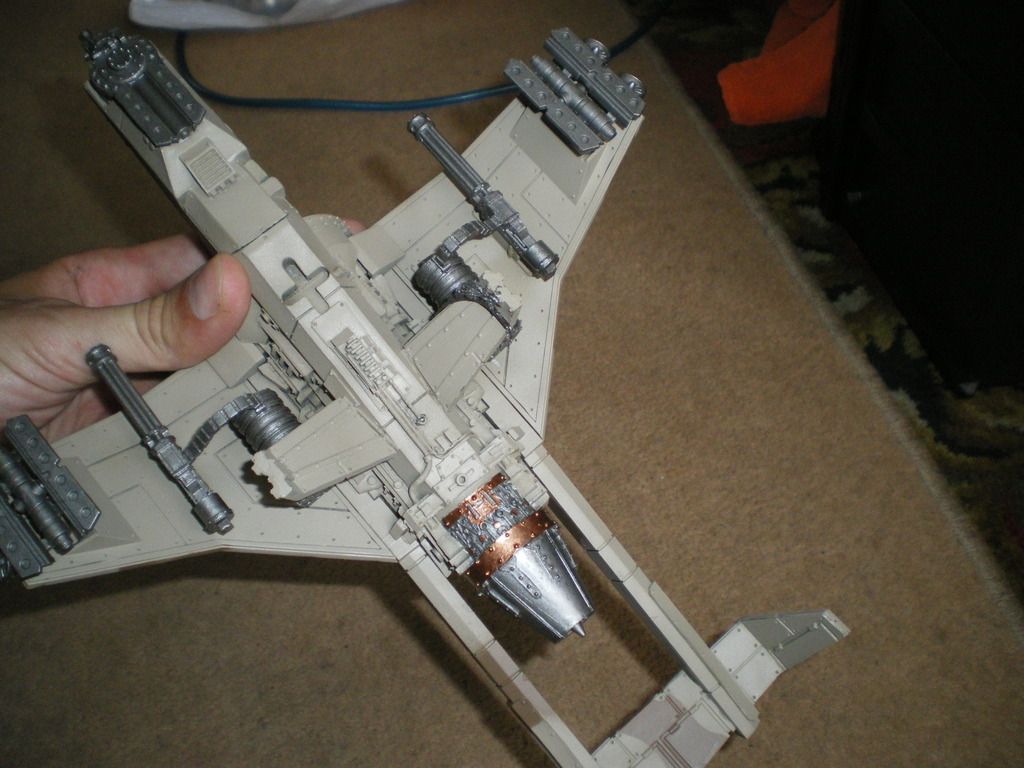
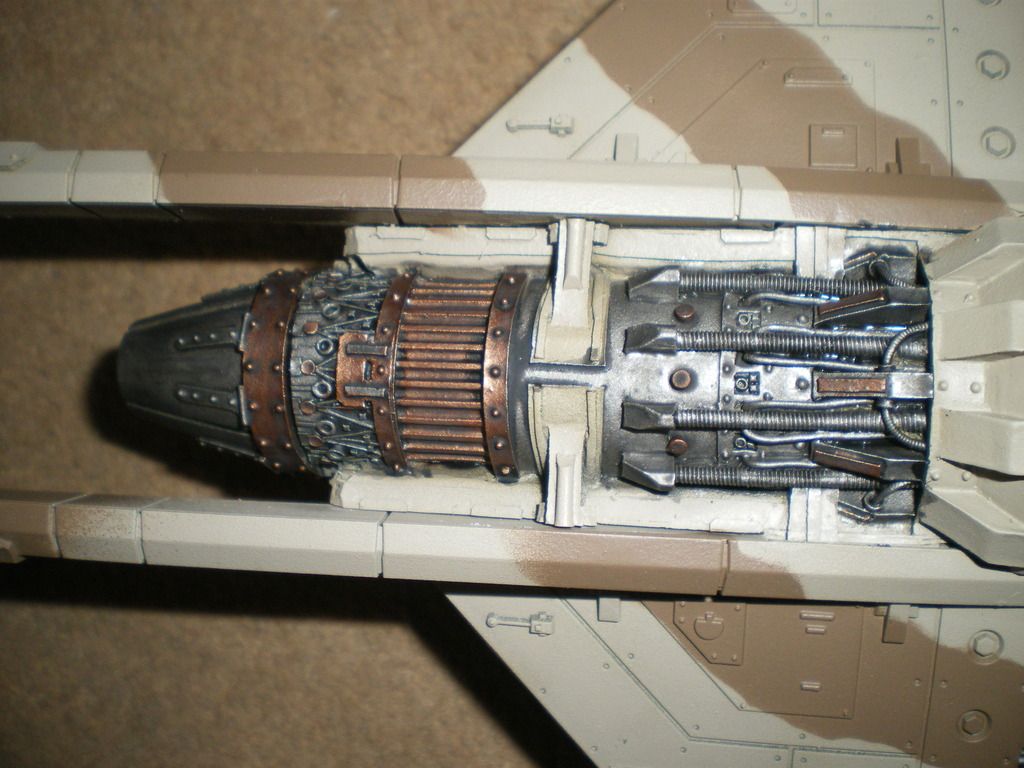
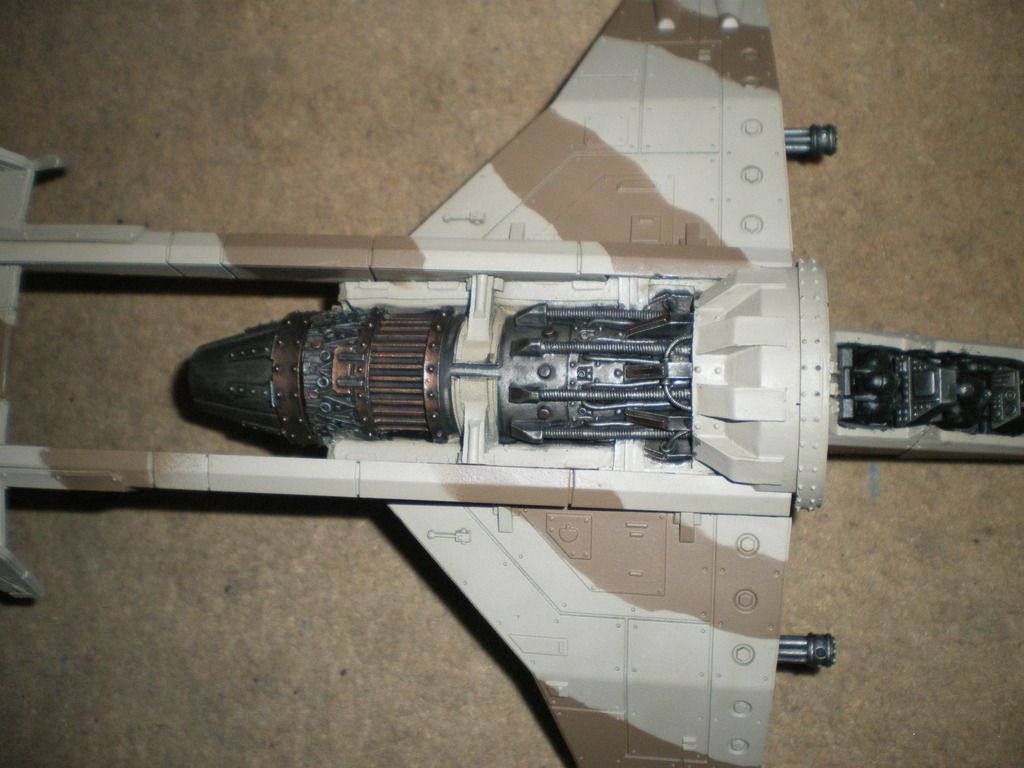
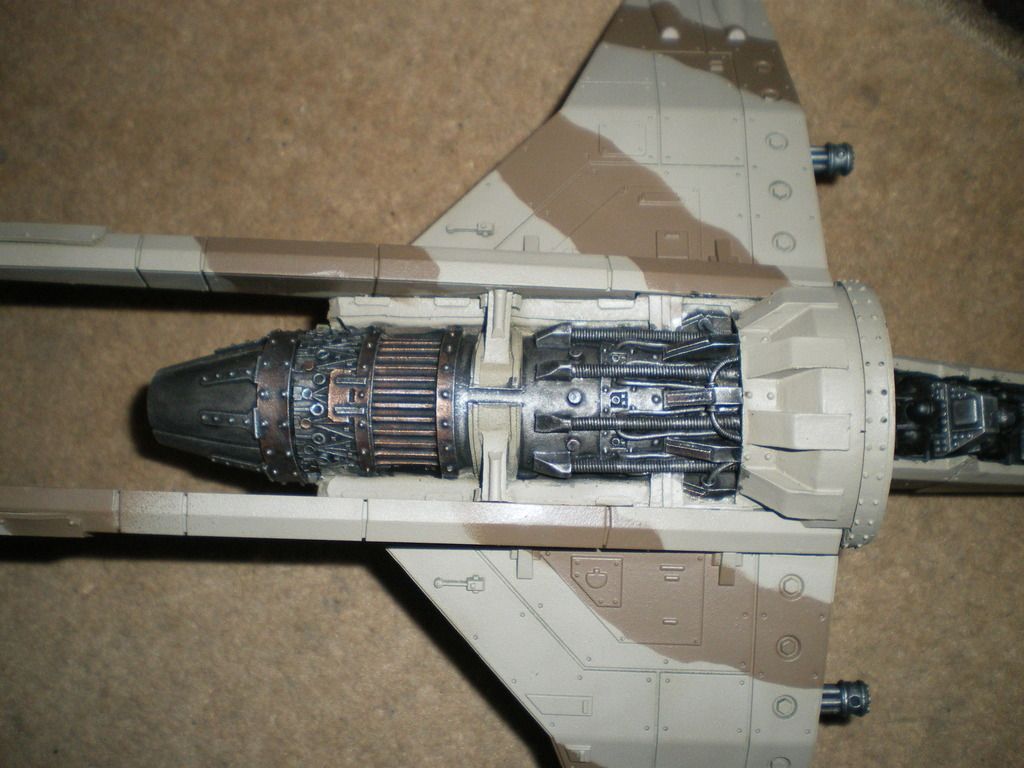
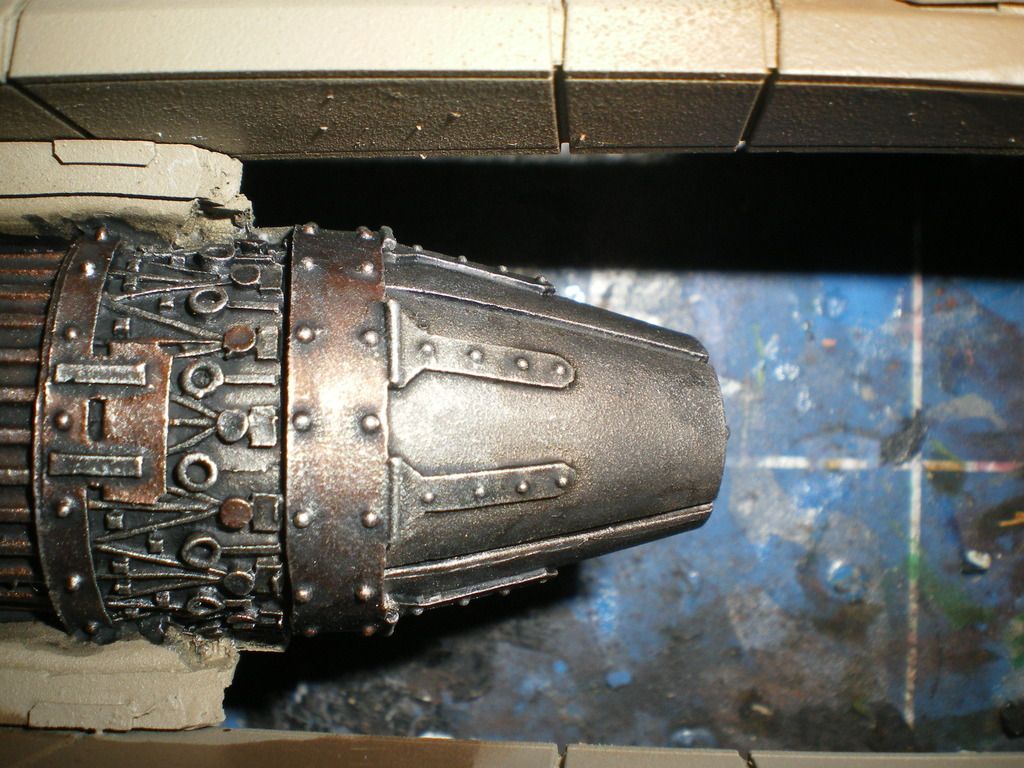
 Now to make the engine look really used I went for heat damage at the business end. This is a really easy method that is super fast and gives decent results. You will need: Agrax Earthshade, Bloodletter, Druchi Violet and Gulliman Blue.
Step 1: Add an Agrax wash about 3/4 of the end of the engine, making sure to get the inside as well (as with all washes in this stage)
Before

After
Step 2: Next you want to mix Agrax and bloodletter to make a red/brown wash. I like to go with 3 bloodletter to 1 agrax. Then apply this to about 3/4 of the previous wash
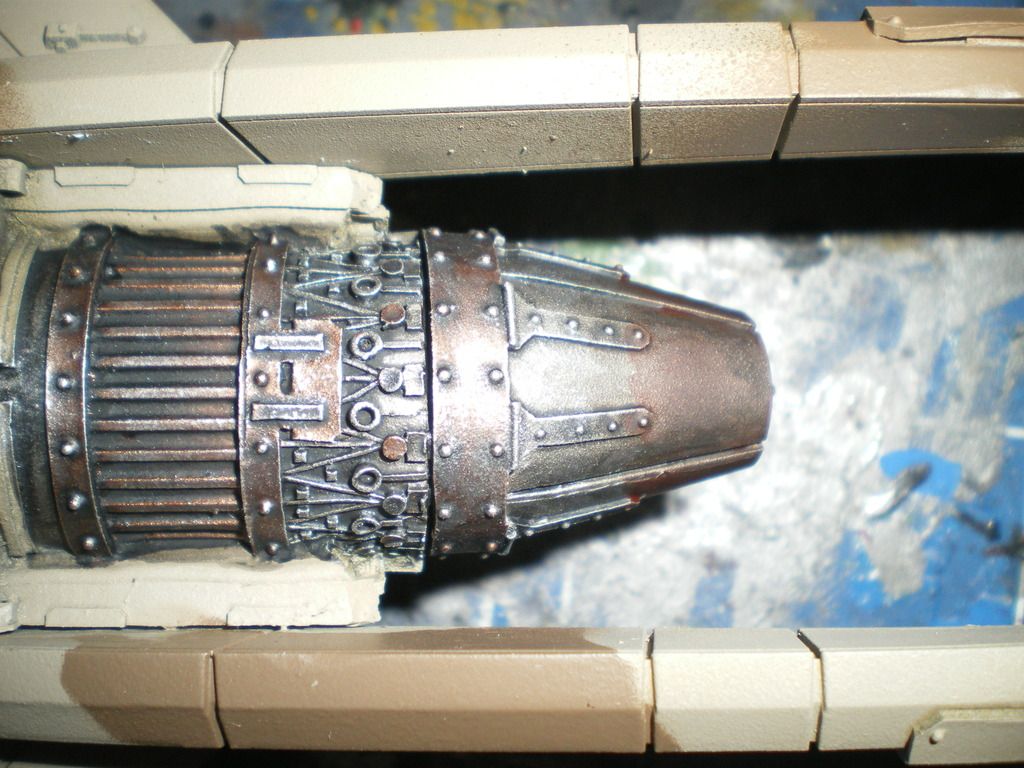
Step 3: Druchi violet is the next wash, following the same principle as before

Step 4: This is the final step, apply gulliman blue glaze to the very tip of the engine
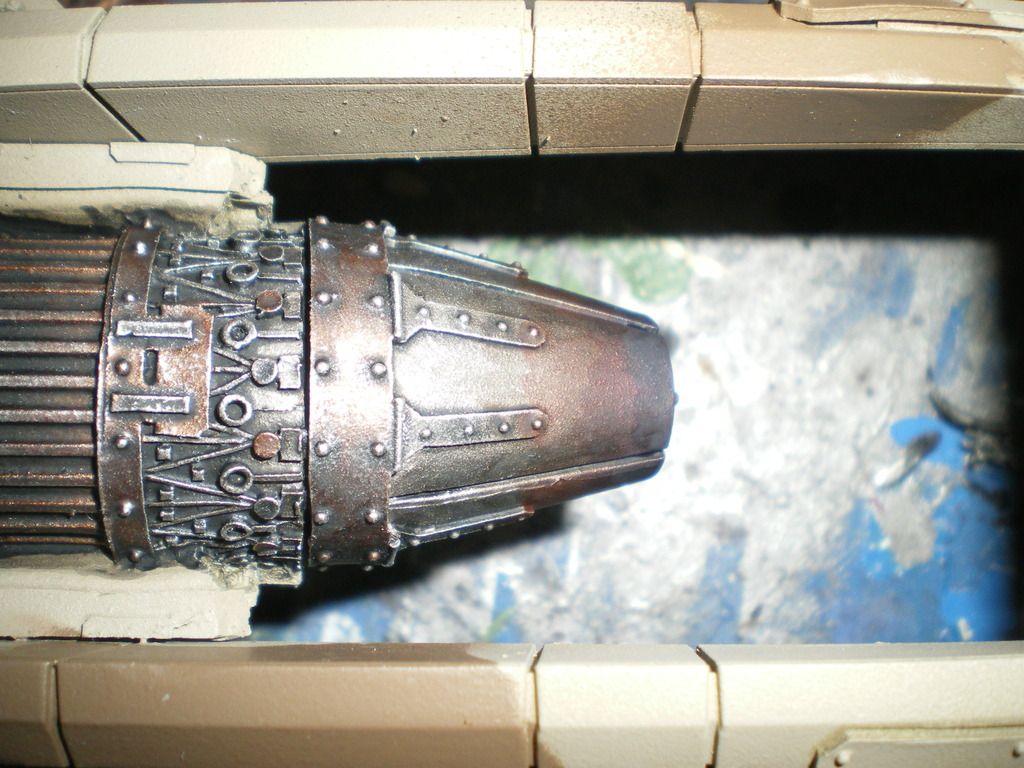
The camera flash detracts a little from the overall effect, but it is smoother in person. Also you can make the transition smoother by applying the next wash before the previous one has fully dried, but this can be tricky.
Transfers Transfers add lots of extra detail, and now is the perfect time to add them. This is because in order to make the weathering stages effective the transfers have to look weathered as well.
 Chipping
 To add the look of wear on the Vulture I want to make to paint look a little chipped. Most chips will be fairly supficial, with the camo stripes and transfers being brought down to the Karak Stone base and then a few more substantial chips, going below this.
To take the transfers and stripes down to the base Karak (or Steel Legion Drab if its over a stripe), simply paint the chips on with a fine detail brush. You can add direction too which helps the idea that its take damage to its paint while flying.
To make more substantial chips, you first want to paint on a lighter colour. So for Karak Stone move up to Ushabti Bone, and for Steel Legion Drab go for Baneblade Brown. Next mix Abbadon Black with Rhinox Hide to make a really dark brown, and apply to the lighter colours leaving a fine boarder.

 Weathering with Wash
 Now so far this looks super flat, so to add depth and detail I use washes. The technique I use here is simply but effective.
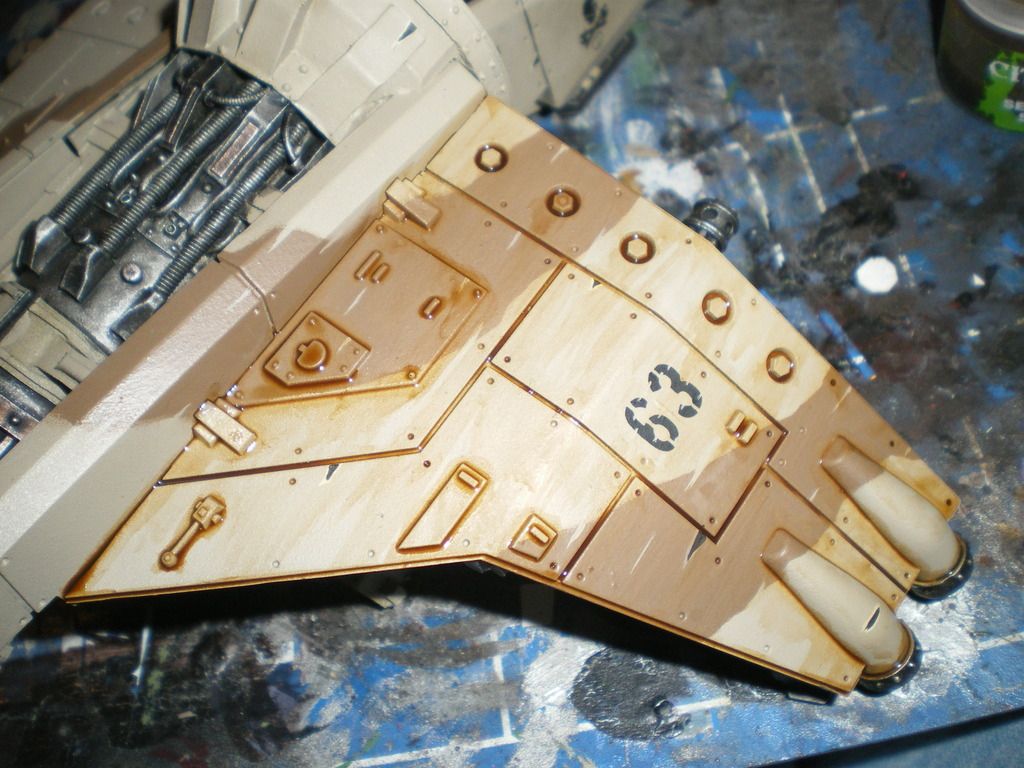
Using Seraphim Sepia, Follow the lines around the panels, adding a decent amount and only doing about an inch at a time. Only do a small amount, as speed is key as you don't want the wash to begin to dry.
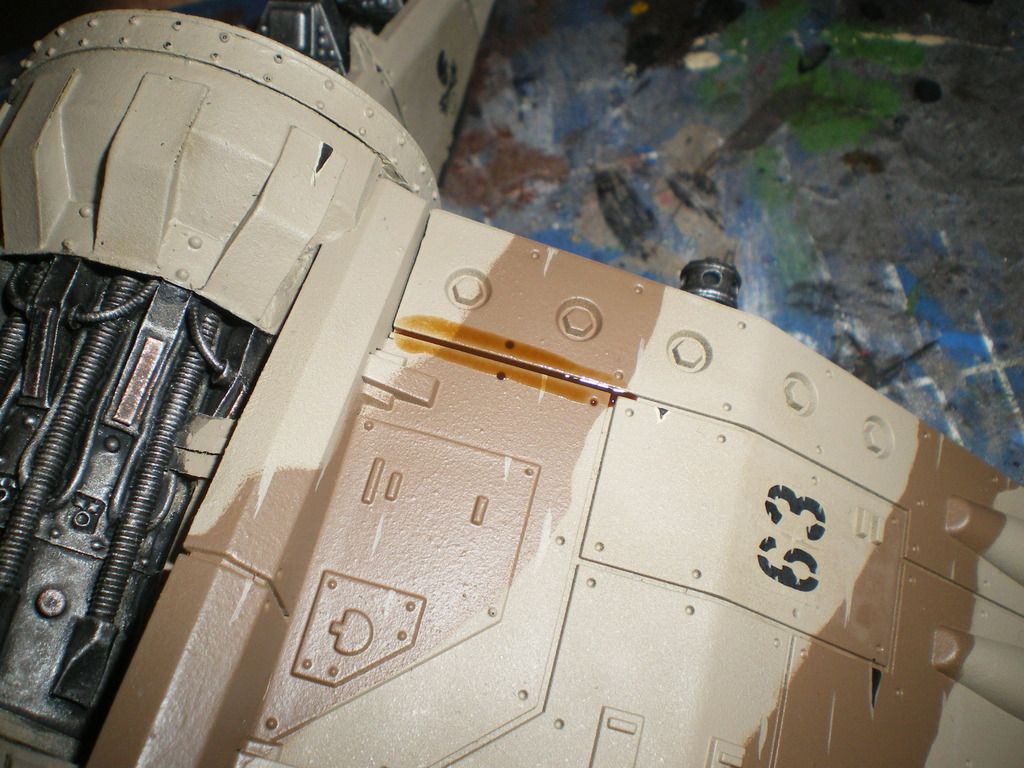
Next, using a tissue, simply drag it bag across the wash, keeping it as straight as possible
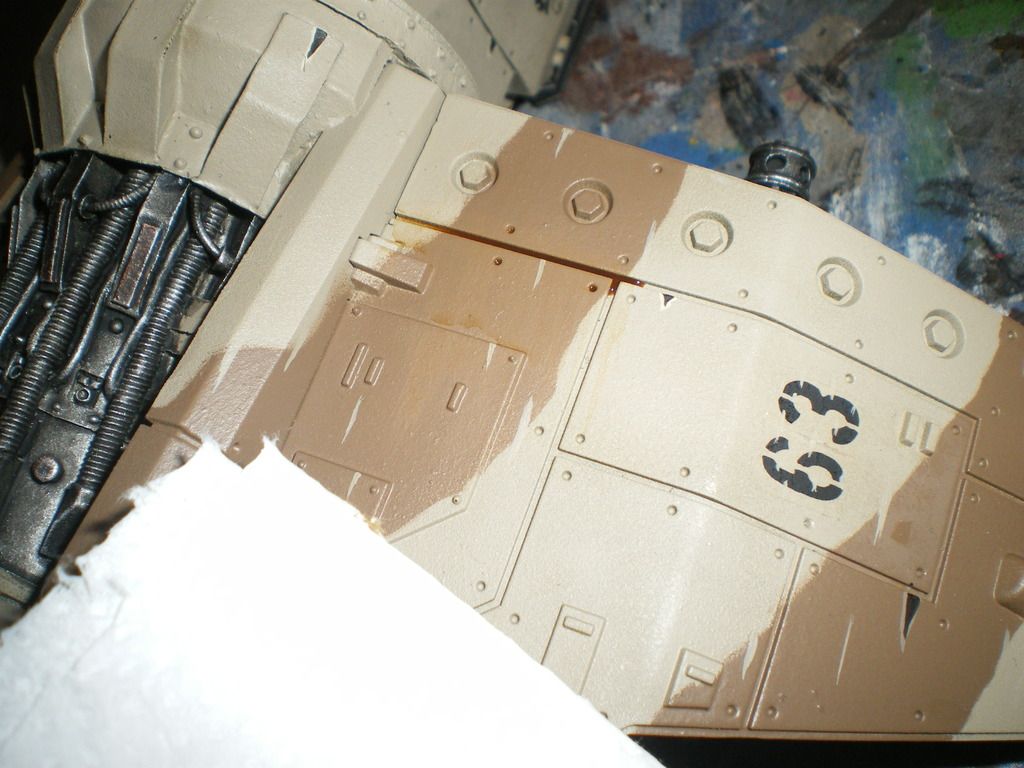
This fills in the gaps between panels, and adds subtle weathering details on the panels. Once you start getting more done, it starts to come together.
Apply throughout all panels on the model (Again, time consuming). There will be places you can't do this, so just use the wash to shade around hard to reach areas. Also I added a few patches of Agrax Earthshade to break it up a bit.
 Cables
 This is a fast stage, simply go over any cables with Abbadon Black, and then drybrush Dawnstone
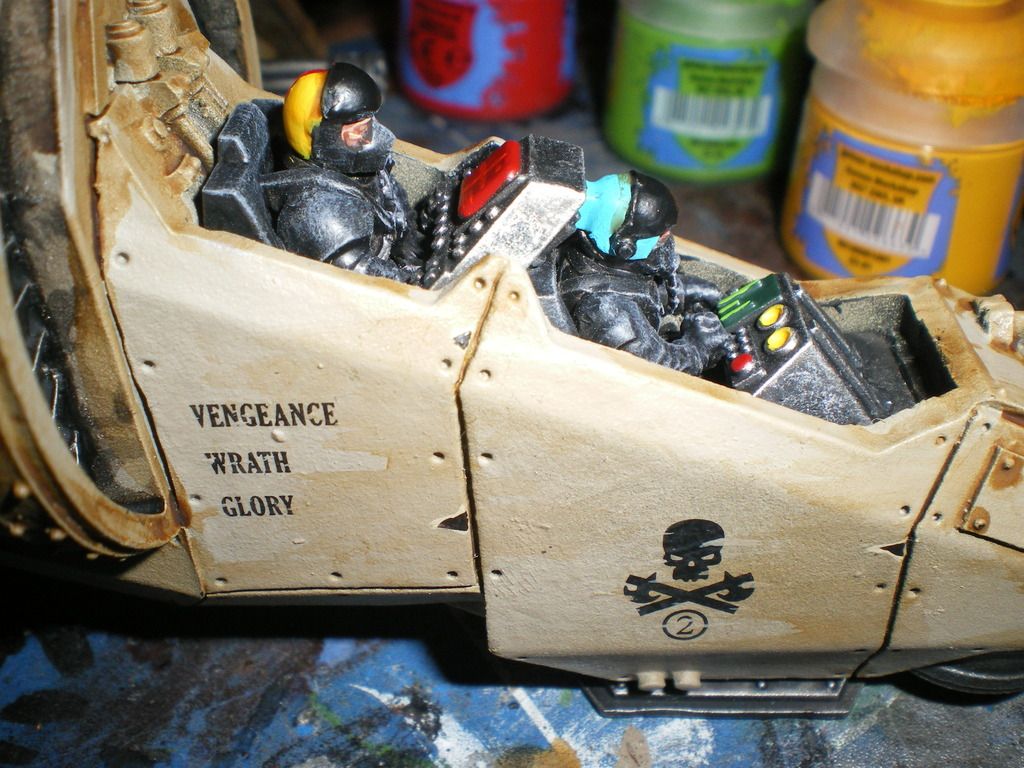
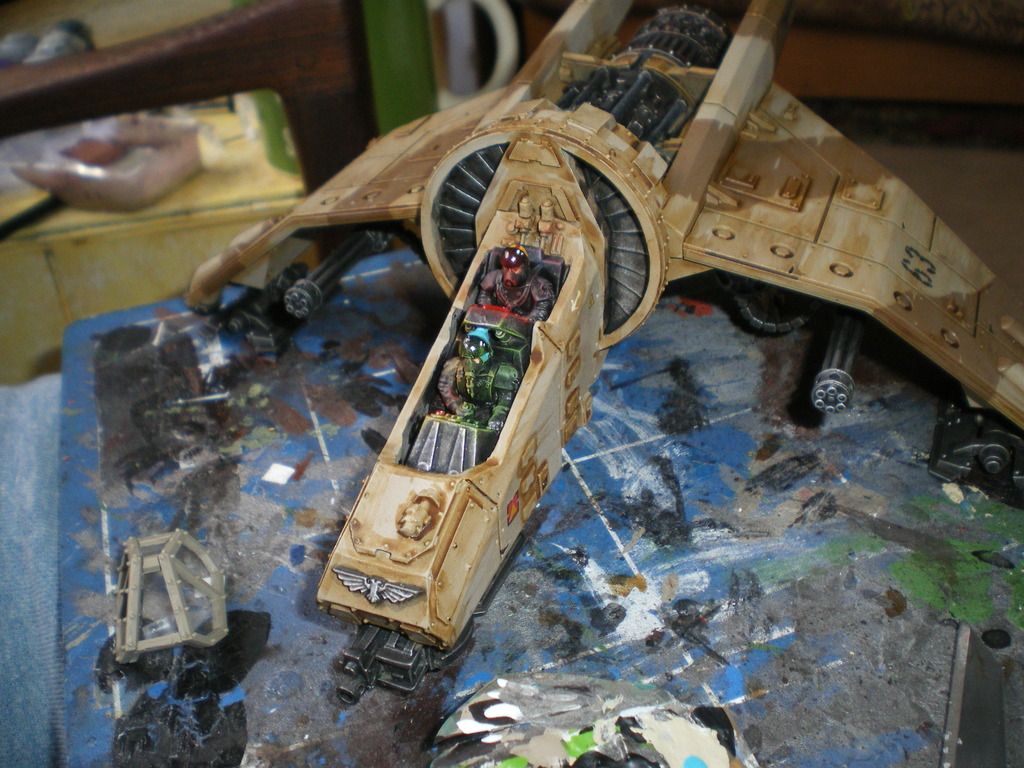
 Cockpit
 Well we're nearly there. Next I add detail to the cockpit, drybrushing the flight suits Dawnstone and adding bright colours to the panels. I will be using lighting effects later, so a mix of vivid colours is a good idea. I like to go with bright colours for the helmets, and some extra detail in the form of stripes etc. I achieved the flesh with Bugmans Glow > Cadian Fleshtone > Reikland Fleshshade > Kislev Flesh
Next I want to make it look like the screens are giving off light. This is achieved by careful drybrushing of the appropriate colours (make sure to use bright ones). This takes some practice. I went a little heavier than usual as once the canopy is on it will be harder to see.
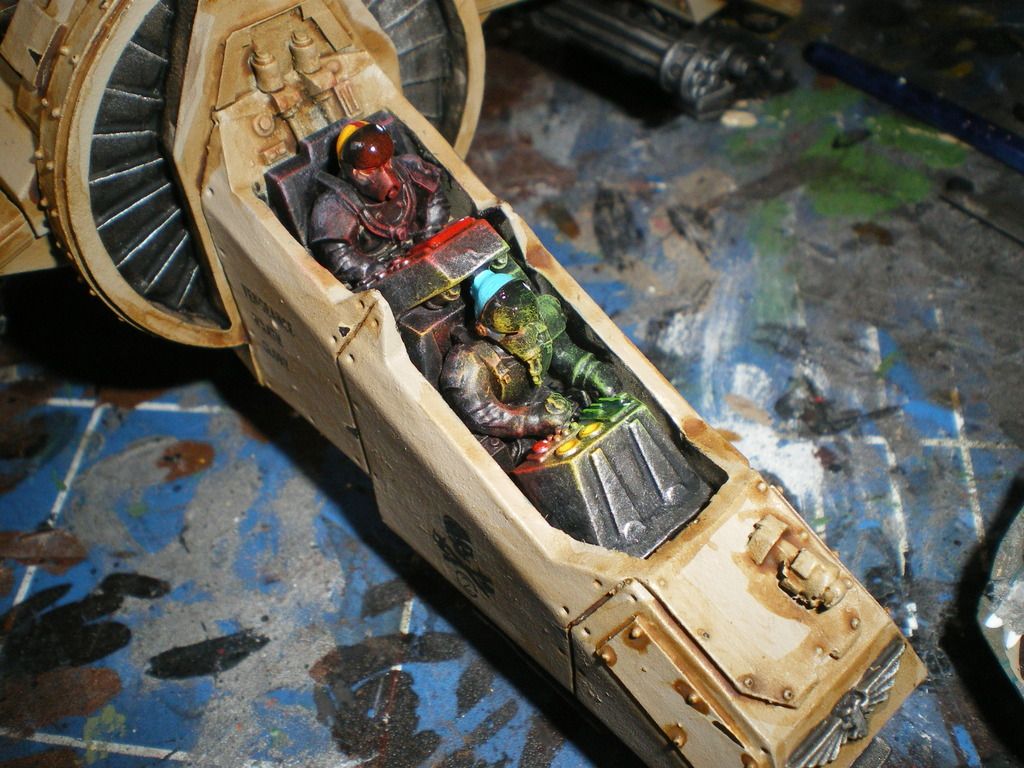
Notices I have applied 'ardcoat on the visor and screens afterwards, to make it look like the light is a reflection in the visor. I also added 2 Ceramite White dots on the top right hand side of the visors to make them seem even more reflective (applied before the 'ardcoat).
 Canopy
 Now that the cockpit interior is complete, I add the canopy. Make sure to use PVA, as superglue can cause 'ghosting', which adds big white blotches to the clear plastic.
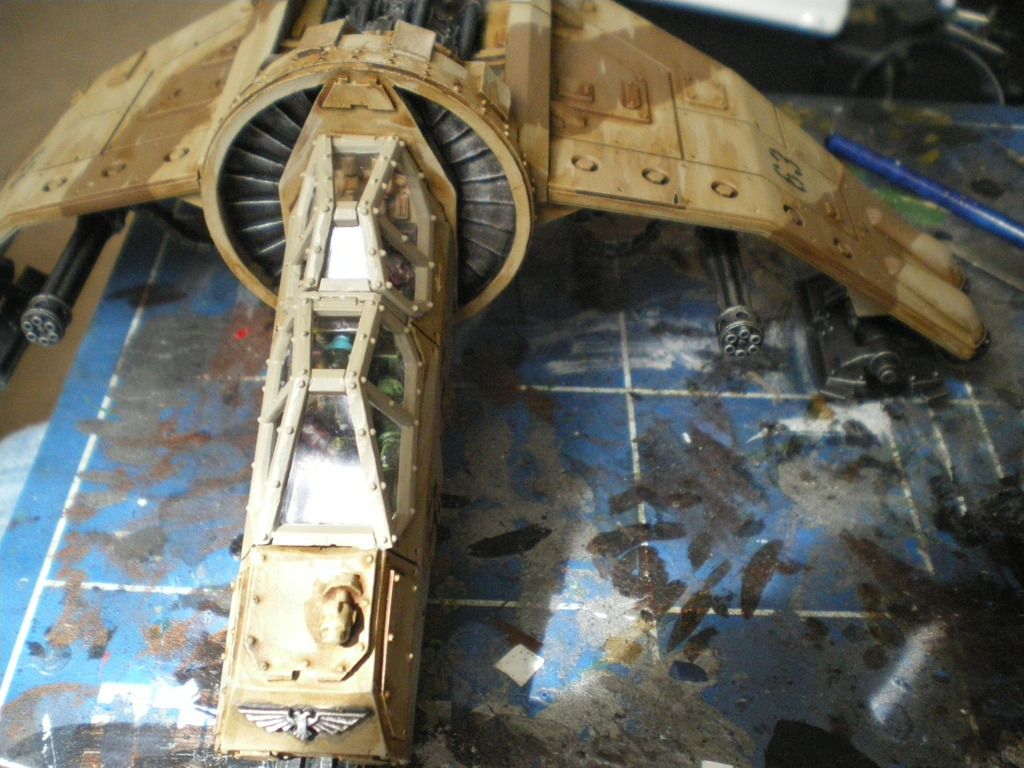
Finally I use Seraphim Sepia to match the weathering to the rest of the model
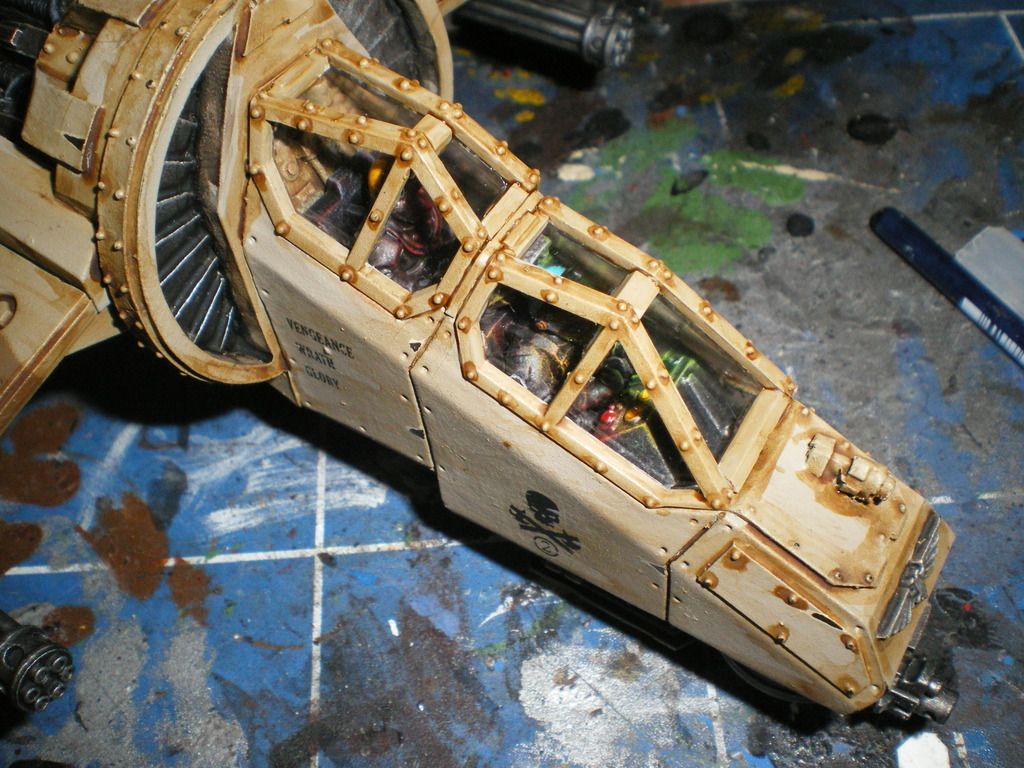
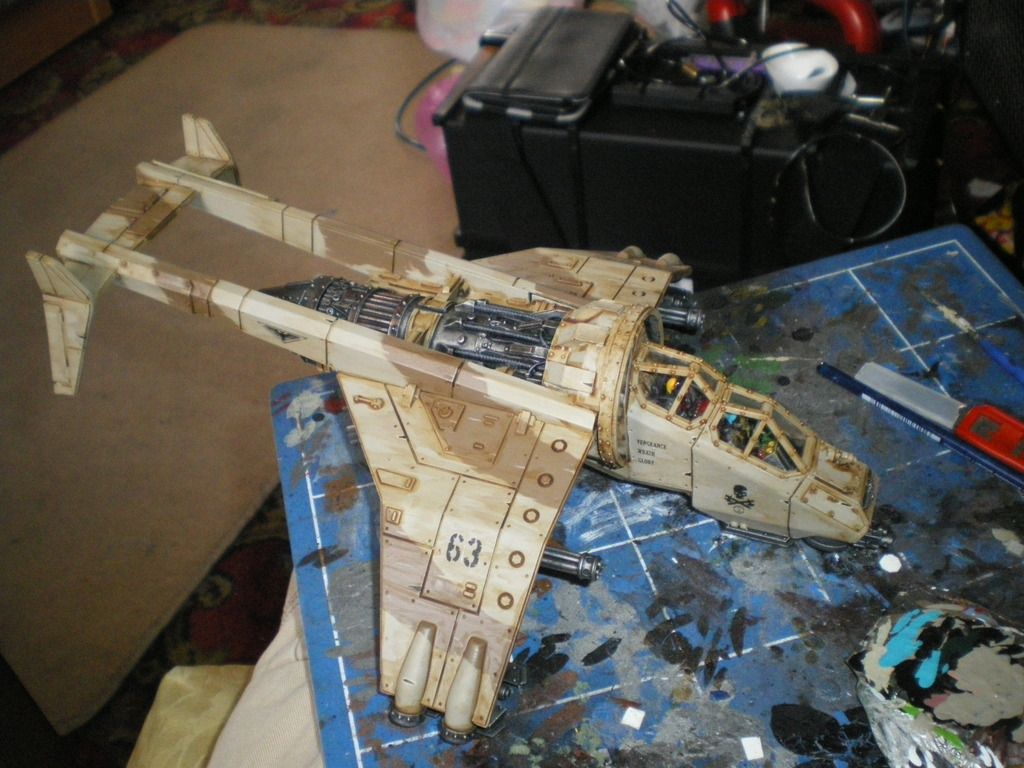
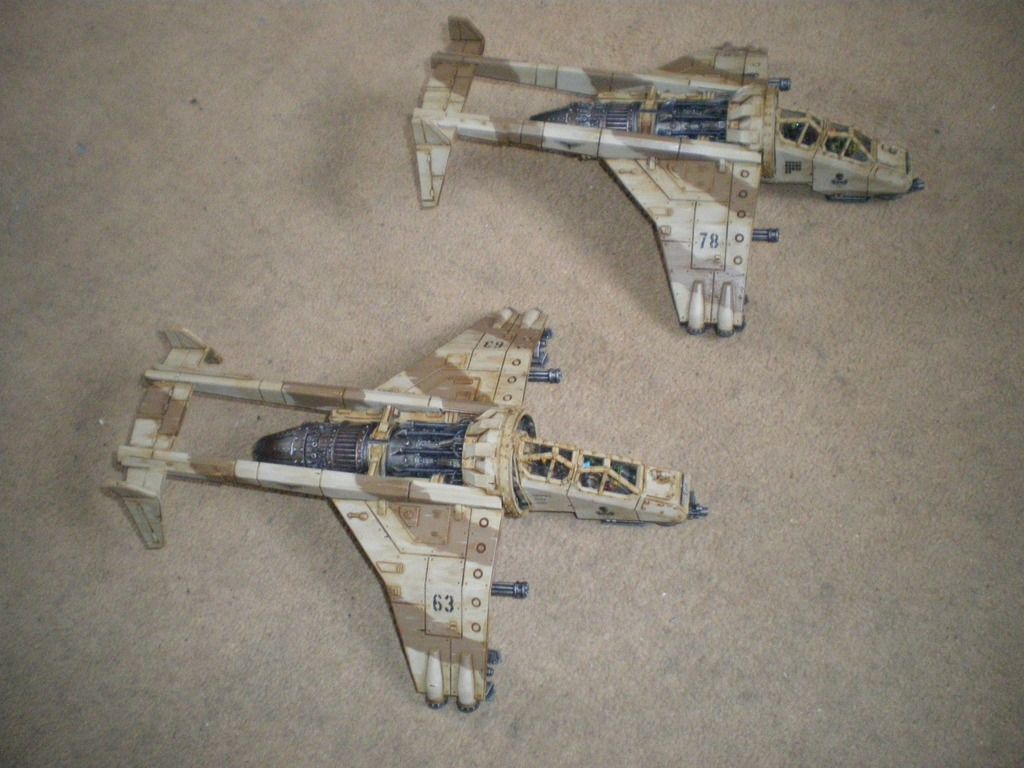
So there we are, a finished Vulture, ready to join his wingman and crush the enemies of the Imperium!


 3000pts 30 wins 2 draws 12 loses
 5000pts 13 wins 1 draws 9 losses
