Switch Theme:

Scribing straight grooves into plasticard.  [RSS] Share on facebook Share on Twitter Submit to Reddit
»
Author Message
Advert


Forum adverts like this one are shown to any user who is not logged in. Join us by filling out a tiny 3 field form and you will get your own, free, dakka user account which gives a good range of benefits to you:
  • No adverts like this in the forums anymore.
  • Times and dates in your local timezone.
  • Full tracking of what you have read so you can skip to your first unread post, easily see what has changed since you last logged in, and easily see what is new at a glance.
  • Email notifications for threads you want to watch closely.
  • Being a part of the oldest wargaming community on the net.
If you are already a member then feel free to login now.


Made in au
Thinking of Joining a Davinite Loge


Cheers guys.

I'm working on a scratch build lightning strike fighter, and I'm trying to detail panelling.
A single cut doesn't provide the deep and width, I need something deeper.
Not having a great deal of luck.

Anyone have any tips/tools?

Thanks.

My $0.02, which since 1992 has rounded to nothing. Take with salt.
Elysian Drop Troops, Dark Angels, 30K
Mercenaries, Retribution
Ten Thunders, Neverborn
 
   
Made in us
Fixture of Dakka


CL VI Store in at the Cyber Center of Excellence

I use one of these:

http://www.hobbylinc.com/htm/squ/squ10202.htm


You may need to also use a metal ruler to get the lines straight, but it works great. You can go over the same line multiple times to get the depth you want (or even to cut straight sections out). DON'T use directly on your wood dinner table though....

This message was edited 1 time. Last update was at 2015/09/01 13:03:43


Every time a terrorist dies a Paratrooper gets his wings. 
   
Made in gb
Rotting Sorcerer of Nurgle


Portsmouth UK

The Tamiya plasticard scriber 2 is awesome too.

Check out my gallery here
Also I've started taking photos to use as reference for weathering which can be found here. Please send me your photos so they can be found all in one place!! 
   
Made in au
Thinking of Joining a Davinite Loge


Cheers guys, greatly appreciated.

My $0.02, which since 1992 has rounded to nothing. Take with salt.
Elysian Drop Troops, Dark Angels, 30K
Mercenaries, Retribution
Ten Thunders, Neverborn
 
   
Made in us
Colonel


This Is Where the Fish Lives

Give this article a read: http://www.swannysmodels.com/Scribing.html

 d-usa wrote:
"When the Internet sends its people, they're not sending their best. They're not sending you. They're not sending you. They're sending posters that have lots of problems, and they're bringing those problems with us. They're bringing strawmen. They're bringing spam. They're trolls. And some, I assume, are good people."
 
   
Made in au
Grizzled Space Wolves Great Wolf


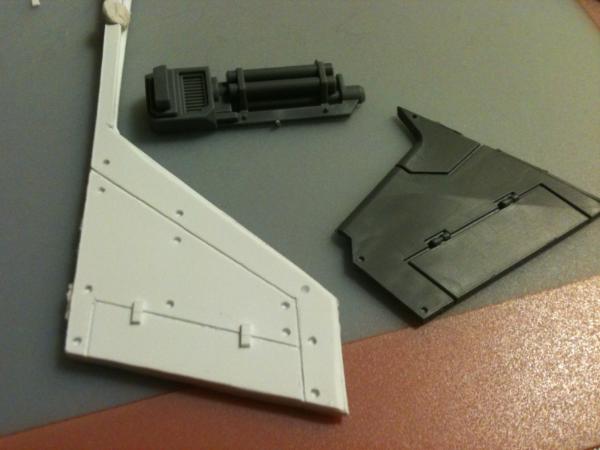
To do the panel lines on this conversion I just broke the tip off a knife and used the back of the knife (number 11 blade), drag it at about 45 degrees and it'll scoop out the material, do it multiple times to create the lines.

Where you snap the knife blade determines the thickness of the line because it tapers, break it closer to the tip for a thinner line. For very fine lines (not the ones on this model) I have used pins (safety pins, sewing pins, different pins give different thicknesses), just dragging them along the surface the same way I do the knife.

Use a ruler to keep the lines straight and don't apply too much pressure to avoid having slips, do multiple passes to get a deep line rather than trying to do it in 1.


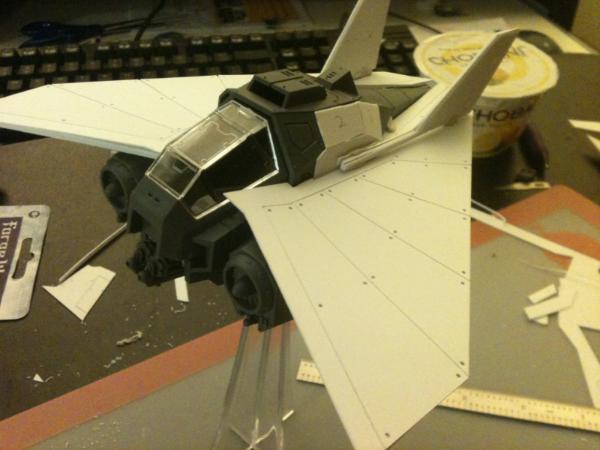
I have used the same method to scribe lines in to model aircraft panels (as in, curvy surfaces, not the super-flat lines of a Space Marine thing) but it is significantly tricker.

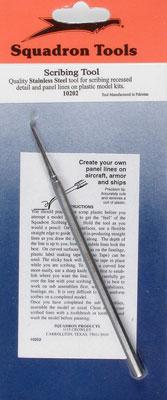
That said, I'd like to try one of those fancy scribing tools, I'm sure they'd work well too, I've just never gotten around to buying one.

This message was edited 2 times. Last update was at 2015/09/02 10:39:41


Forum Index » Painting & Modeling
Go to: