The game took place in a nearby gaming club, at yesterday 3PM.
A friend of mine was collecting and painting new Tau battlesuits(Stormsurge and Ghostkeel), and just finished playing his first 7th ed. Tau game last week.
His list was remarkably strong, so I tried my best to write the strongest list possible with my collection of models.
However I tried not to write a list specialised for dealing with Tau. The presence of Culexus Assassin proves it well.
I used a roster featuring Iron Hands Gladius Strike Force, accompanied by Ultramarines
CAD and lone Culexus Assassin.
Primary Detachment : Gladius Strike Force(Codex : Space Marines)
Chapter Tactics : Iron Hands
Battle Demi-Company
Captain(Chapter Master, Power Fist, Bike, Auspex, Artificer Armour, Shield Eternal) - Warlord
Command Squad(Bikes, 1xApothecary, 1xVeteran : Storm Shield, 2xVeteran : Power Fist & Storm Shield, 2xVeteran : 2xGrav Gun & 2xMelta Bomb)
Tactical Squad(Sergeant : Combi-Melta, 9xSpace Marine : Meltagun, Grav Cannon & Grav
Amp, Drop Pod)
Tactical Squad(Sergeant : Combi-Melta, 4xSpace Marine : Meltagun, Drop Pod)
Tactical Squad(Sergeant : Combi-Grav, 4xSpace Marine : Grav Cannon & Grav
Amp, Drop Pod)
Land Speeder(2xHeavy Bolter)
Centurion Devastator Squad(3xGrav Cannon & Grav
Amp, 3xHurricane Bolter, 1xCenturion Sergeant : Omniscope, 2xCenturion)
Suppression Force
Land Speeder(Multi-Melta)
Whirldwind Squadron(2xWhirldwind)
Comnined Arms Detachment(Codex : Space Marines)
Chapter Tactics : Ultramarines
HQ
Tigurius
Troops
Scout Squad(Camo Cloak, 5xSniper Rifle, 1xScout Sergeant, 4xScout)
Tactical Squad(Sergeant : Combi-Melta, 4xSpace Marine : Meltagun)
Fast Attack
Drop Pod
Drop Pod
Officio Assassinorum Detachment
Elite
Culexus Assassin
Total : 2,000pts
Meanwhile, my friend used the list shown below.
Hunter Cadre(Codex : Tau Empire)
Commander(Drone Controller, Target Lock, Missile Pod, Plasma Rifle) - Warlord
Breacher Team(5xPulse Rifle, Devilfish : Sensor Spine, Disruption Pod, Drones)
Breacher Team(5xPulse Rifle, Devilfish : Sensor Spine, Disruption Pod, Drones)
Strike Team(5xPulse Rifle, Smart Missile System Drone)
4 Marker Drones
Riptide(Ion Accelerator, Twin-linked Fusion Gun, Stimulant Injector, Early Warning Override)
Riptide(Ion Accelerator, Twin-linked Fusion Gun, Stimulant Injector, Early Warning Override)
Riptide(Heavy Burst Cannon, Twin-linked Fusion Gun, Stimulant Injector, Velocity Tracker)
Stormsurge(Pulse Driver Cannon, Twin-linked Flamer, Shield Generator)
Optimised Stealth Cadre
Ghostkeel(Cyclic Ion Raker, Fusion Blaster)
Stealth Team(2xBurst Cannon, 1xShas'vre : Fusion Blaster, Markerlight, Target Lock)
Stealth Team(2xBurst Cannon, 1xShas'vre : Fusion Blaster, Markerlight, Target Lock)
Me and my friend played Maelstrom of War mission, rolling 5 for the mission type.
Players generate up to 3 tactical objectives each turn, but they never reveal their objectives unless achieved at the end of turn)
Tau deploys first and plays the first turn. Going second I hid my units as much as possible, so as to deny line of sight to his battlesuits.
Tigurius earned Prescience, Perfect Timing, Misfortune and 4+ invul save power for his psychics.
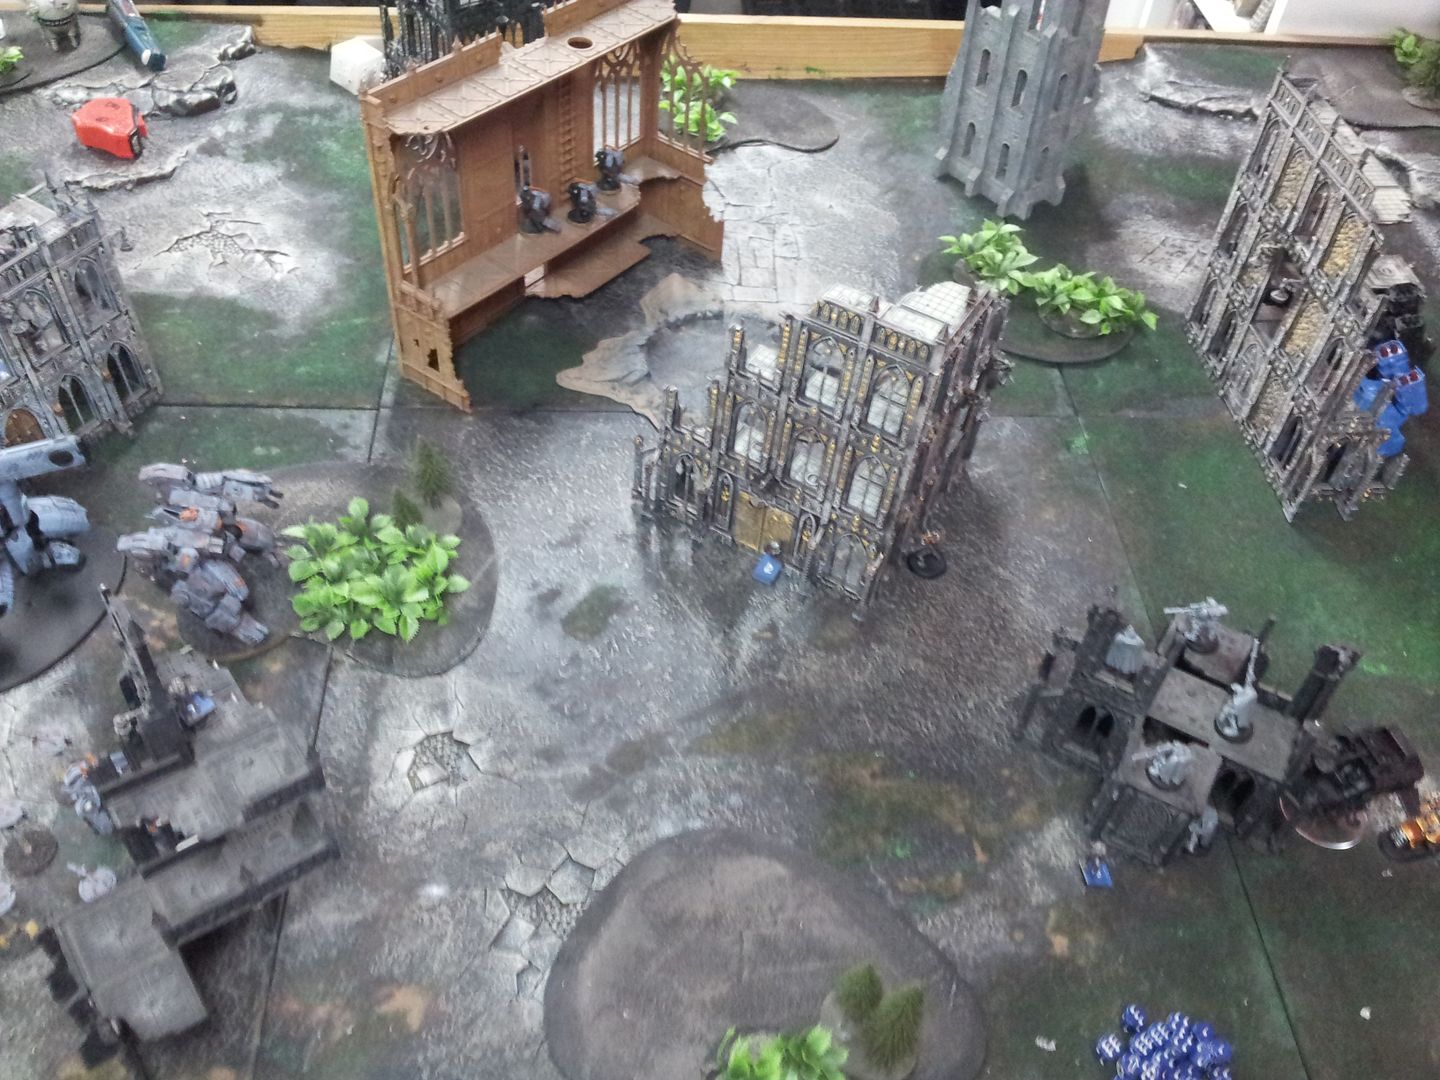

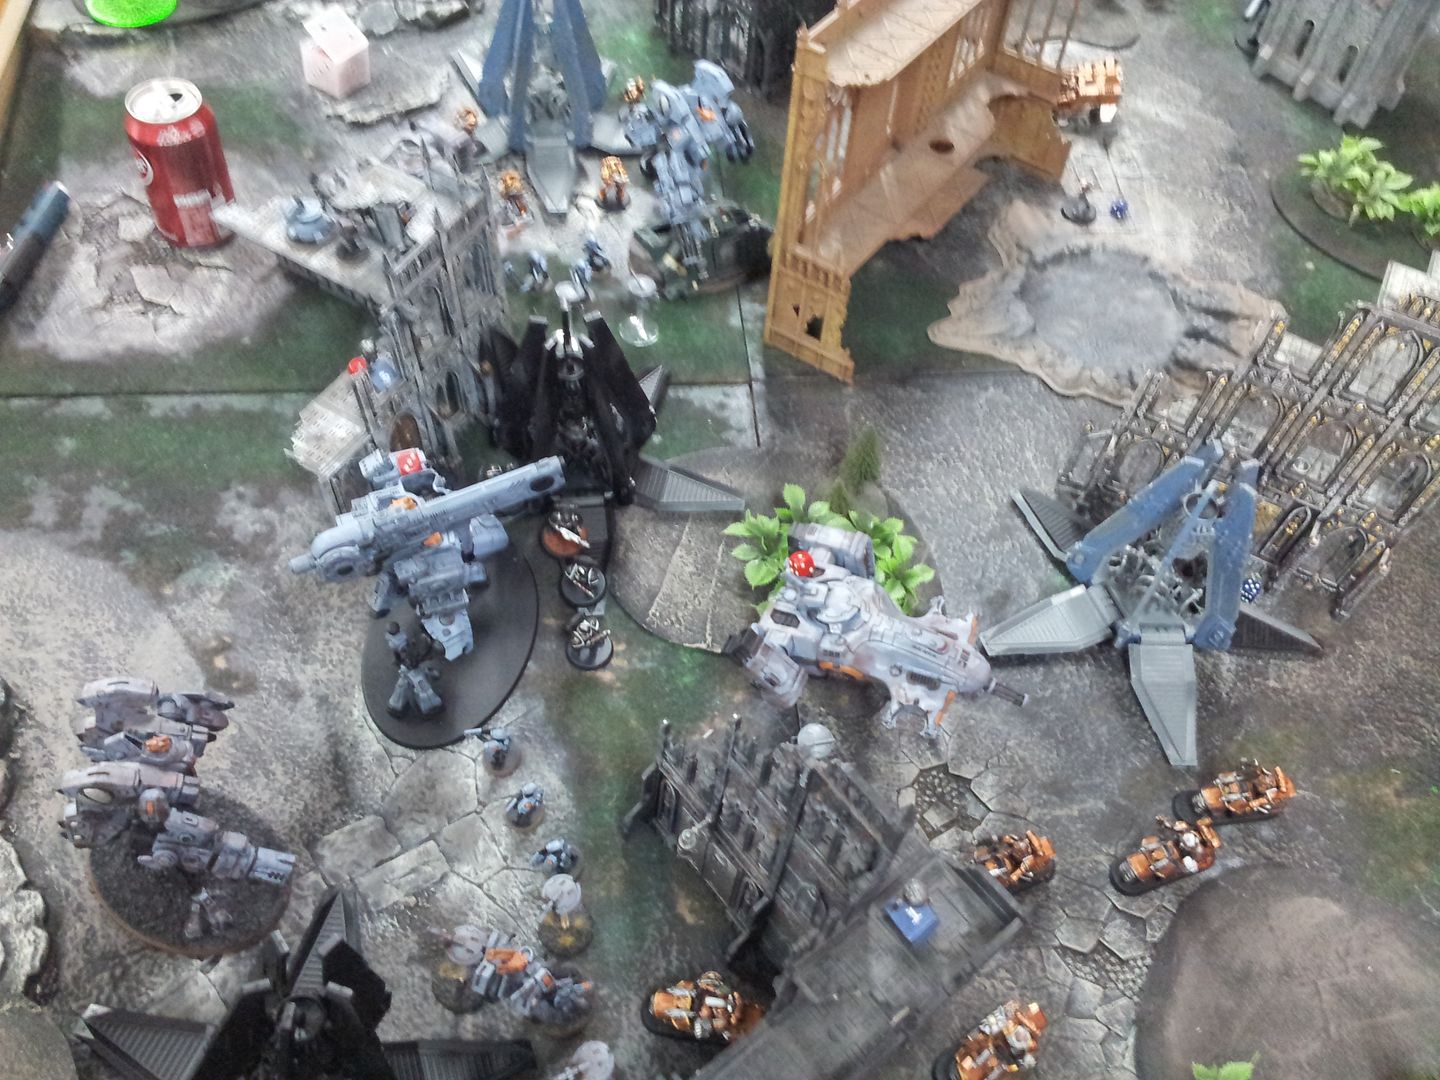
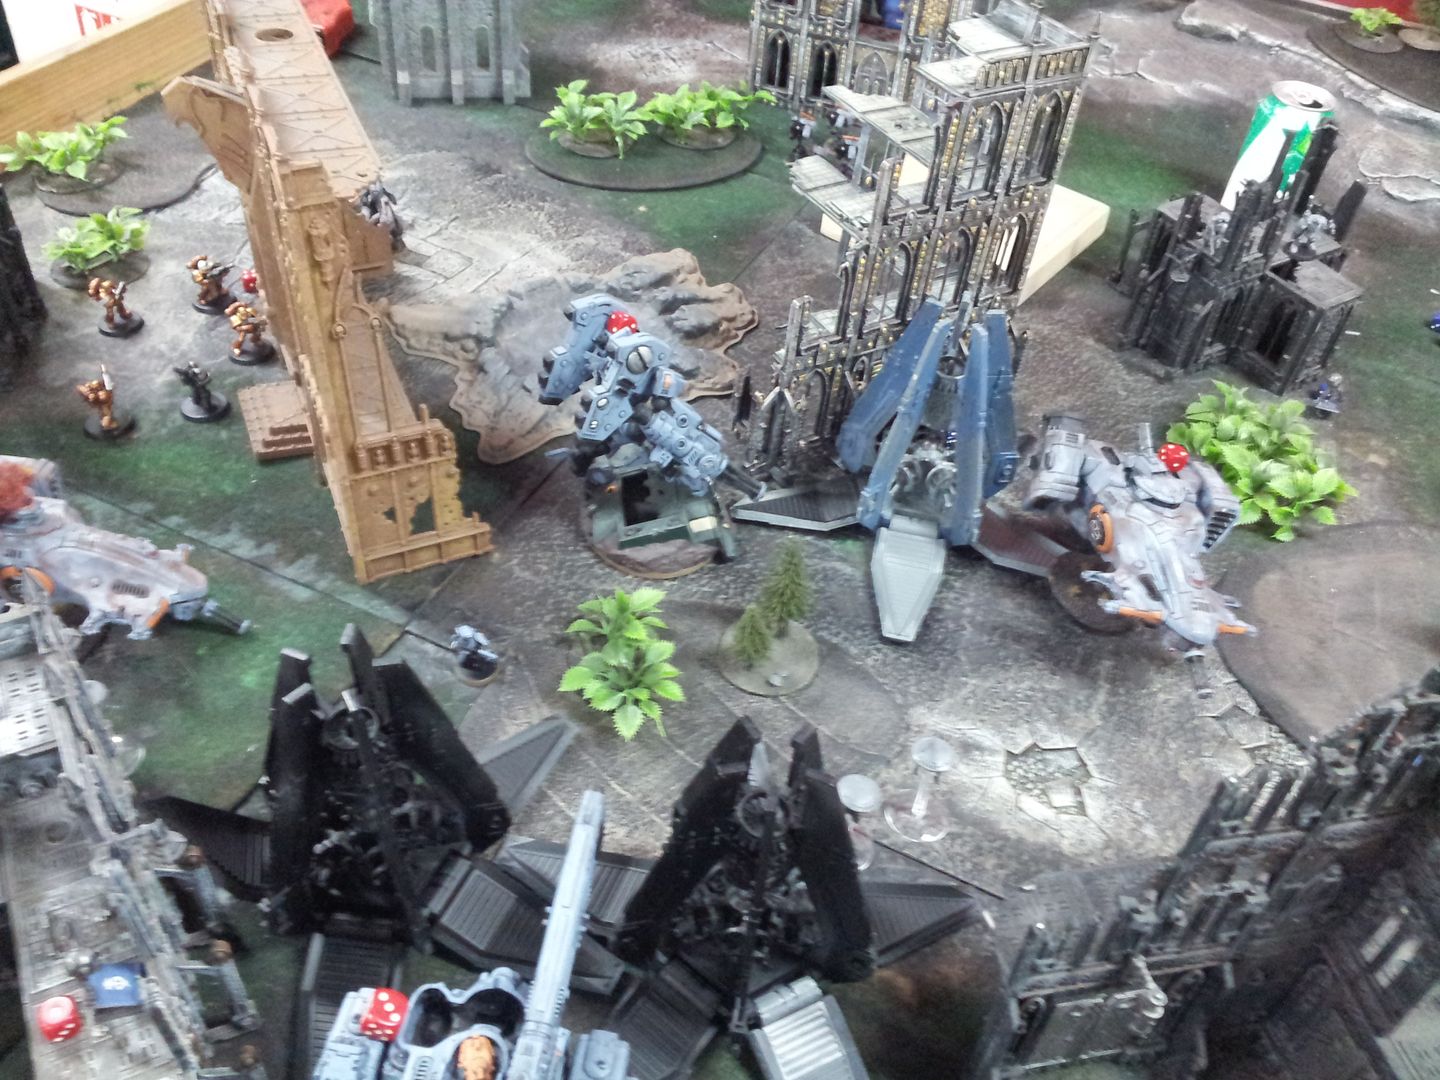
Tau units are tightly deployed to deny drop zone for
SM pods.Entire Stealth Cadre deploy enar the ruin ant the center of battlefield via Infiltrate.
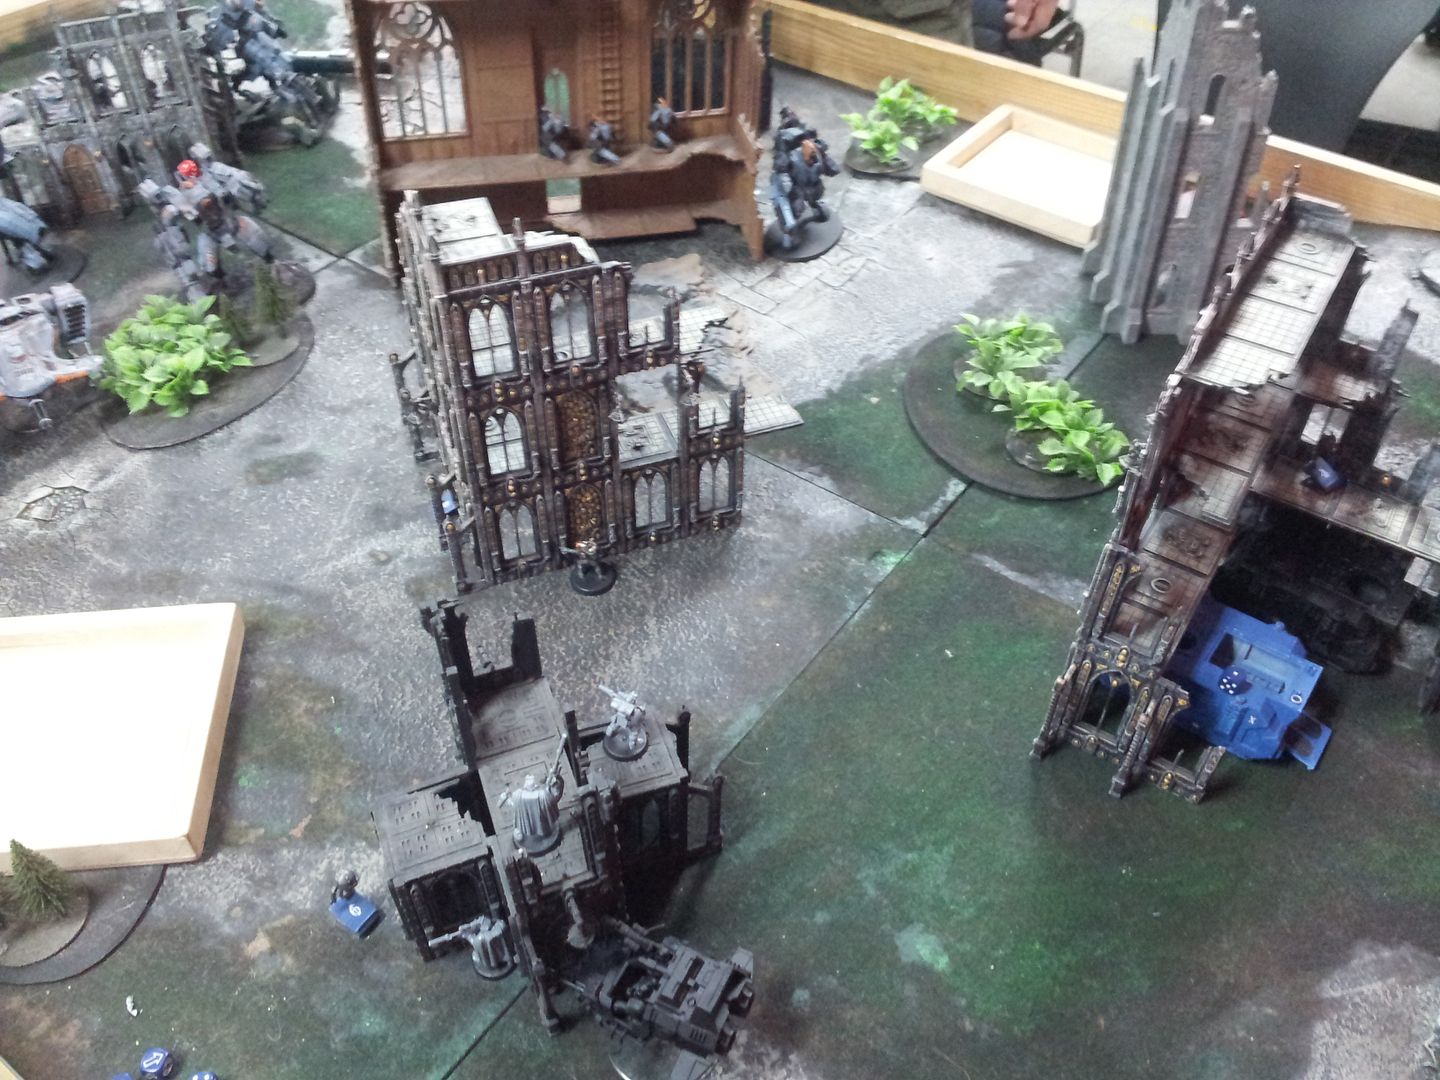
Meanwhile, Whirlwind squadron is placed behind another ruin, one of them being completely hidden from Tau units.
Culexus Assassin stays right behind the wall in the ruin positioned at the center.
Turn 1
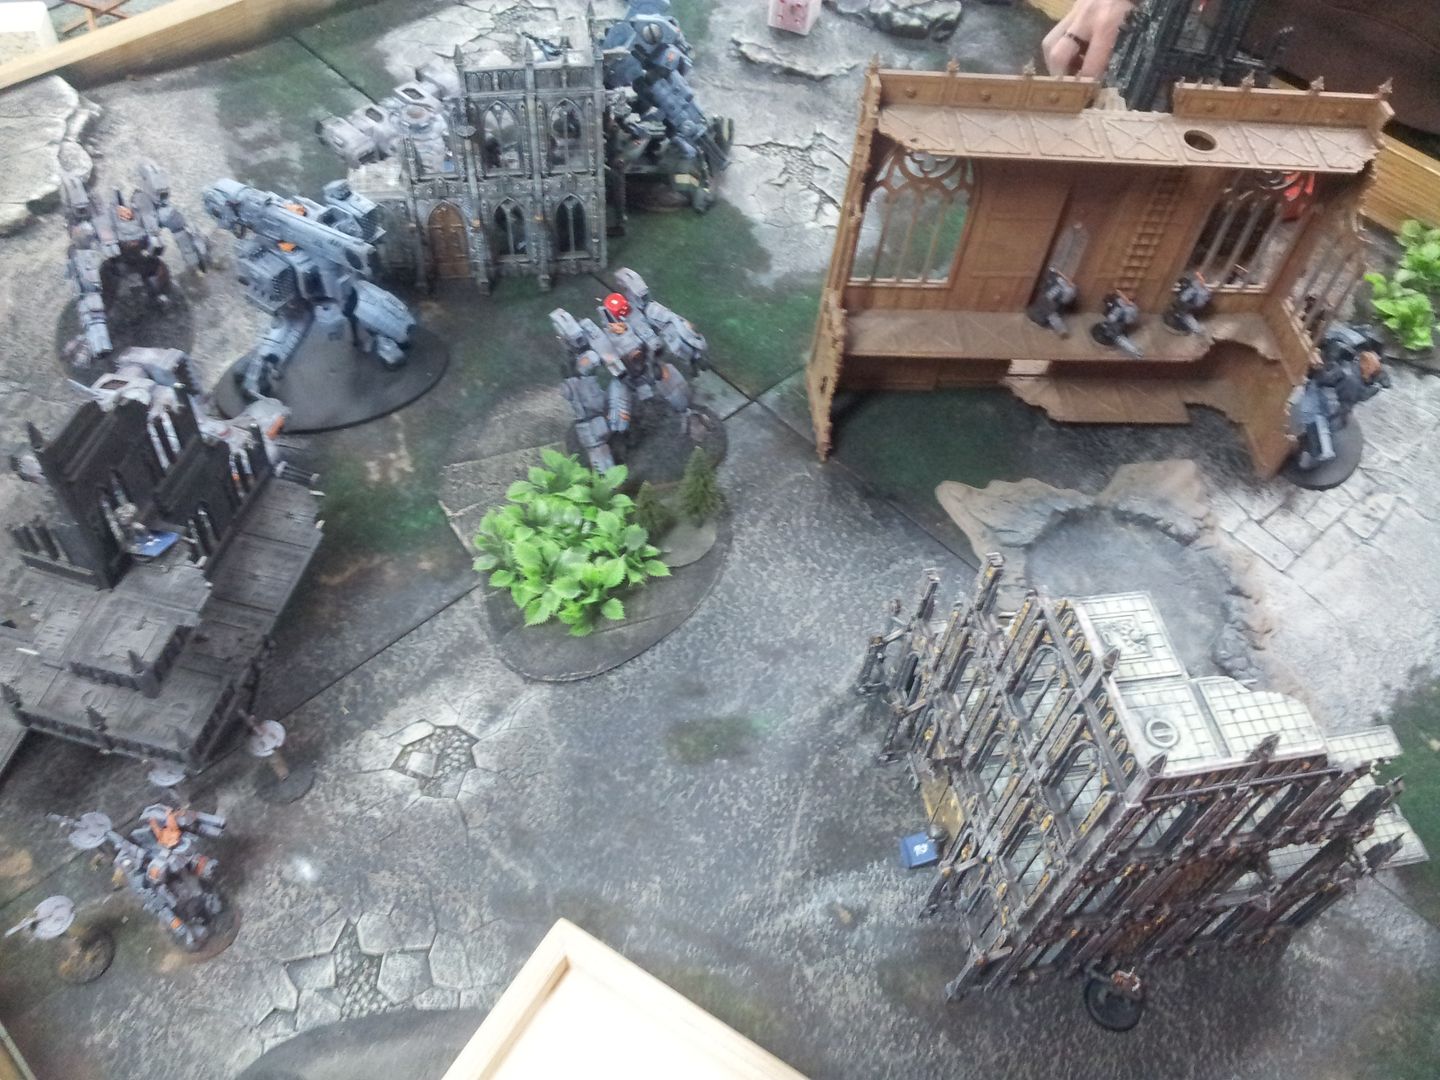
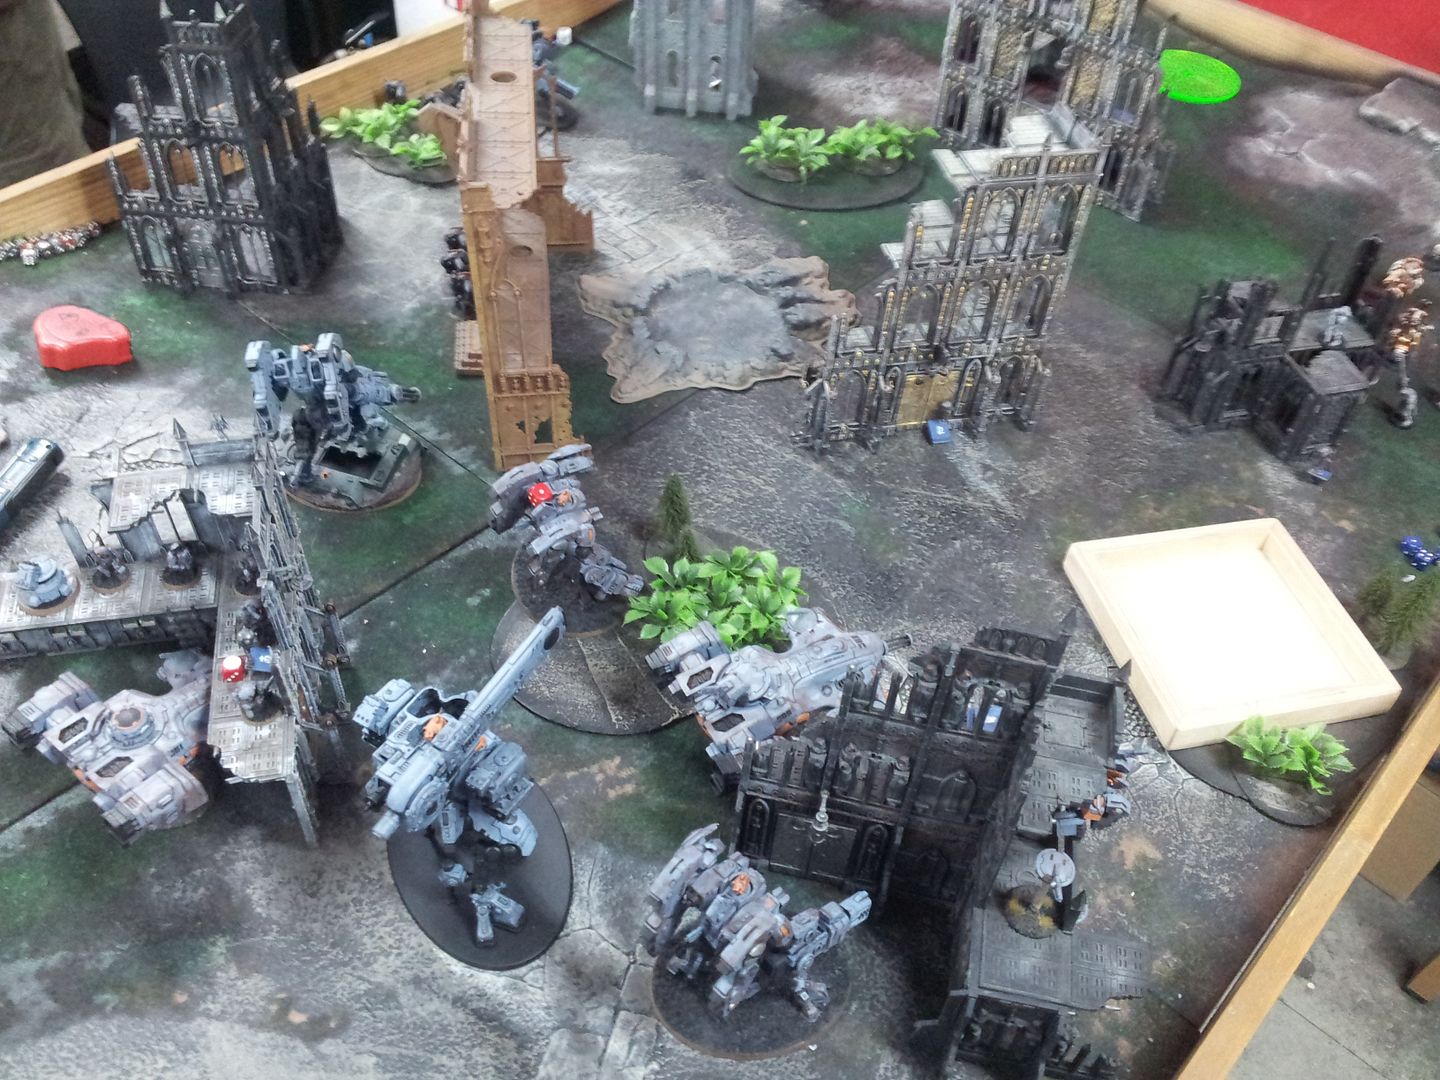
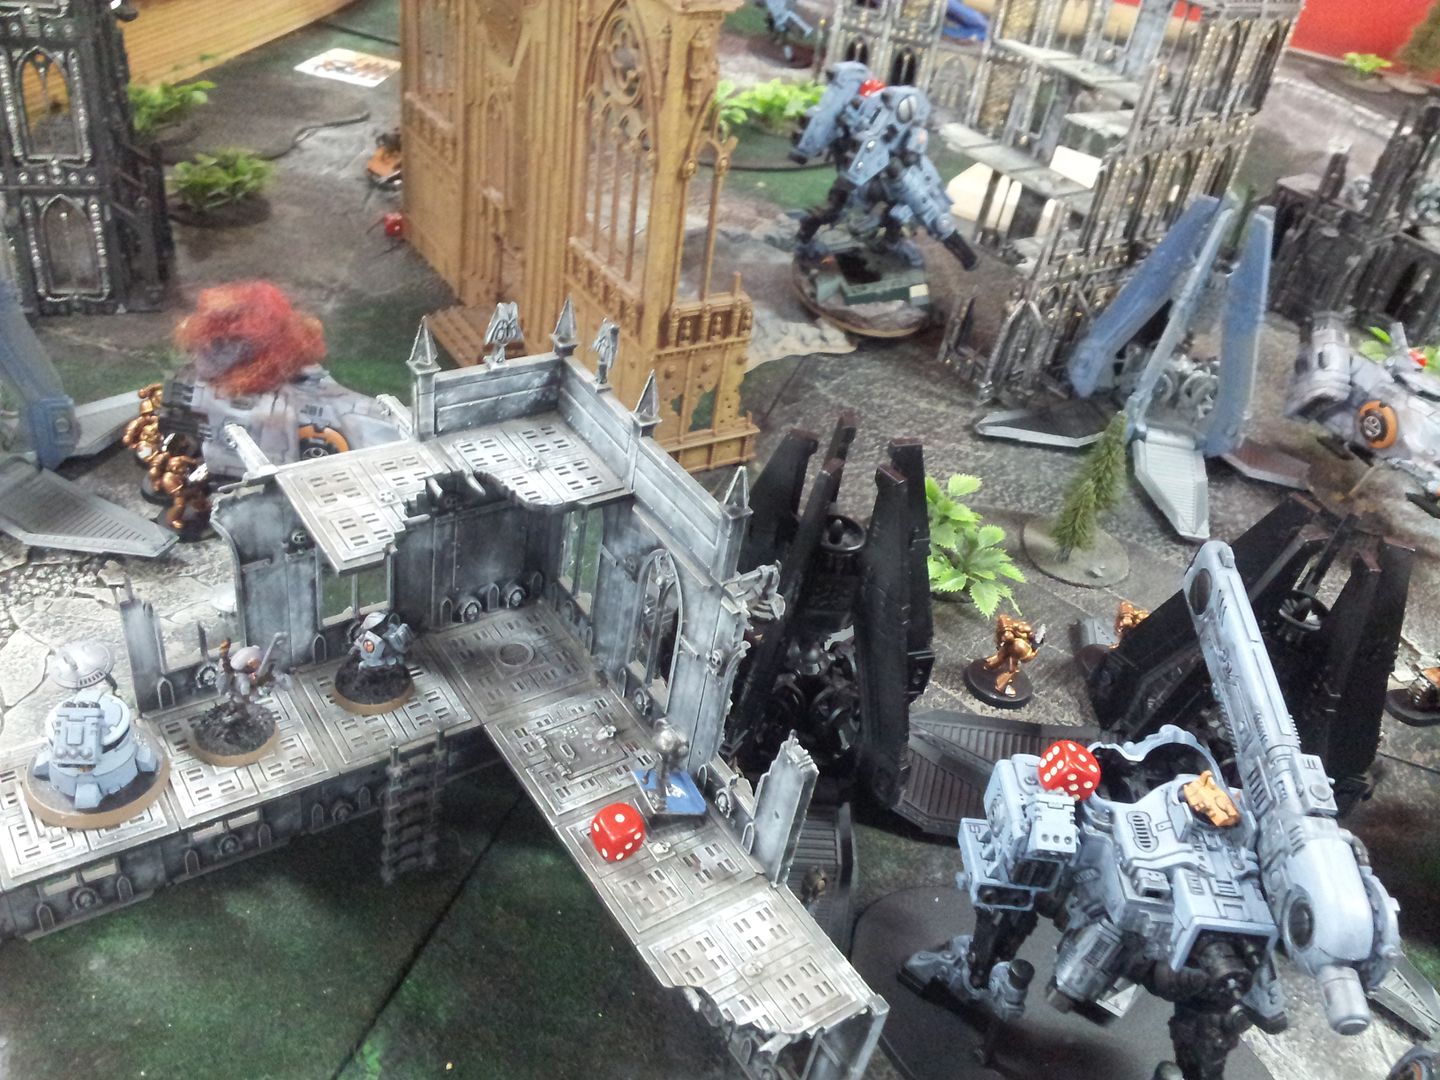
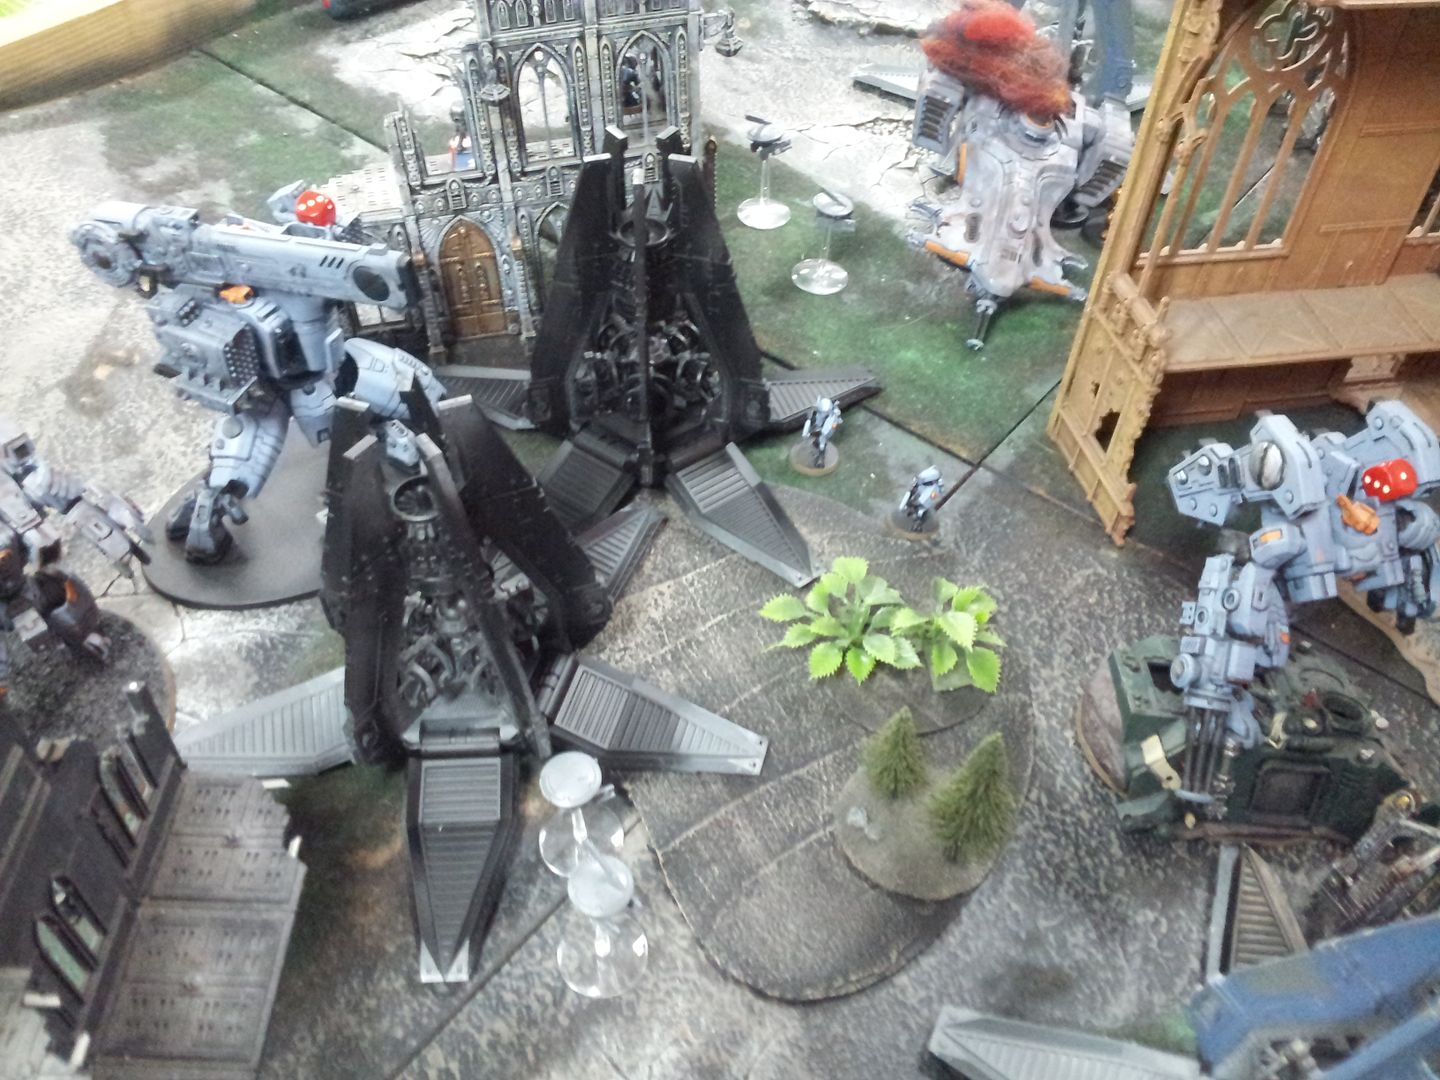
Riptides attempt to use their nova charge generators. Alas, one of them fails and loses a wound(the one with the red dice on the shoulder in the picture).
The other riptide with Ion accelerator and heavy burst cannon however are successful and gains 3+ invul. save.
Maker drones put 4 markers on whirlwind, and the ensuing barrage from Stormsurge and Ghostkeel(getting +1
BS for coordinated fire) destroys a single whirlwind.
The remaining whirlwind lost 2 hull points and its rocket launcher.
Commander shoots plasma rifle and missiles to scouts and inflict 3 wounds. Despite having 3+ cover save, 2 scouts die and fail morale check.
The Tau earns 1pt from objective cards and ends the turn.
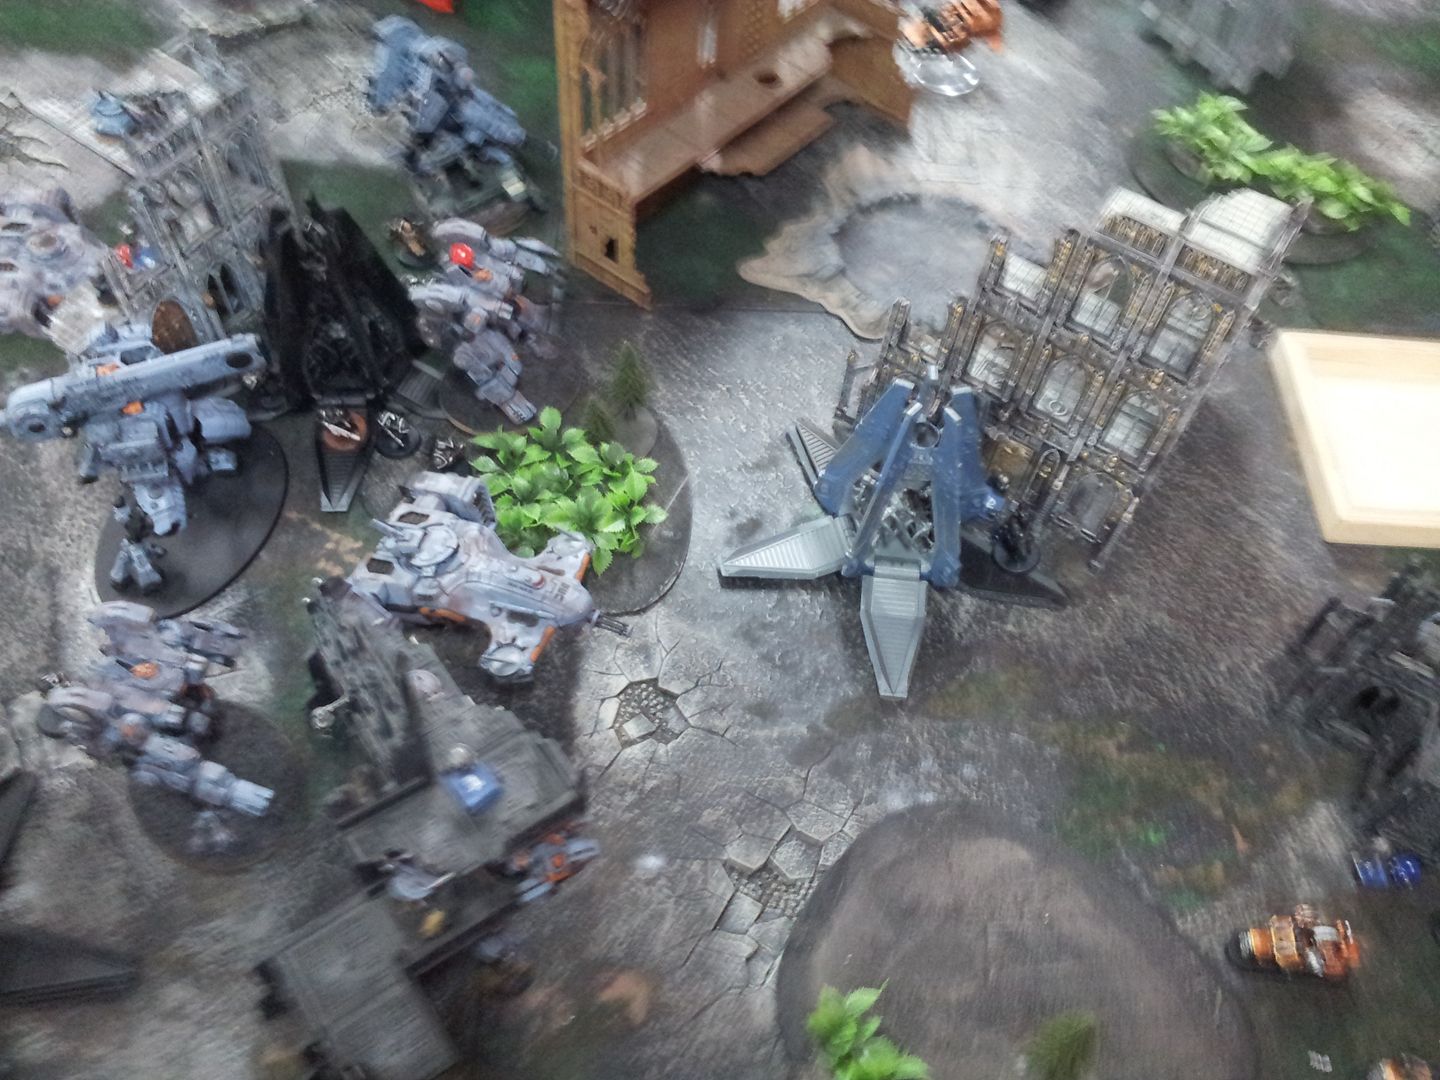

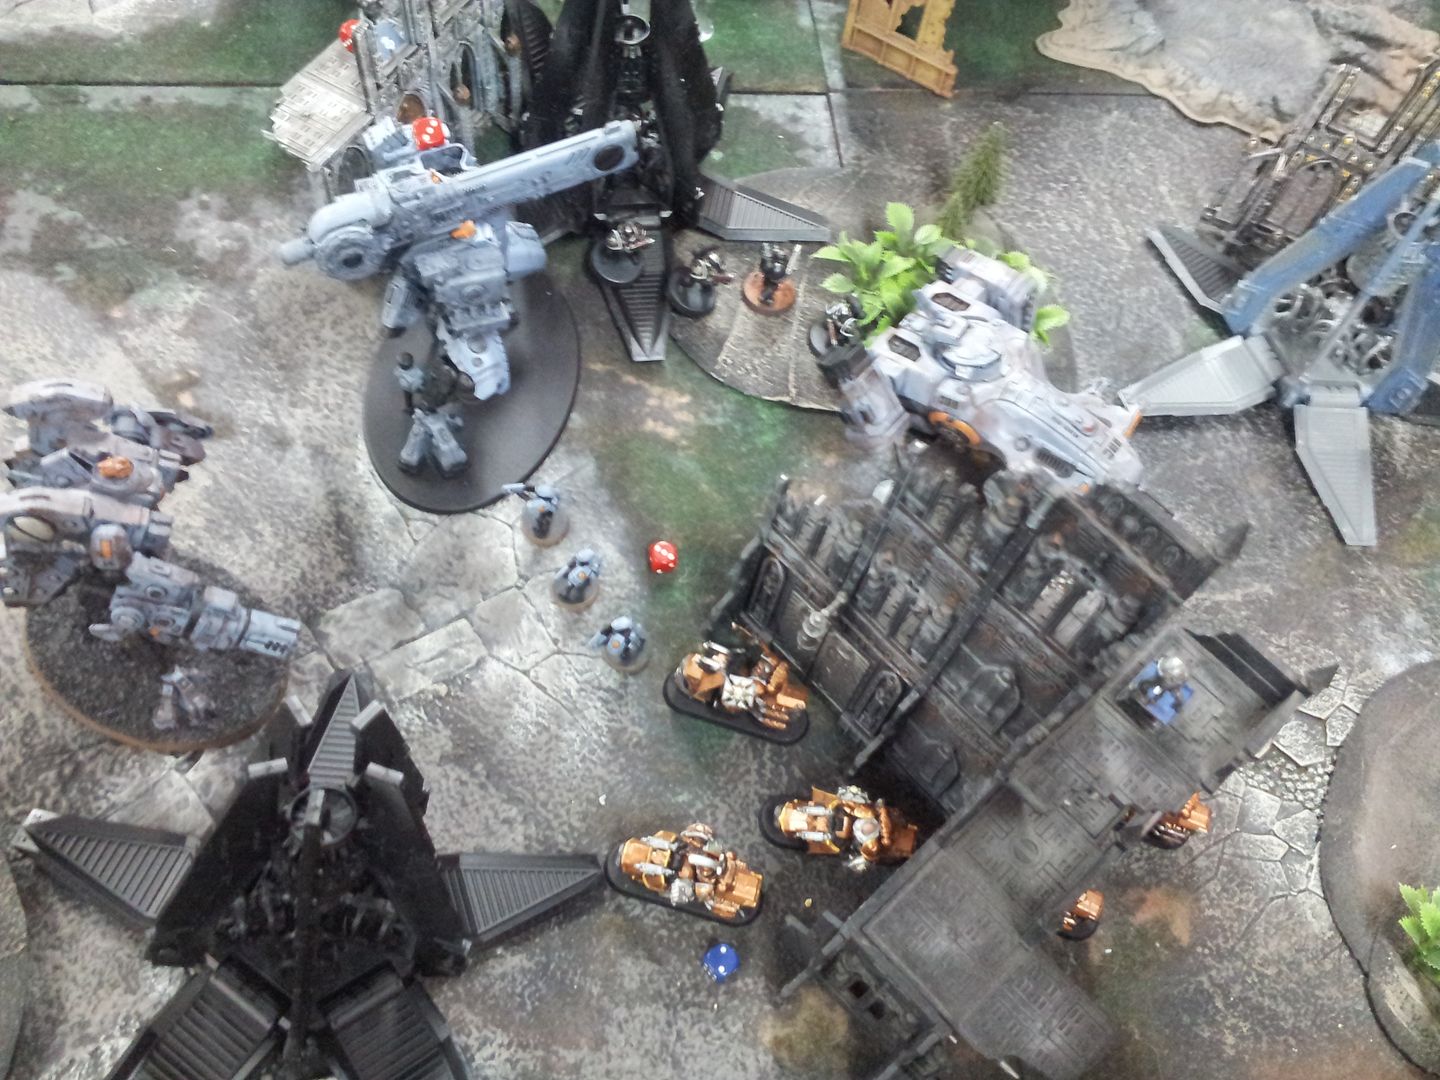
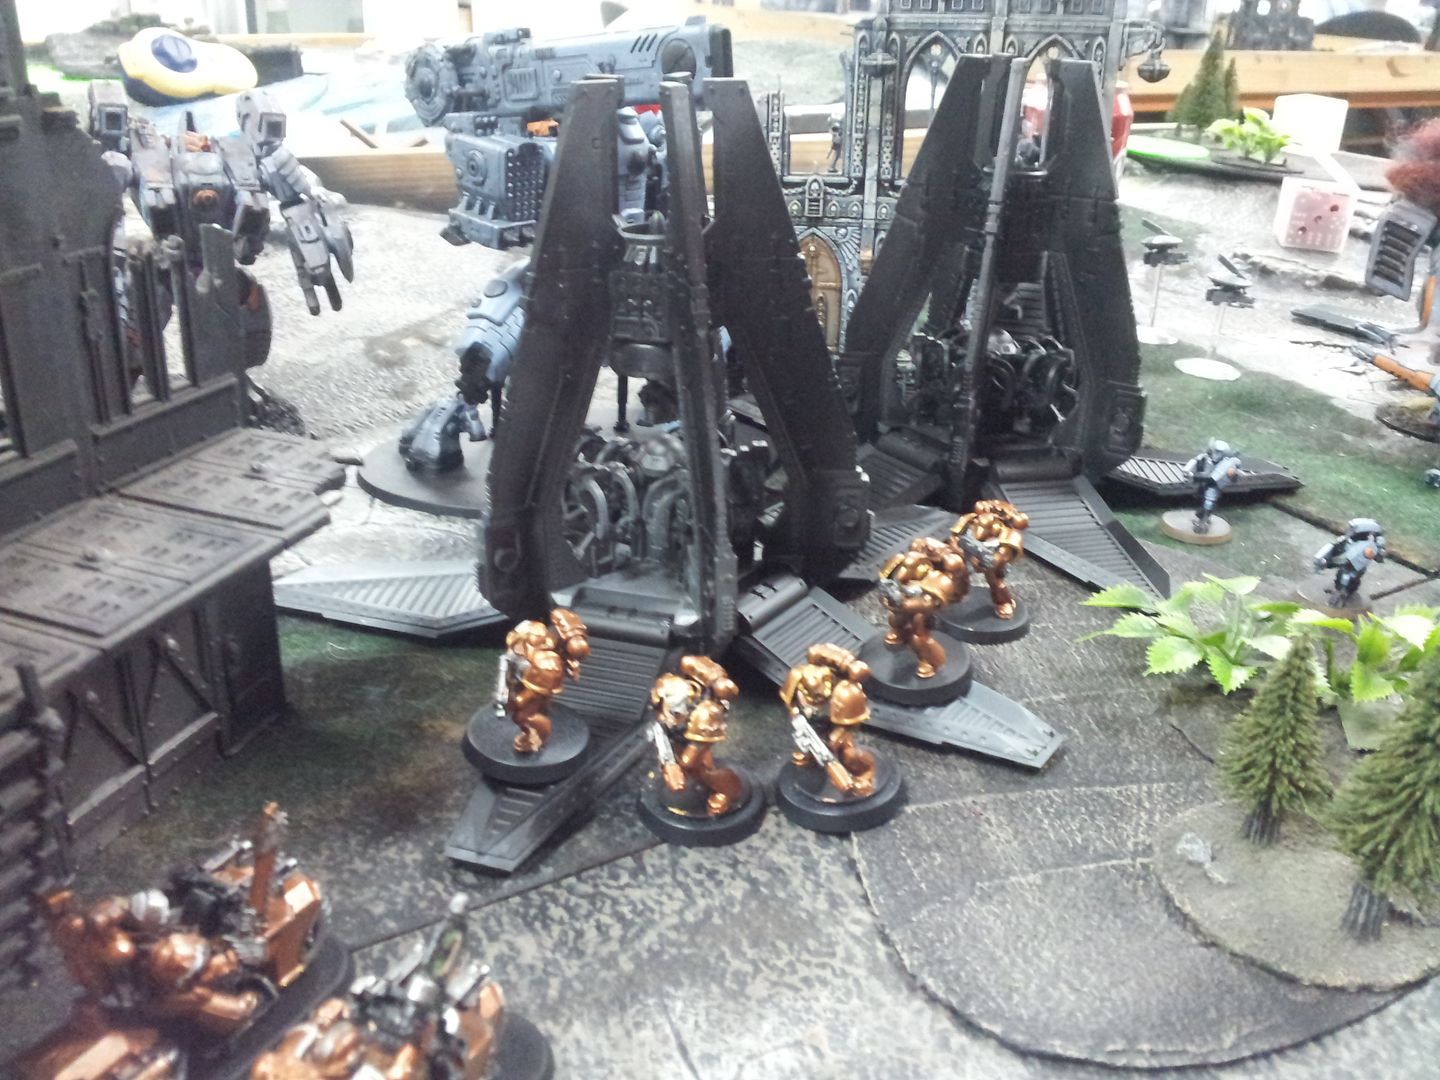
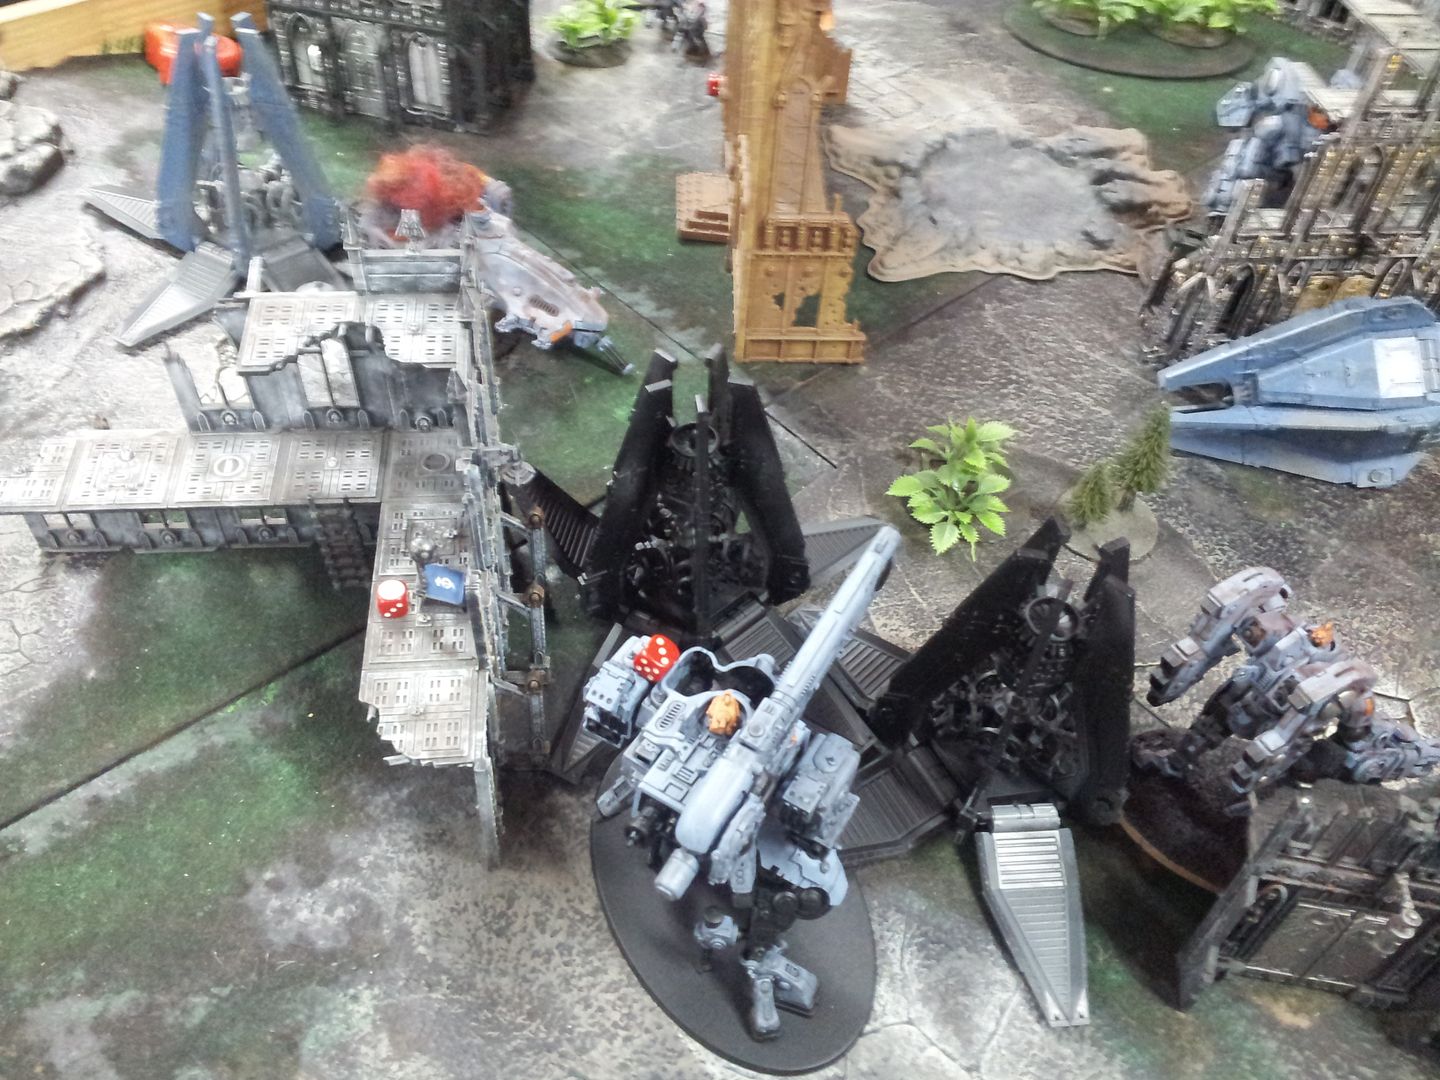
Three drop pods, each with 10-man Iron Hand squad, a 5-man squad with grav weaponry, and centurion unit with Tigurius arrive.
Before the pods deep strike, I activated Devastator Doctrine for Iron Hands.
Chapter Master with his command squad moves at full speed, forgoing shooting in favour of turbo-boosting.
Land Speeder with heavy bolters takes the objective formerly controlled by stealth team.
One of the riptides resolved interceptor shooting attack at tactical squad, but fails to inflict casualties.
In the psychic phase, I realised my mistake too late.
The drop pod with tigurius and centurion were depoyed too close to the Culexus Assassin, robbing Tigurius of his warp charges.
Luckily, even with a single warp charge generated at psychic phase, Tigurius successfully casts Perfect Timing on the Centurions.
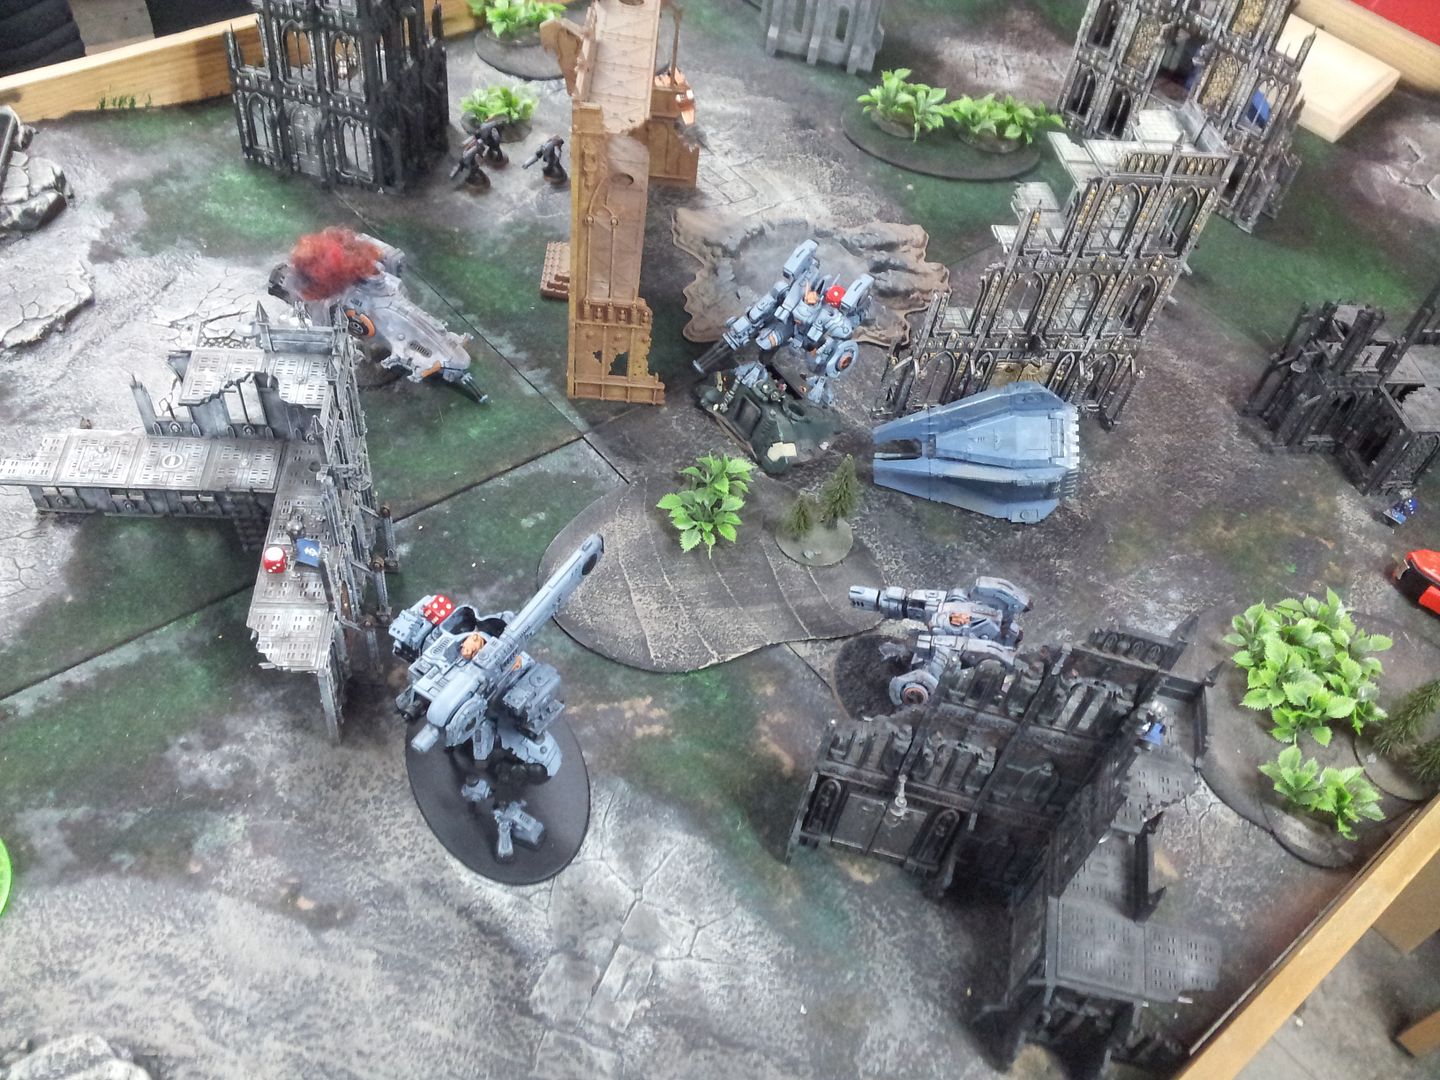
The Centurions then proceeds to remove the riptide which lost a single wound to nova charge generator previously.
One of the Centurions resolve split fire and inflicts 3 wounds on stormsurge.
10 marines with 2 grav cannons and 2 combi-gravs pour their firepower to stormsurge, but fails to inflict a single wound thanks to its astonishing durability.(T6 W8 3+/4++
FNP)
Another 5-man squad unleashes meltas on nearby devilfish, but it loses a single hull point and suffers crew stunned result.
Iron Hands earn 3pts including first blood.
Turn 2
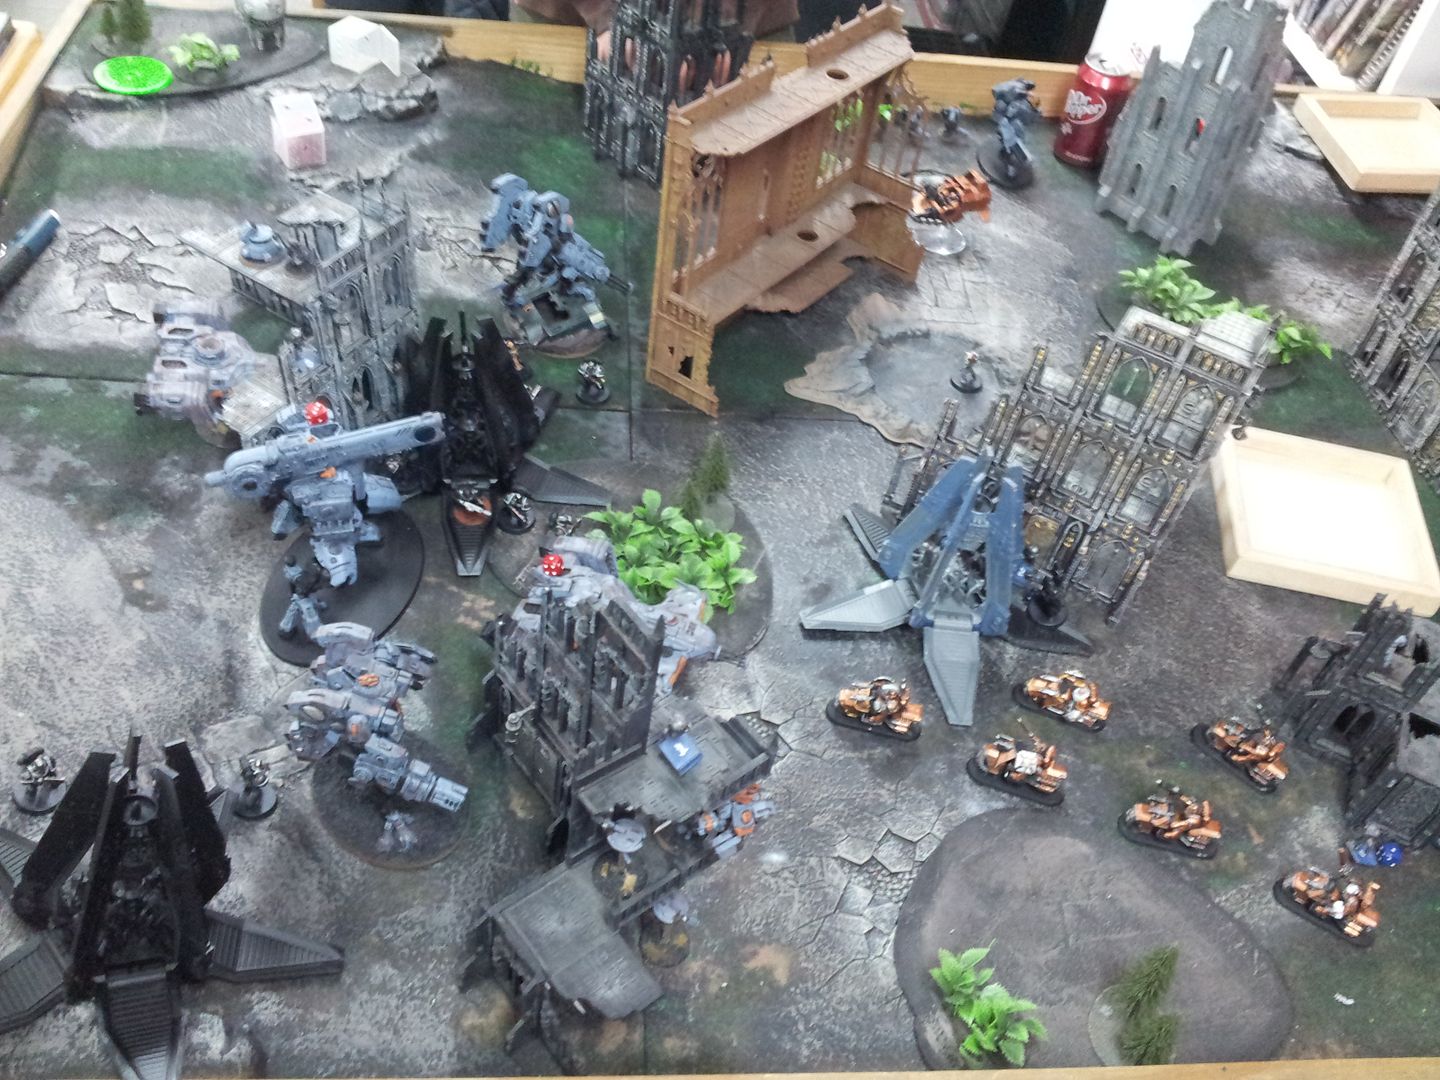
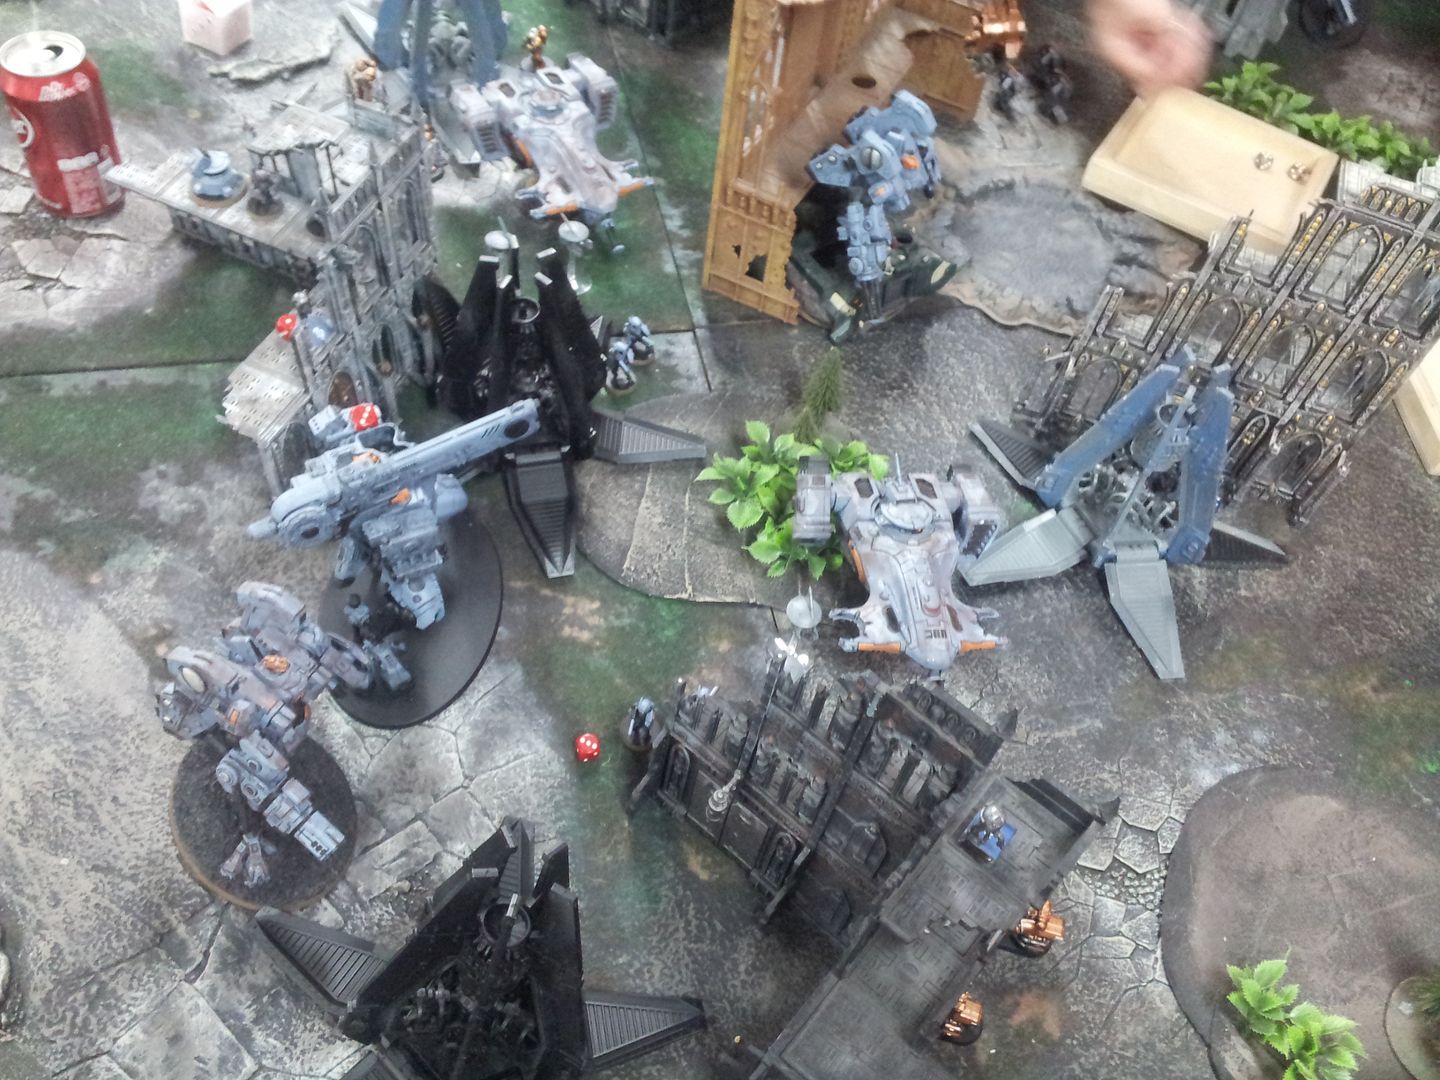
Ready for retaliation, the breacher teams disembark and wipe out a tactical squad, while stormsurge destroys entire centurion unit with S10 ap2 blasts ignoring cover thanks to marker drones.
Riptides wipe out another tactical squad, and the stealth cadre removes the land speeder with heavy bolter.
With some luck, a single stealth team inflicts 2 wounds(2 6's for hits, 2 3+ for wounds, and 1,3 for assassin's save) from the culexus assassin.
Misfortune also came to the Chapter Master, who lost 2 wounds from Tau commander's missiles and plasma rifle.
However, the Tau gains zero points and discards another objective.
Iron hands activate tactical doctrine, while the Ultramarines use devastator doctrine.
Ultramarine tactical squad arrives(in
FA drop pod), but the last Iron Hands squad does not.
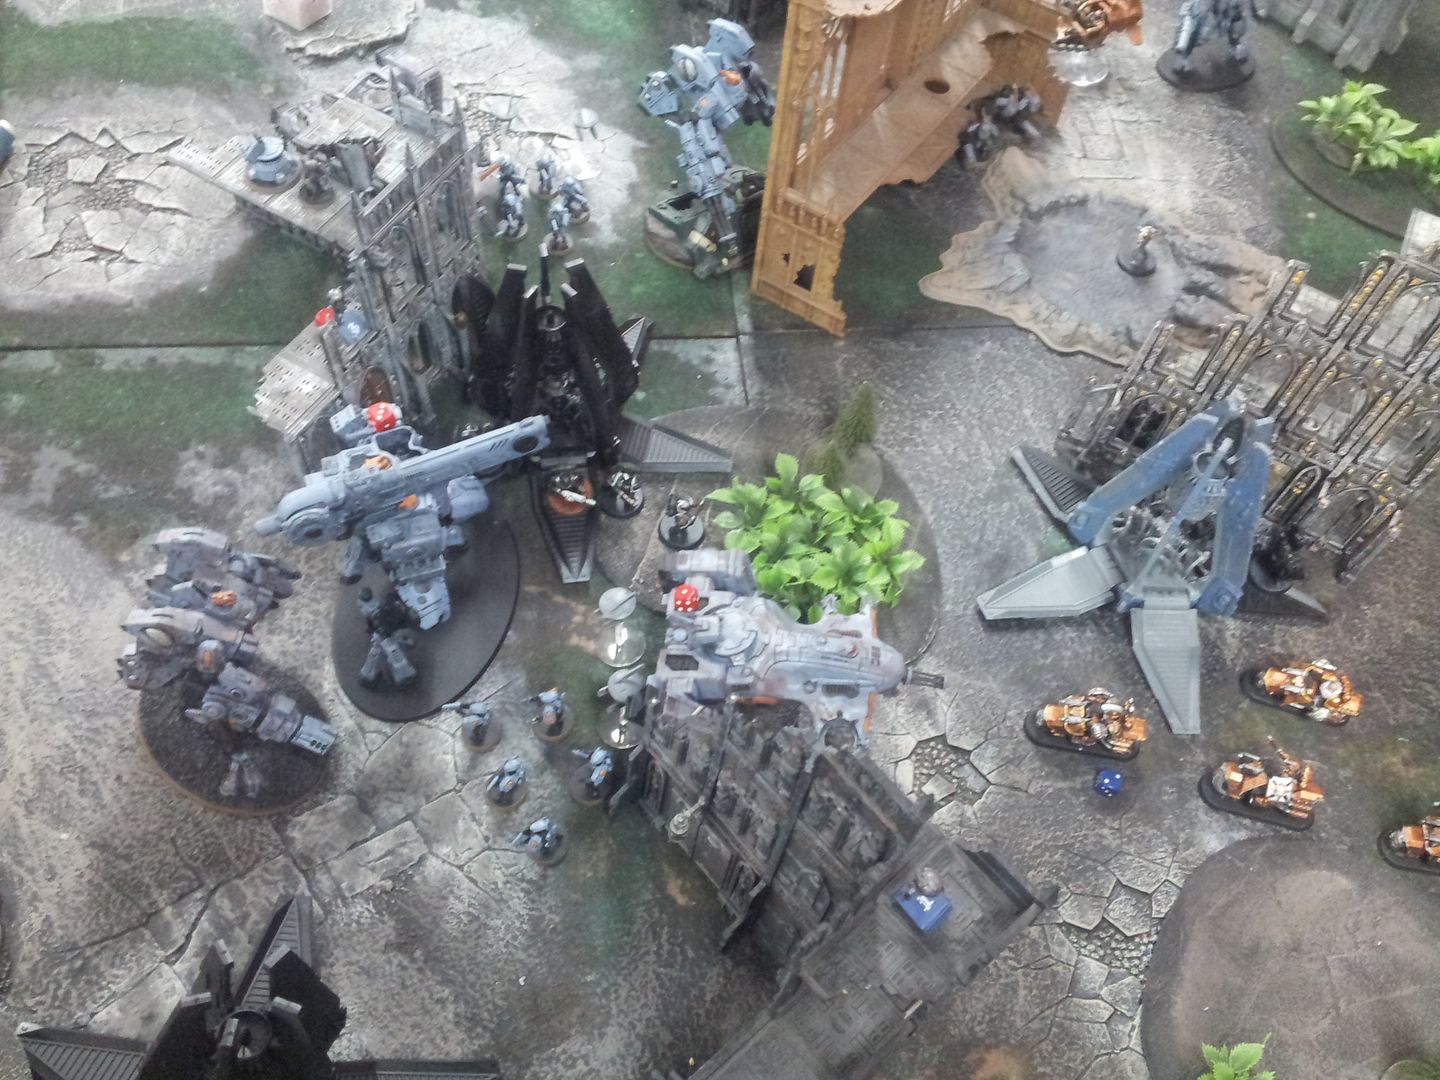
Seeing the chance to remove enemy leader, chapter master and his retinue charges through the wall.
Tigurius casts 4+ invul. save on himself, but fails to cast Misfortune on Stormsurge.
Drop pods and the freshly arrived ultramarines pour shots on the closest breacher team, but only manages to kill three of them.
The Iron Hands squad that survived the breachers' gunfire shoots bolt pistol and meltagun to Stormsurge, although no damage was done.
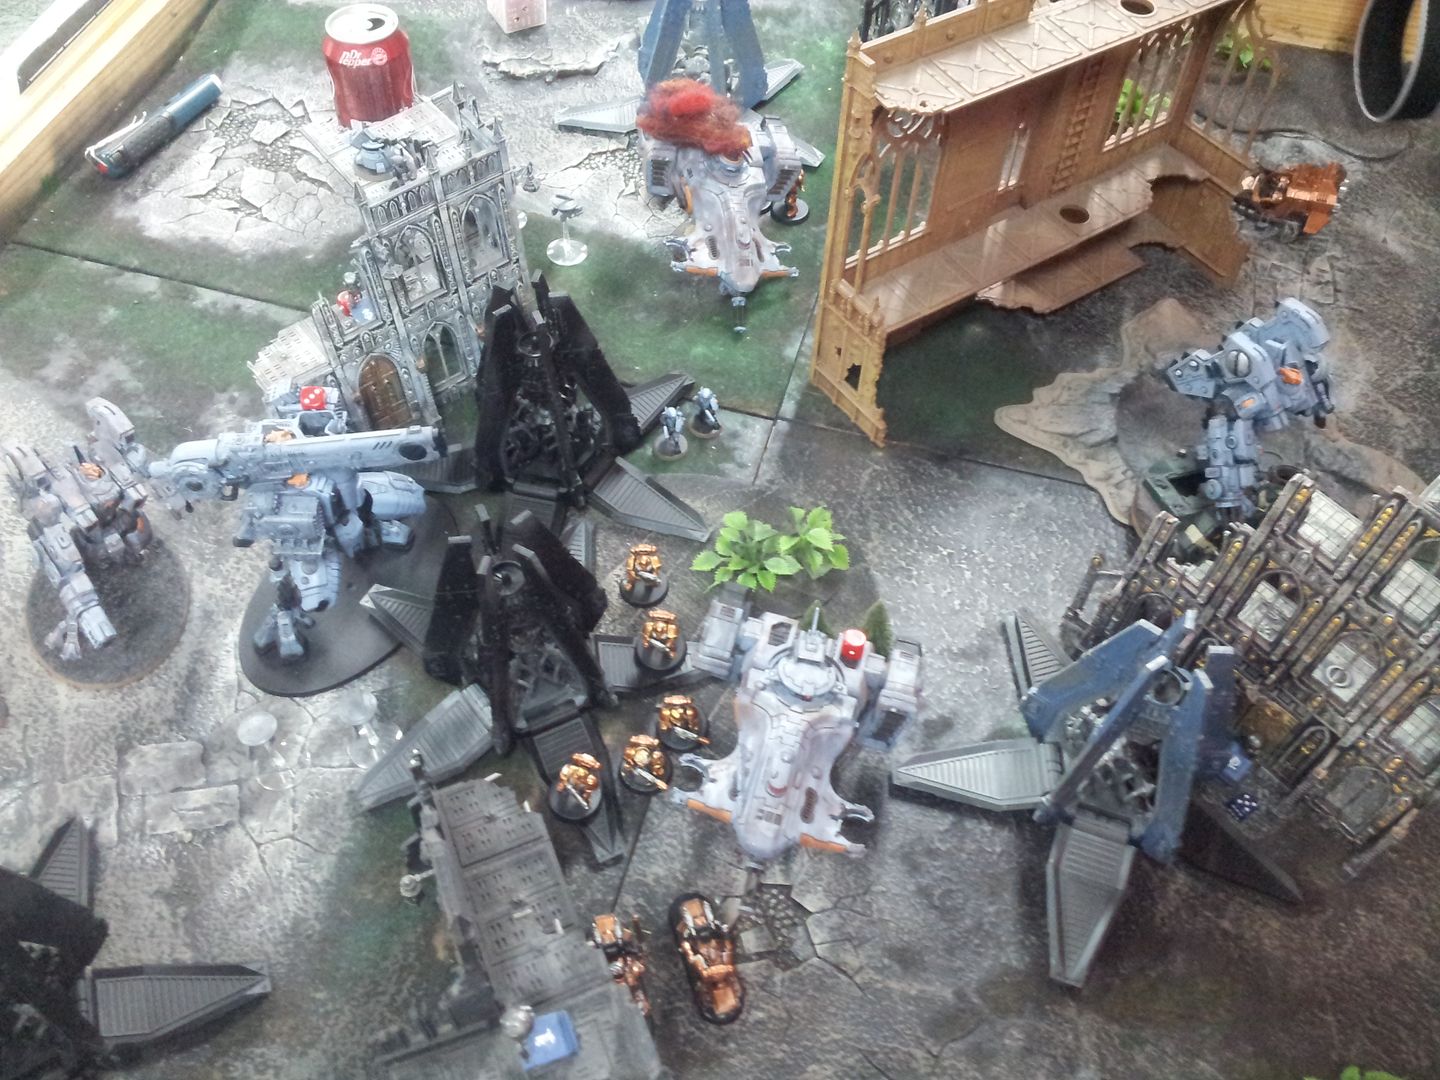
In the assault phase, chapter master and his unit charges the commander's unit without suffering any casualties from multiple overwatch.
Then they wiped out the commander's unit, receiving no damage in return.
The Iron Hands squad charges stormsurge, but fails to keep it locked in
CC due to failing morale check by 1 point.
Space Marines earn substantial amount of points thanks to slaying the warlord(Slay the Warlord point and additional d3 - and I rolled 5 - pts for tactical objective).
In the end of turn, Space marines score 8pts against Tau's 1pt
Turn 3
Despite having their warlord and majority of markerlight source removed, Tau firepower still proved to be lethal.
Stealth cadre destroys the last land speeder, while the riptide kills Tigurius with the aid of another stealth team.
Breachers destroy the fleeing Iron Hands Marines. And while the Ion acclerator riptide and storm surge removes 3 veterans from command squad,
it was the now depleted 3-man breacher team that killed the chapter master.(snake eyes for armour save, and 2,3 for
FNP rolls).
Tau empire earns 3pts including the point for slaying the warlord.
The last Iron Hands squad deep strikes near the stormsurge, activating the last remaining tactical doctrine.
Surviving ultramarine squad destroys the devilfish in assault phase, with Iron Hands squad and drpo pod bolters removing strike team deployed in ruin.
The turn ends quickly and Space marines also gain 3pts(Tau 4:
SM 11)
Turn 4
With nothing much left in the space marines to threaten tau forces, the battlesuits and stealth team easily destroy Iron hands squad and the ghostkeel reduce the last whirlwind into molten slag.
The sole surviving ultramarine squads runs toward nearest objective controlled by stealth team, earning d3 points for taking the objective previously controlled by the enemy.
Despite on the verge of being wiped out, the space marines steadily earn points and the score is now 7(Tau) : 14SM)
Turn 5
Both riptides fail to activate nova charge generator, although both them pass their
FNP roll.
Scouts are wiped out to a man by Ion cyclic rakers, while stormsurge destroys a drop pod.
And the hunter contingent earn whopping 7pts including 6pts for controlling every objectives on the field.
With only 4 drop pods left on field, they nevertheless earn extra 2pts for shooting down lone breacher team member.
(1pt for shooting down one enemy unit, and another point for removing single enemy unit by any means)
The points are now 14(Tau) : 16(
SM), and to the dismay of space marines, the tau player rolls 4 and the game lasts for another round.
Turn 6(Last Turn)
Seeing that destroying every drop pods on the board is the surest way to victory, the tau player allocates each of his unit for every single drop pods.
A stealth team makes a drop pod explode with single shot from fusion gun, and Ion Accelerator riptide also destroys a full
HP drop pod with la single S7 plasma shot.
Another stealth team sees third drop pod exploded by single melta shot, and the last pod was destroyed by 3 missiles launched from Storumsurge.
The game then ends and the Tau empire achieves crushing victory.
Aside from some indelible(and miserable) dice rolls in decisive moments(including the death chapter master and the last tau turn),
I was surprised to see much of my units either dealing damage with shooting and (particularly)
CC.
Indeed, I was worried about my deep striking units being wiped out by interceptor shooting.
Luckily, I suffered zero casualties thanks to cover nearby and deploying closely to tau units.
Removing most of his markerlights helped my units survive a bit longer, although they were eventually wiped out by turn 6.
Particularly formidable was the stormsurge of course. Using anchoring abilities and shooting all of its weapons twice was devastating, but so was its ridiculous durability bolstered by shield generator.
And frankly, I doubt there are any viable methods to remove it in my collection. Skyhammer or assaulting with Invisibility death star seem effective, bu I can't afford to use any of these options with my models.
Still, the command squad with 4+
FNP was surprisingly durable against riptides and stormsurge.
And I'm pleased that sheer number of units in my army made tau player dedicate unnecessarily high amount of firepower to destroy a fraction of my army.
Placing Tigurius' unit too close to Culexus assassin was one of my obvious mistakes I made, and I should better be aware of it next time I play.
Overall it was a tough game with some mistakes and bad dice, but it was definitely worth playing.
Despite being wiped out my army earned more victory points, while utilising large number of units to mitigate tau firepower quite successfully.
In conclusion, I was glad to see the list I used for the first time to perform beyond my expectation.


