Hi guys,
I have here a pretty simple assembly of a forgeworld Thanatar siege engine with the plasma mortar. This is a quicker one day style project that just had a couple of minor tweaks to make it unique. A touch of basing, some hot water treatment to flex ammo feeds, and magnetizing the plasma mortar itself. Well, here we go.
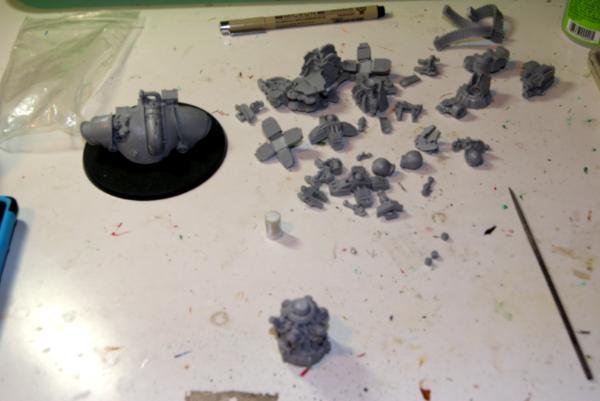
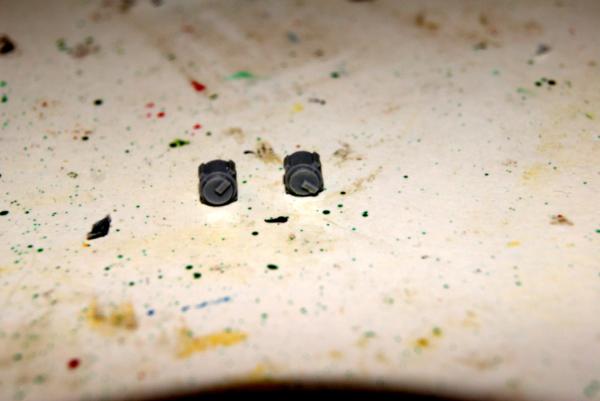
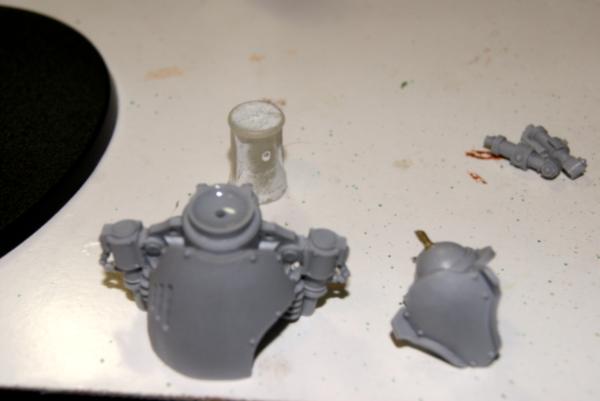
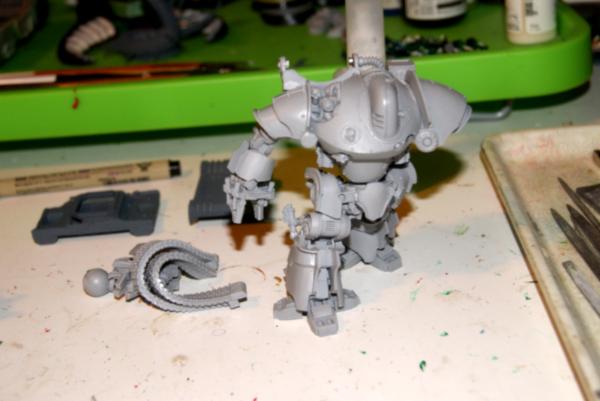
First the un-boxing. All of the pieces have been filed and cleaned already by the owner, so that saves me a solid day of work. The first thing that jumps out at me are the tiny parts for the plasma flasks, with their slotted fit side. I don't want to sneeze and have these run away, so that is the first priority.
That little tab on the back of these, actually something to keep an eye on, you don't want to file them off thinking they are flash. On the whole, this entire kit is a thousand times better then the fire raptor.
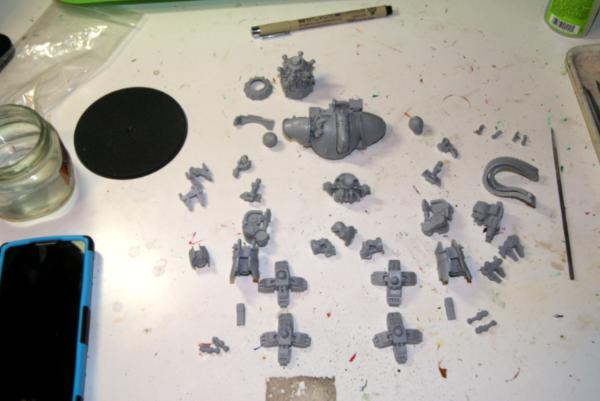
Now that the smallest of the parts have been attached to their parent, I set up all the pieces in a rough layout of how it goes together. This allows me to gather my thoughts and look at the possibilities for posing. It's also a chance to say, hey...what are all those tiny pistons for?
So in looking at the way this is assembled online most of the time, it's either a static looking horse stance style pose. Or it is a slight step forward along the main line with the body still pretty squared up. While I would have loved to do a dramatic reposing of the model involving ripping apart a model while the gun hand is blazing away or something...this is a simple assembly job. So, I will sate myself with as much motion as I can impart in a walking robot. With that in mind, building from the legs up is the plan.
This model goes together pretty quick. There is just enough play in the off the shelf mortise and tennon, that I was able to achieve a pretty good stride out of it.
Legs just about put themselves together. The stops on the back slot right in for the heel protection.
Moving on to the lower abdomen, I felt like there could be just a touch more surface area as this is a smaller section supporting the mass of the upper body. Conveniently there is a divot in both the bowl and the ball that make pinning super easy.
Dry fitting the assembly is a little difficult due to the large number of moving parts. Were I really trying to rework the pose, I would have done some light pinning to hold pieces together without glue, but still allowing movement at least in rotation. However, after some careful balancing. I came up with this.
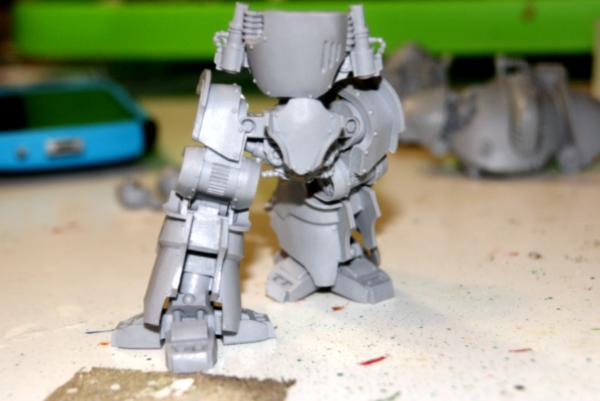
Remember those tiny pistons I mentioned earlier? Well both those, and the two little armature pieces go on the back of the legs where the calf would be. The stretched pose that I used for this was the extreme that these pieces were able to fit without making adjustments. I could see a pretty way to magnetize the entire leg, replace the posts here with pin material, and have a pair of movable legs. Just shy of animatronics, it would be action hero robot.
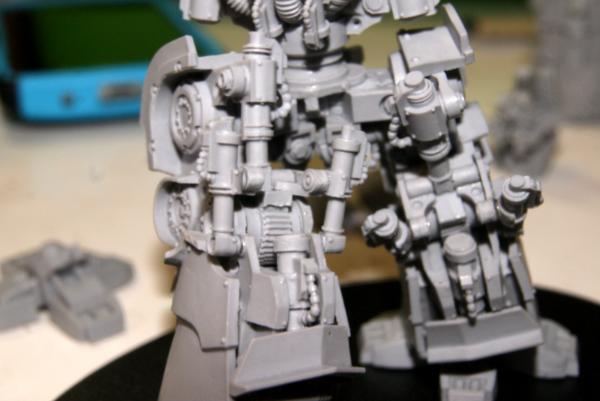
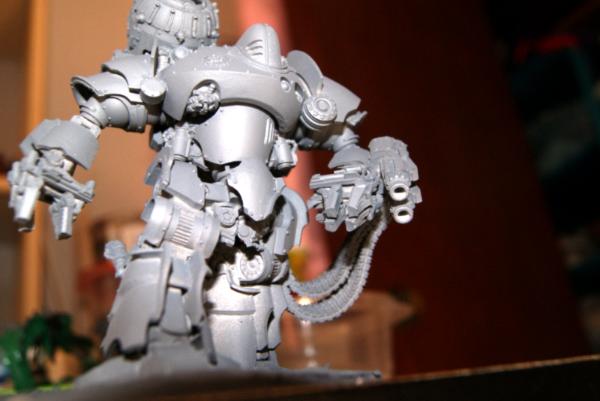
The big adjustment to the pose was largely performed by the hip swivels. While the robots right hip was all the way forward, the left one was about 30 degrees rotated back. this gave the body more of a balanced look with the left leg kicked out farther behind. (ala stepping) Continuing that sense of motion, I rotated the torso on top of the abdomen. Take a good strong stride and freeze, look down at your body and you will notice a twisting. That's what I tried to mimic.
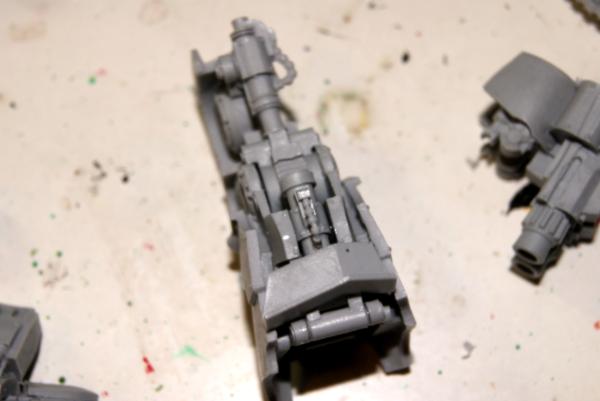
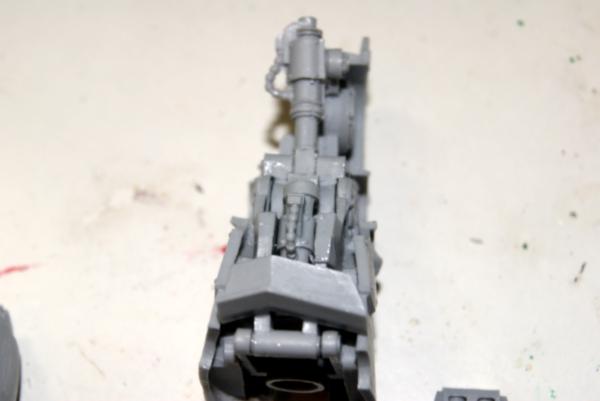
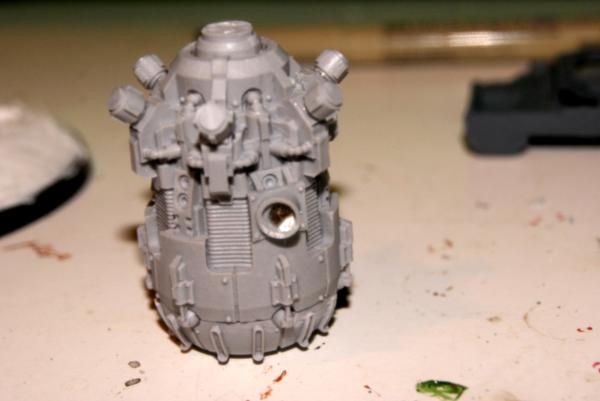
Next was the plasma mortar frame. I initially just attached the plasma mortar, wiggled it into place. However I didn't like how floppy it was, and I didn't want to glue it. Solution? Magnets! they provide the added friction that results in a movable posing mortar. It also means that if my client somehow gets a hold of the other thanatars weapons load out, he could swap depending on how he wants to rig it out.
This first version I simply nipped and filed the resin posts that were there and replaced them with 1/16" thick magnets. (1/8" diameter, my preference in magnet size.) This didn't quite work as the 1/8X1/8" magnets I put in the mortar itself were not counter sunk enough to accept that. So I removed my magnets and tried again. I bored into the mortar mount just enough to sink the magnets in. Much more then half the magnet and I would have come out the other side.
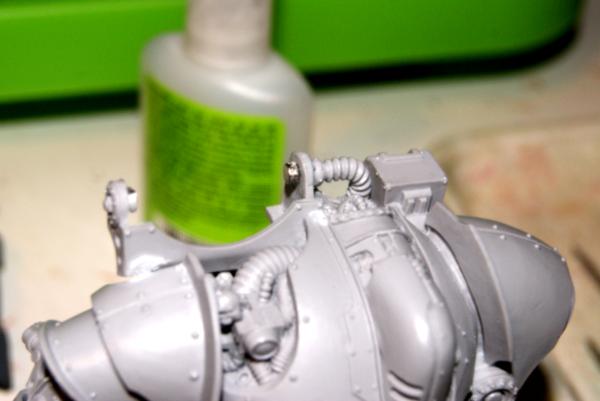
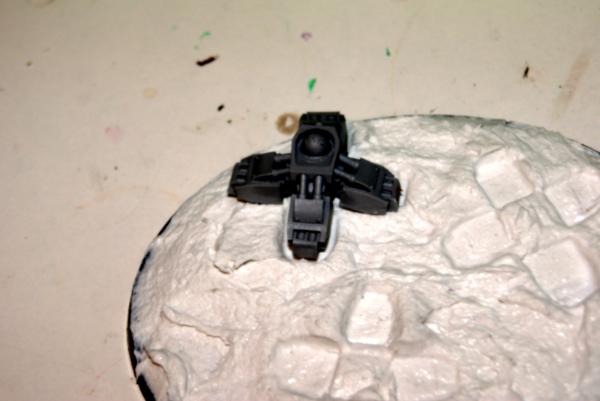
Plasma collar and magnet installation on the mortar itself.
Next was assembly of the right arm. For this model that is the unencumbered arm. I looked at how my arm looked again striking that walk pose and set this arm up accordingly. Again were I posing more carefully I would have pinned the whole thing to make dry fitting that much easier. As it was, this was not too hard to deal with. Using a zap-a-gap glue that takes a little longer to set, I was able to use the surface tension of the liquid/resin to shift and pose and have it somewhat stick. Once it reached where I wanted I held it in place for a minute or so.
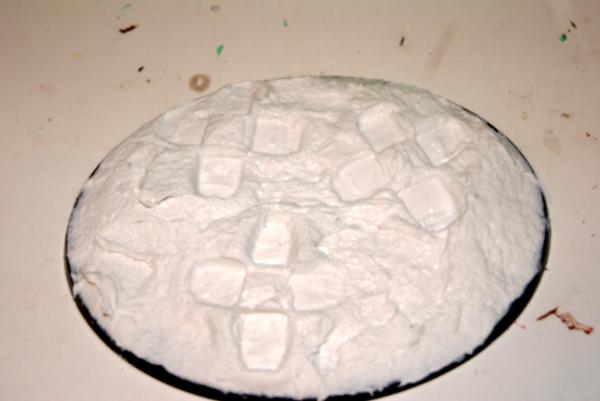
Basing time! I wanted to do something to the base, I just couldn't leave things well enough alone. On the other hand I really didn't want to make a drastic change to my clients basing appearance. So I used fiber paste to make up some dirt, and settled first the robot into it, and then a previous step into it. This is similar to a job I did with a lord of change a couple years ago, although the fiber paste works much better then the crackle paste I used at the time.
Those impressions really turned out pretty well I think.
From here I started this blog and promptly forgot the sd card was in the computer. So all the pictures I took were to no drive. I will snap photos of the completed work with focus on whatever I am describing. Oooh, have to remember to drill out the gun barrels.
So when I attached the left arm with the bolt cannon on it, I knew that I wanted it pulled forward and slightly across his body. Again looking at how my own body moved in such a pose. I glued the ammo belts together, (it took me a minute to figure out that the capped parts are on opposite ends of the ammo belts.) Once the feed was glued together well I attached it to the model, I let it set for a little extra time to be sure, then brought the whole thing down to the hot water pan. 155 degree water and a couple of by hand bending sessions and I was pretty confident about the angle
fo the belt. I attached the guns/arm to the end of the ammo belt so it was all floating now. Once again into the water so I could fine tune positioning. Added the zap-a-gap glue to the arm parts, made sure the ammo belt was nice and toasty from the water, then glued everything into position quickly. Forgeworld resin really does pretty well with the hot water treatment.

As I remembered earlier I had to drill out the gun barrels. I started with my normal 1/16" hand bit, and finished with a 7/64" bit to match pretty close to the barrels. No cross-boring for these.
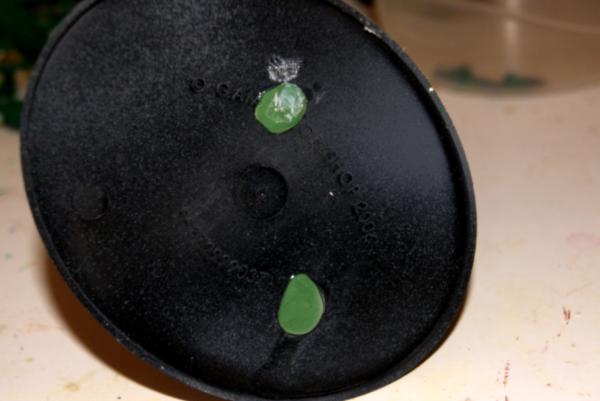
Final steps were pinning the bottom of the feet. I left nice long pins right center mass to the feet, poked those into the basing. (Easy puncture to then follow with a drill bit.) Add glue to all of it. Once the pins came through I also added glue to the bottom, and green stuff over that and the pins. Once again, I consider green stuff material, not glue. It does have some adhesive properties, but I prefer to glue between the green stuff and the project to create a better bond. This little capping should prevent base loss in the whoopsie of a drop.
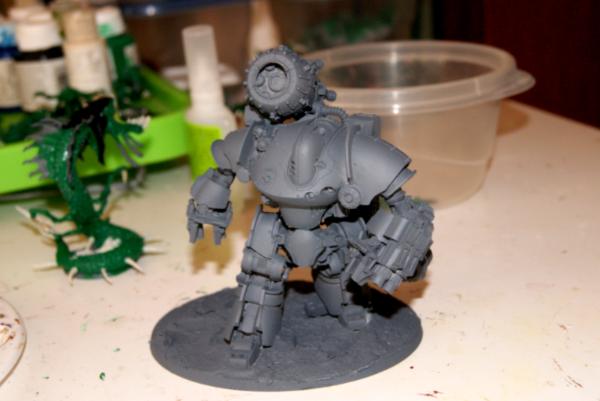
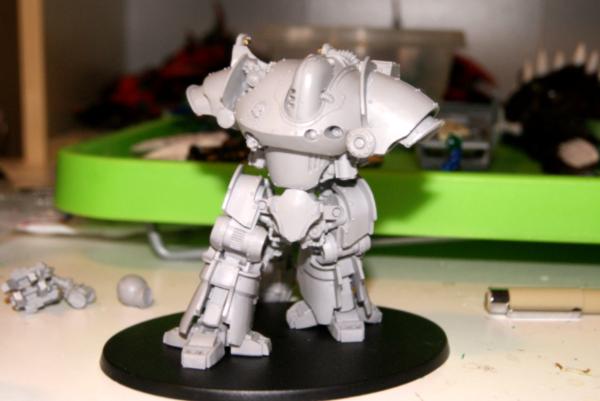
A final good look at the way that left leg looks lifting off the ground in mid stride.
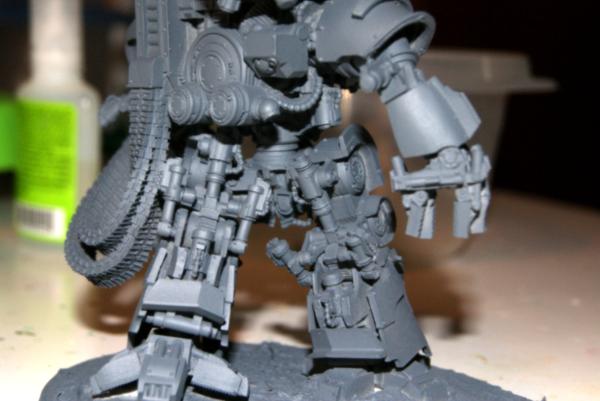
The whole project from the front. Pretty enjoyable and quick assembly. I would put this at a level 2 on the 1-5 forgeworld ease of assembly scale.