Rivets, bolts and nuts all make great additions to models, and there are tons of ways to make them. Most of these methods include gluing, cutting and drilling, such as described in threads on Dakka itself:
http://www.dakkadakka.com/dakkaforum/posts/list/605257.page and
http://www.dakkadakka.com/dakkaforum/posts/list/548872.page. They work... except in situations when drilling is not an option, such as paper craft, or when it is just to tedious to repeat the same process 100500 times, such as when trying to rivet a gargantuan or an arena.
In these situations I am using a simple "mold-on" riveting, that employs some kind of putty with good adhesion to the underlying material.
Note: this method is well suited for large nuts and rivets, something an orc or an aspiring gnoblar would use! But with motivation and trial run it can be downscaled to sub-
mm sizes, although at that scale I'd look for a different method myself.

So, we start with a model for our rivets. It pays off to chose material that is easy to shape several rivets in a row of a same size on a single "holder". Here I use a sprue from a plastic kit.
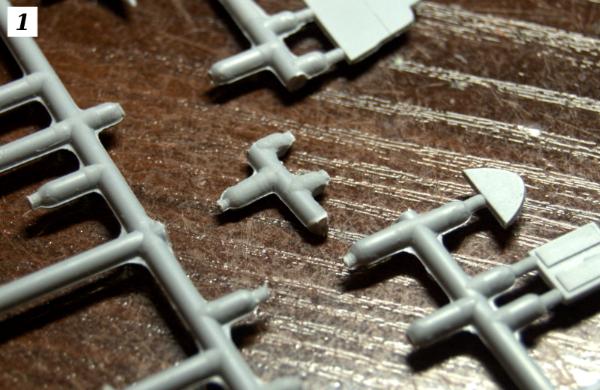
Using sandpaper and a small file sprue gates are shaped into half-spheres that will be our model rivets.
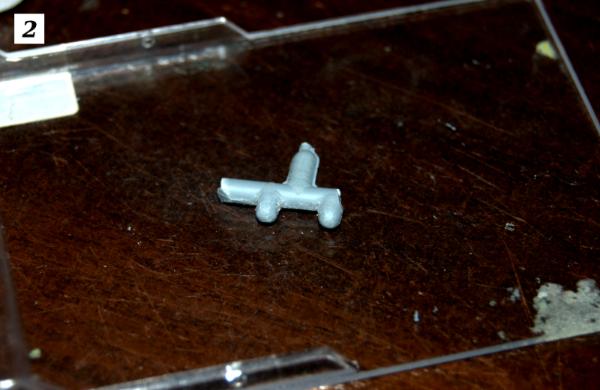
For the working surface it is worth to have something non-sticky and flat and for the mould - something that can be removed from Your model without damaging it. Personally I swear by silicon gum, but Your mileage may vary, it can be done out of milliput (with a proper choice of lubricant), sculpey, even candle wax (in this case the mould will likely be single-use only, but that also can be useful).
I like some right corners to shape the mould while it is still soft, it makes ensuring that all rivets will have the same depth easier. The result of pressing Your model into the silicon gum should look like that -
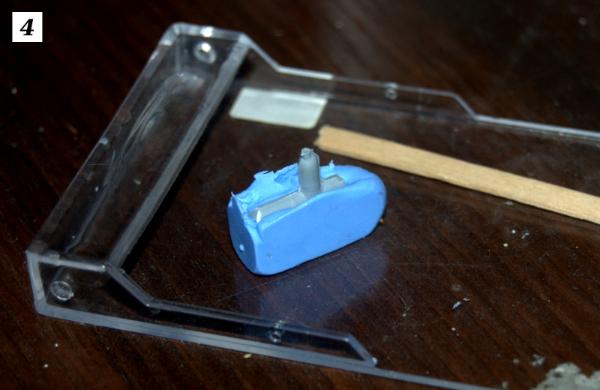
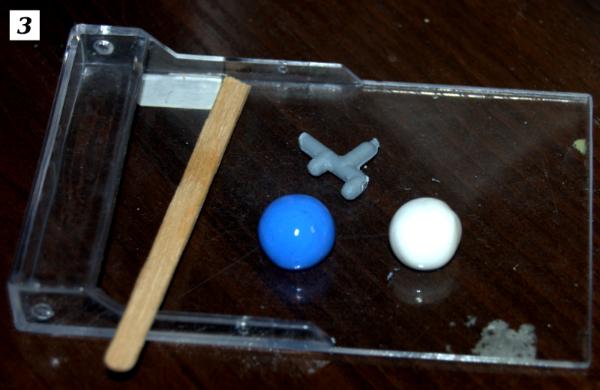
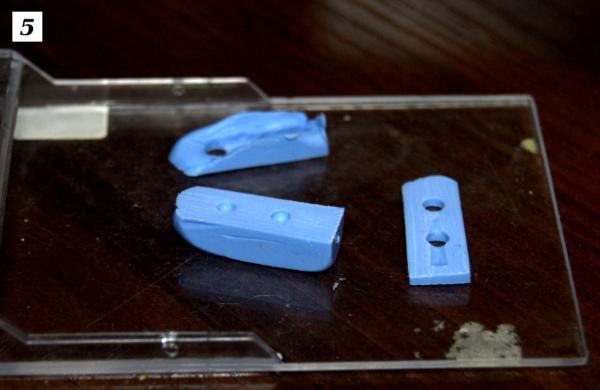
Now, remove the model and start cutting the mould parallel to the holder, it his case - longer sprue bit. It may take several cuts to get the mould dept h right, but it is a simple procedure. Just use a comfortable ruler, sharp modelling knife and don't cut a lot in one go, You can always cut another thin layer later. as an illustration, here is the finished stamp mould for a pair of rivets with two bits of cut away "dross" -
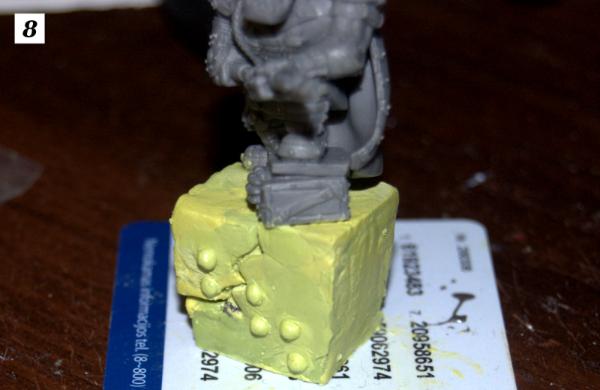
It is time to start stamping. Prepare the model and mix the putty of Your choice. In this case I am using Milliput epoxy, since that is what I've used to make the scenery I will be decorating. Greenstuff will work great, plastic putty such as Revell Plasto... not so much (significant, or at least noticeable shrinkage). For a paper model a CNA (cyanoacrylate, superglue, instant glue) mixed with a baking soda or a sufficiently fine sand works great, just mix and apply it in small batches. Put some putty into the mould holes -

... and press it firmly to the desired surface. Depending on the putty used it may take a minute or two to bind enough for a mould to be removed safely, I wet Milliput before applying so it takes about 5 minutes to set, just enough to glue some other part or add a few brushstrokes.

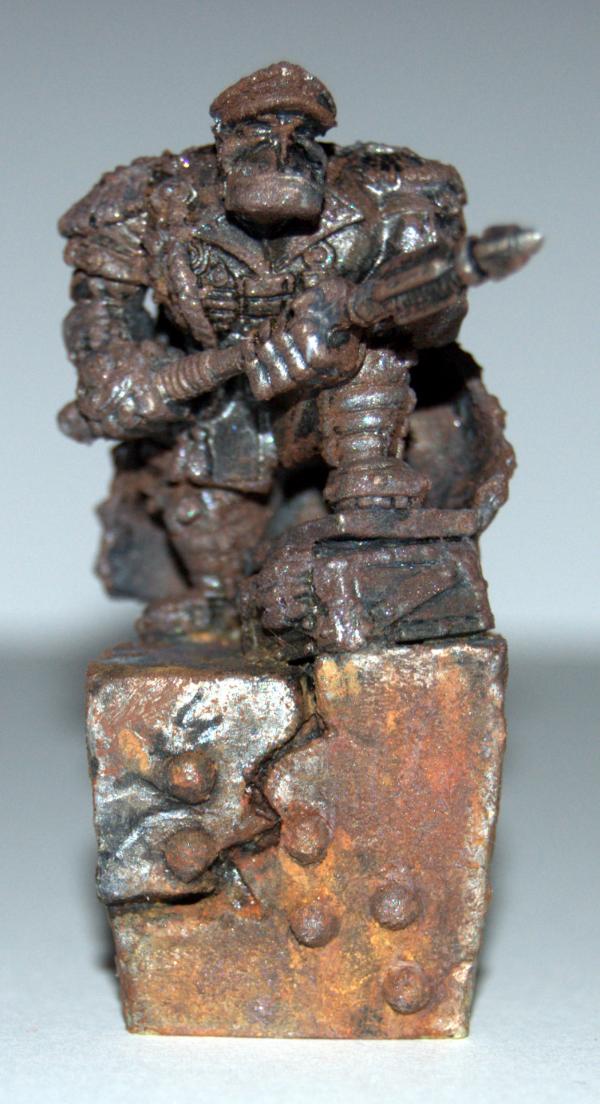
After some more presses and a bit of cleanup with a knife (I've overdid with amount of putty in one case) the result is
I will probably add a painted picture later, but painting is a different thing. Happy riveting!
This method, obviously, can be used to "cast" rivets, or even and entire reinforced strips with rivet rows, but these are easier done with some sort of roll-on methods and beyond the scope of "easy riveting".